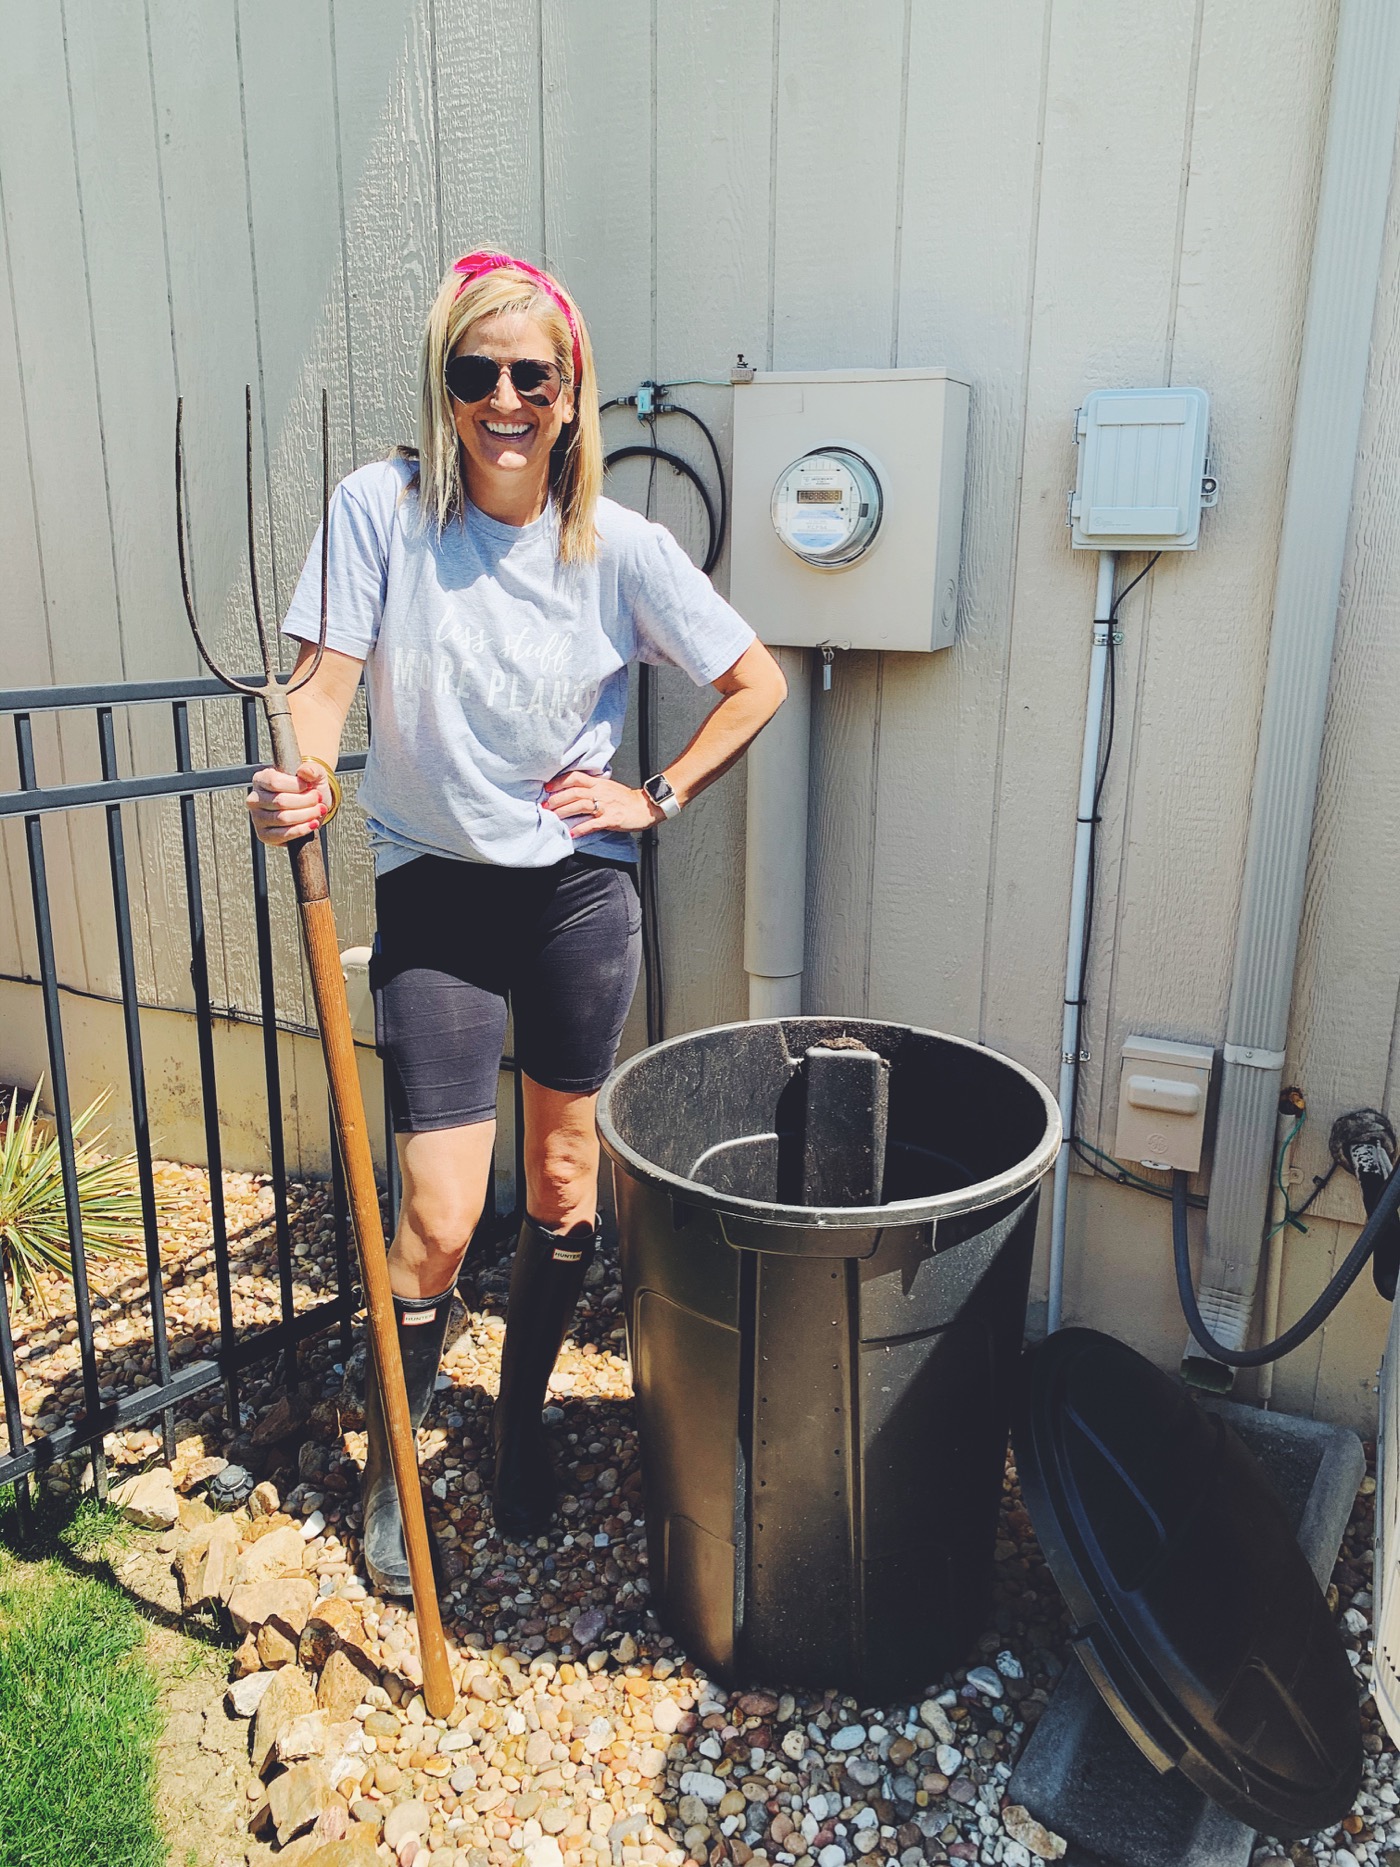
We have been composting at our suburban home for one year now! I want to share all that I have learned with you! This process is easy and inexpensive and I feel good about this decision every single day. It’s a fun family project and now that we have been doing this for one whole year, I know it works! I will show you everything from start to finish on how to create and maintain a DIY compost bin. Yes, you are dealing with food waste and dirt, but to me it’s a beautiful mess!
*UPDATE: Typing this in April 2022 and our original compost bin is still going strong!
How We Got Started with the Compost Bin:
To backtrack, I first decided I wanted to start an at-home compost after watching the documentary “Wasted” on a flight back from Bali in 2019. The amount of food waste shared in the film was disturbing to me! I have always been a recycler and conscious of the environment, but I knew this was one more step I could take. Small things add up to big things if everyone just does something! I highly recommend watching this with your family.
Research and Prep:
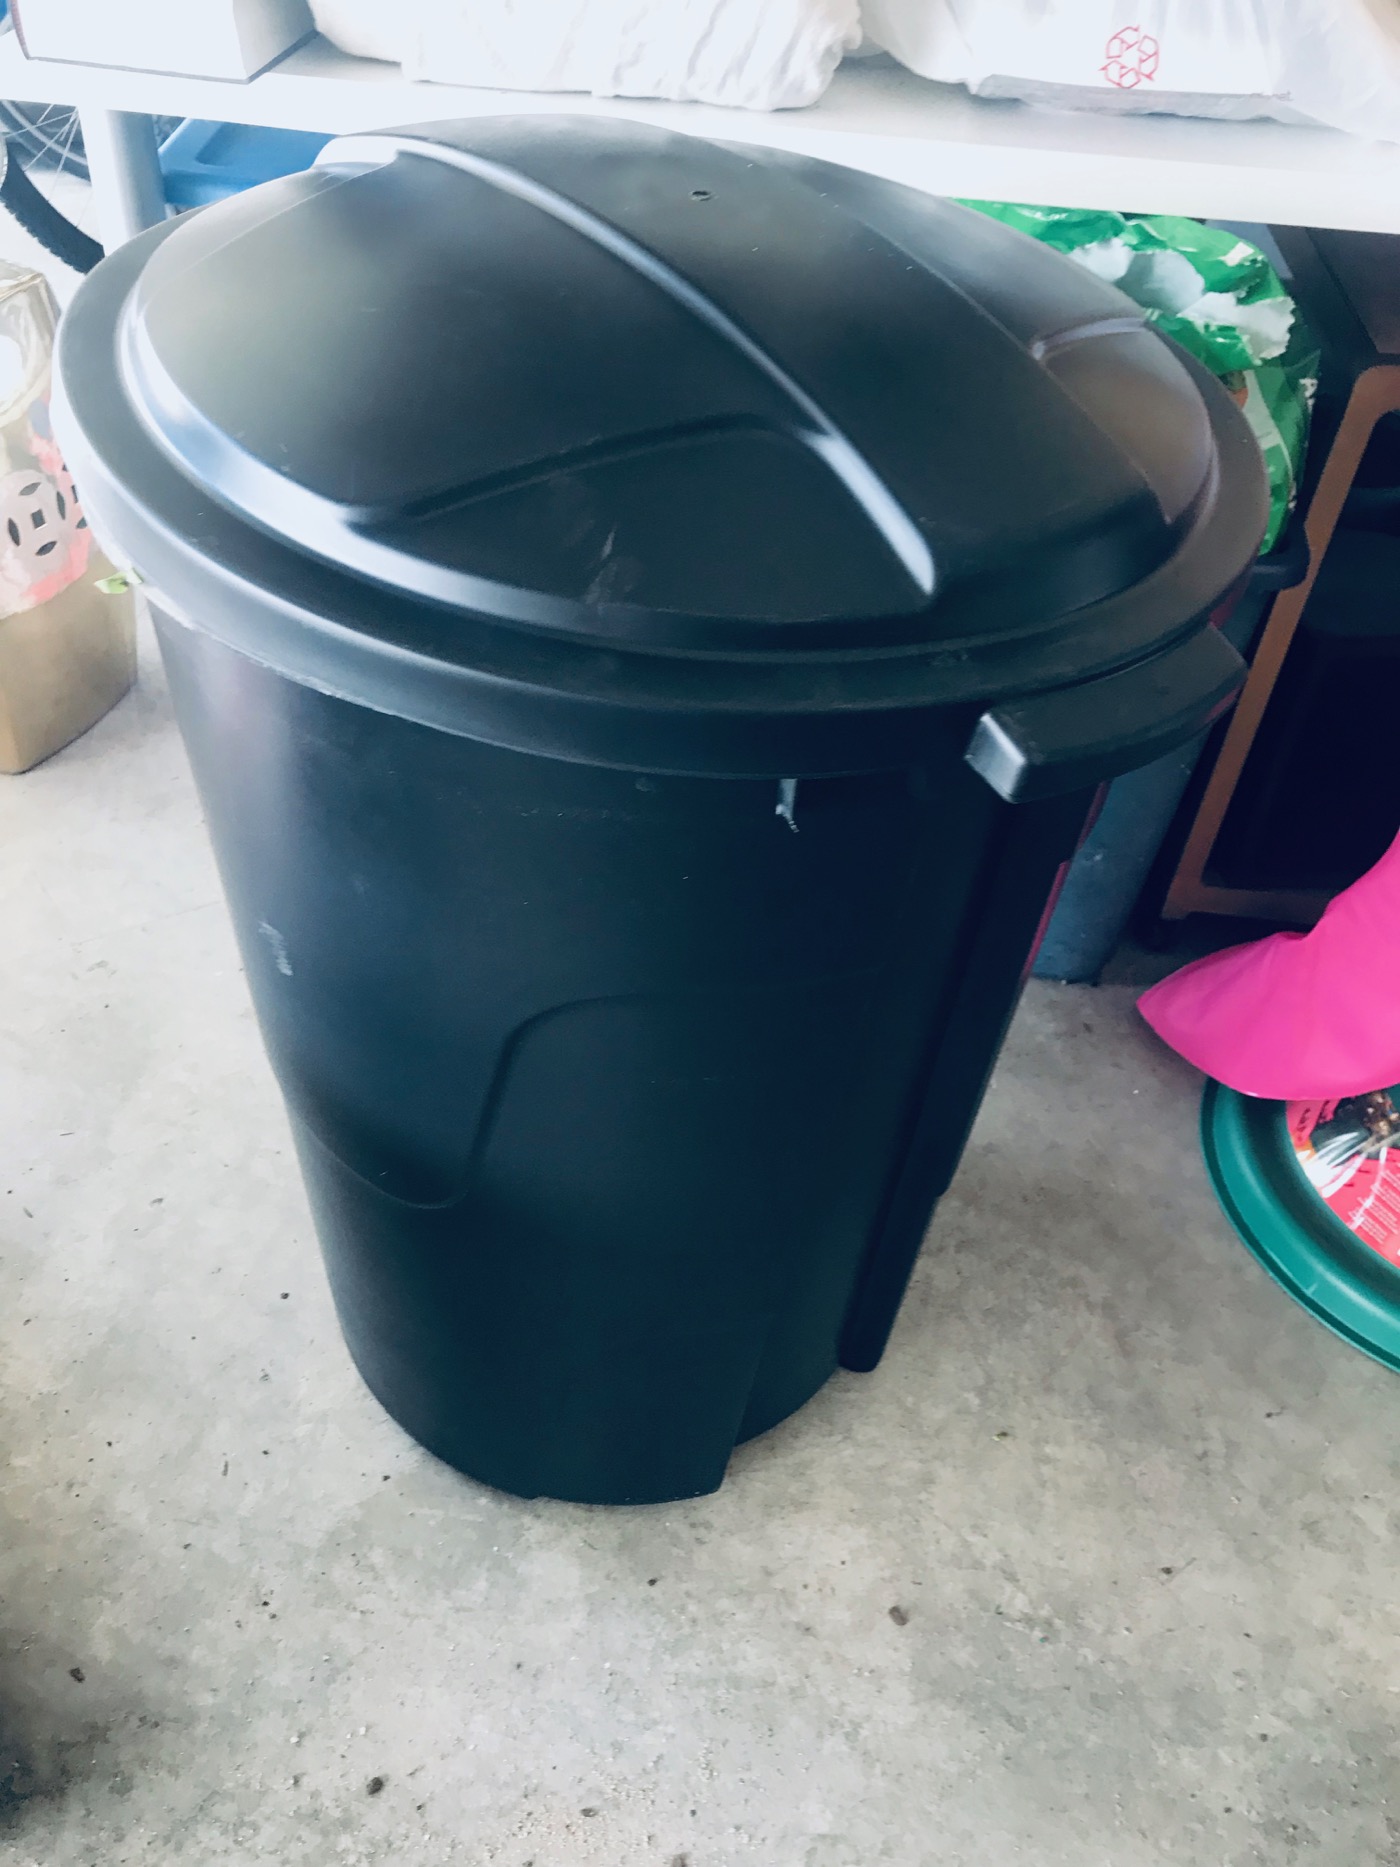
I did a little research and scoured Pinterest and shopped around for compost bins. Ultimately, I decided that if this project didn’t end up working, I didn’t want to be out a lot of money. Some compost bins can be pricey, so I decided I would just make a DIY compost bin. Supplies needed for this project are a large trash bin with lid, a drill, bungee cords or something to secure the lid, and your compost materials! It’s that easy!
UPDATE: I know longer use the bungee cords to secure the lid. We have had no issues with critters and the cords were snapping off, so I just removed them. The lid stays on just fine and it’s much easier to access with them.
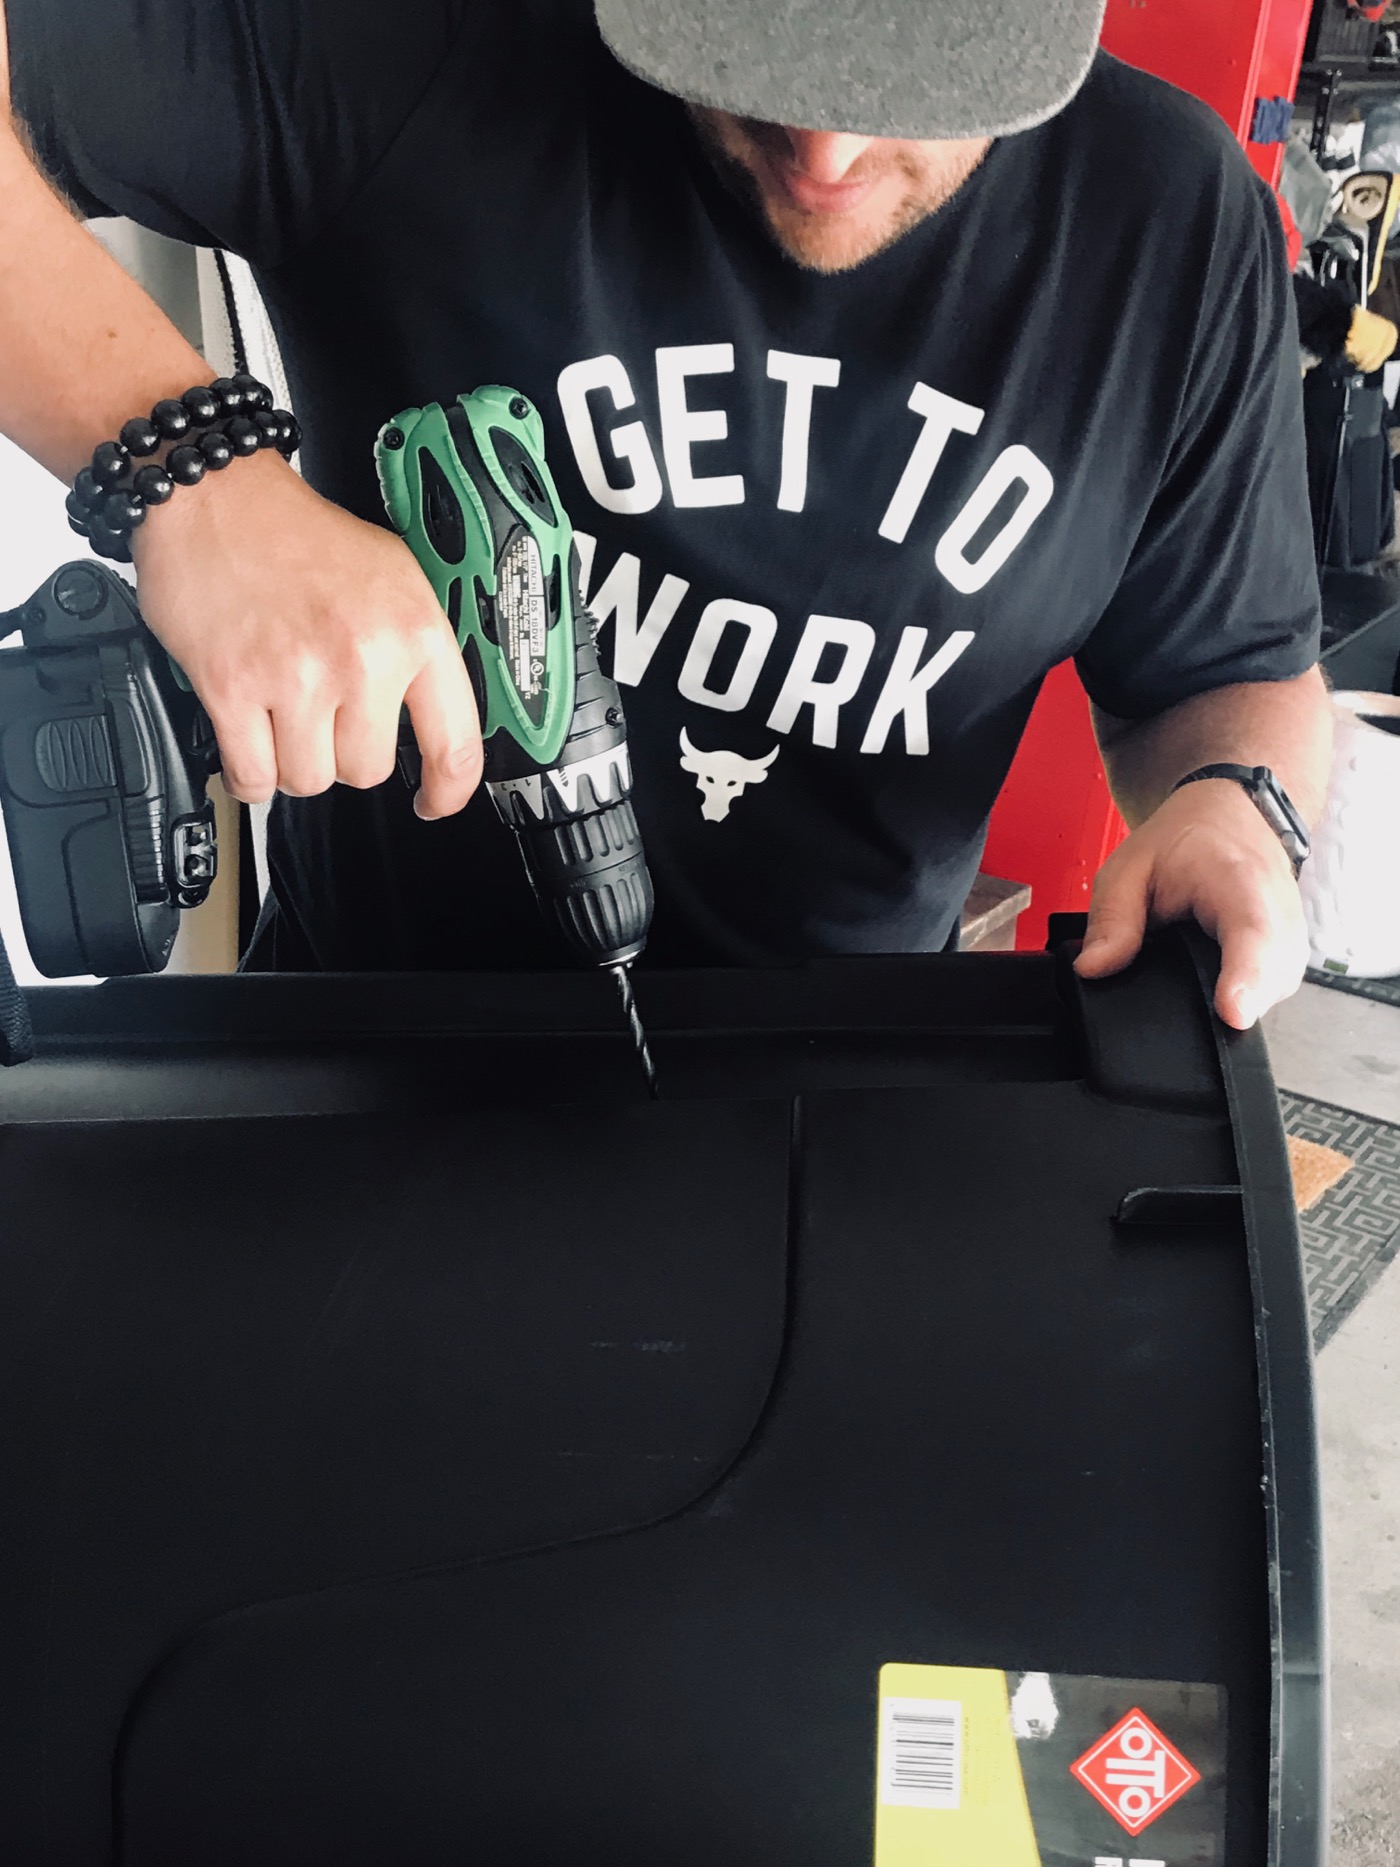
I read that a compost bin needs to breathe, so we drilled small holes down the side of the compost bin on two different sides, for a total of 4 lines of holes. We spaced about 2 inches in between holes, so yes, there is a lot to drill. It goes quickly though! I put Steve to work on this job!
That’s it for the prep work on the compost bin! We use two bungee cords to strap down the lid. This makes it easy to remove the lid when we need to dump compostable items in the bin. We have never had any issues with the lid blowing off or being knocked over by critters, even with our Kansas winds!
Choosing A Spot for your Compost Bin:
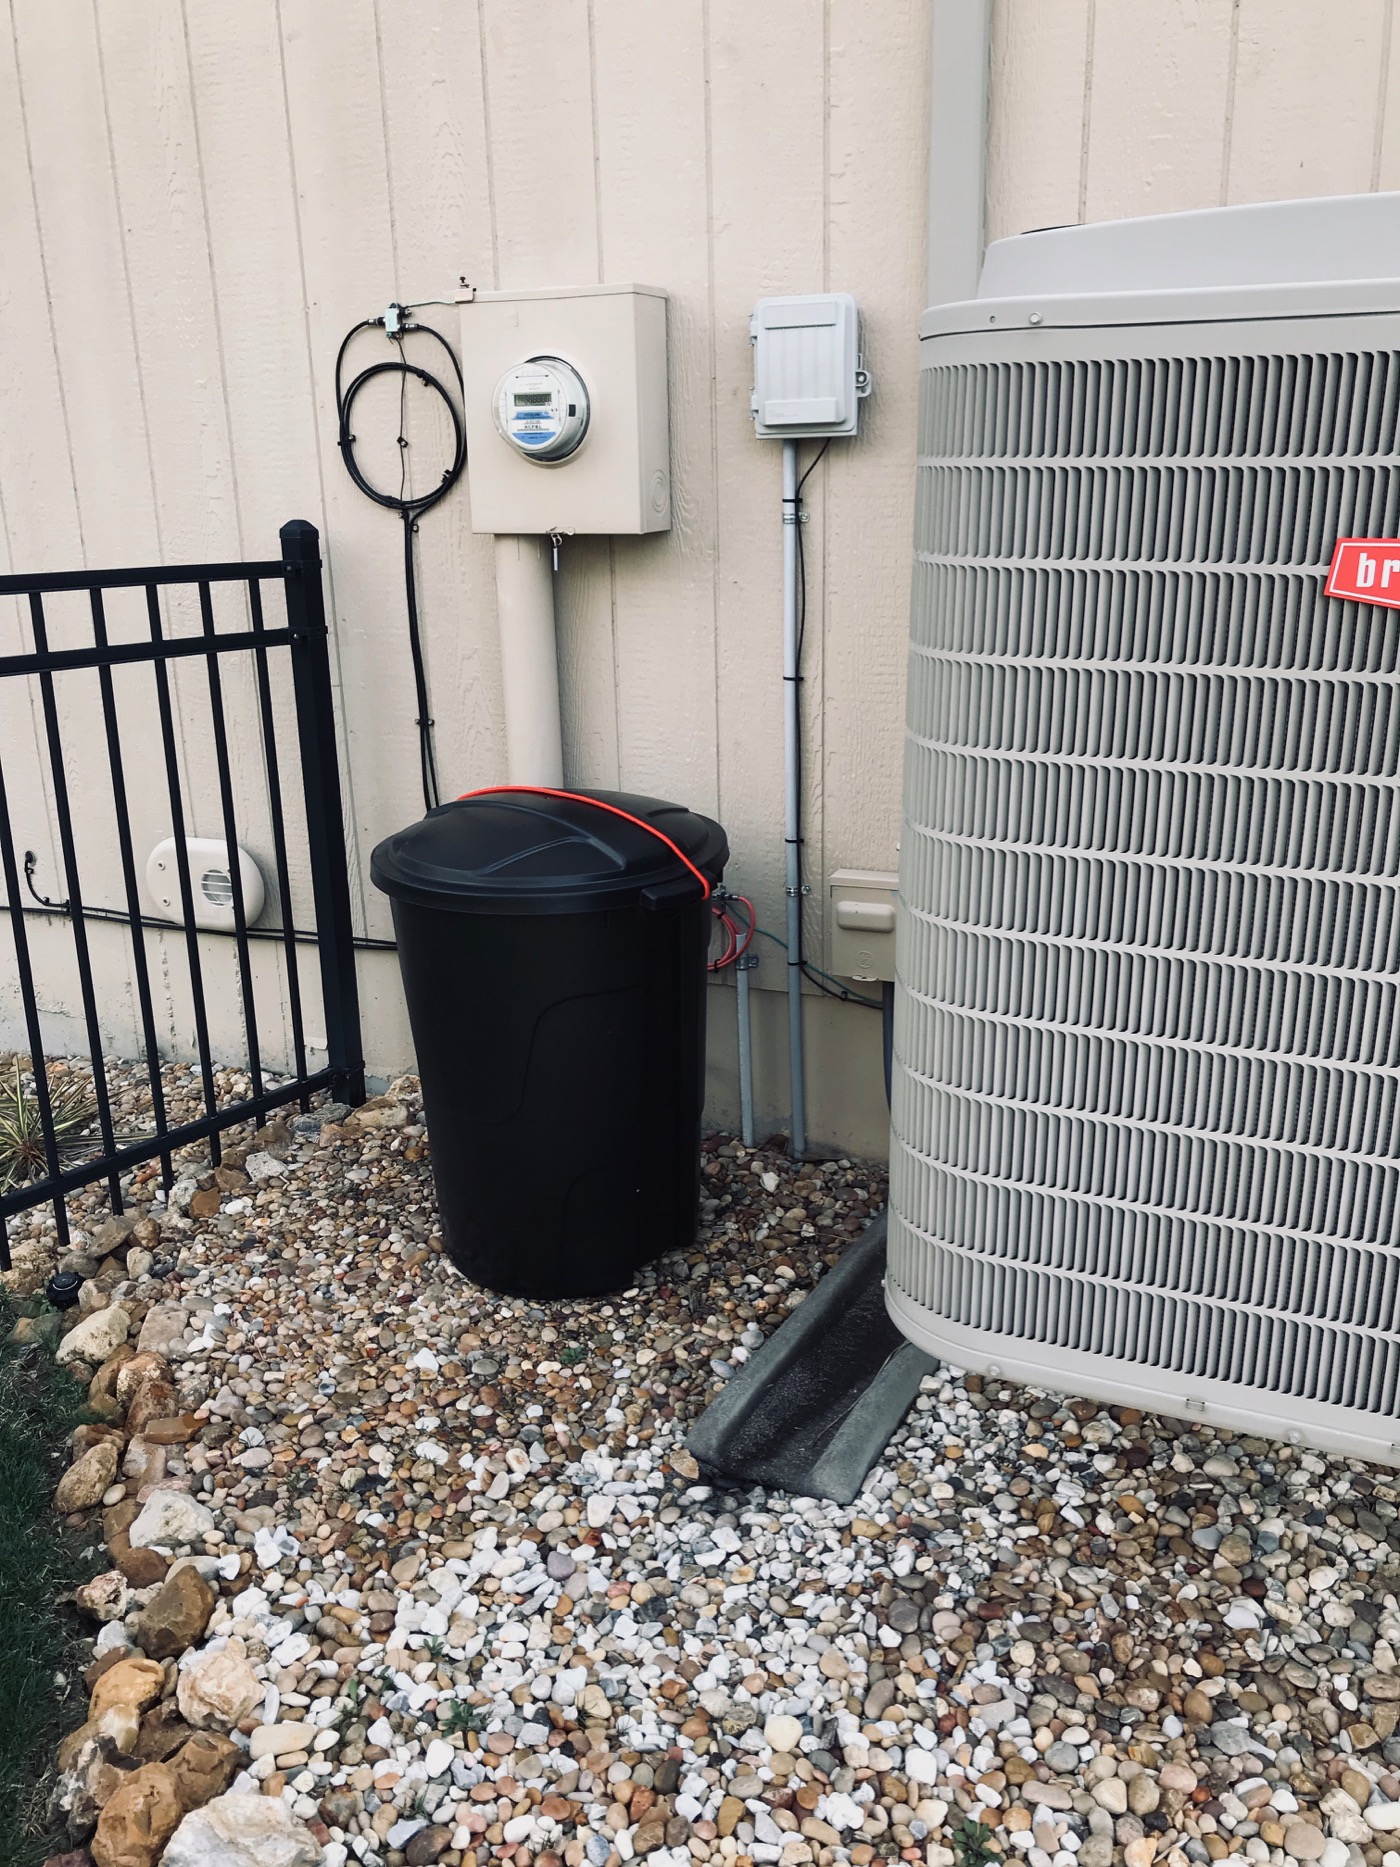
After your bin is ready to go, you will need to choose a spot for it! In doing my research, I read that you should find a spot with partial shade. You don’t want the bin to bake in the sun all day! We chose a spot on the west side of our home, behind the air conditioner. It gets afternoon sun only, it’s mostly hidden from the street, and we already had rocks down in this area. Totally felt like the perfect spot and it has worked well over the last year!
Getting Started in the Kitchen:
You have your outdoor bin ready to go, you have chosen a spot for it, and now it’s time to start composting! We decided to get a small compost bin for the kitchen countertop. This allows us to gather our kitchen scraps on a daily basis and we can then transport them to the large outdoor bin on a weekly basis. We have used two different ones over the course of the year and I have been pleased with both of them! The smell has never been an issue and it does get filled up pretty quickly.
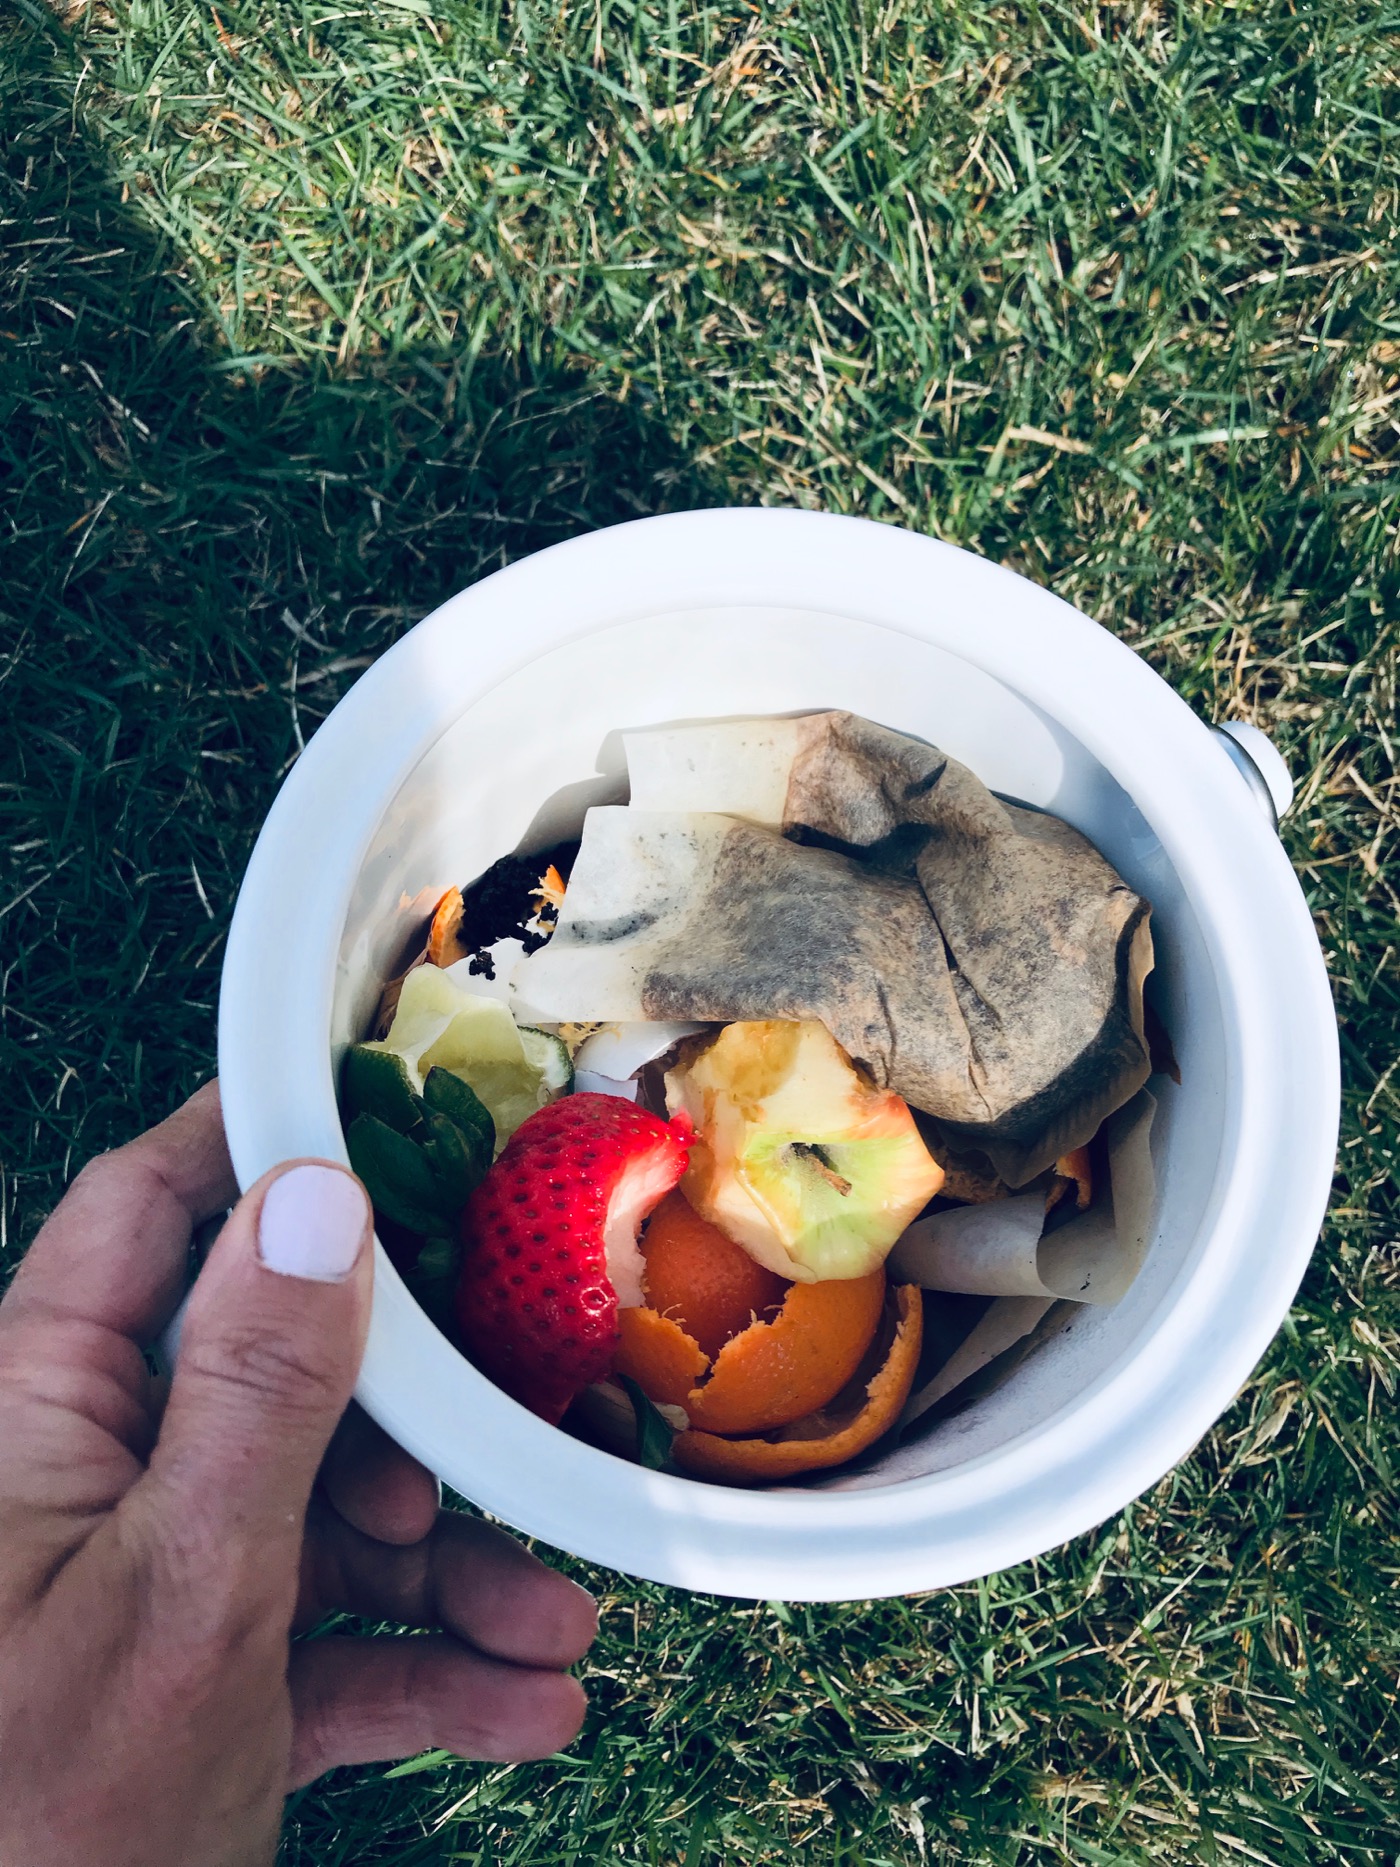
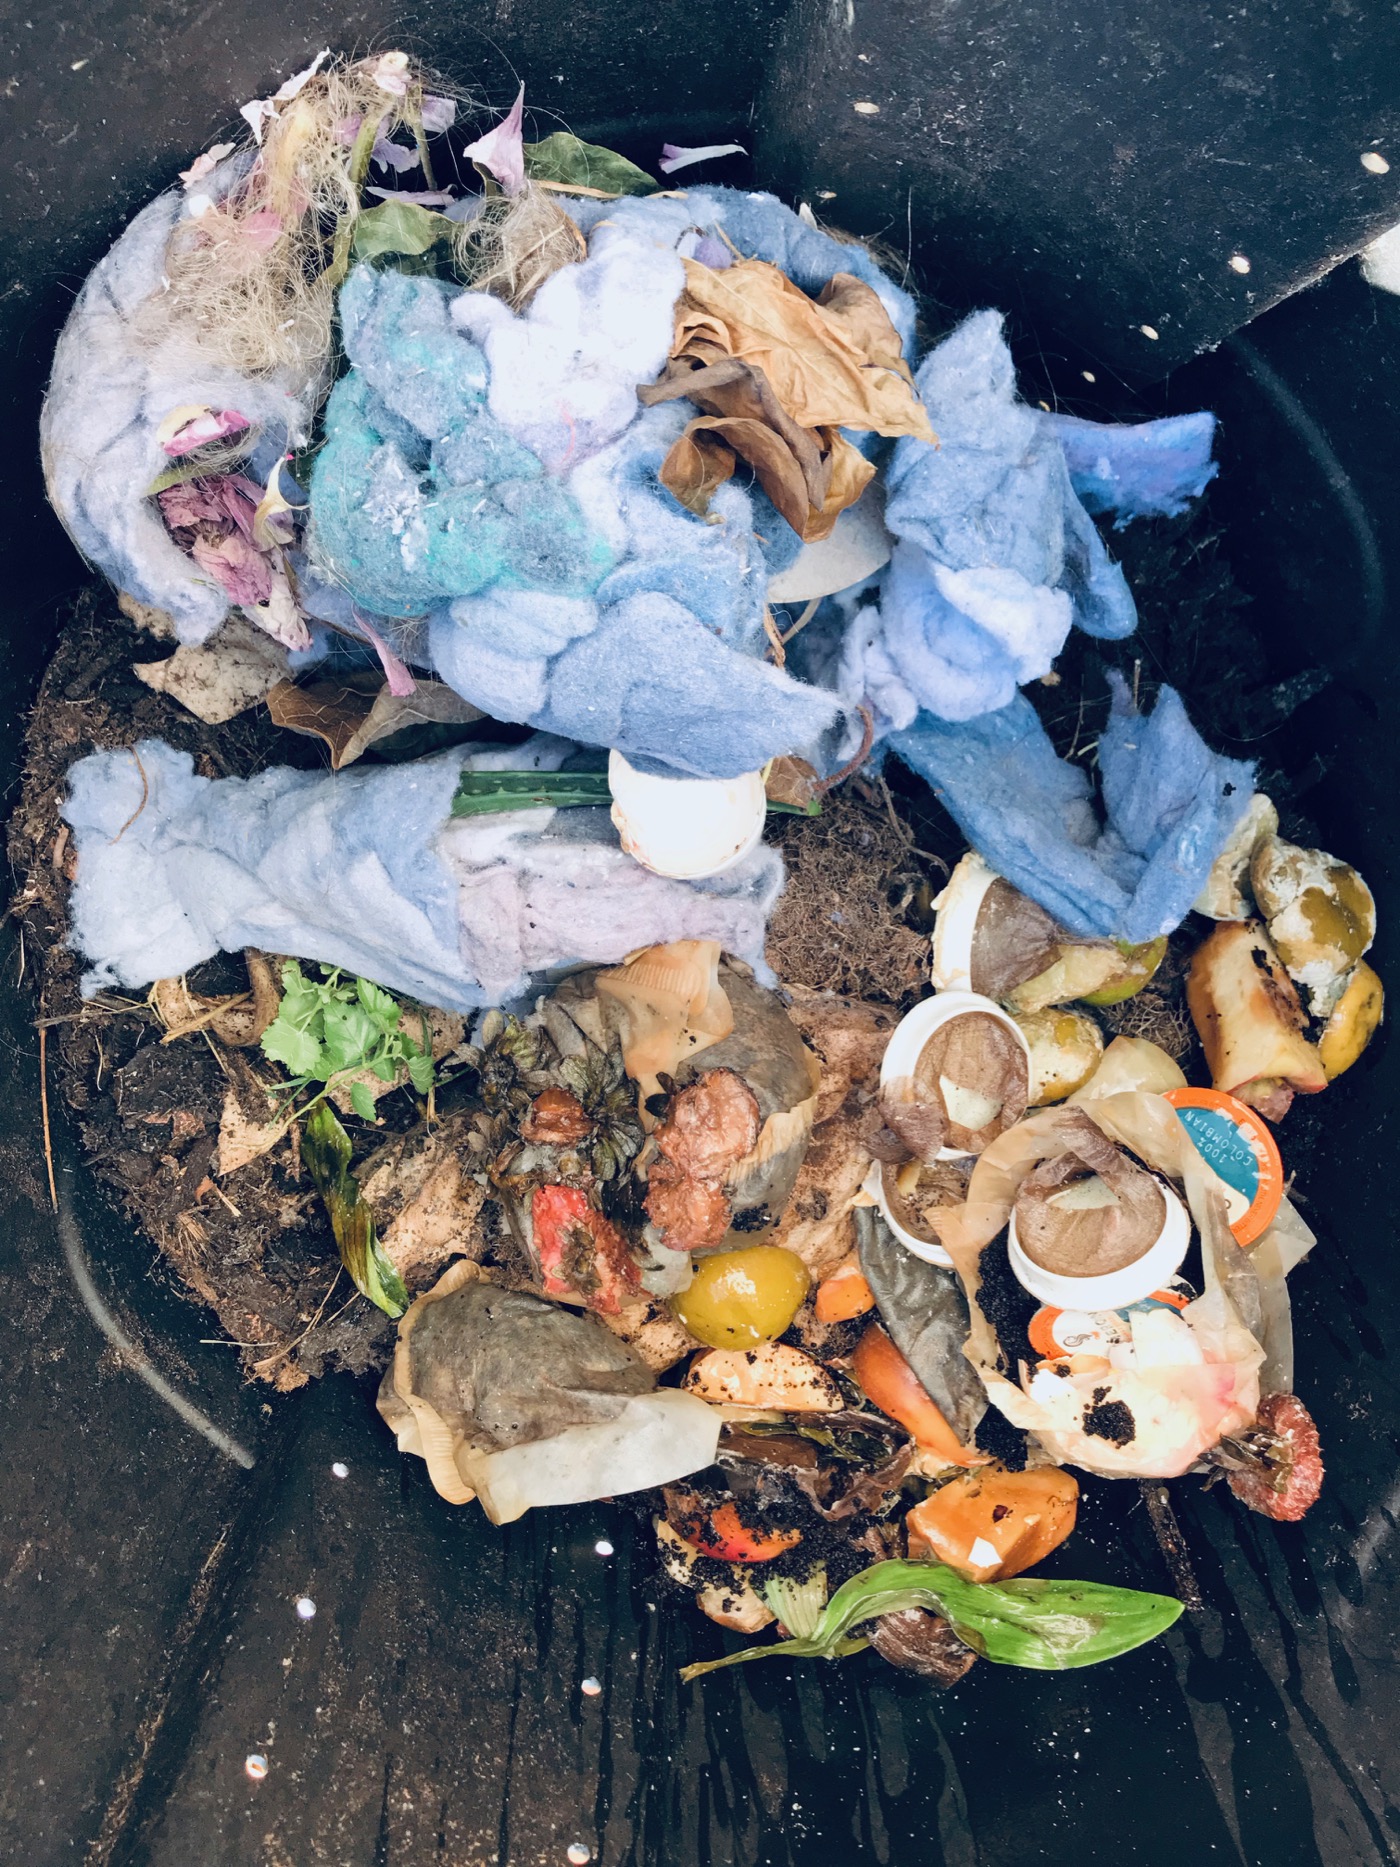
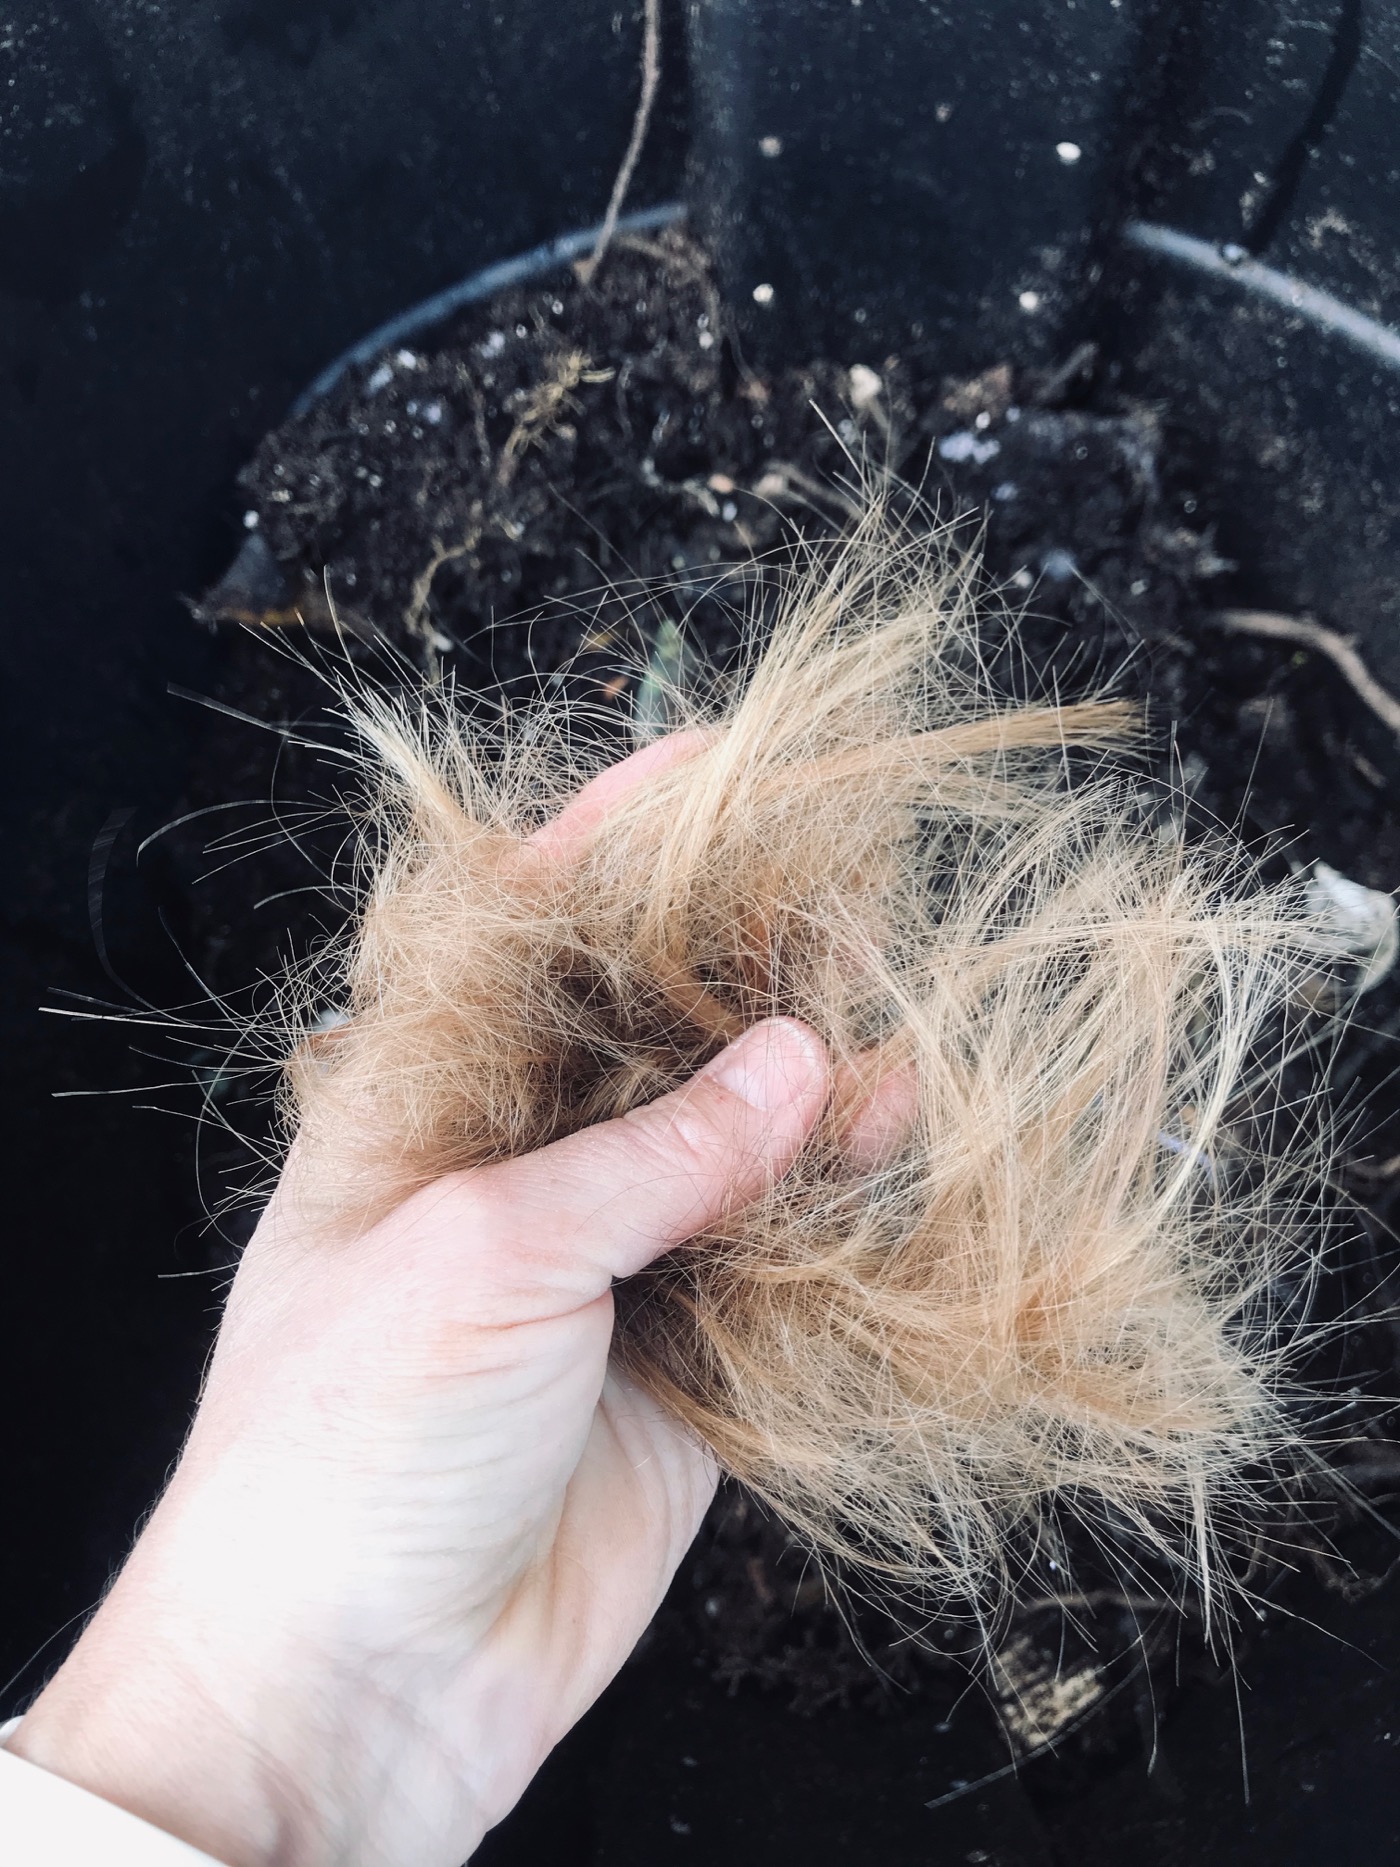
To start, you want to add brown and green waste to your compost bin. With the right mixture of water, air, and heat, these ingredients will start to “cook” and break down. Brown ingredients are yard clippings, mulch, dirt, soil, newspaper, etc. Green waste includes banana peels, egg shells, coffee grounds, etc. You do not want to add meat or bones or cooked food. Think fruits and veggies. We also add human hair and dryer lint to our compost! Seems weird, but it’s okay!
Start Filling the Compost Bin:
You do not need to fill up your entire bin when you first start or you won’t have room to continue! We got started by just adding a few brown and green ingredients. Over time and as the weeks go by, you will be able to add more and more from your kitchen and yard. Once you’ve thrown everything in the bin, you need to add water! You don’t want the bin to be soaked, but it needs to be damp at all times.

How to Maintain the Compost Bin:
Once you have your compostables in the bin and you have watered it, you need to “turn” it. When we first started out, we were able to just roll the bin to get it mixed up. Once it starts to fill up and get heavy, you will need something to mix it up with. My dad had an old pitchfork in his garage and gave it to me. This has worked so well! I turn our compost when I take the kitchen waste out to the bin. It just takes a few seconds.
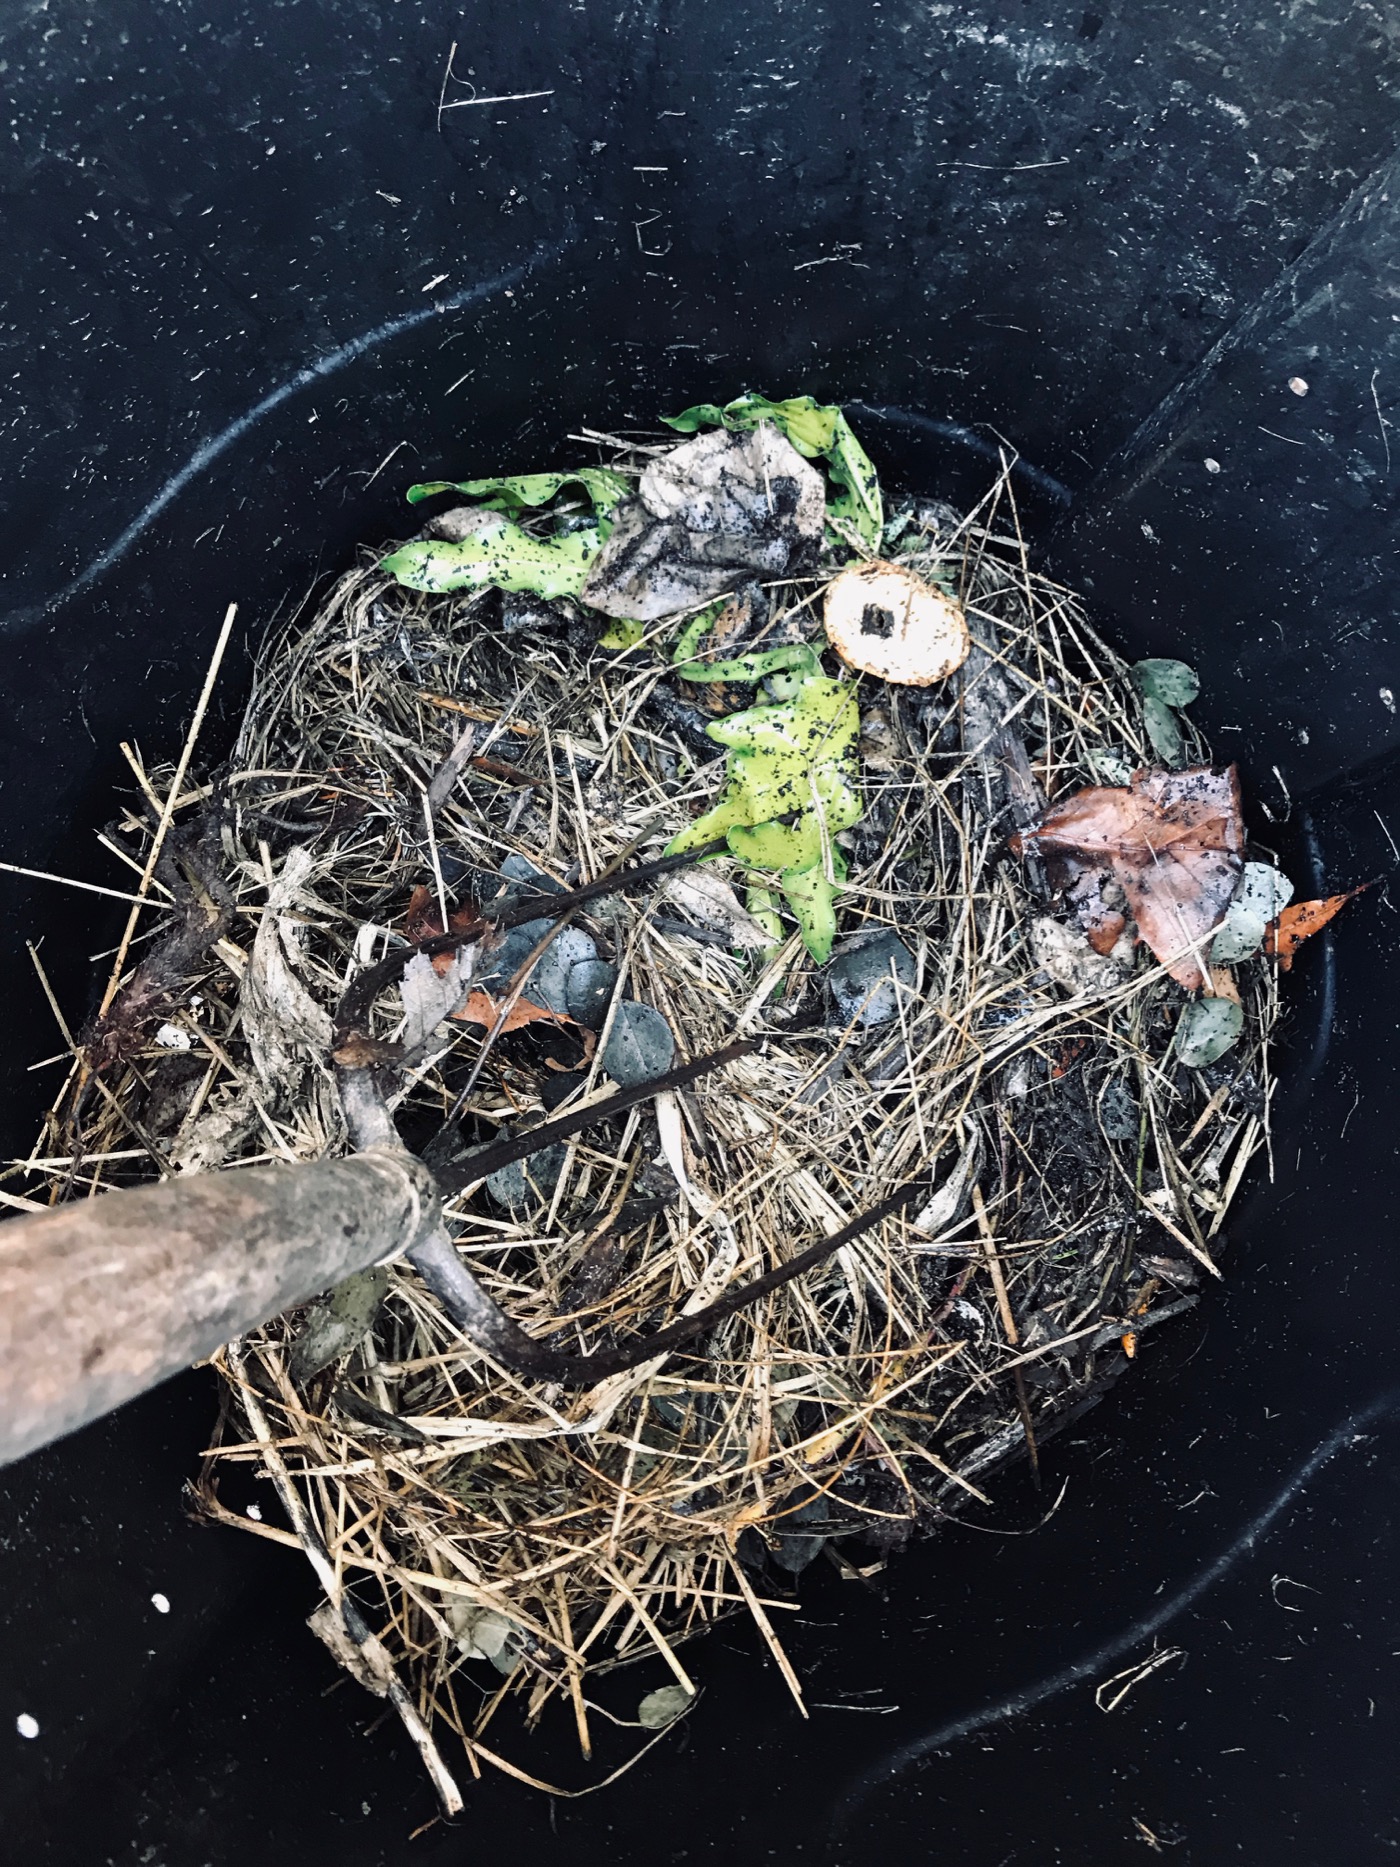
You are now composting! This takes patience! It takes time and the right conditions for your compost materials to start breaking down and turning into usable soil. We have been doing this for a year and I have only recently used the soil from my bin to put around my plant beds. Our bin is just about full which is why I am now starting to use it. This is nutrient rich soil that you could use in your flower beds or for a veggie garden.
UPDATE: I have been using the soil in my garden and flower beds for a few years now!
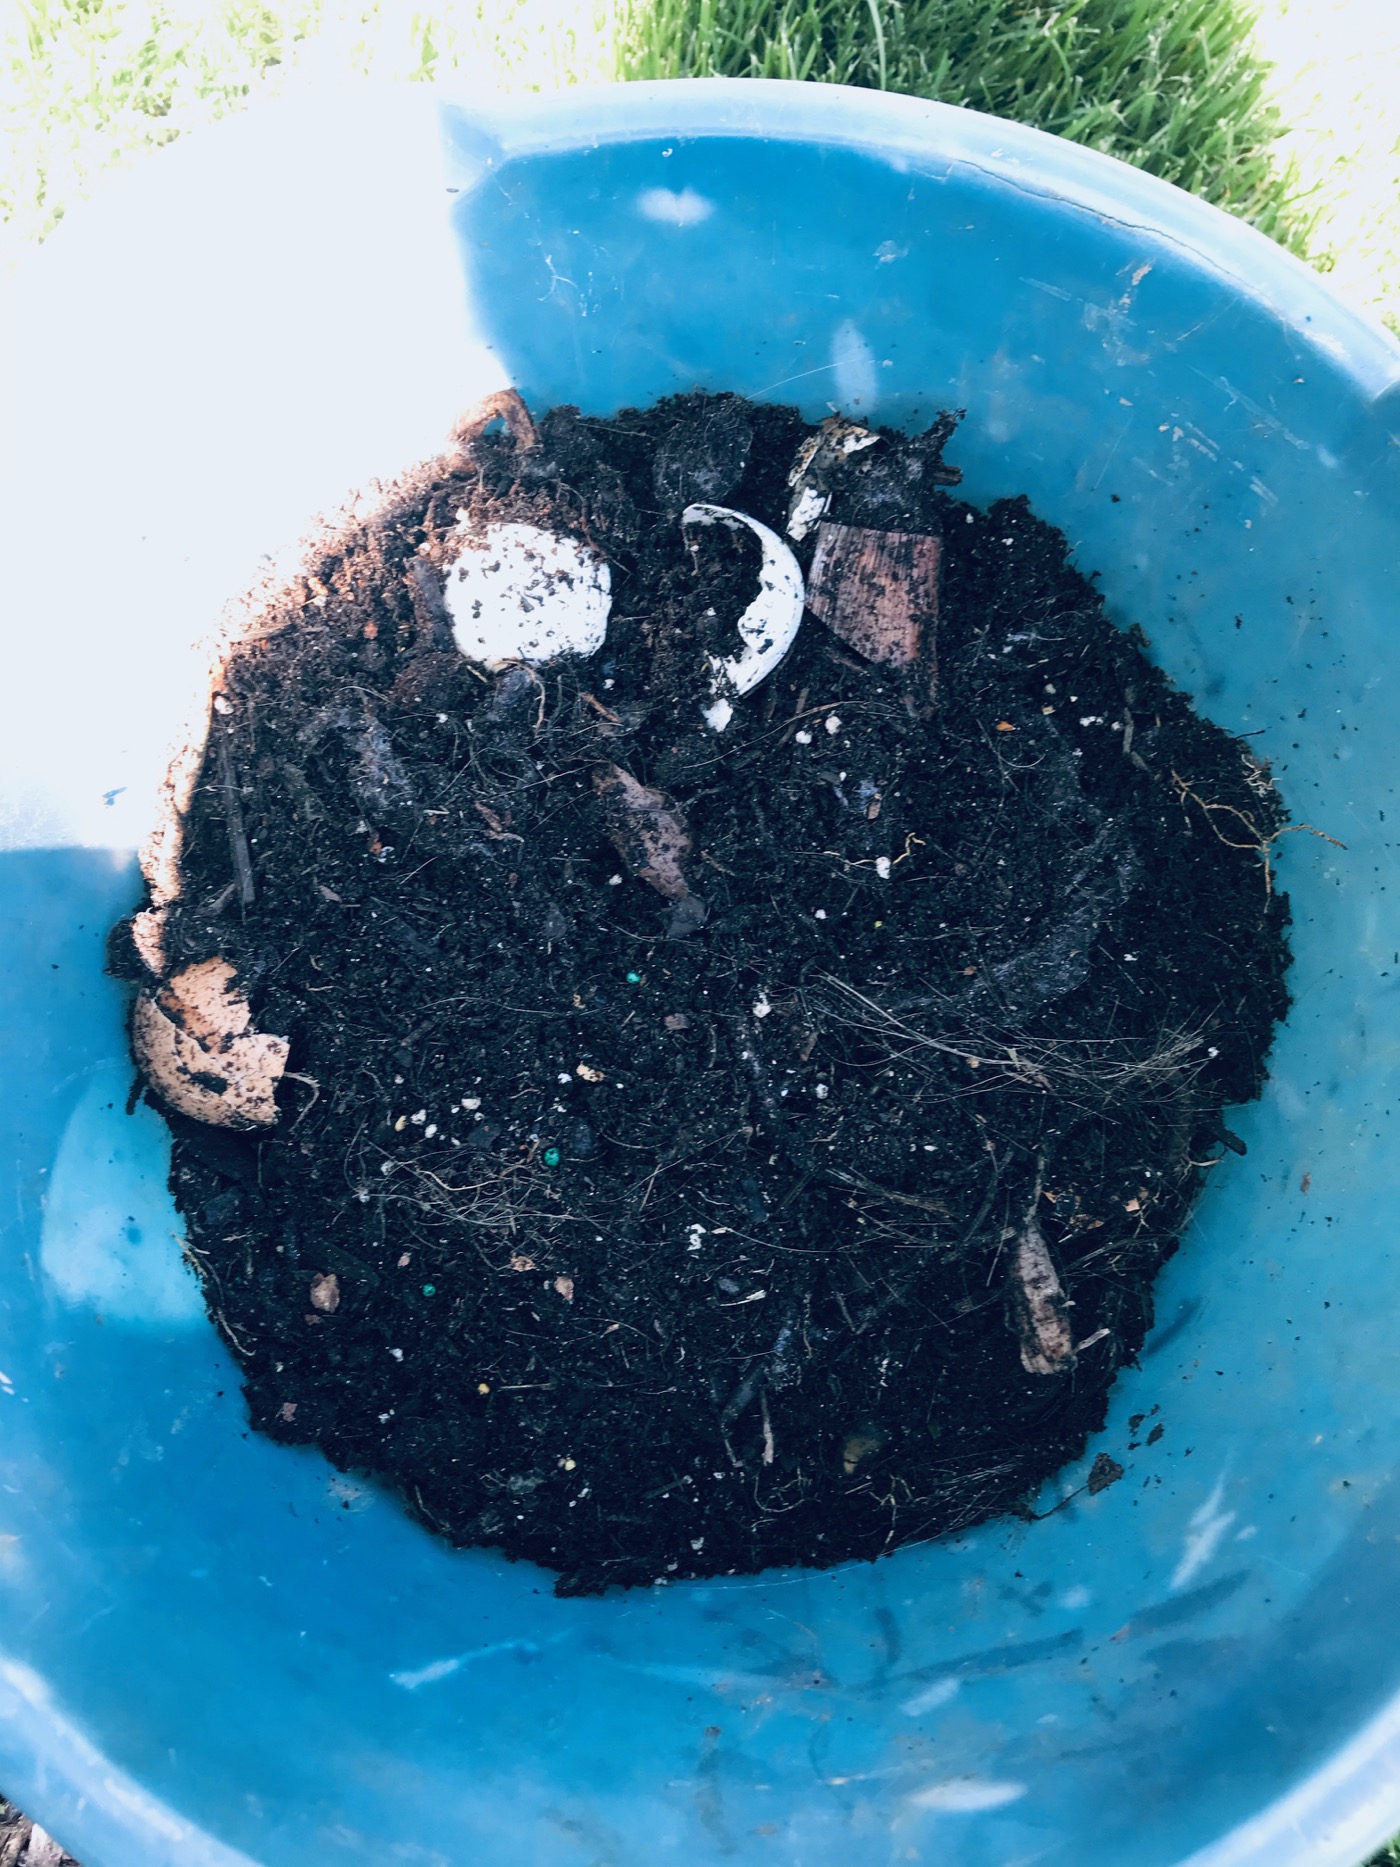
Our Experience with a Compost Bin:
I’m going to breakdown some questions now! Definitely not an expert, but this system as worked for us and I’m happy with the results! We even have worms in our compost now. I’m not sure how they get there, but they help break down the ingredients as well.

FAQ’s:
What goes in a compost bin?
A: Coffee grounds, egg shells, veggie and fruit scraps, hair, dryer lint, newspaper, grass clippings, branches, green leaves, straw, dried plants.
Does your compost smell?
A: In the full year we have been composting, I have never smelled a foul odor in our kitchen or our outdoor bin. NEVER! With the right mix of air, water, and materials, it shouldn’t smell. I know some people wash out their egg shells but I never do. I empty our kitchen countertop bin about once or twice a week. The countertop bins we have used have charcoal pads inside that prevents smells from leaking out. Stay away from meat and bones and cooked foods in your bin. Those will make it smell!
Do you compost in the winter?
A: I did not compost in the winter. It seemed too much to take the kitchen compost bin to the outdoor bin in the cold. I left the outdoor bin as is over the whole winter and when it started to warm up, I started it up again. Nothing happened over the winter and I picked right back up where I left off.
Do you compost all of your yard waste?
A: No! We still put items in lawn and leaf bags that our city recycles for us. Our bin is not large enough for all the yard waste we have.
Do you have bugs?
A: Our indoor bin has never had bugs near it. Ever! When it gets hot in the summer, there are gnats when I first open the lid to the outdoor bin. It’s nothing to worry about.
Does your outdoor bin attract critters?
A: Our bin has never been tampered with and has never been knocked over. I’ve never seen any other critters near it either. It doesn’t smell, so hopefully that’s why it’s working! We also live in the suburbs!
Is this process messy?
A: We occasionally have brown stuff leaking from the holes in the outdoor bin, but it’s not excessive. This is why we placed our bin on top of rocks. The indoor bin isn’t messy at all! After you empty your countertop bin into the large outdoor bin, you will need to wash your countertop bin.
Where do I get the items I need?
I have linked a similar trash bin with lid, the exact countertop bin we use, and some charcoal pads for the countertop bin (replace these as needed). Every time I empty the countertop bin, I wash well and wash the charcoal pads.
I hope this helps you get started on your own composting journey! I love keeping this waste out of landfills and being able to reuse these materials! It’s such a fun science experiment! If you have any other questions, please send me a note! Happy Earth Day! XO

Where did You buy your countertop been? Can you post a picture of it?
Hello! If you go to the bottom of the post, I have included photos and links of the items I use to compost. Click on the item to be taken to the item where you can purchase or look at the product further! Hope this helps!