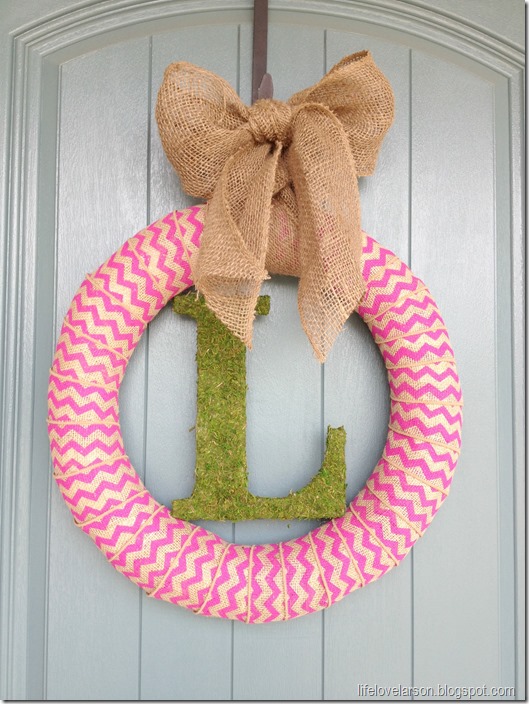
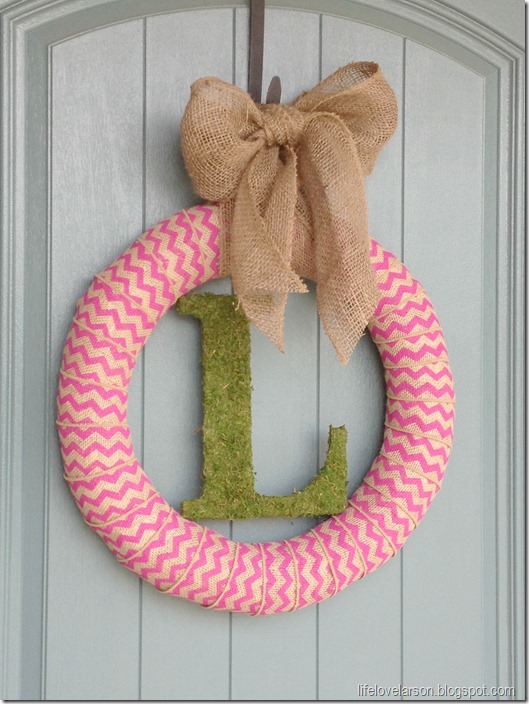
My good friend and next door neighbor asked me if I would make her a spring wreath for her front door. Of course, I said yes! I am currently reusing a wreath that I made last year, so it was fun to create something new for her. They just so happen to be an “L” family too, so I decided to make this DIY monogram spring wreath using burlap ribbon and a moss letter. This picture was taken with the wreath on my front door before I delivered it to her. I know how people love a painted front door! Here’s how to create a DIY monogram spring wreath for your own door.
How to Create a DIY Monogram Spring Wreath
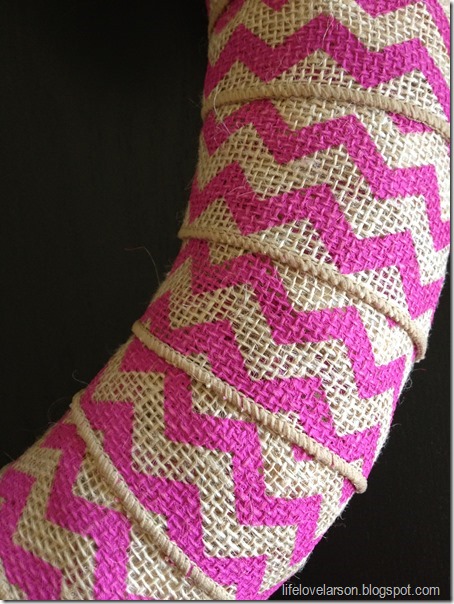
I went to Hobby Lobby one morning to try and get inspired and found this fun chevron burlap ribbon and thought it would be easy to wrap around a straw wreath form. They also had lime green, grey/blue, and yellow chevron colored ribbon. Straw wreath forms come in many sizes, so choose whichever will look best on your door.
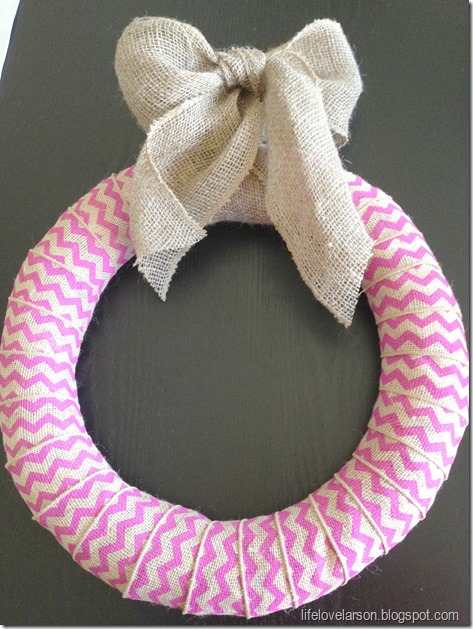
To begin, simply start wrapping ribbon around the wreath form, overlapping a little with each wrap. This will secure it enough that you won’t even need to use anything else to secure it. I used a dab of hot glue at the end of the ribbon. In total, I used 1.5 rolls of ribbon for an 18” wreath form.
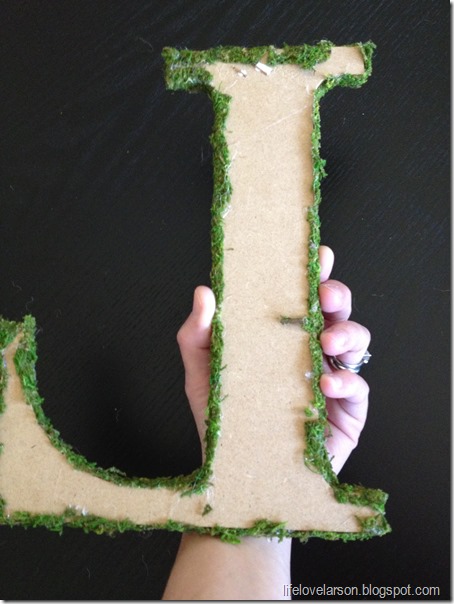
Undecided on what to embellish it with, I searched through my craft stash at home. I found a wooden “L” and a sheet of moss from old projects and thought that would be the perfect combo. When you use a sheet of flat moss, you can simply trace the letter onto the moss, cut, and adhere with some hot glue around the edges. Moss is also very forgiving, so if you need to fill in a little space, add some hot glue and press it down. You will never see where you have filled it in.
Assembling the Wreath
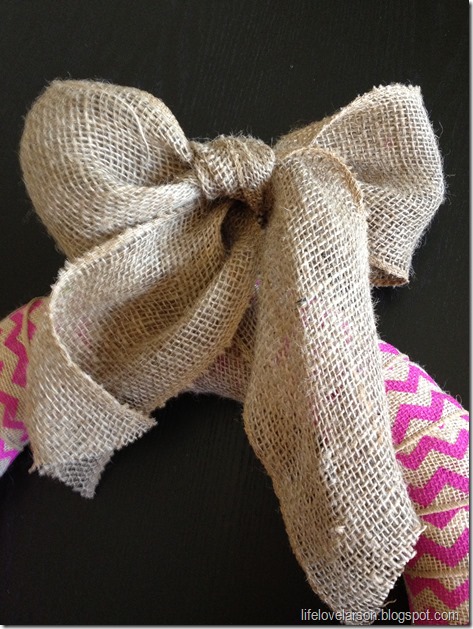
After wrapping the wreath form, and getting the “L” made, it was time to assemble. I decided to hang the wreath by a large, burlap bow. You can purchase large rolls of burlap at Michael’s for cheap.
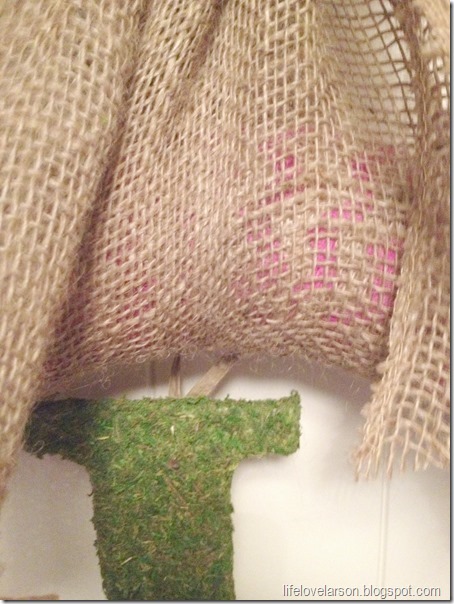
It was clear that the “L” needed to be secured to the wreath because it was a little smaller than the diameter of the wreath (and kept falling out). I grabbed some brown raffia and looped it through a staple that was already on the back of the letter. Then, I weaved and tied it up through the burlap bow. You can see the raffia peeking through a little bit, but the “L” is secured, which is what we needed.
I love how it turned out and it looks so cute from the street!
I hope you enjoyed reading about how to create a DIY monogram spring wreath. This is such an easy and happy project to complete for your door! XO

I love your wreath! It is very springy and jsut plain cute! I would love for you to share this on my weekly link party Blog Stalking Thursday. Thanks for the inspiration!
Wow, super cute wreath. I love how it turned out! I would love for you to share this at Crafty Tuesday this week. 🙂
I absolutely love it!!!
Super cute! I love for you to share this at Give Me the Goods Monday {party with 5 blogs via 1 link}!
Beautiful! I'm sure your friend loves it!! I popped over from Lil' Luna! Thanks for sharing!
~Abby =)
Just darling! I love this!
This is a BEAUTIFUL wreath! Love the chevron and the pop of the moss green with that pink! Would love to have you share over at my party, Homemade By You!
Visiting from HOH party. This wreath is really beautiful. Love the pink chevron burlap!!
Love your wreath!!
The chevron really makes this stand out. Will have to go look for that. Would love for you to link it to my Craftastic party:
LOVE LOVE this spring wreath! I love the chevron burlap! If you get a chance, please share this on my sunday linky party (starts sat 6pm)
What a great spring wreath – I love the colors and that bright pink chevron is awesome. I bet it does look great from the street! I am loving your blog too – I'd be thrilled if you linked up this and any other frugal projects with us at Living Well Spending Less!
It's so pretty! I love the color combination as well! 🙂 I'm visiting form It's Overflowing! Hope you'll stop by and say hello! Have a great weekend!
Okay, I LOVE this wreath! I have pinned this for inspiration! P.S. Found you via the Lil' Luna link party features! Congrats!Cheers,
Thank you all for your kind words about this wreath! xoxo
Featuring you today! 🙂
This is so cute! Love the chevron burlap! I'm pinning this. 🙂
Have not seen chevron burlap! Very cute wreath! I would definitely make this!Thanks for sharing – I am fairly new to these blog parties, would love if you could stop by and feel free to give me any tips!
I love this, I didn't even know that was burlap ribbon, so cool!
How cute! I love chevron pattern add burlap in the mix makes this AMAZING!I am a new follower from southern charm! I would love for you to check out my blog and hopefully want to follow me back! Have a great weekend, Nicole!
This is so cute and the perfect thing to hang from my craft room window!
I LOOVE that chevron burlap ribbon! You used it in such a cute way!
This is such a cute wreath… Love the colors. I am pinning!
Thank you so much for pinning!!!
Love this wreath! Question, How is the bow hanging from the wreath hook? Did you just tie the bow like normal or did you add an extra loop to the back to make it hang?
Hi Kiva! I didn't do anything fancy with the bow, just tied it directly to the hanger! Thanks for stopping by!
What width ribbon is the burlap bow? Or how wide did you cut the burlap strip if it isn't a ribbon?
Hi Kimberly – The width is the way it came at the store (Hobby Lobby). It is a ribbon and came on a spool. Hope this helps!