I would love to overhaul our primary bathroom, but it’s not in the cards right now. We are currently adding hardwoods to the primary bedroom and redoing the kitchen this spring, so that’s enough for now! Small updates are my favorite though, so I did a quick little change out with a light fixture in our bathroom. Here’s how to update a chandelier with new glass covers. This process is quick and inexpensive while making a large impact!

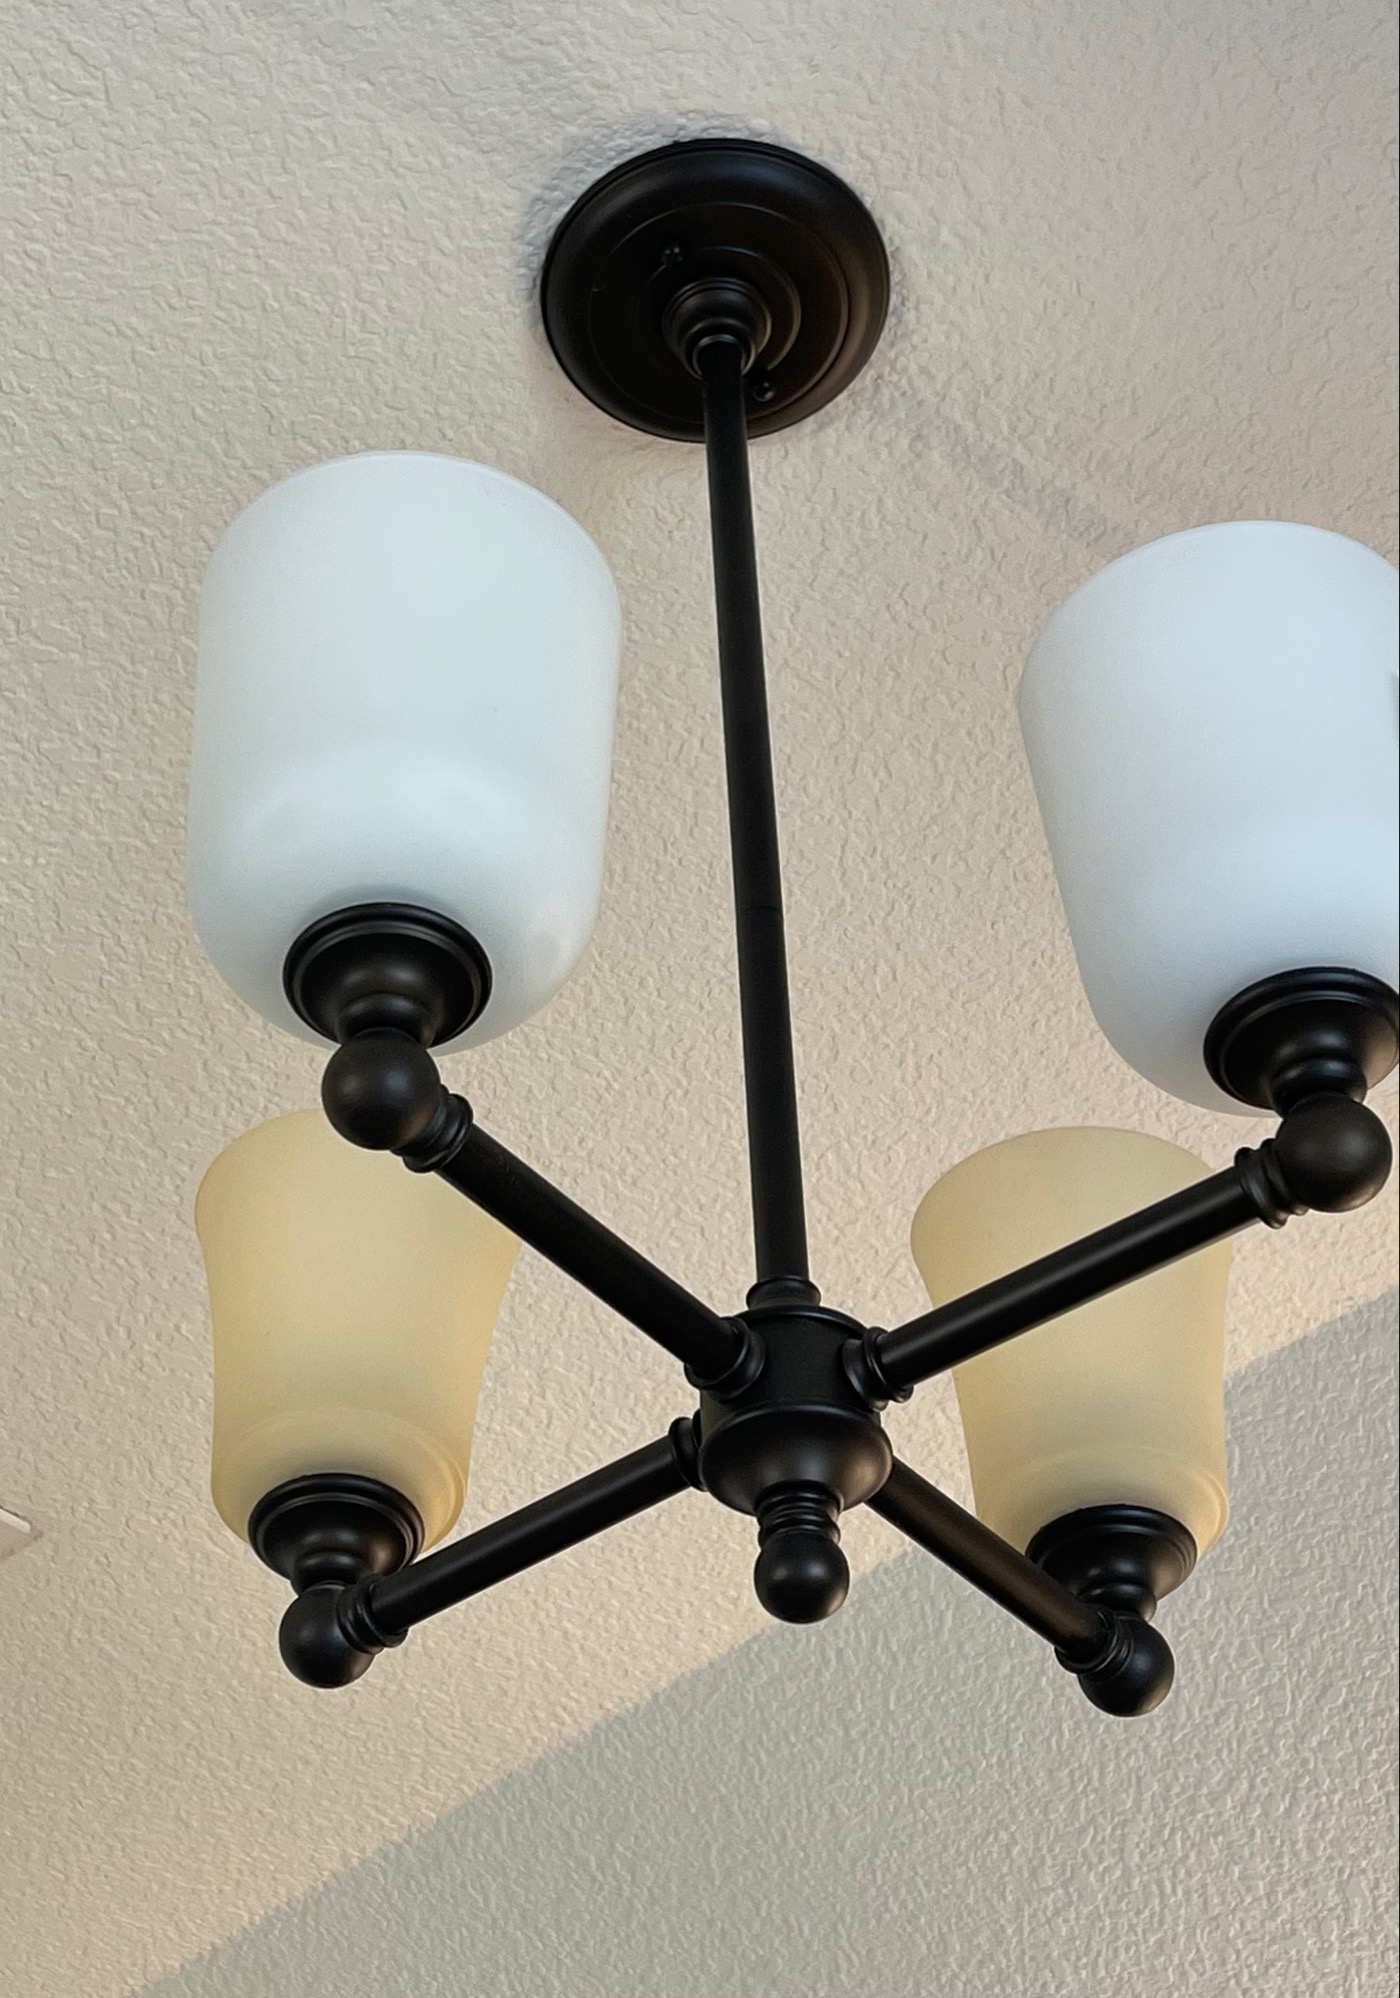
I first noticed how dated the chandelier in our bathroom was when I kept looking up to see that three of the four light bulbs were burned out and needed changed. Finally, I got the ladder upstairs to change the bulbs. In doing so, I thought about updating the glass covers while I was at it. The yellow/amber tone of the current glass covers looked dark and dated. I knew I could find something better! This is what I was working with.

Remove Existing Covers:
Our ceilings are tall in this bathroom so I need the full ladder. I unscrewed the lightbulbs and the washers and took down one of the covers. Having one of the existing covers with me would help me with size and scale at the store. Be sure to dust…ours was covered!
Shop for New Glass Covers to Update a Chandelier:
I discovered that no matter the size, scale, or shape, these covers all have the same size diameter hole. This worked out because the ones I liked happened to big larger than the original ones. Be sure to keep the washers that screw the glass cover and light bulb into place. The new glass covers will only be sold as the cover with no hardware, so save existing hardware!
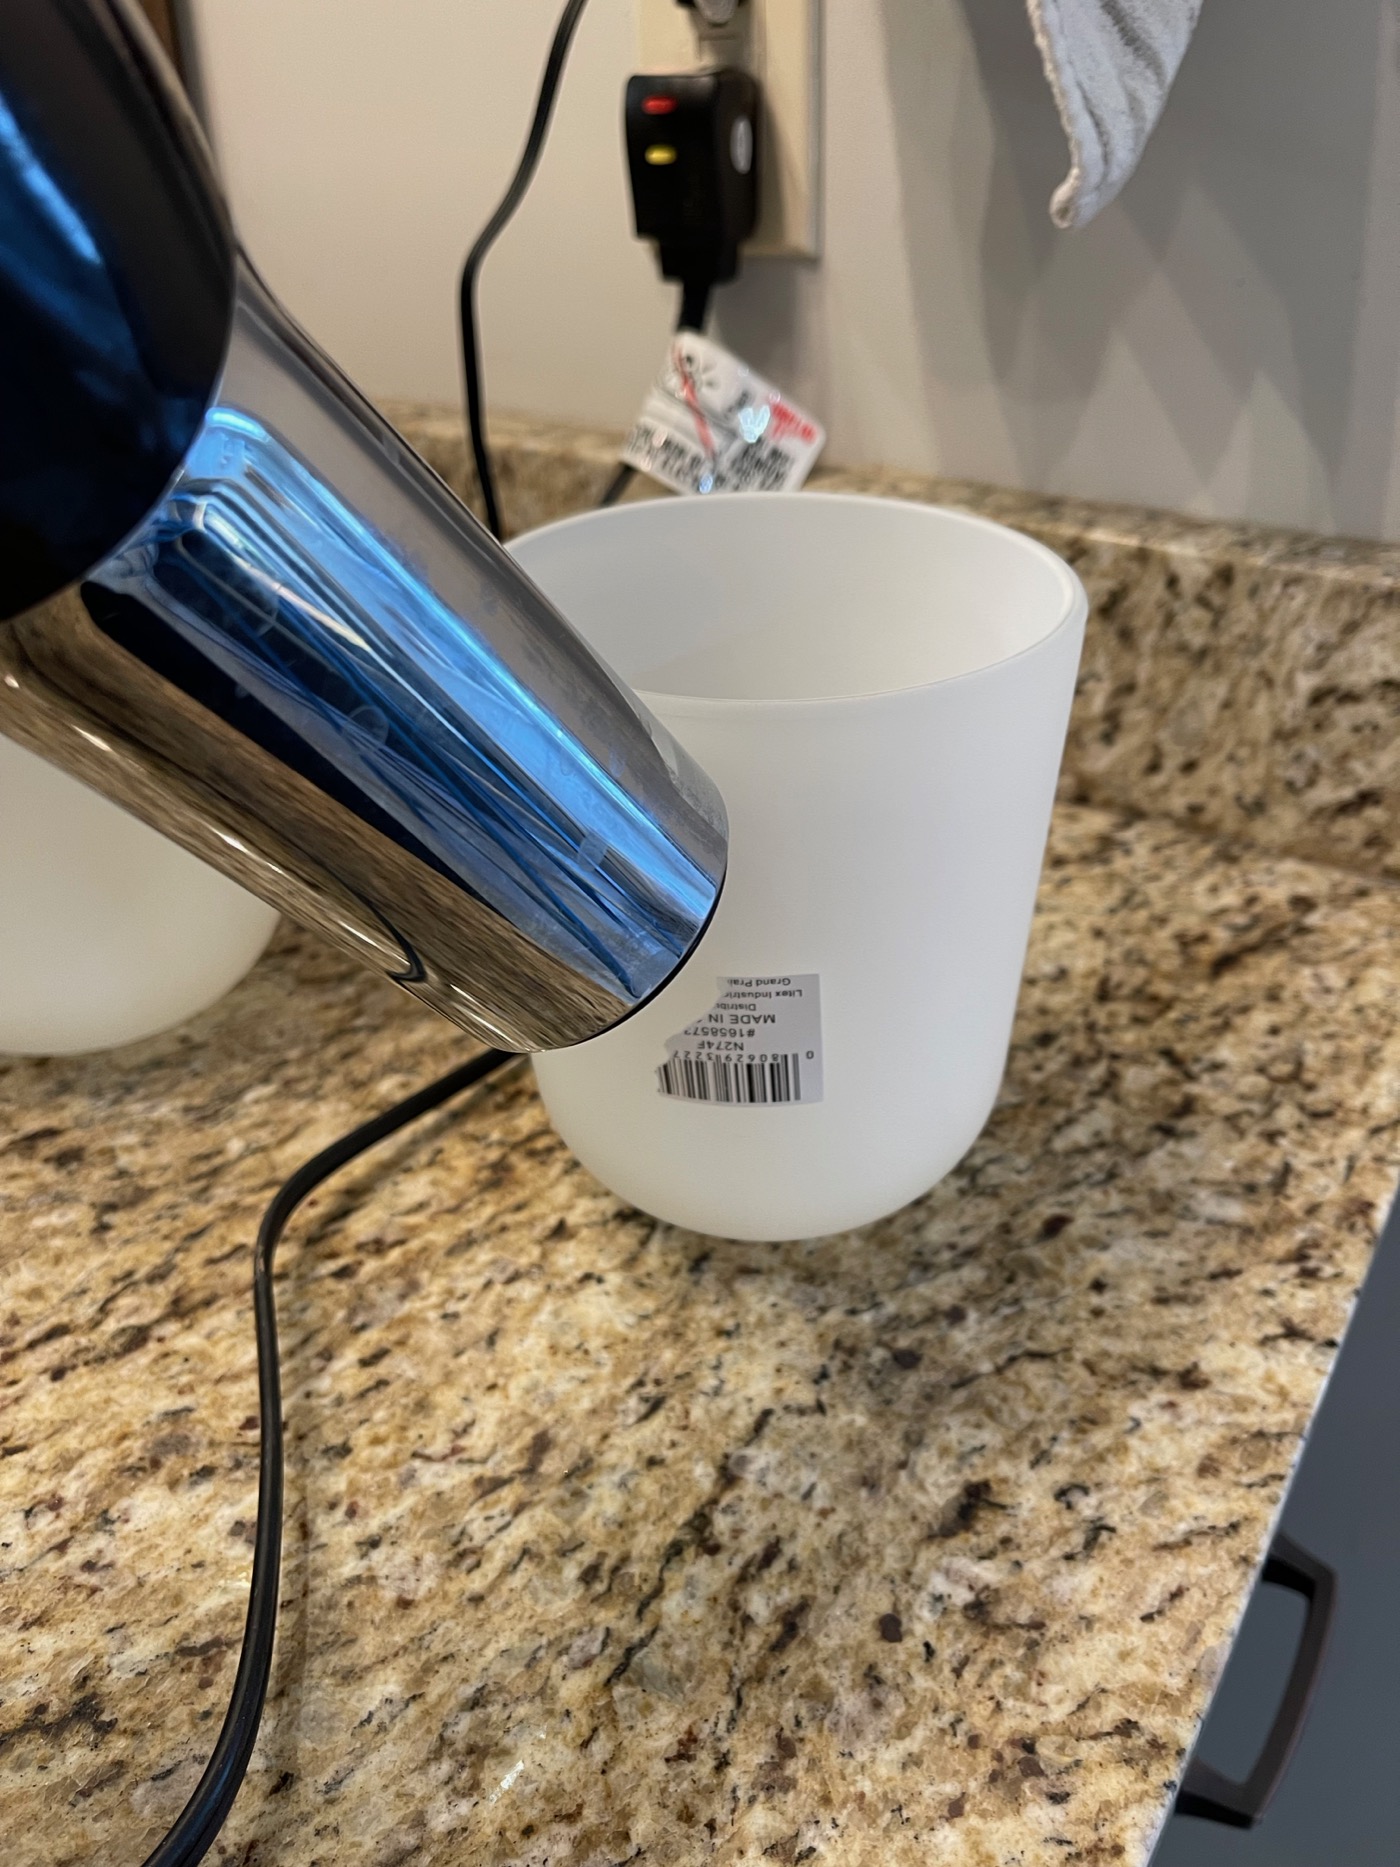
I ran to Lowe’s and happened to find four covers I liked and they were in stock ($10 each). The matte white felt modern, yet classic to me. There are MANY styles to choose from! I’m a visual person, so I needed to go to the store and touch and see them before making a decision. Be sure to use a blow dryer to get the stickers off – it works!

Replace Glass Covers + Light Bulbs:
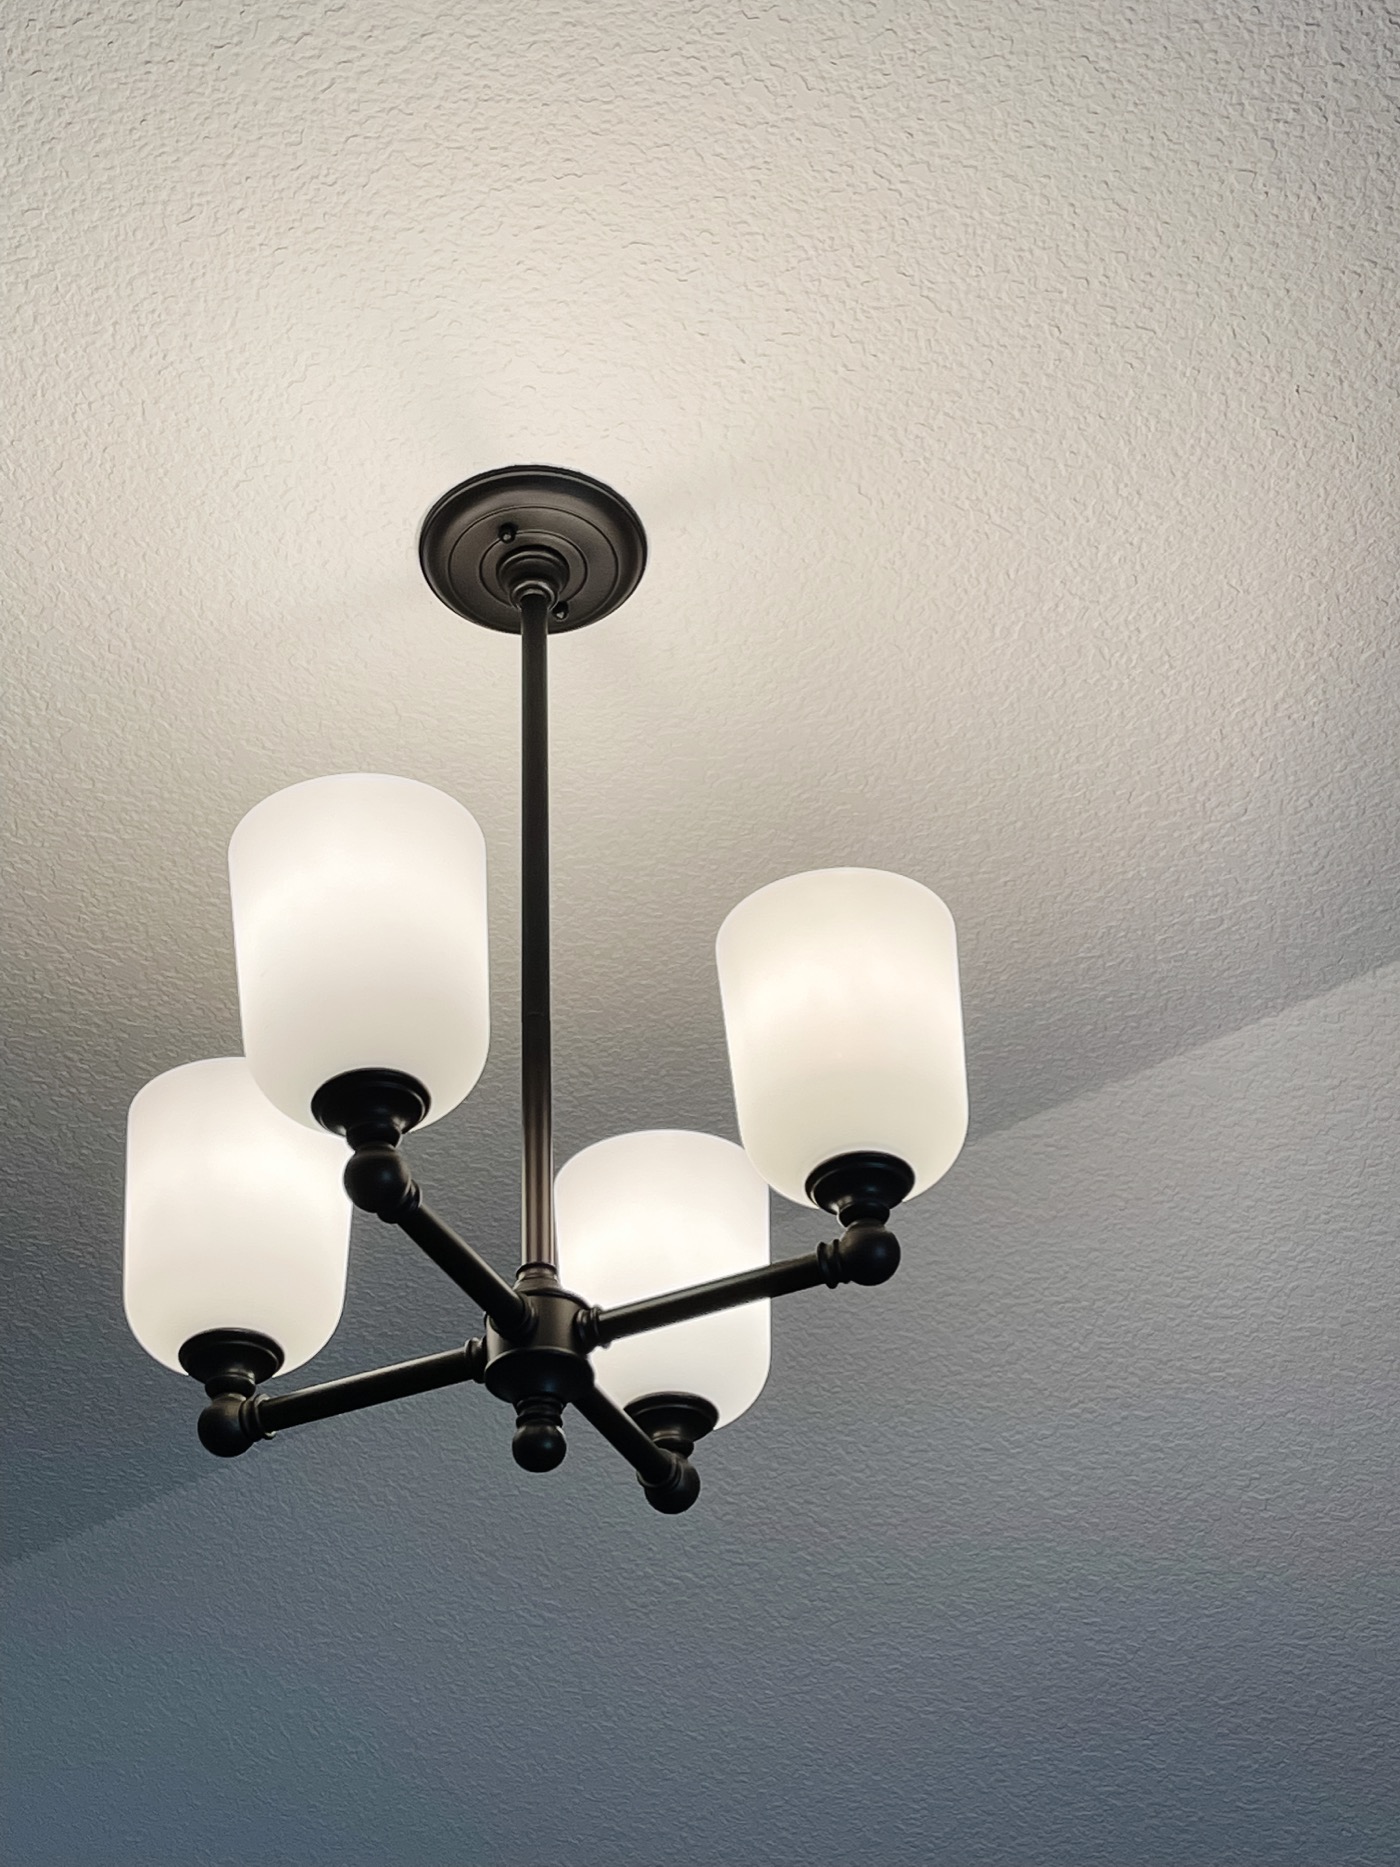
After you have taken all of the old covers down and dusted the light fixture, you are ready to screw the new covers and bulbs into place. Here’s a look at two of the before covers and two of the new ones for reference. With a slight change in the color and shape of the covers, this is going to look like a whole new light fixture!

The process of changing the glass covers takes no time at all! Aside from the trip to Lowe’s, this is a super quick update! I can’t even believe what an impact this small change made to this space!

Screw in some new lightbulbs, and you’re all set! I used (4) 40 Watt lightbulbs for a soft glow. Our vanity lights provide most of the light we need, this is mostly here for decorative purposes.

For $40 and a little time, you can update a chandelier with new glass covers! No electrician required! Let’s just hope it doesn’t take me another 10 years to get on a ladder and dust it! xo
