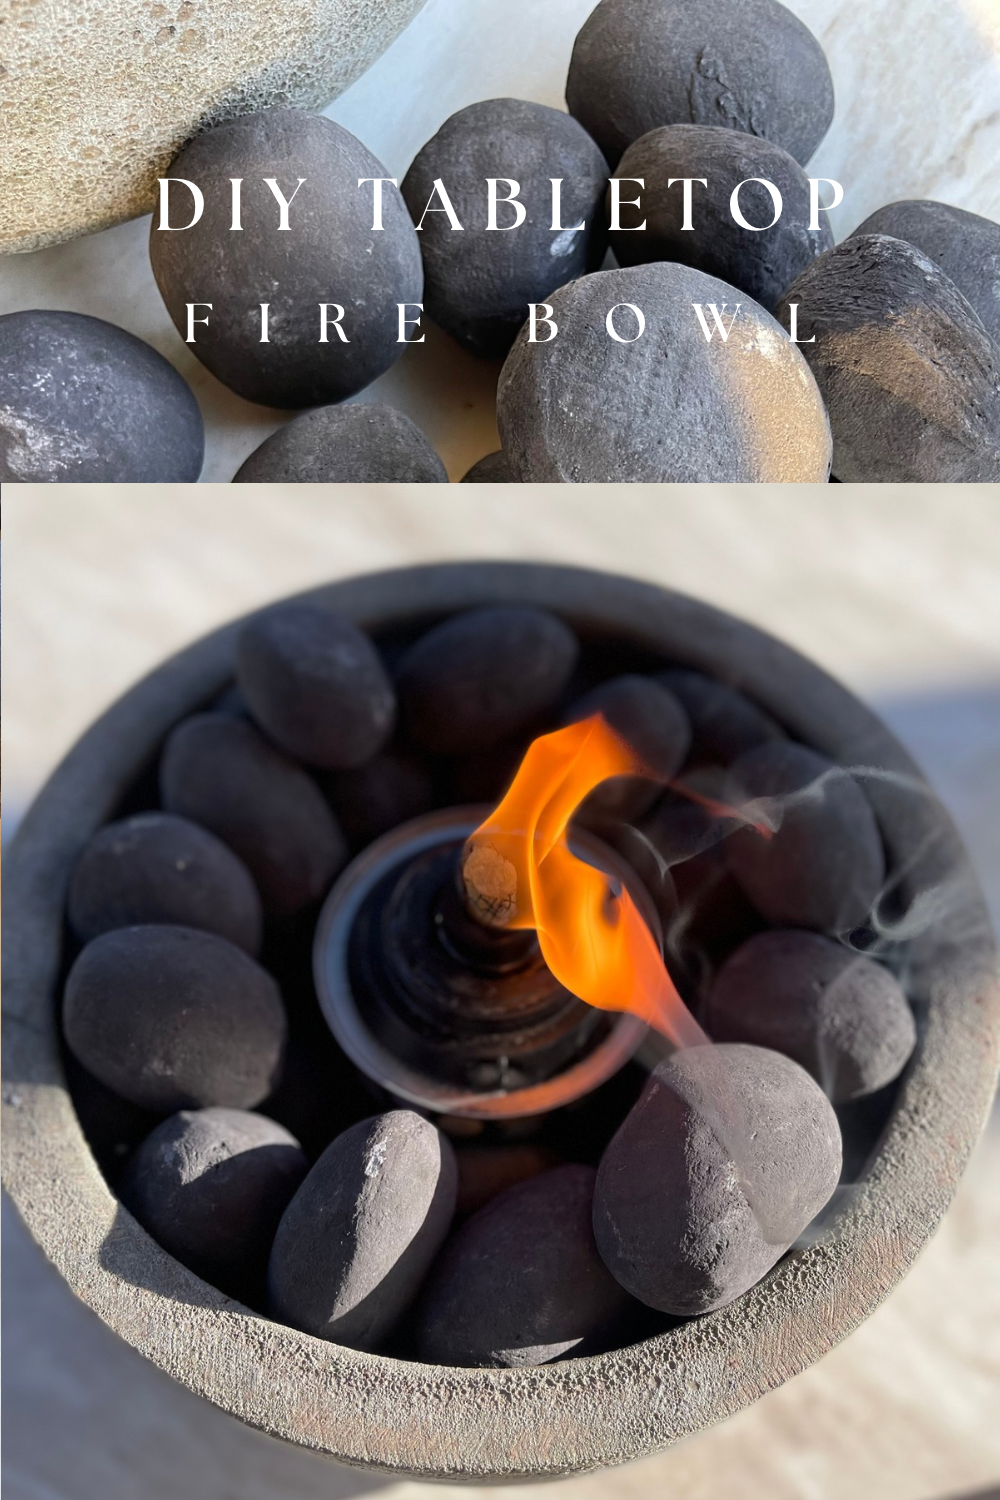
I’ve been seeing this DIY going around and thought I would give it a try! Last year, I bought a large surface outdoor coffee table and thought it would be fun to bring some fire to the center for when we entertain, watch tv outside, etc. This is a simple DIY once you have gathered all of your items. You can also just purchase a tabletop tiki torch if you don’t want to DIY, which I will link some at the end! Here’s how to make a DIY tabletop fire bowl for outdoor use.
Items Needed
I looked at and researched many different tutorials and they are all pretty much the same. You will basically need a vessel, some rocks and a canister to hold your burn fluid. Click here for options and items!
- Vessel: I used a concrete planter for this project. It’s about 12 inches in diameter. You can use any planter you like and any size you like. The stone and dark color was appealing to me on this.
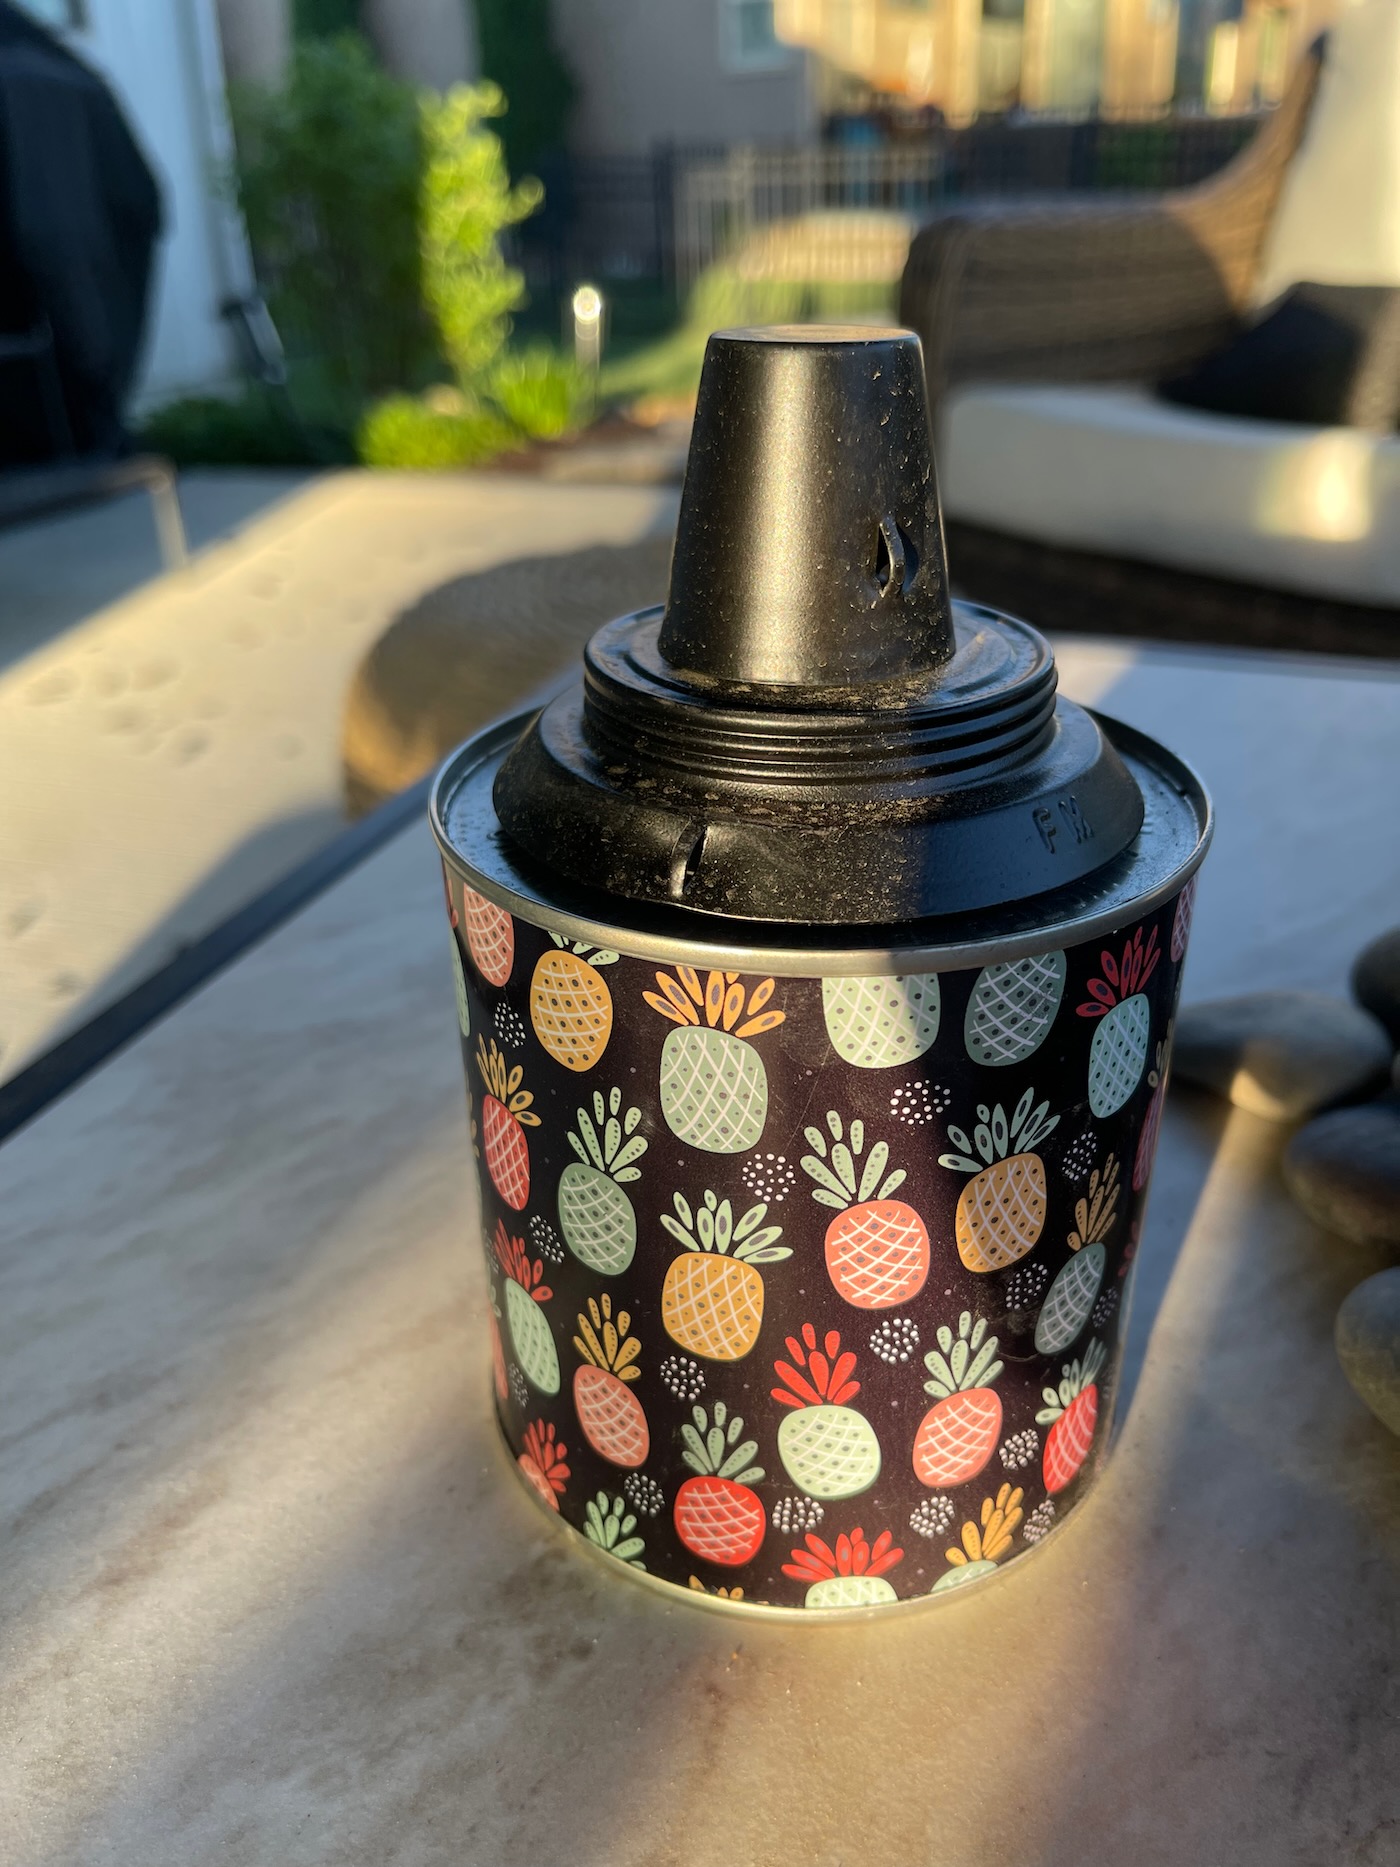
- Torch Canister: I used a $4 one from Walmart that can easily be refilled with fluid. You will also need to purchase extra burn sticks. The one I purchased says it will burn for 8 hours when filled.
- Rocks: I used a combination of gray landscaping rocks and lightweight pebble rocks. The regular rocks make it heavy, and since my planter is already heavy, I added the lightweight rocks to fill it in. These are super light weight and give the look of charcoal.
- Burn fluid: You can purchase fluid that will help repel mosquitos or you can purchase clean burn fluid so you just have the look of the fire. Personal preference here.
How to Assemble a Tabletop Fire Bowl
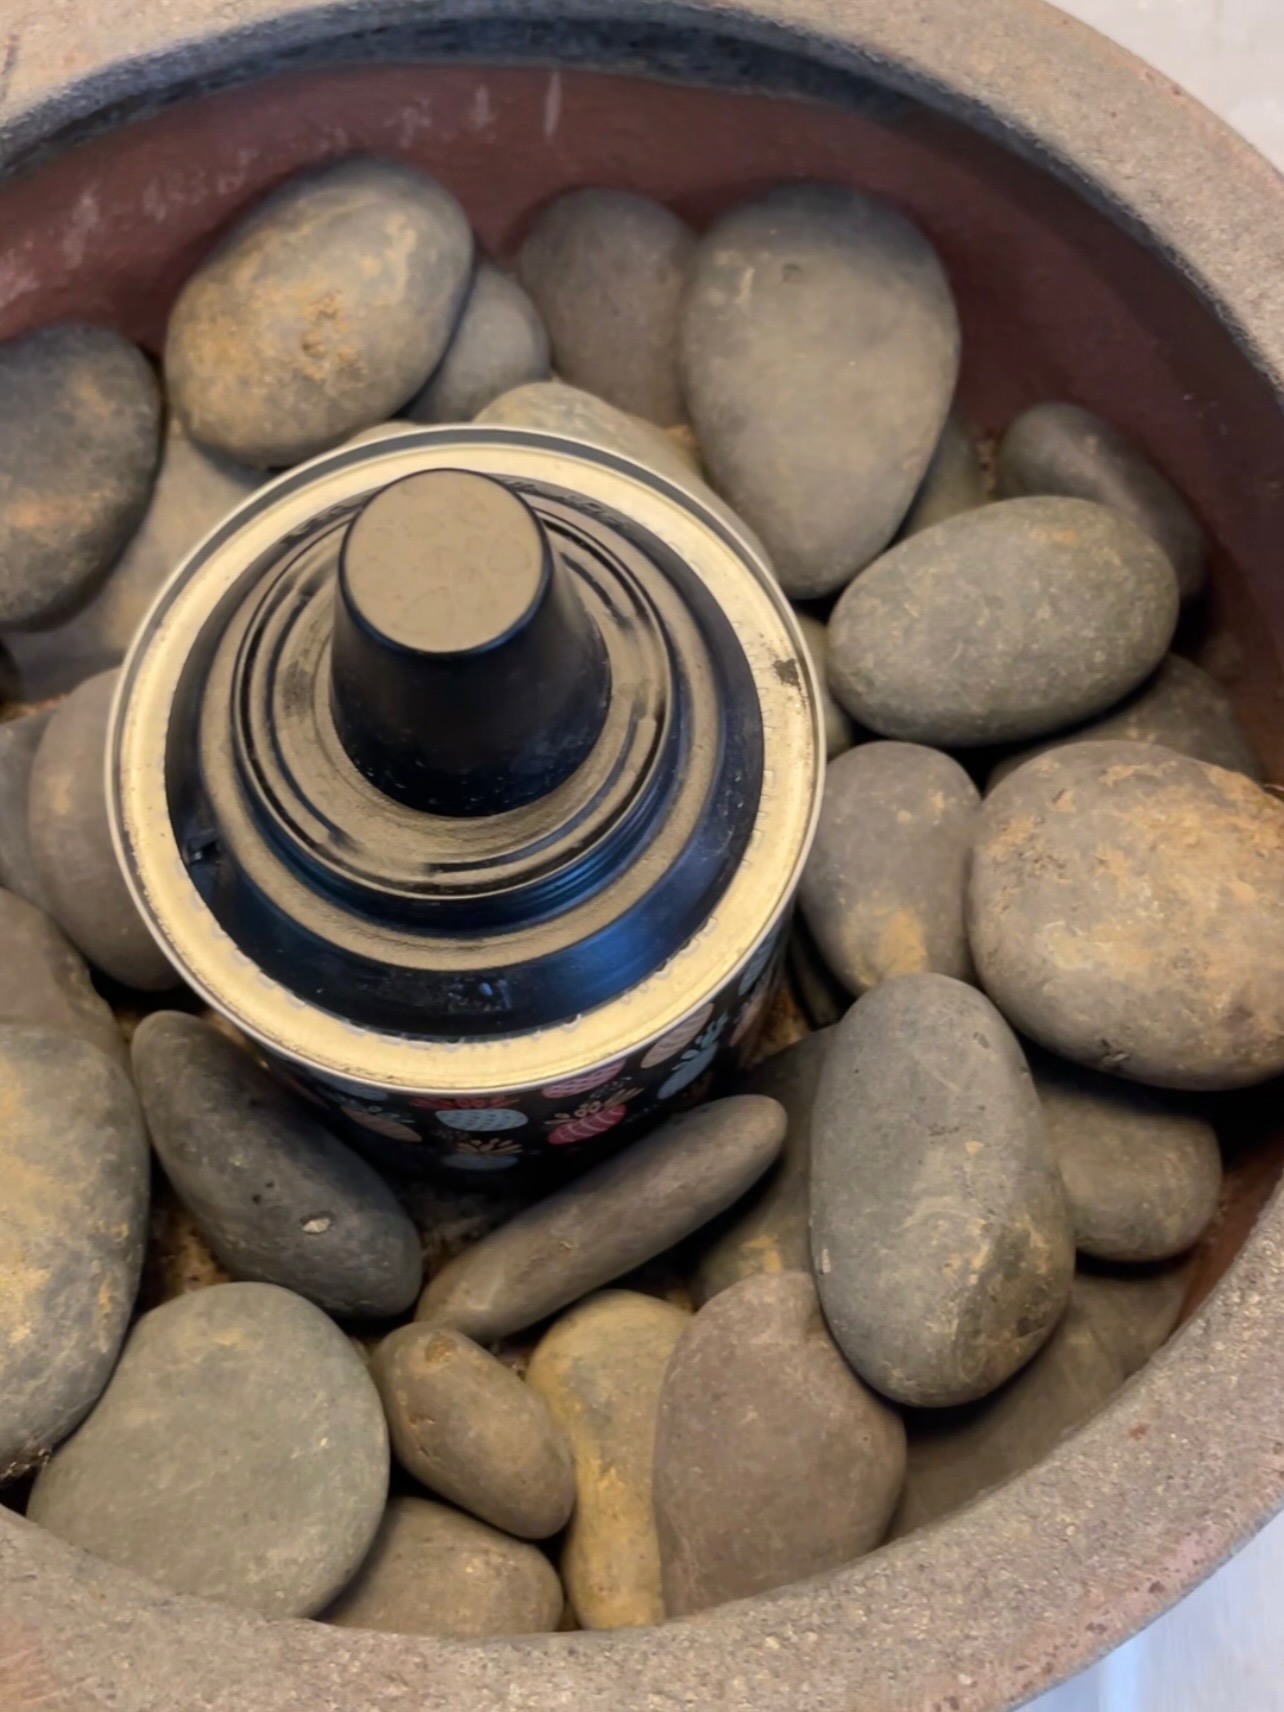
Start by adding burn fluid to the empty tiki torch container. I just poured right in but I have seen people use a funnel. Next, you will add this canister to your planter. I saw several people add sand to the bottom of the vessel to stabilize the canister. The rocks should keep it in place pretty good, so I don’t really think that step is necessary. If you do use sand, make sure to cover the hole at the bottom of the planter.
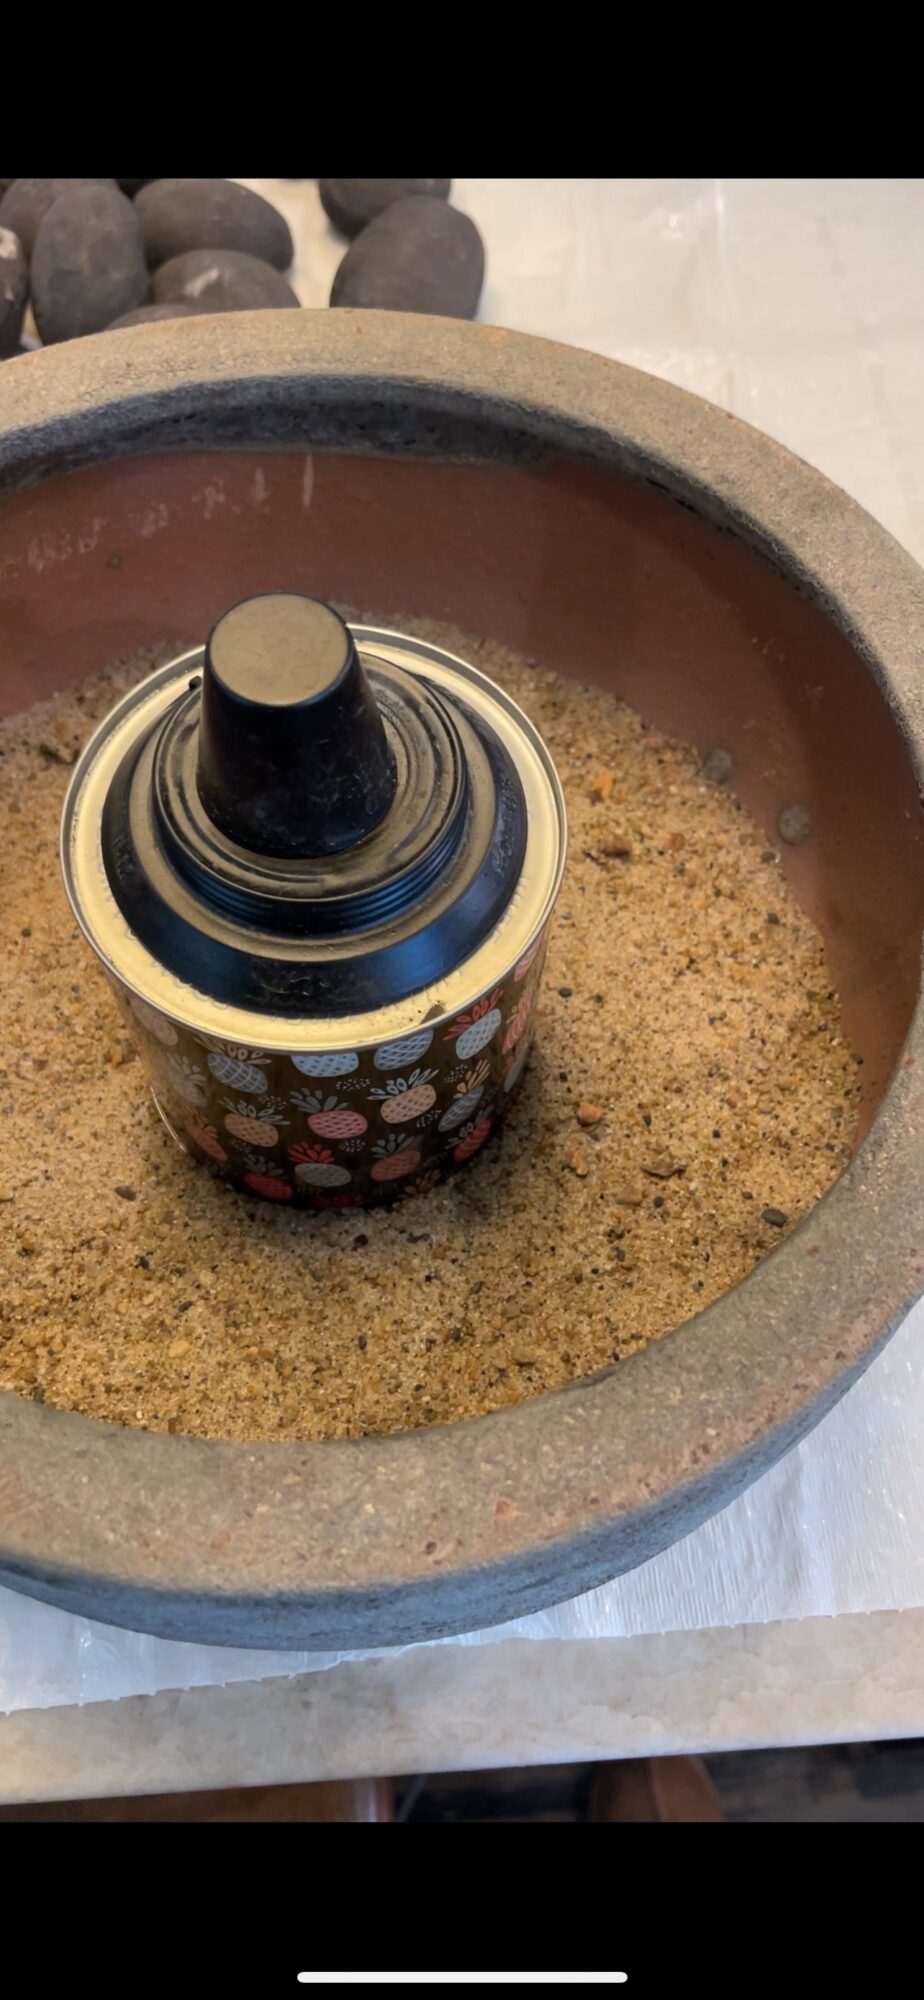
Next, start layering the landscaping rocks, until you get about halfway up the planter. I had these on hand and had used them somewhere else, so that’s why mine have dirt on them! You won’t end up seeing them in the end.
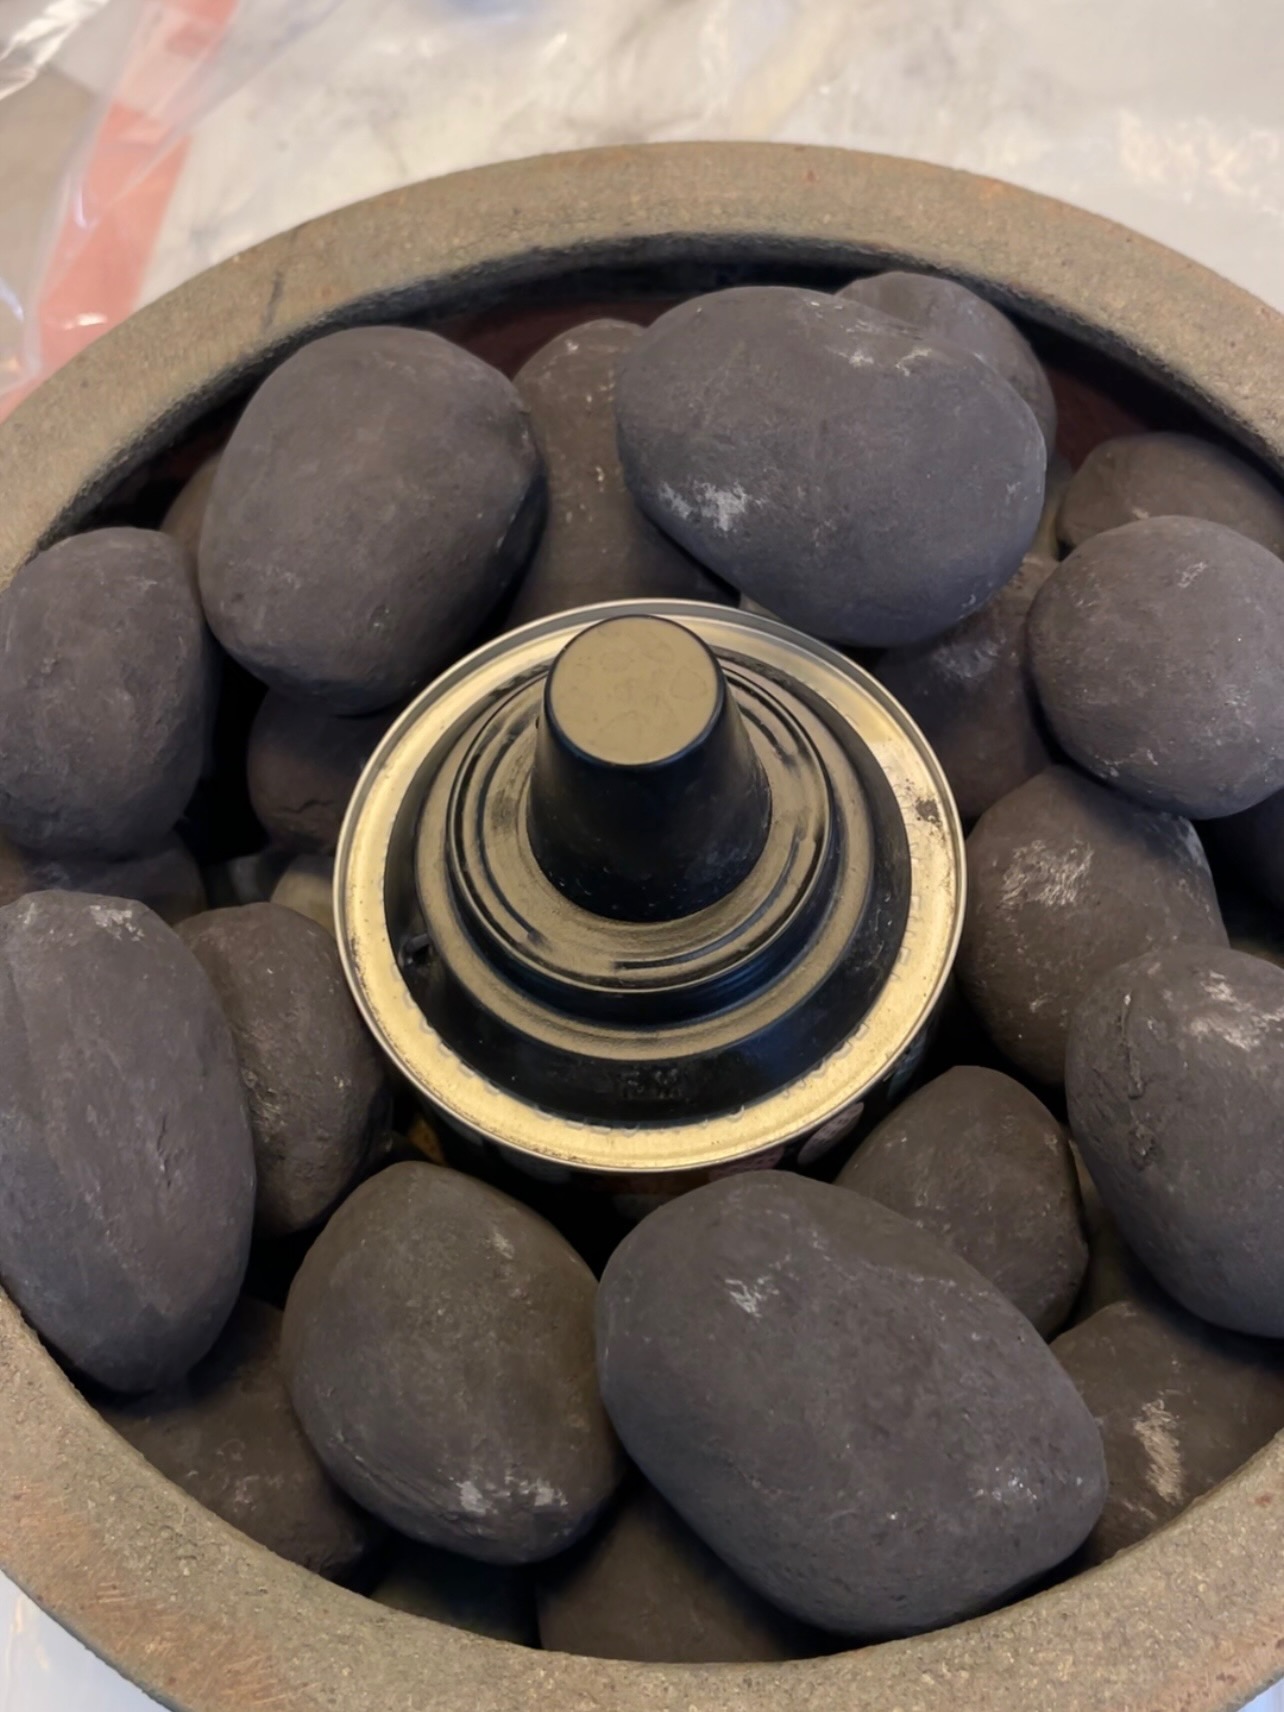
The next step is to layer your lightweight rocks on top of the gray rocks. There is absolutely no rhyme or reason to this, just start arranging until you are happy. Because the gray rocks and the lightweight pebble stones and the vessel are all a similar color, it’s very forgiving. If you don’t use a heavy concrete planter, you could just use all rocks (it will be cheaper). I’ve also linked some smaller lava rocks if you didn’t want to use the larger gray rocks.
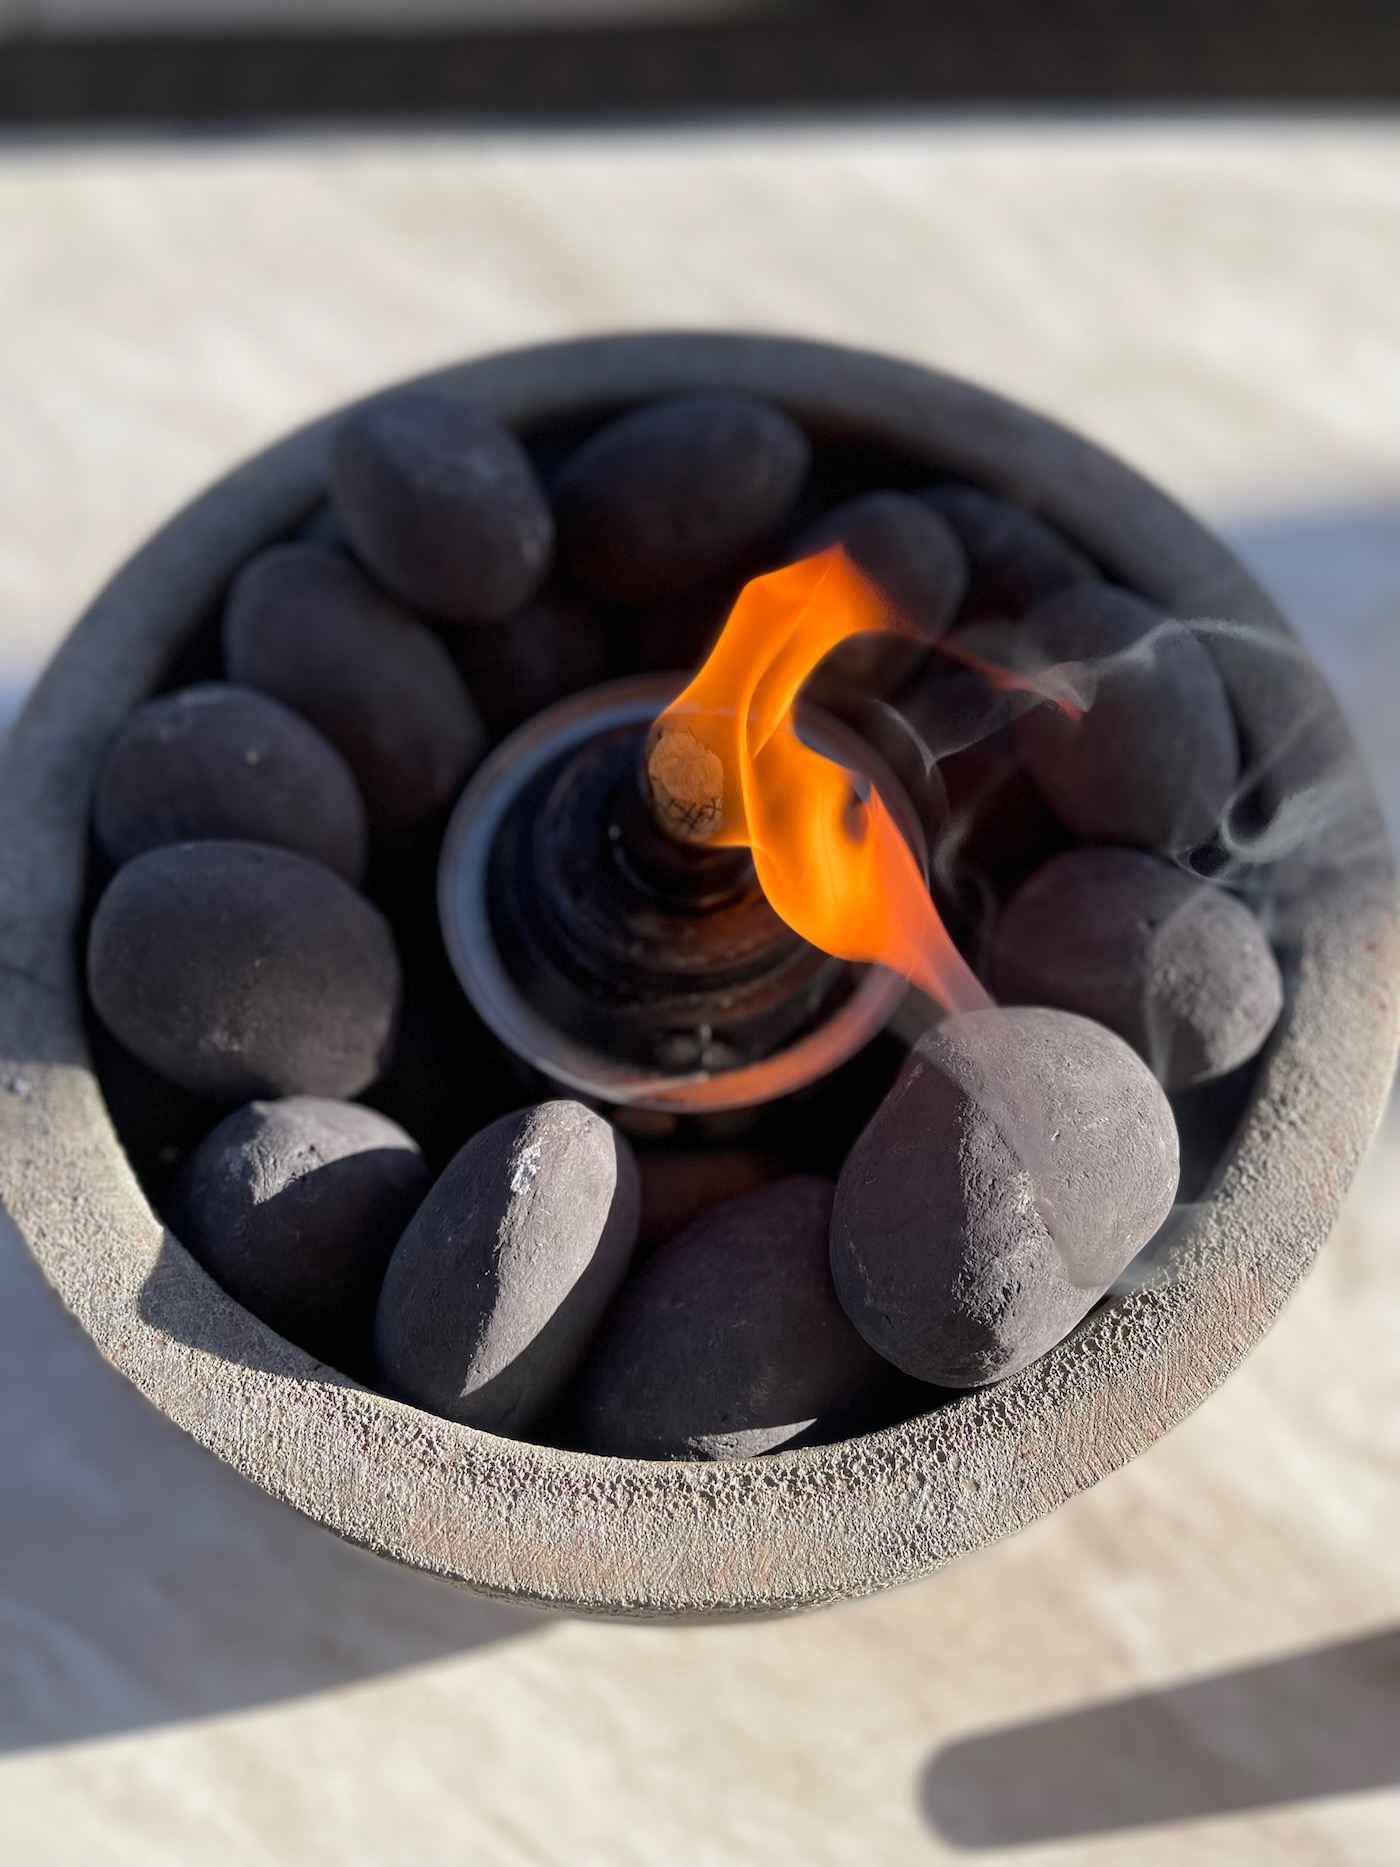
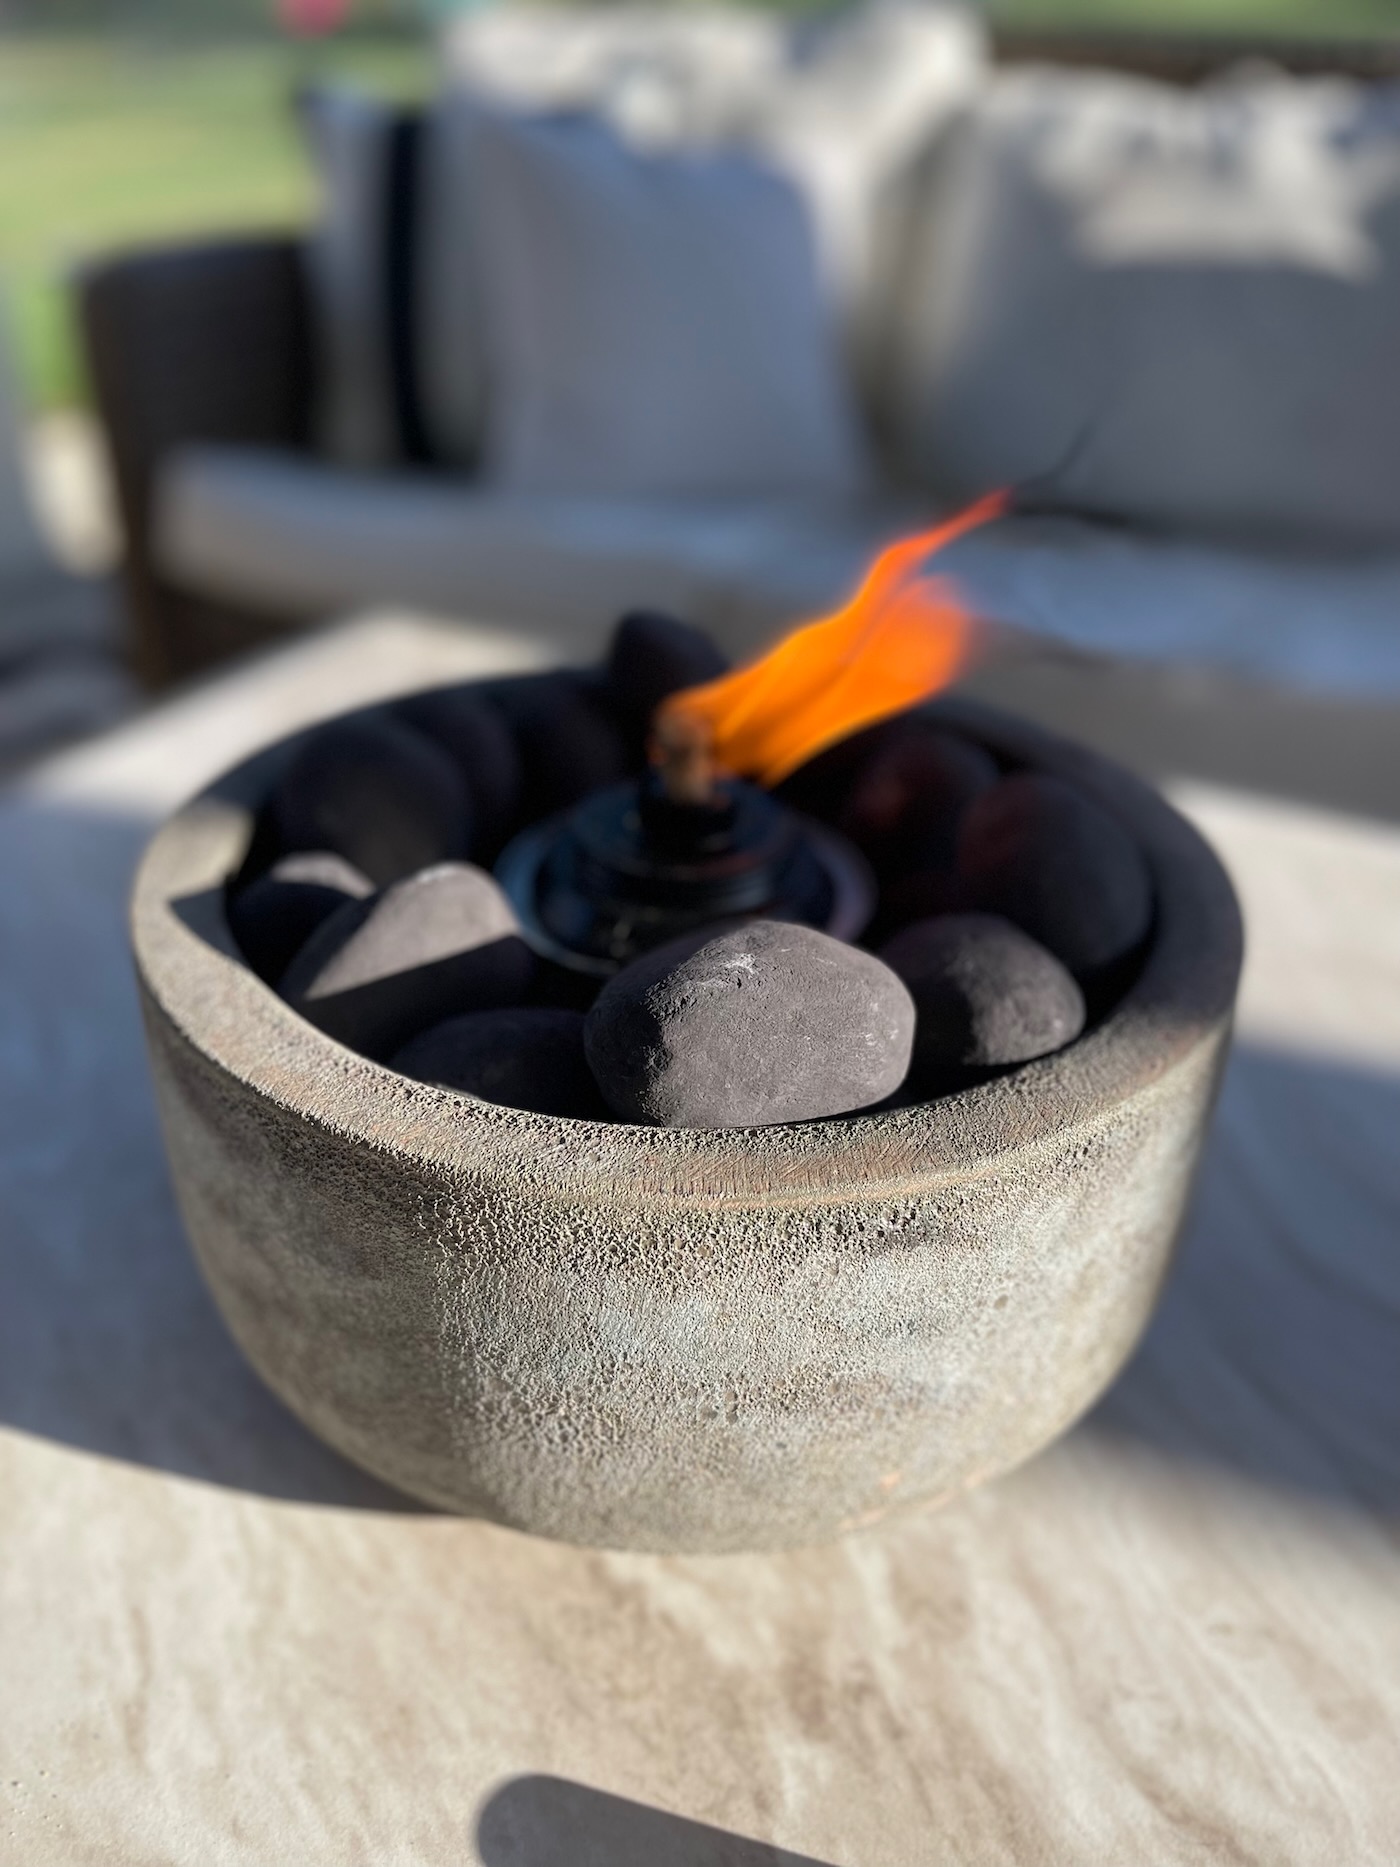
Lastly, you can take the cap off of the canister and light the wick. Make sure the piece of wick sticking out has burner fluid on it.
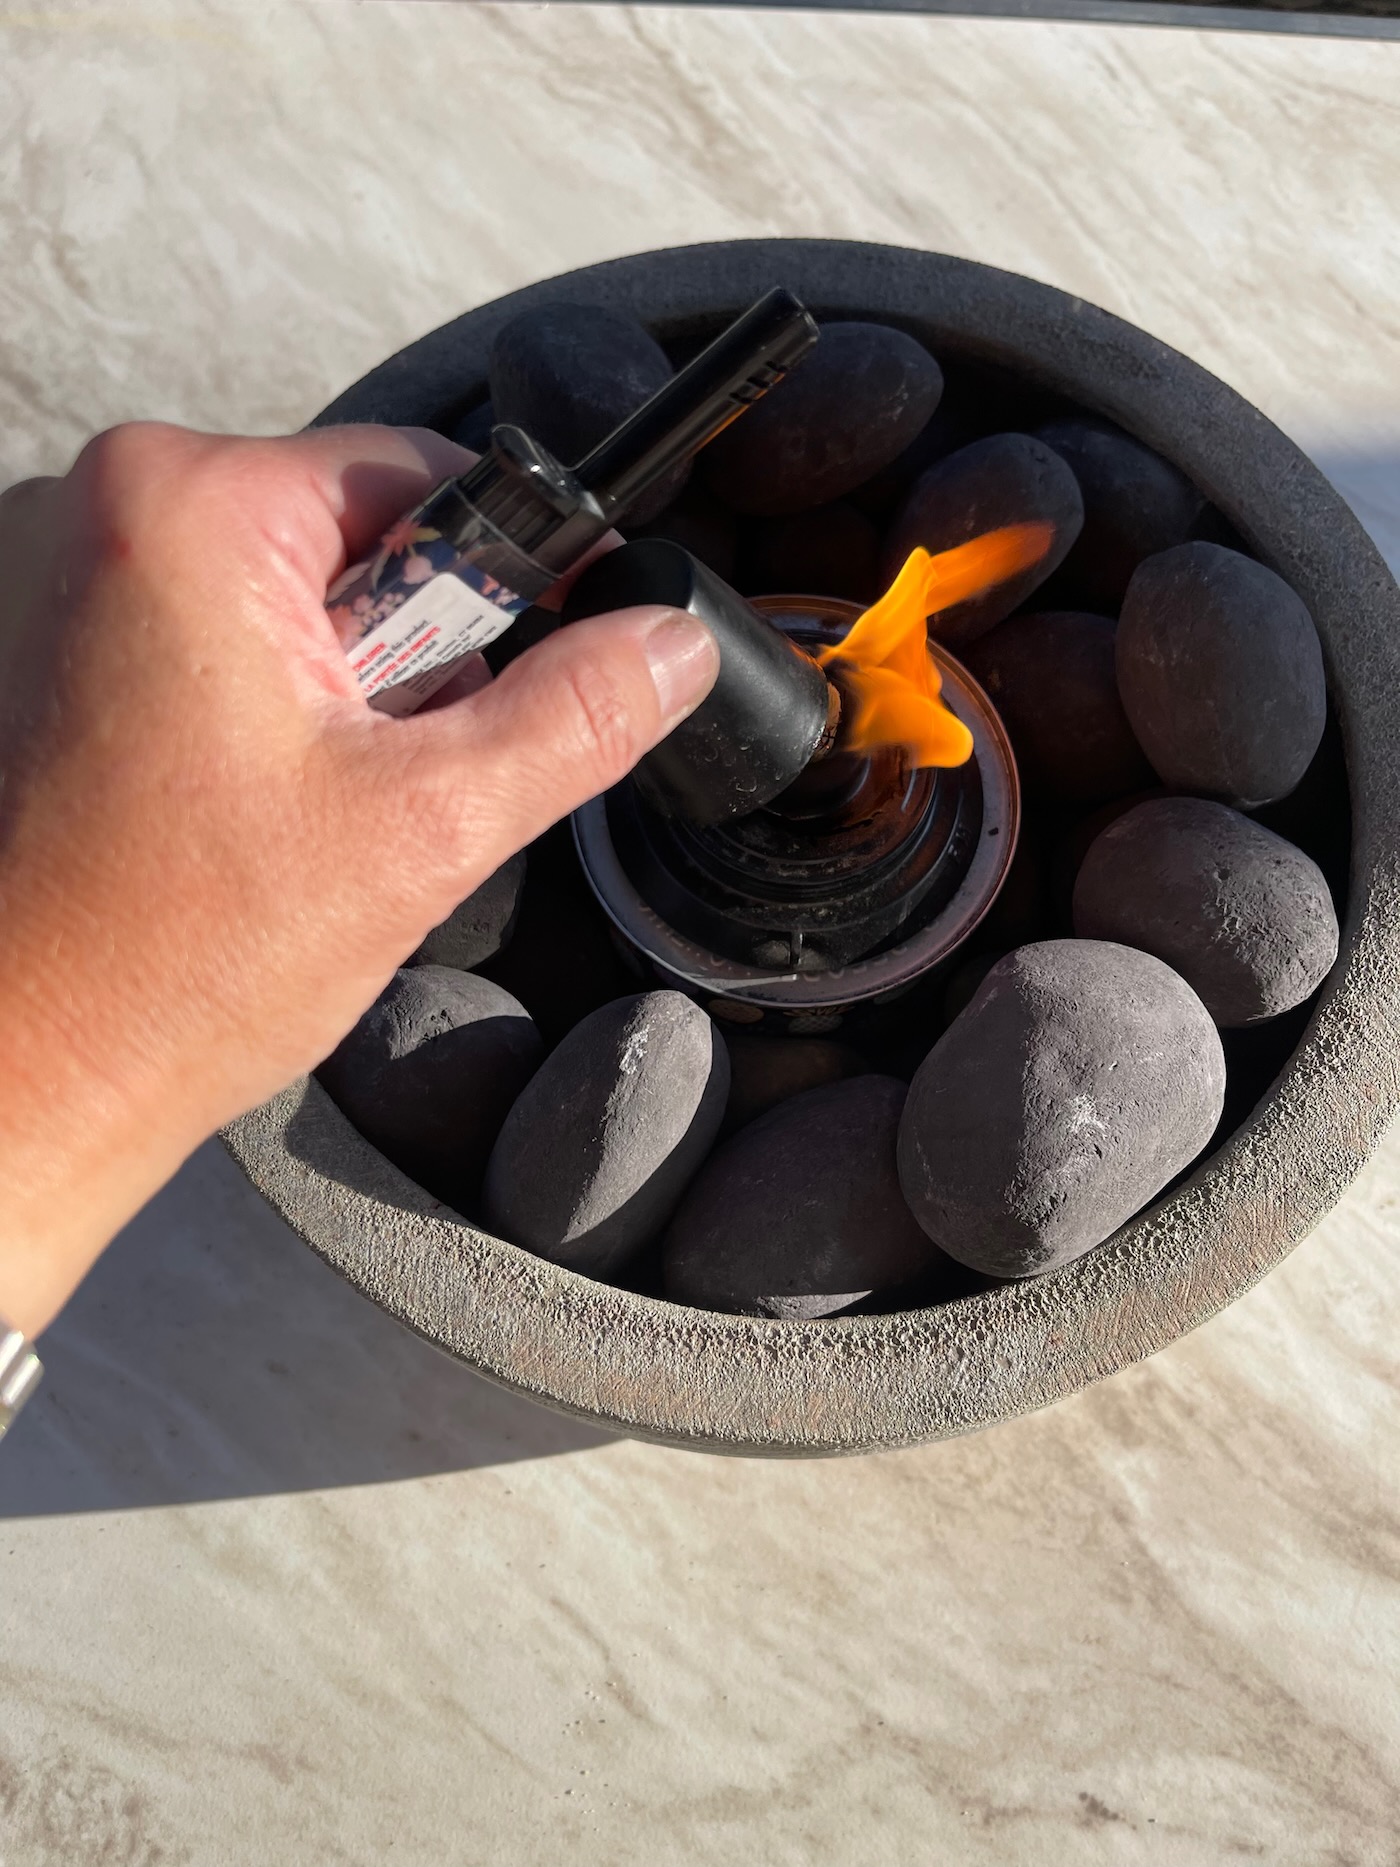
To put the fire out, I simply add the cap over the fire to distinguish it.
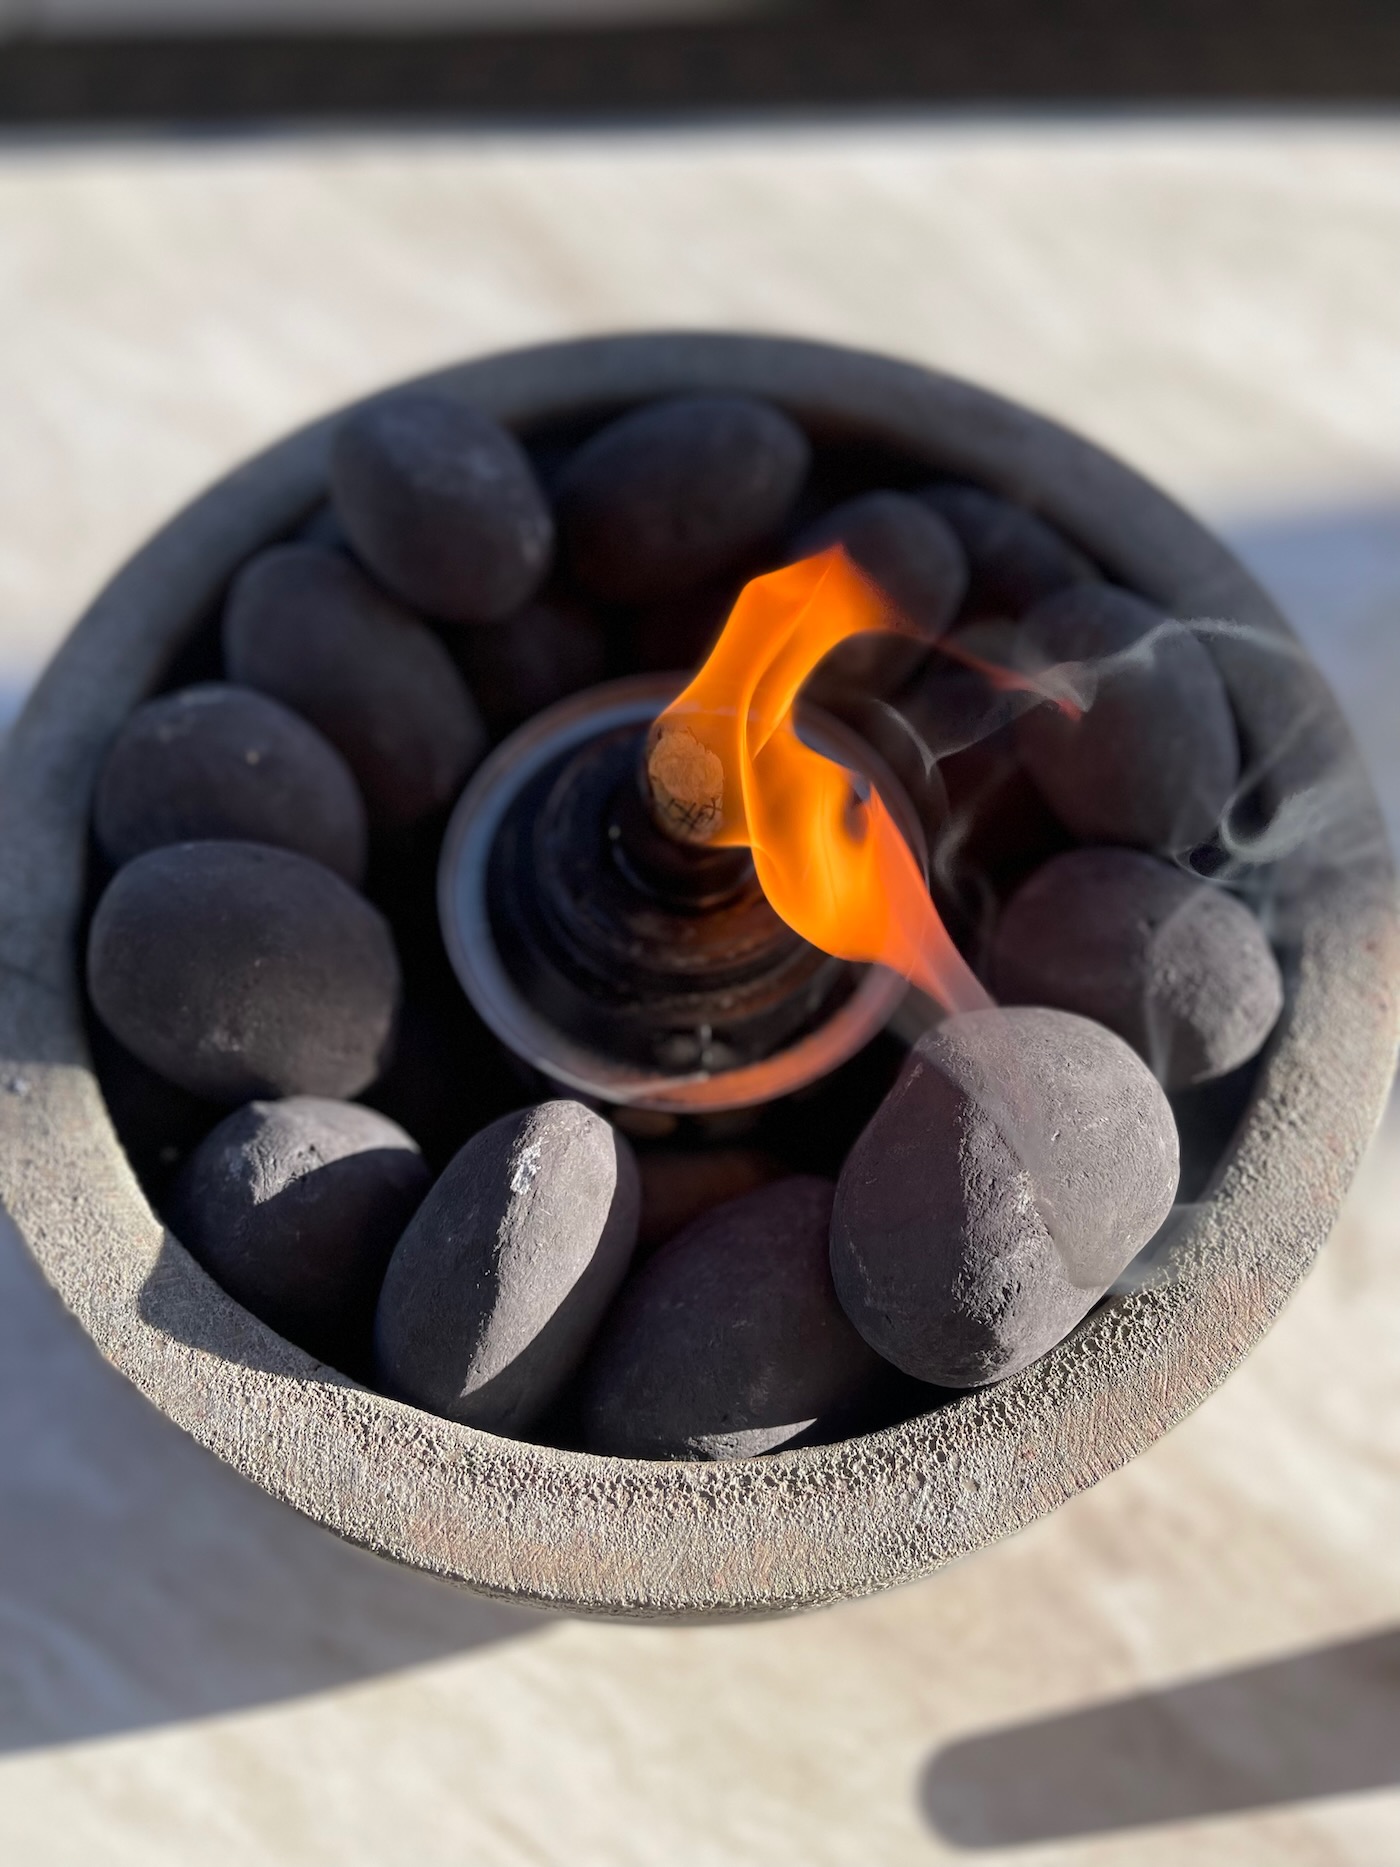
I like the texture this adds to our outdoor patio and who doesn’t love a little fire going when you are entertaining or just hanging out outside?! This stays lit even with our crazy Kansas winds that come through. As mentioned before, you can purchase a tabletop tiki torch. I have linked some affordable ones here. These are a lot smaller, but serve the same purpose and can be refilled the same as the DIY one.
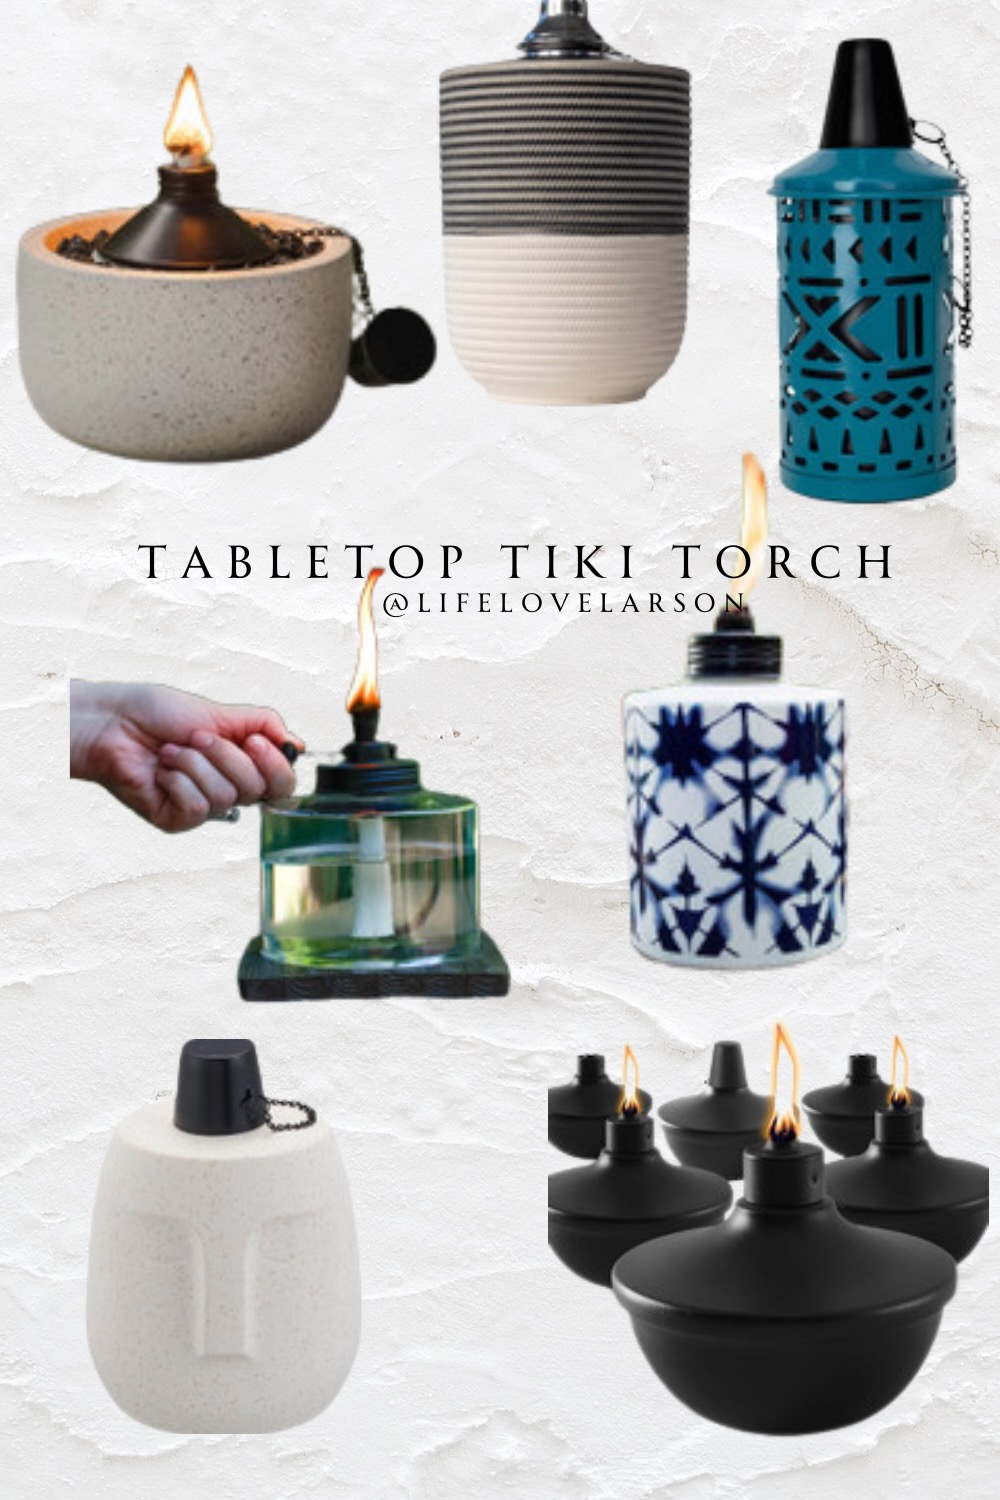
Here are the links again to get you started! Will you try this tabletop fire bowl DIY or will you purchase one? I think it’s a fun addition to any outdoor space! XO
