When I was doing research for our own kitchen remodel, I had a hard time finding images and inspiration for certain things! Specifically, tile and grout. This was one of the last decisions I ended up making and the grout color was a day of install decision! I want to share how to pair subway tile with warm gray grout. We love the simplicity and classic look of subway tile in our kitchen!
Not All Subway Tile is Created Equal
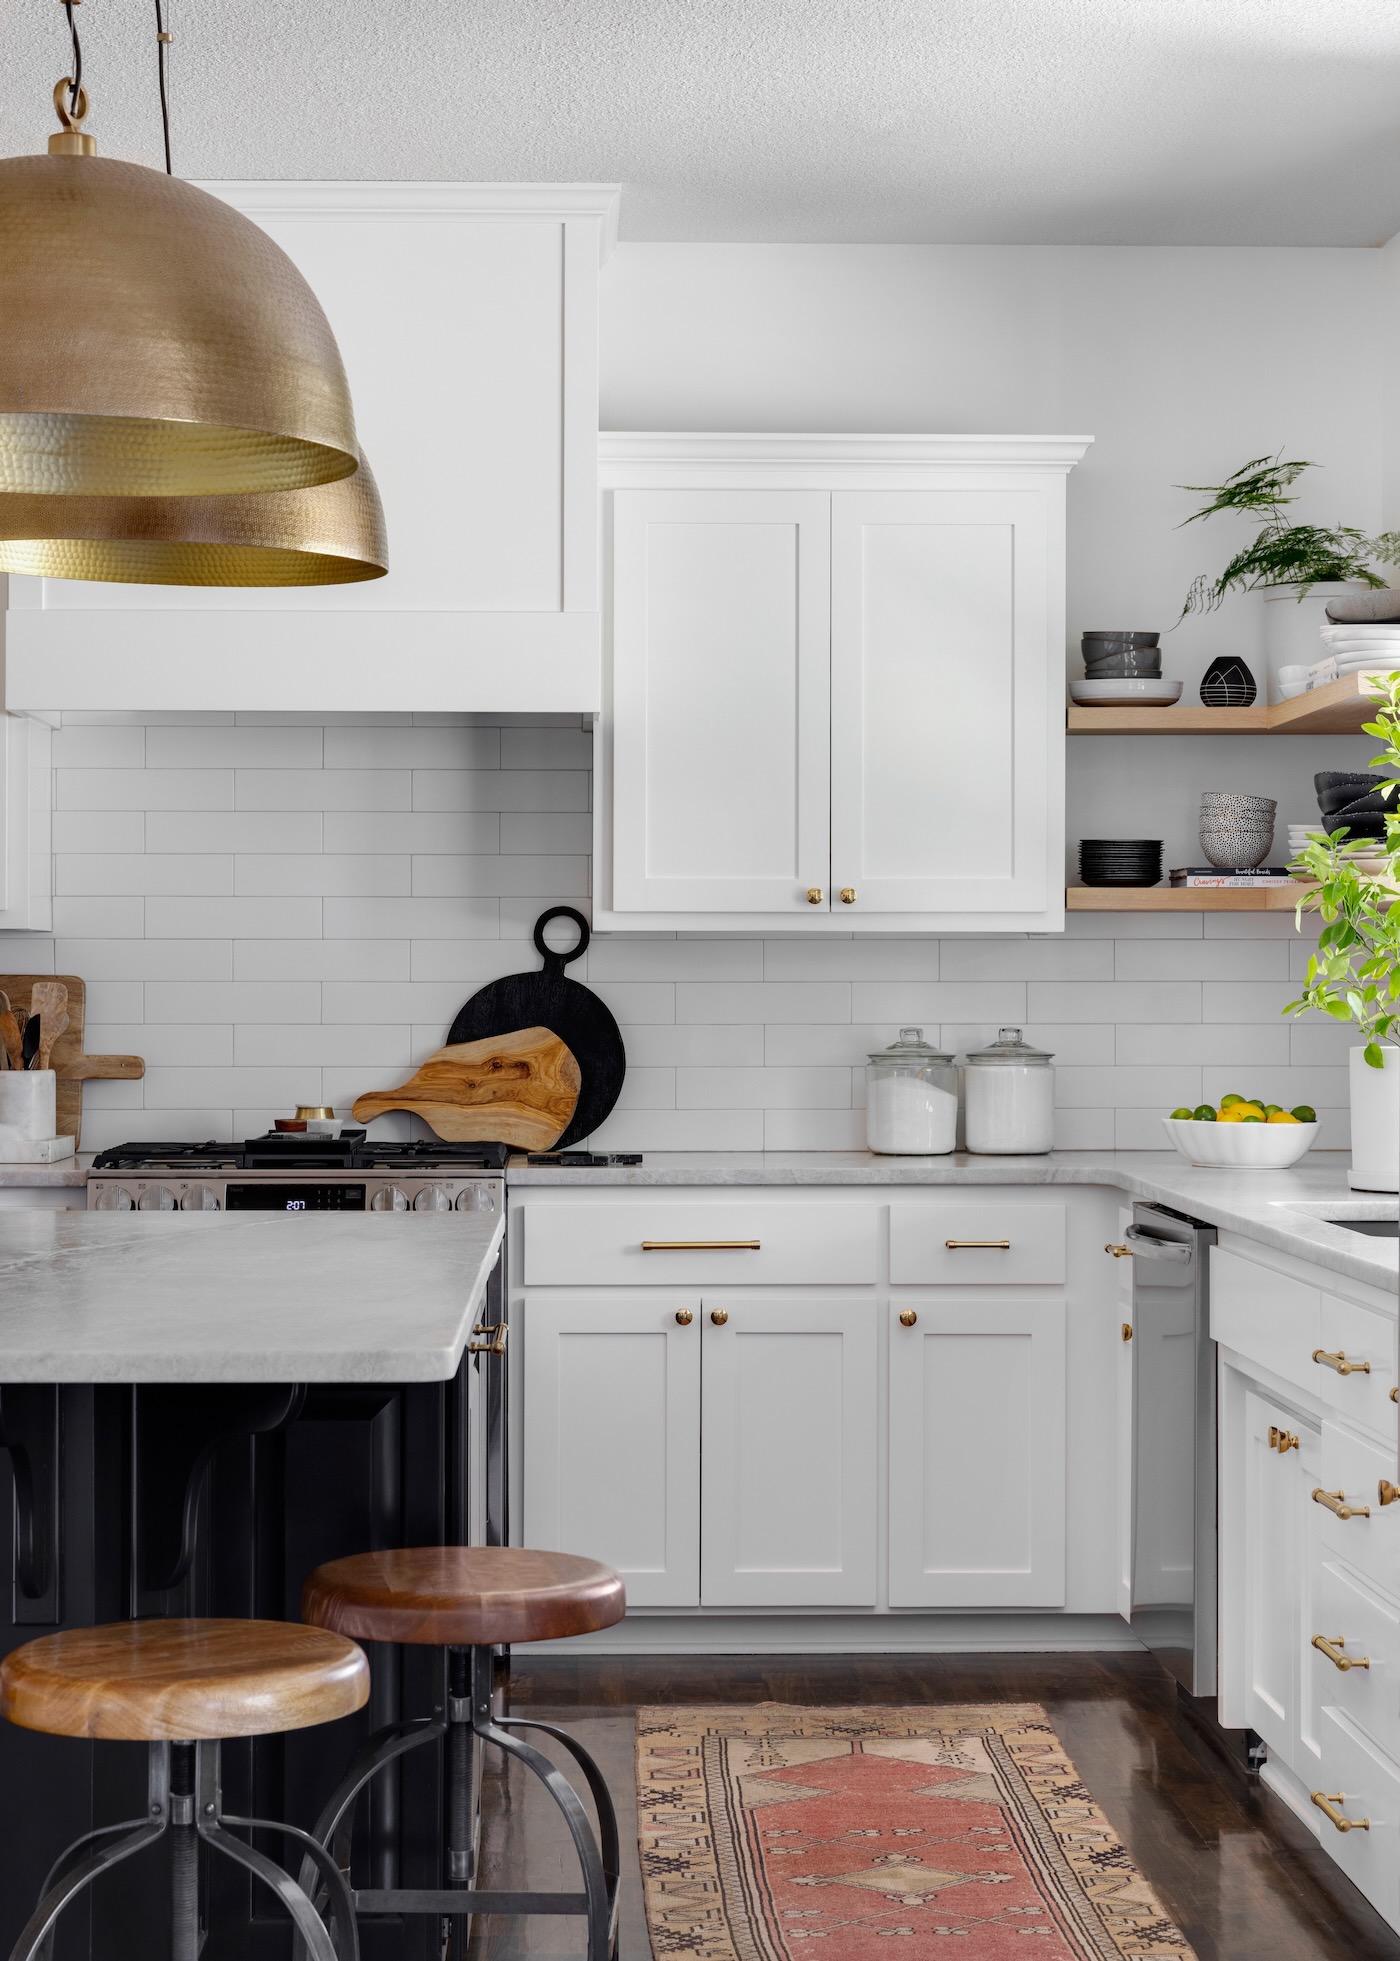
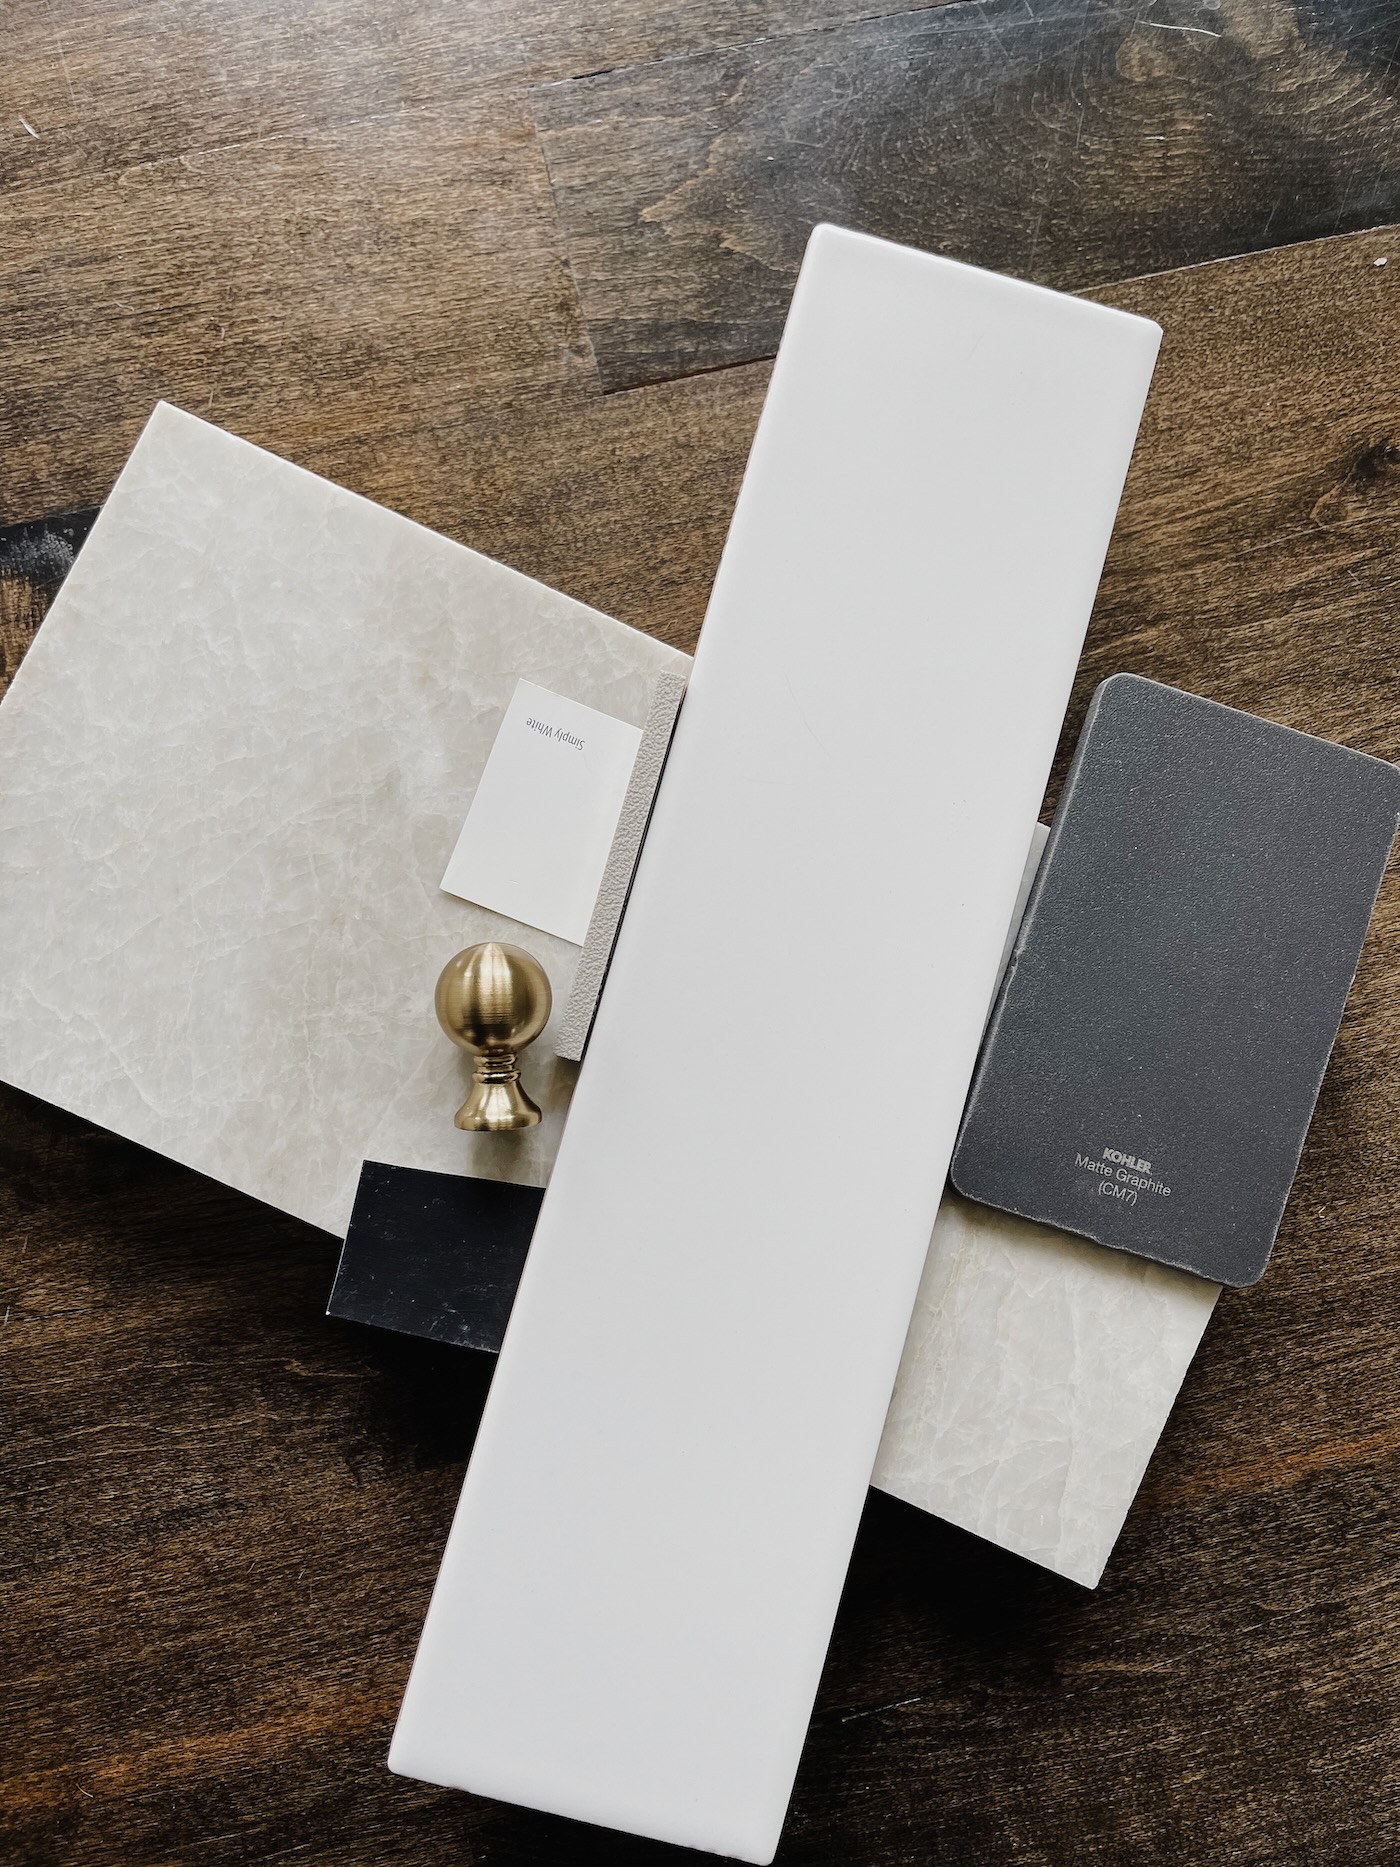
Did you know that there are so many white subway tiles to choose from? I was blown away by the sheer number of sizes, lengths and widths, sheens, white tones, price, etc. I ended up bringing home three different tiles to try, from three different places. They were each a little different in tone and shape and sheen. I’m a very visual person and need to see things in the space!
Before making any decisions, we did narrow down that we wanted longer tiles in lieu of the shorter more traditional subway tiles. Going for less grout lines and an elongated look. I had our contractor look at all three tiles and he liked the look and feel of the one we ended up going with! He said he could tell instantly that is was more expensive and would be the easiest to work with.
Exact Subway Tile Choice
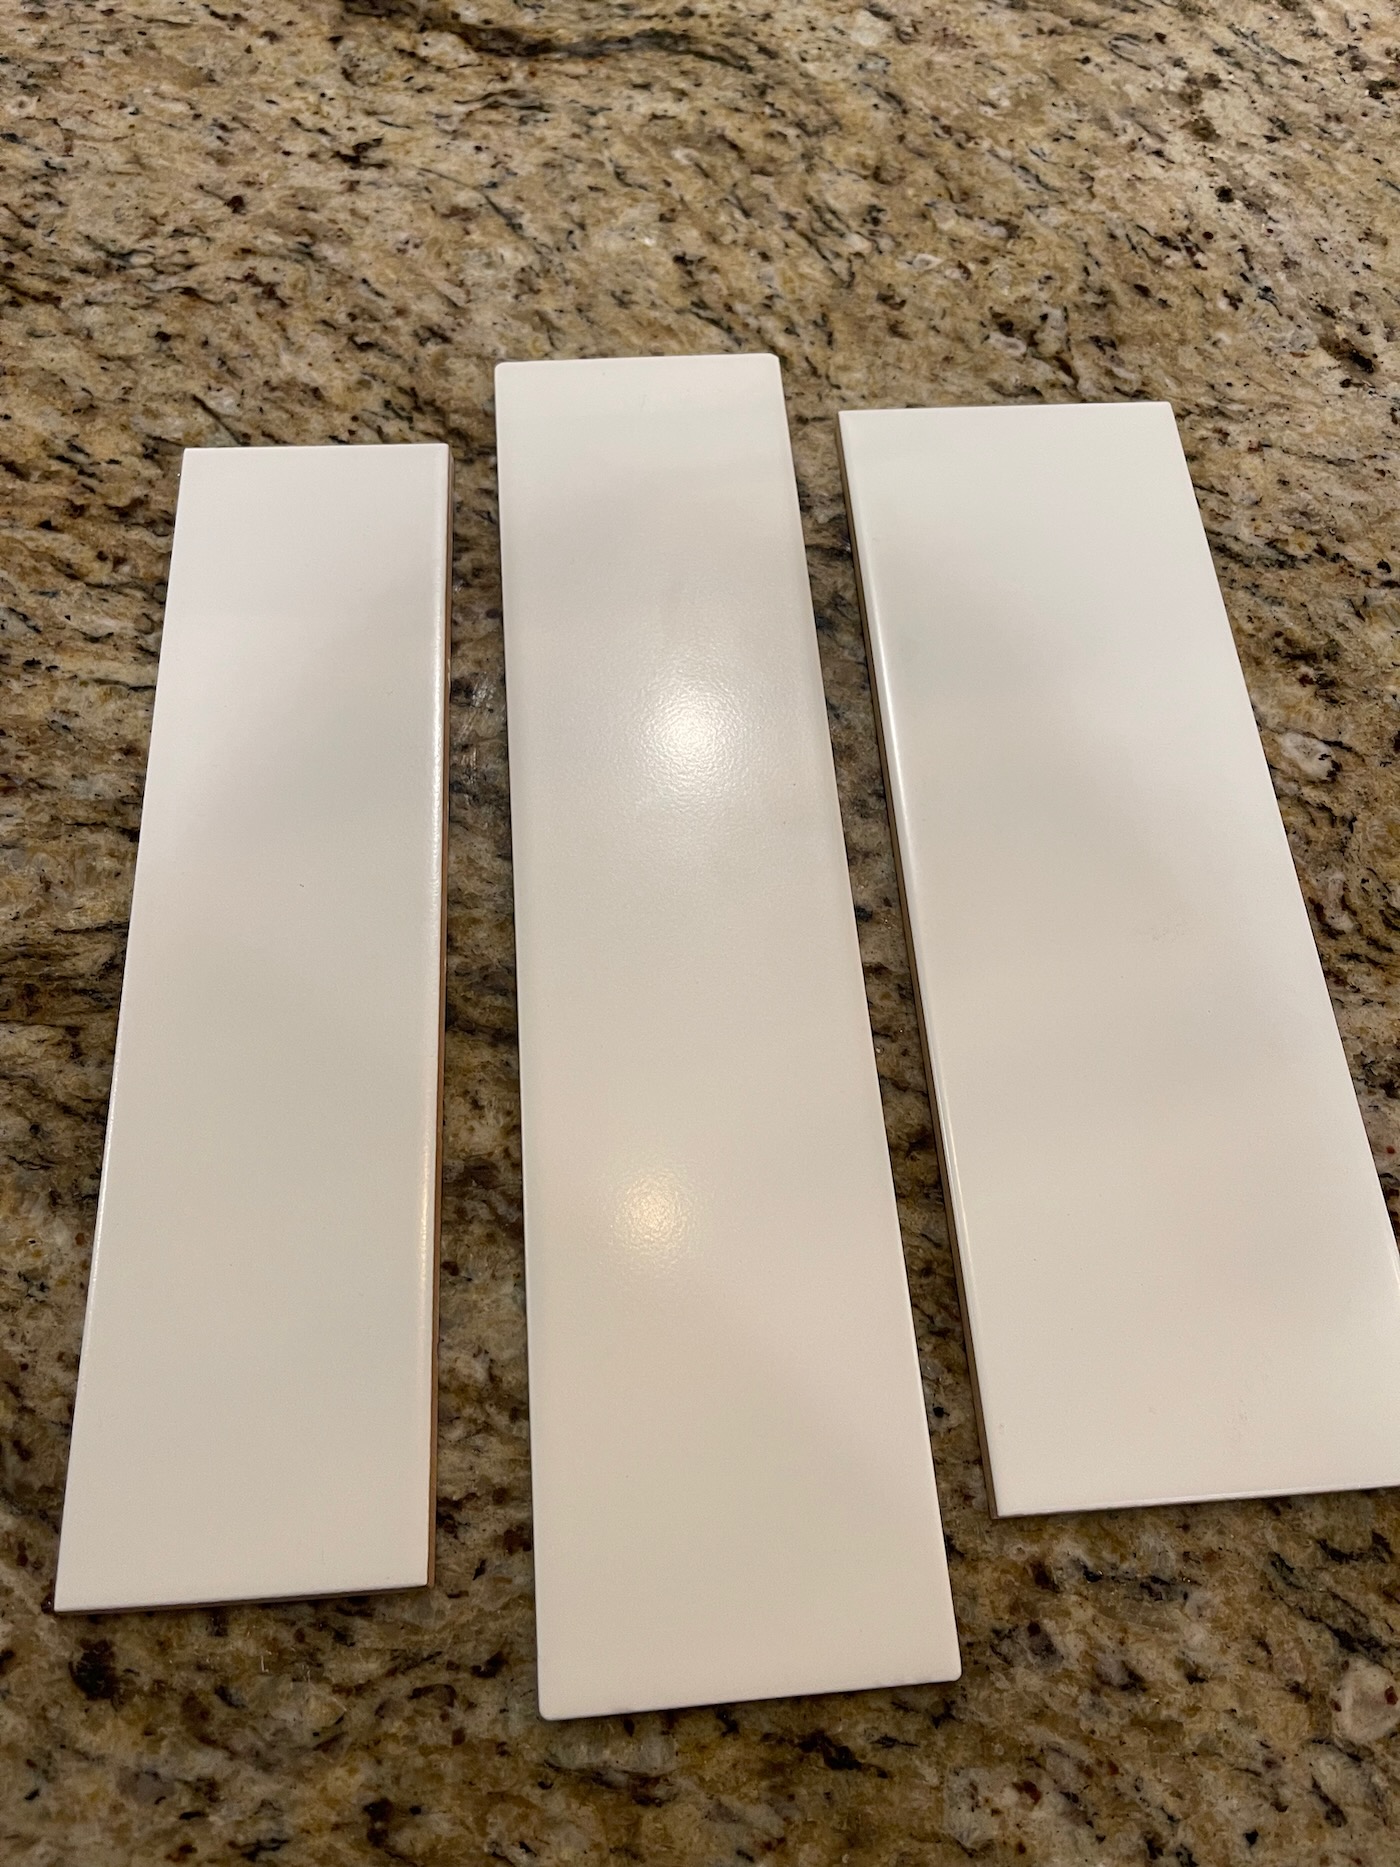
For our kitchen space, we ordered 50 square feet of subway tile from a local tile shop in Kansas City.
- Ordered From: International Materials of Design
- Tile Maker: Sonoma Tilemakers
- Size: 3 x 12
- Sheen/Color: Matte White
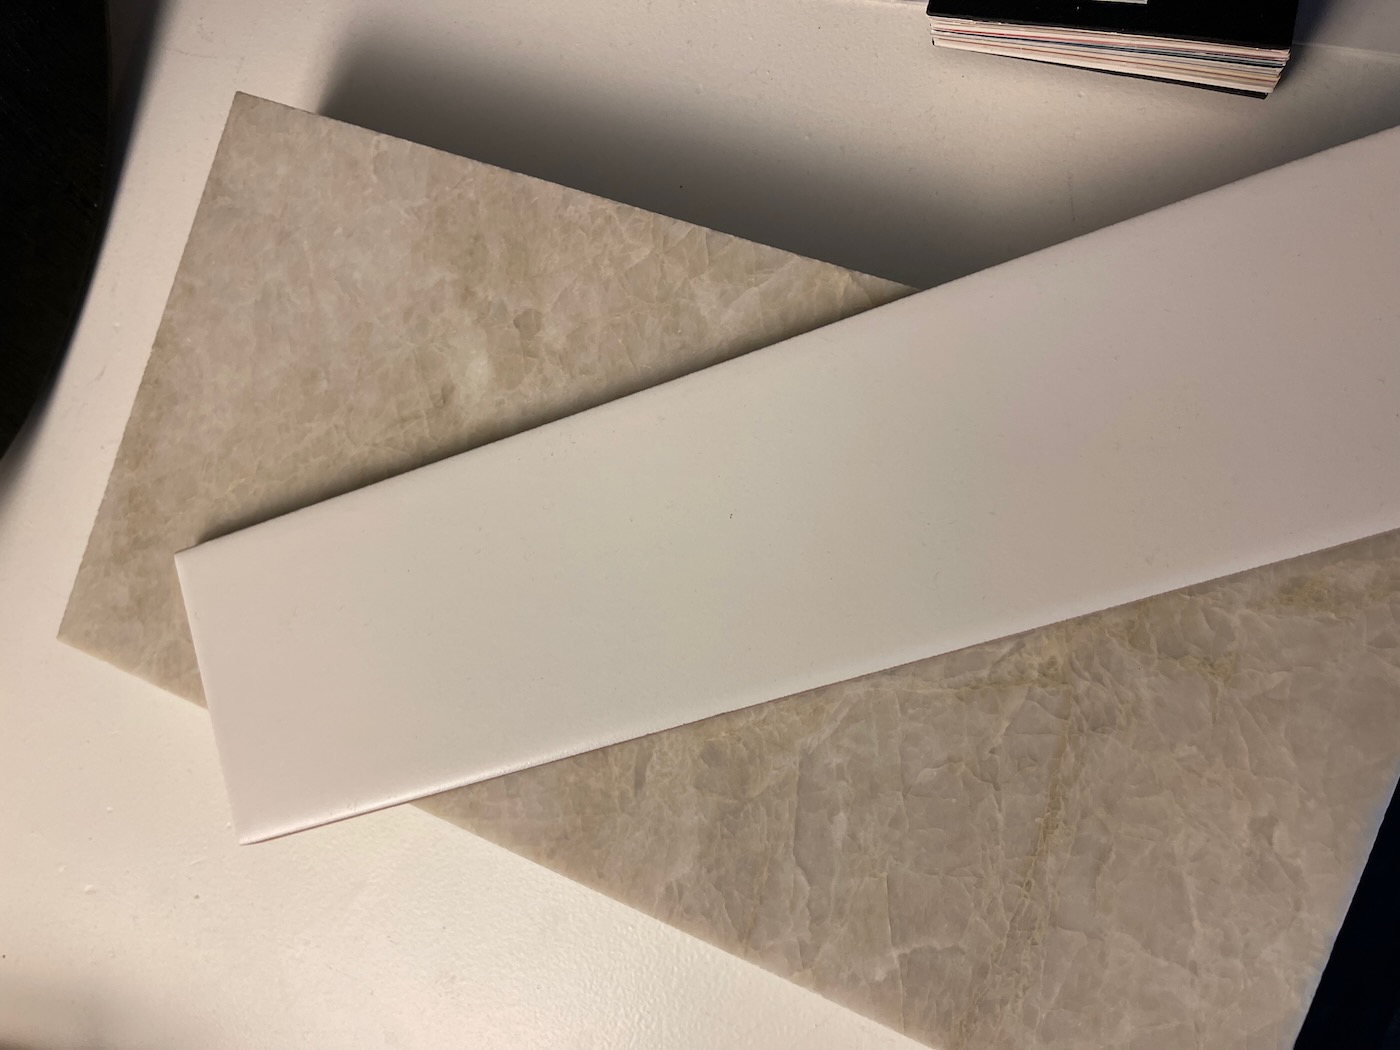
We ended up with the matte finish, which I’m so happy about. The matte feels a little more casual and ties in the matte tones of our new quartzite. This subway tile was more expensive than standard subway tile. I think it was worth it! It feels warm and heavy and well made.
Grout Color
After the tile was chosen and purchased, we needed to choose a grout color. This was the decision I was most scared of! I was afraid that too dark and it would look industrial, too light and it would look dirty! Doing some research, I kept seeing a few of the same grout colors pop up. It’s so hard to look at photos online because every space is so different!
In the end I was ultimately was trying to decide between Warm Gray and Oyster White grout. Both seemed on the lighter side and had the warm tones I was looking for. Warm Gray was a little lighter and less saturated. Oyster Gray looked more taupe and slightly more saturated.
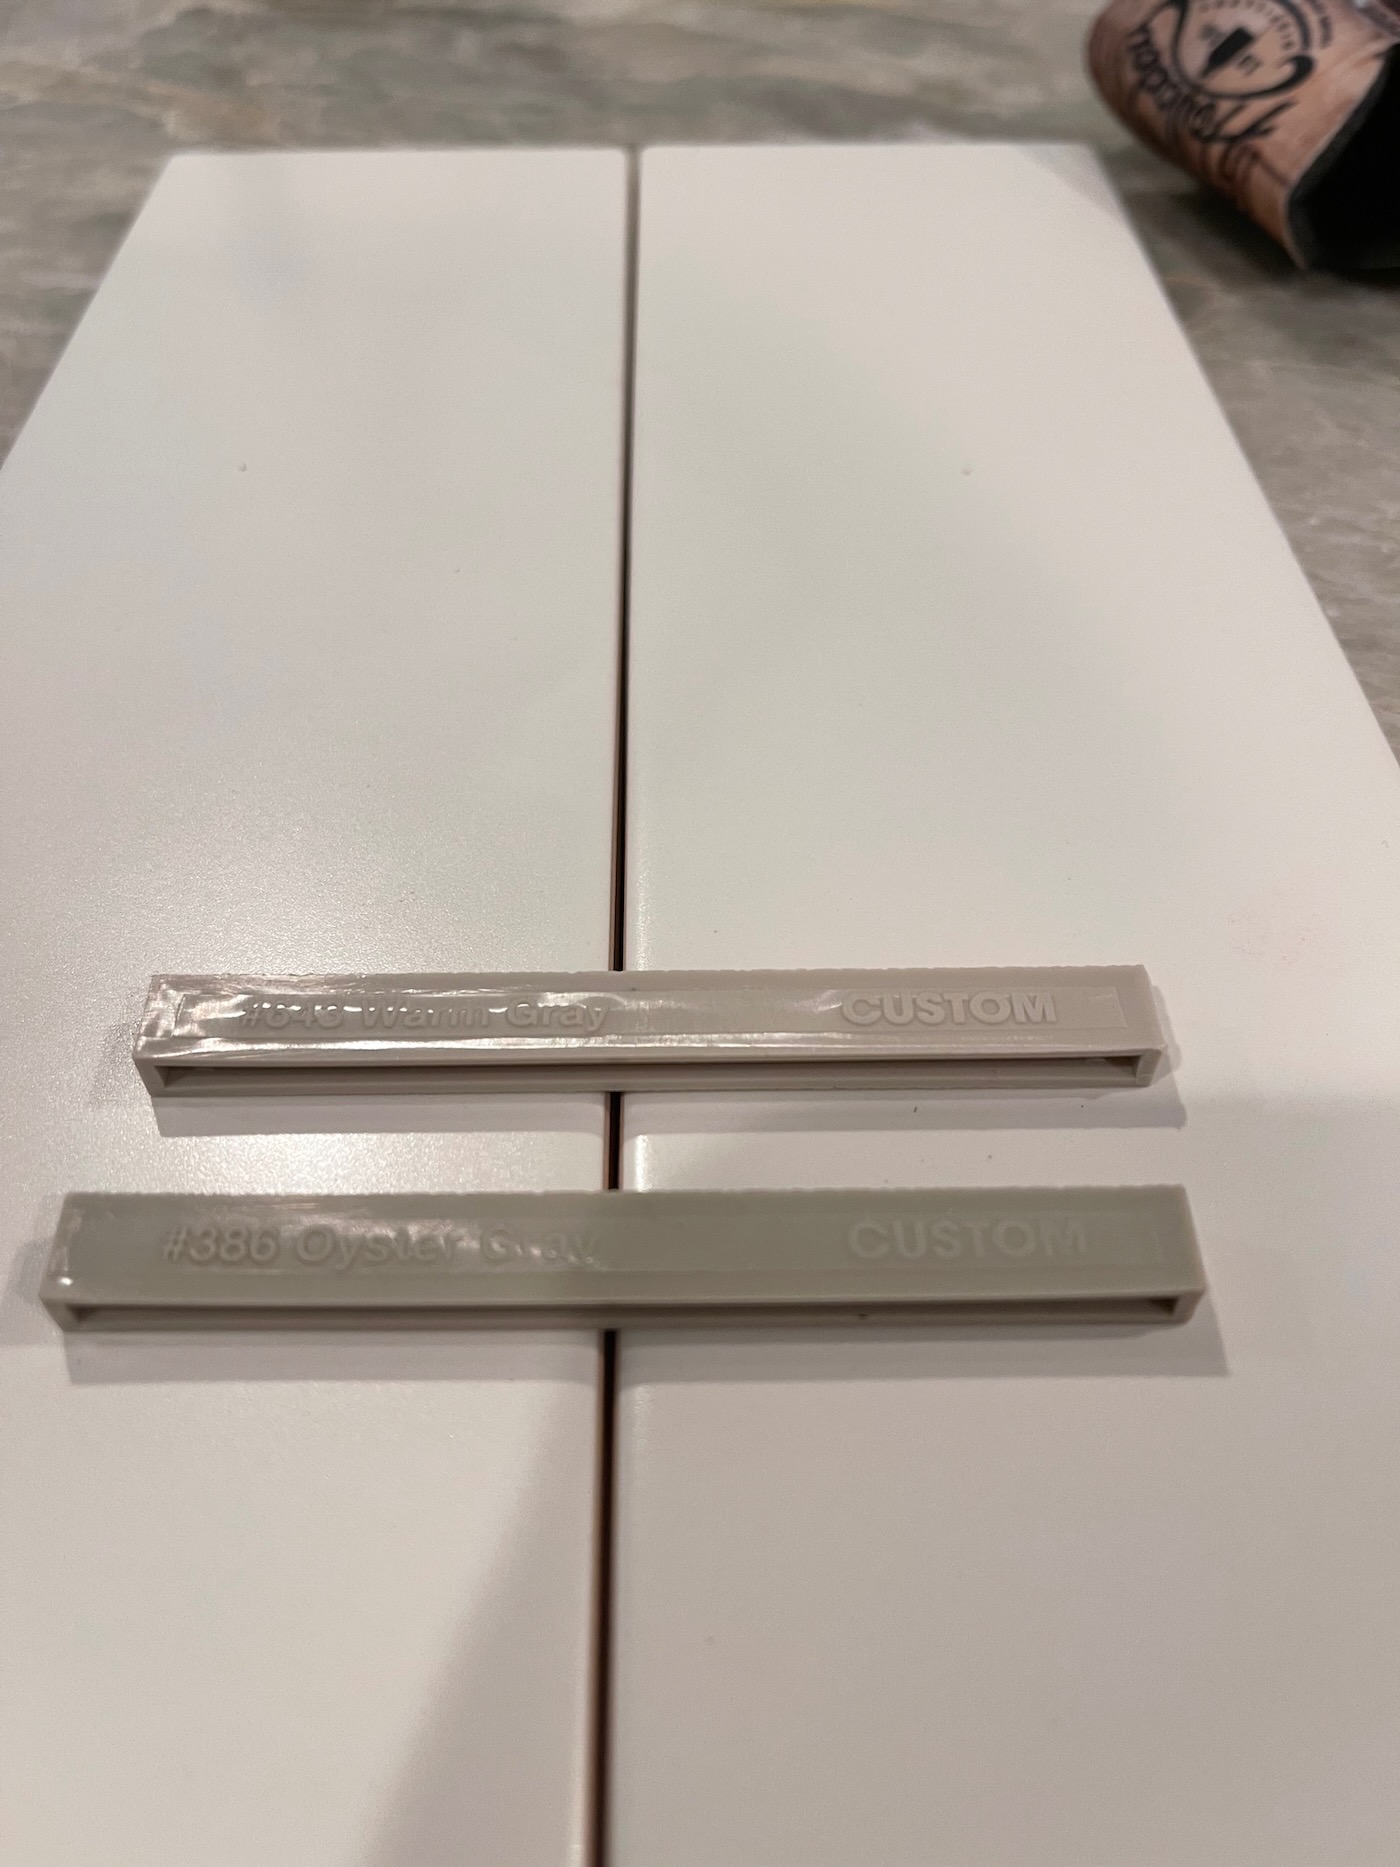
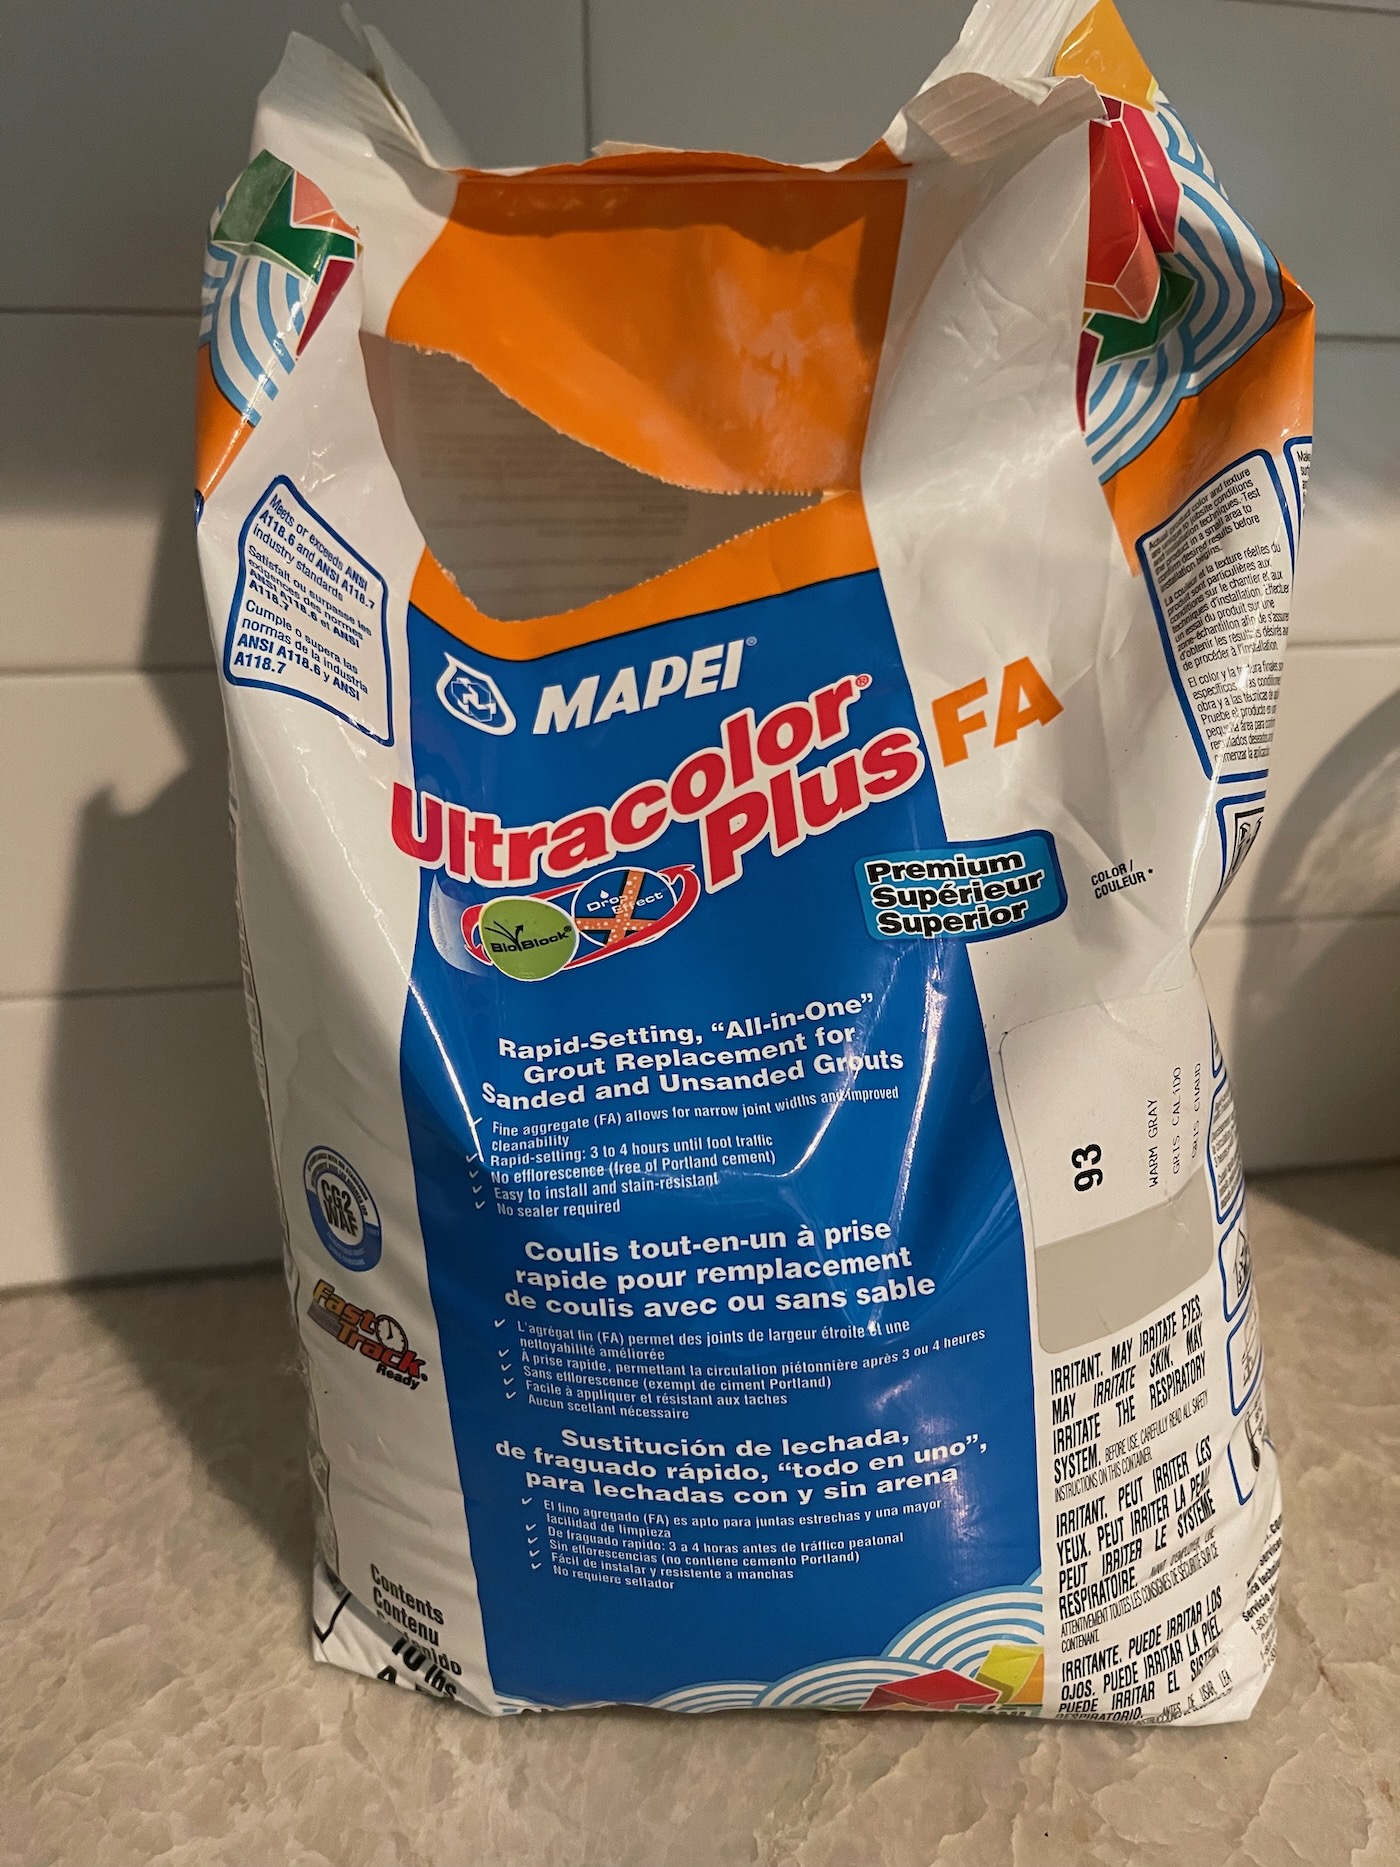
We ended up going with Warm Gray grout. All of the guys here working on the install agreed it was the best choice. And I know it is a popular and safe grout color that goes with many different tiles. I purchased the bag of unsanded grout at Floor and Decor. An employee told me this product (rapid setting, “all in one”) is the new roll out of this product and the other bags of unsanded grout will eventually be phased out. She directed me towards this exact bag and it’s what we used. Grout is super inexpensive! We ended up needing just over one bag for our project.
Tile and Grout Install
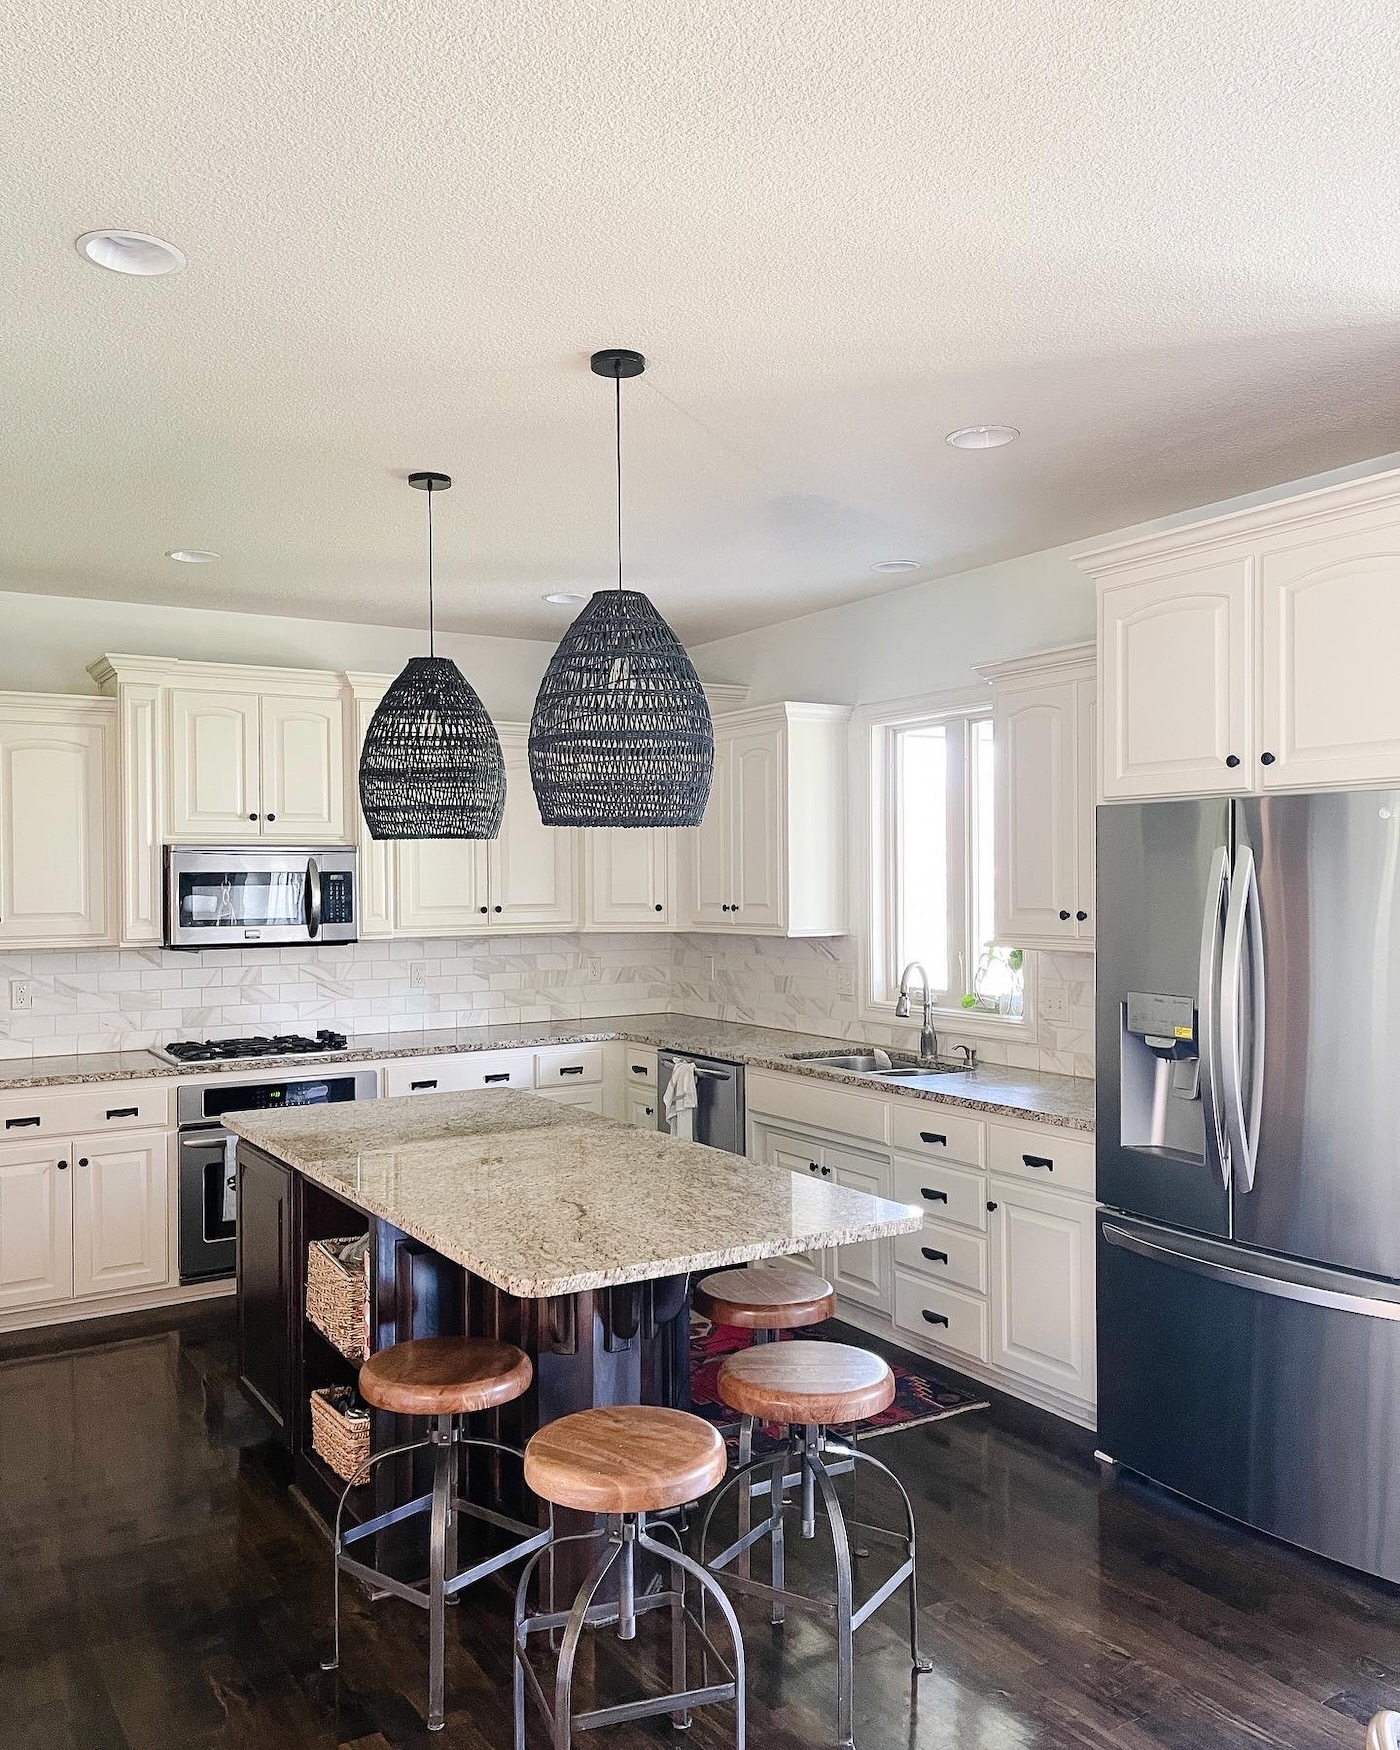
We had professionals demo the old and install the new backsplash. Our original tile backsplash was demoed early on in the kitchen reno, before the countertops were installed. Here is a shot of what our kitchen looked like right before backsplash demo.
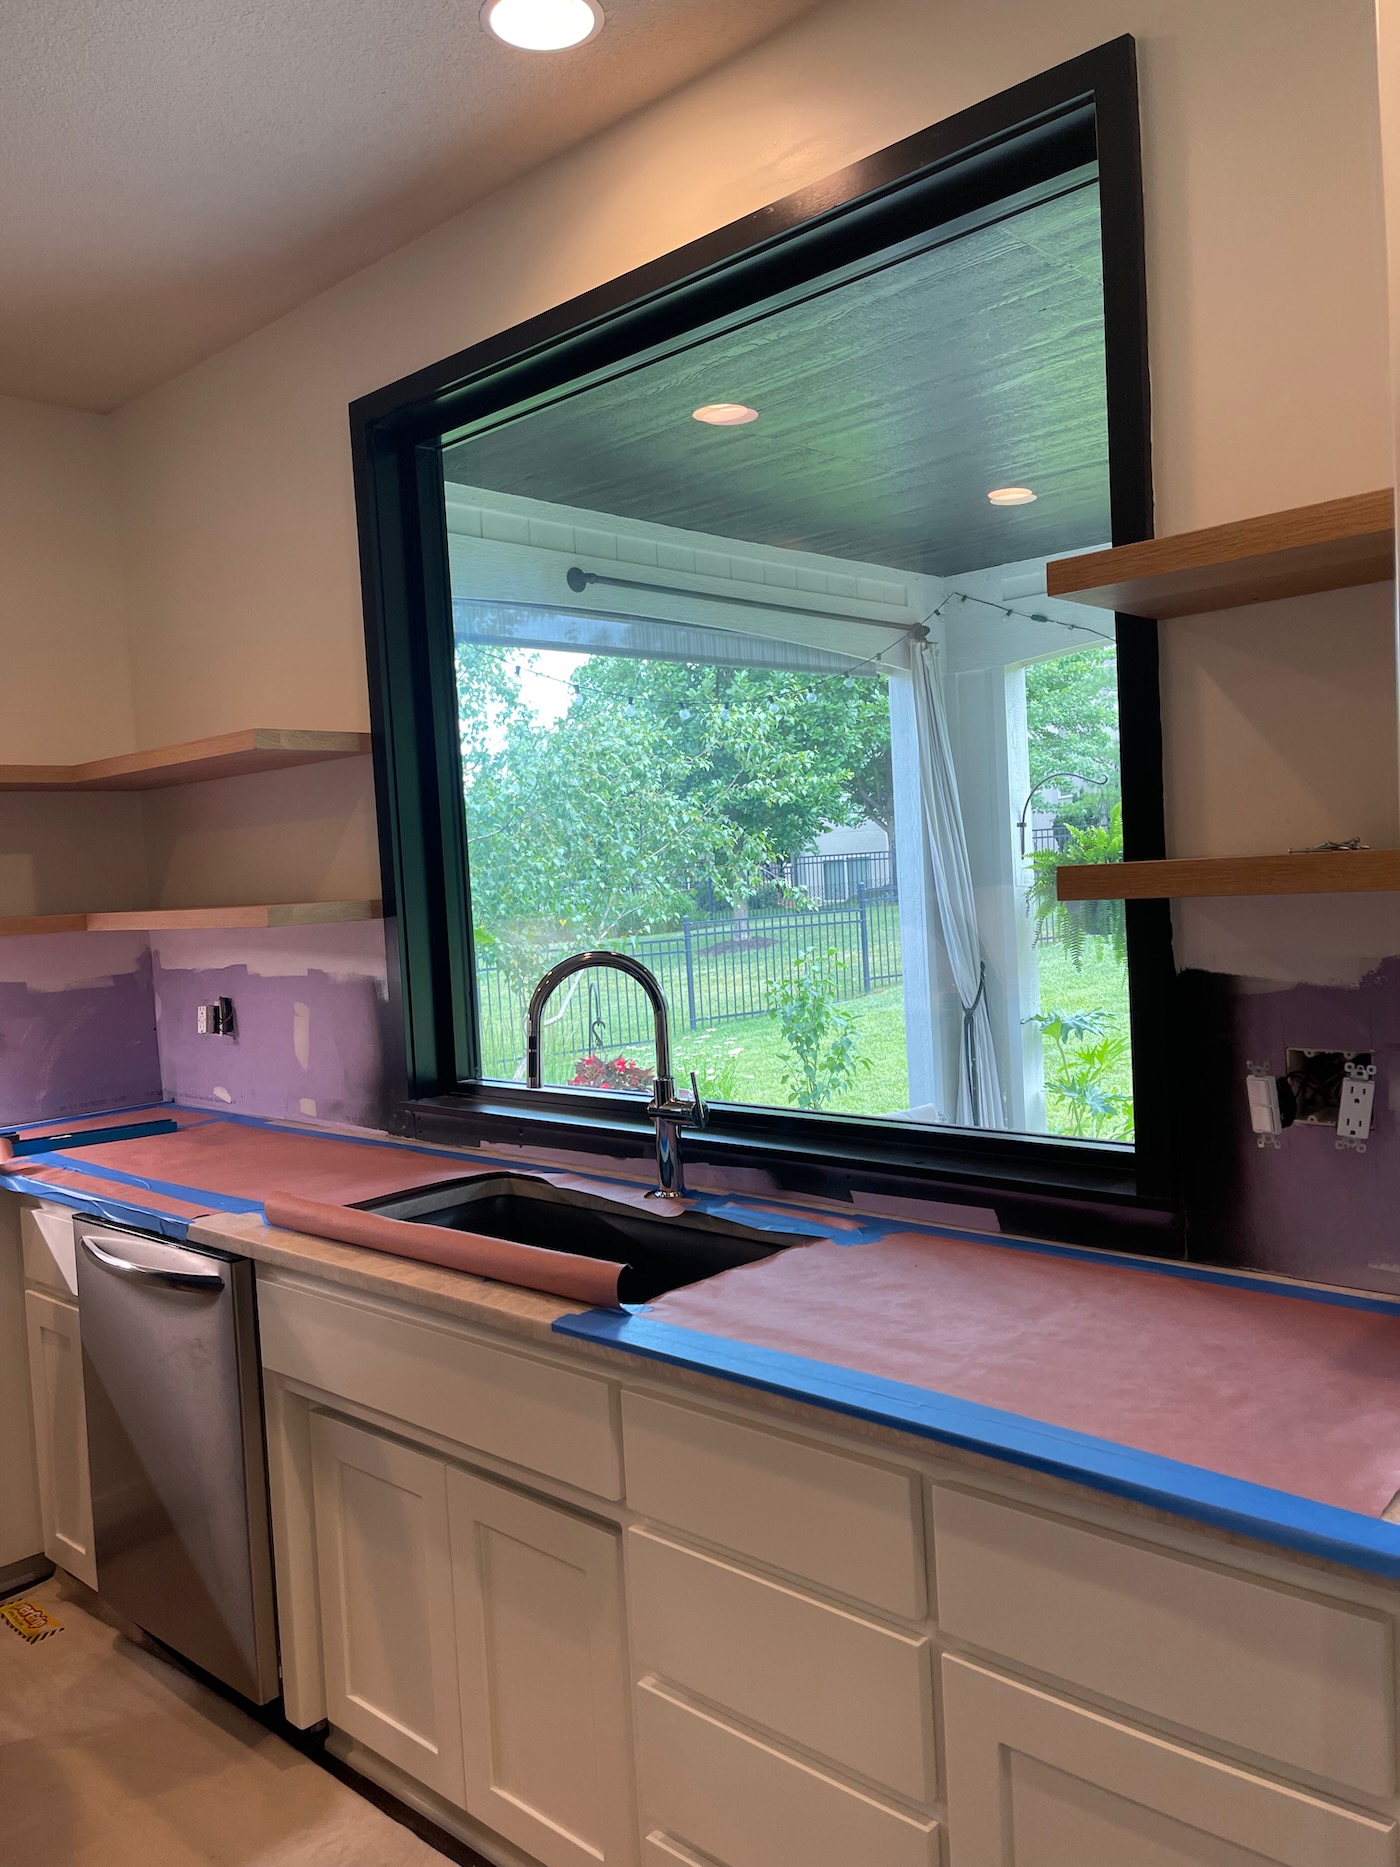
After demo, we lived with purple drywall for several weeks while the rest of the kitchen was being worked on!
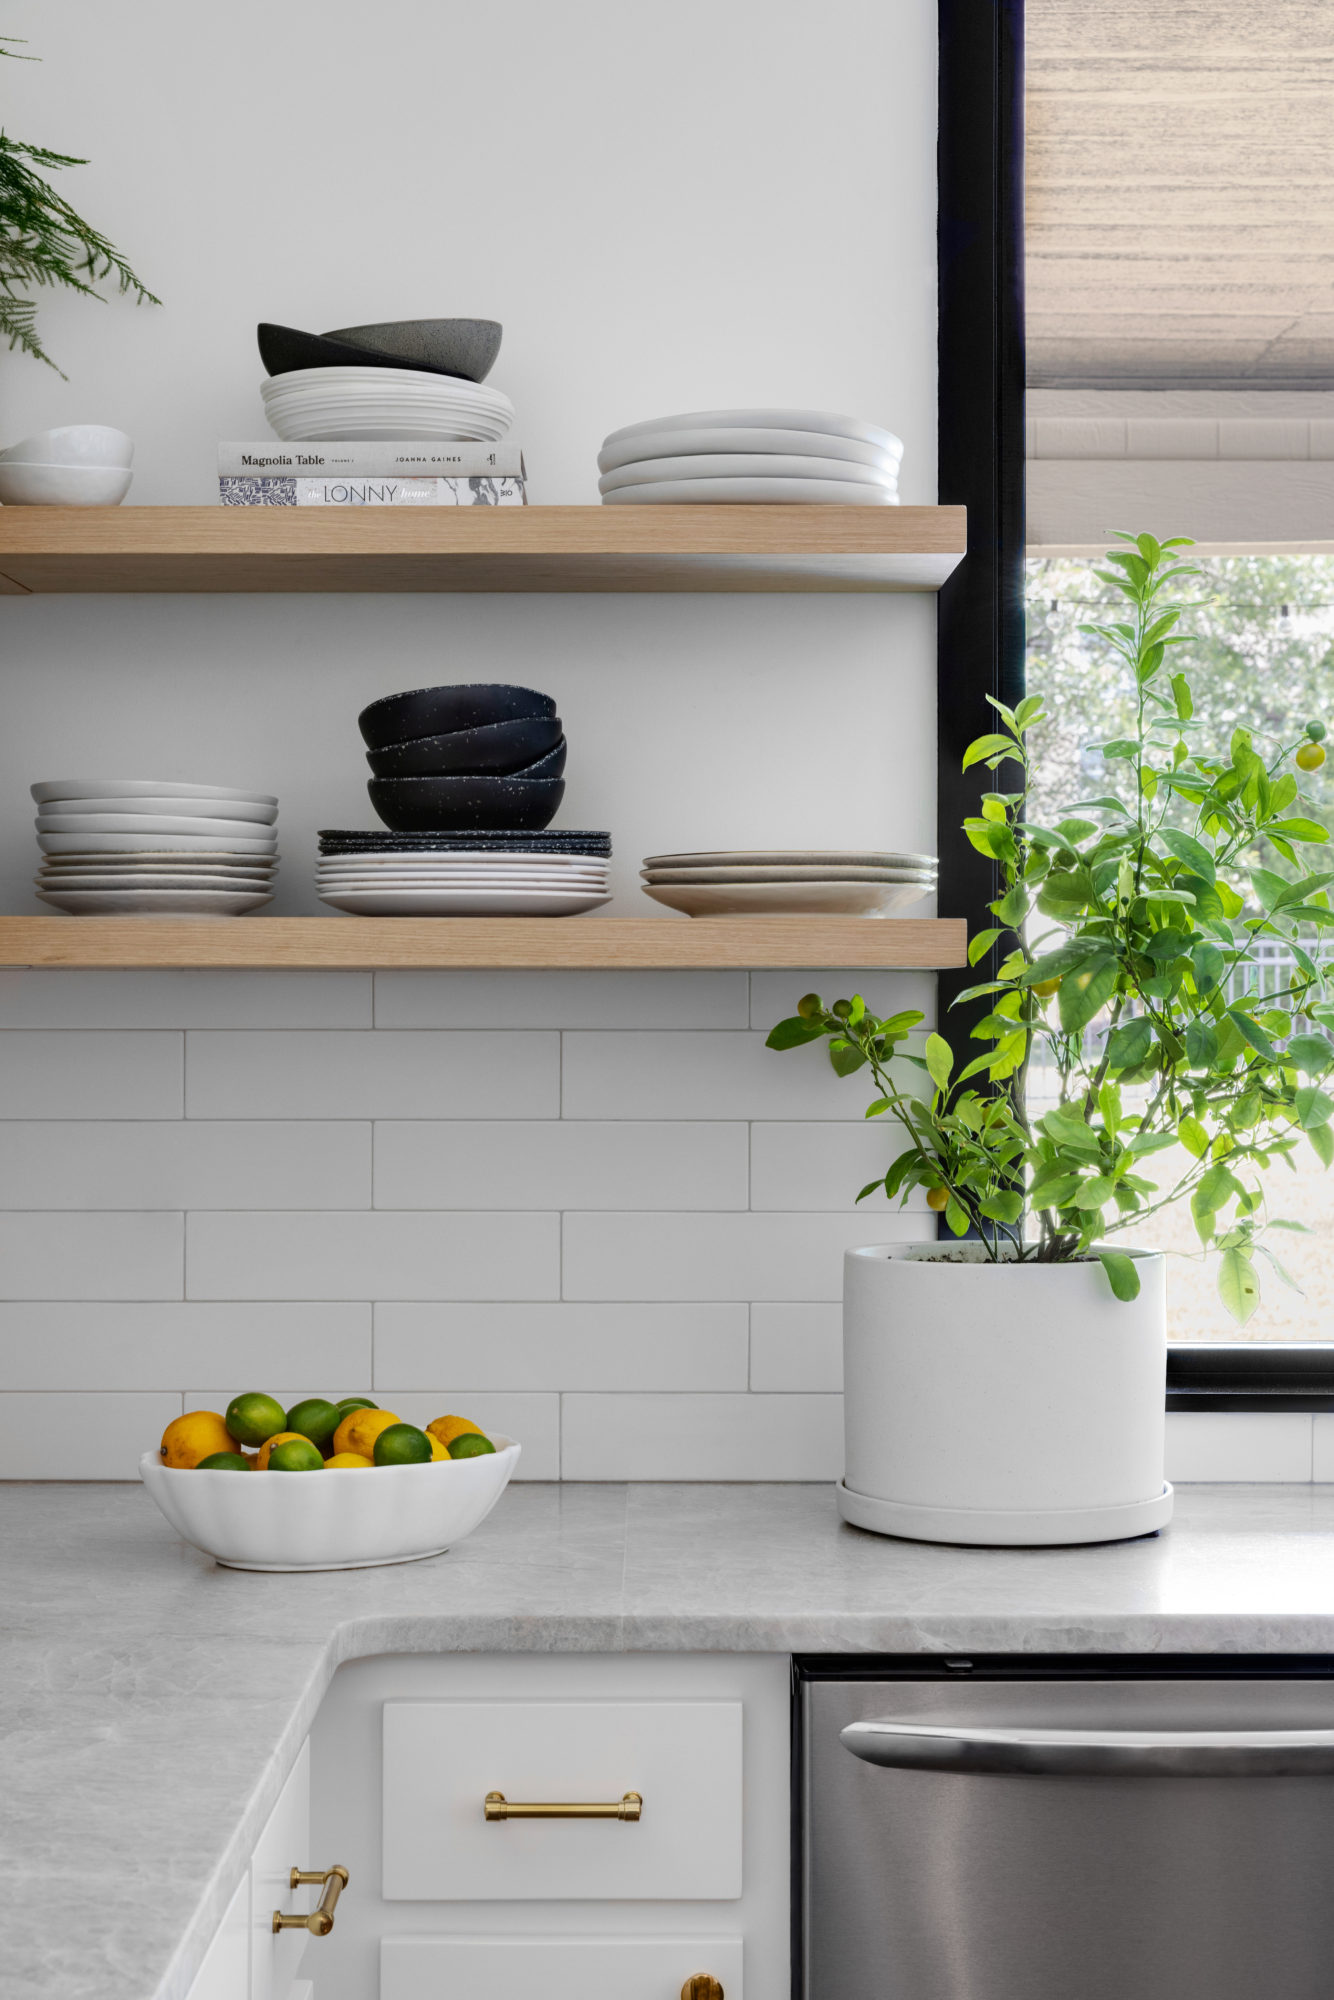
The tile was one of the last things completed in the kitchen. We wanted the tile to go from countertop to the bottom of the cabinets and floating shelves.
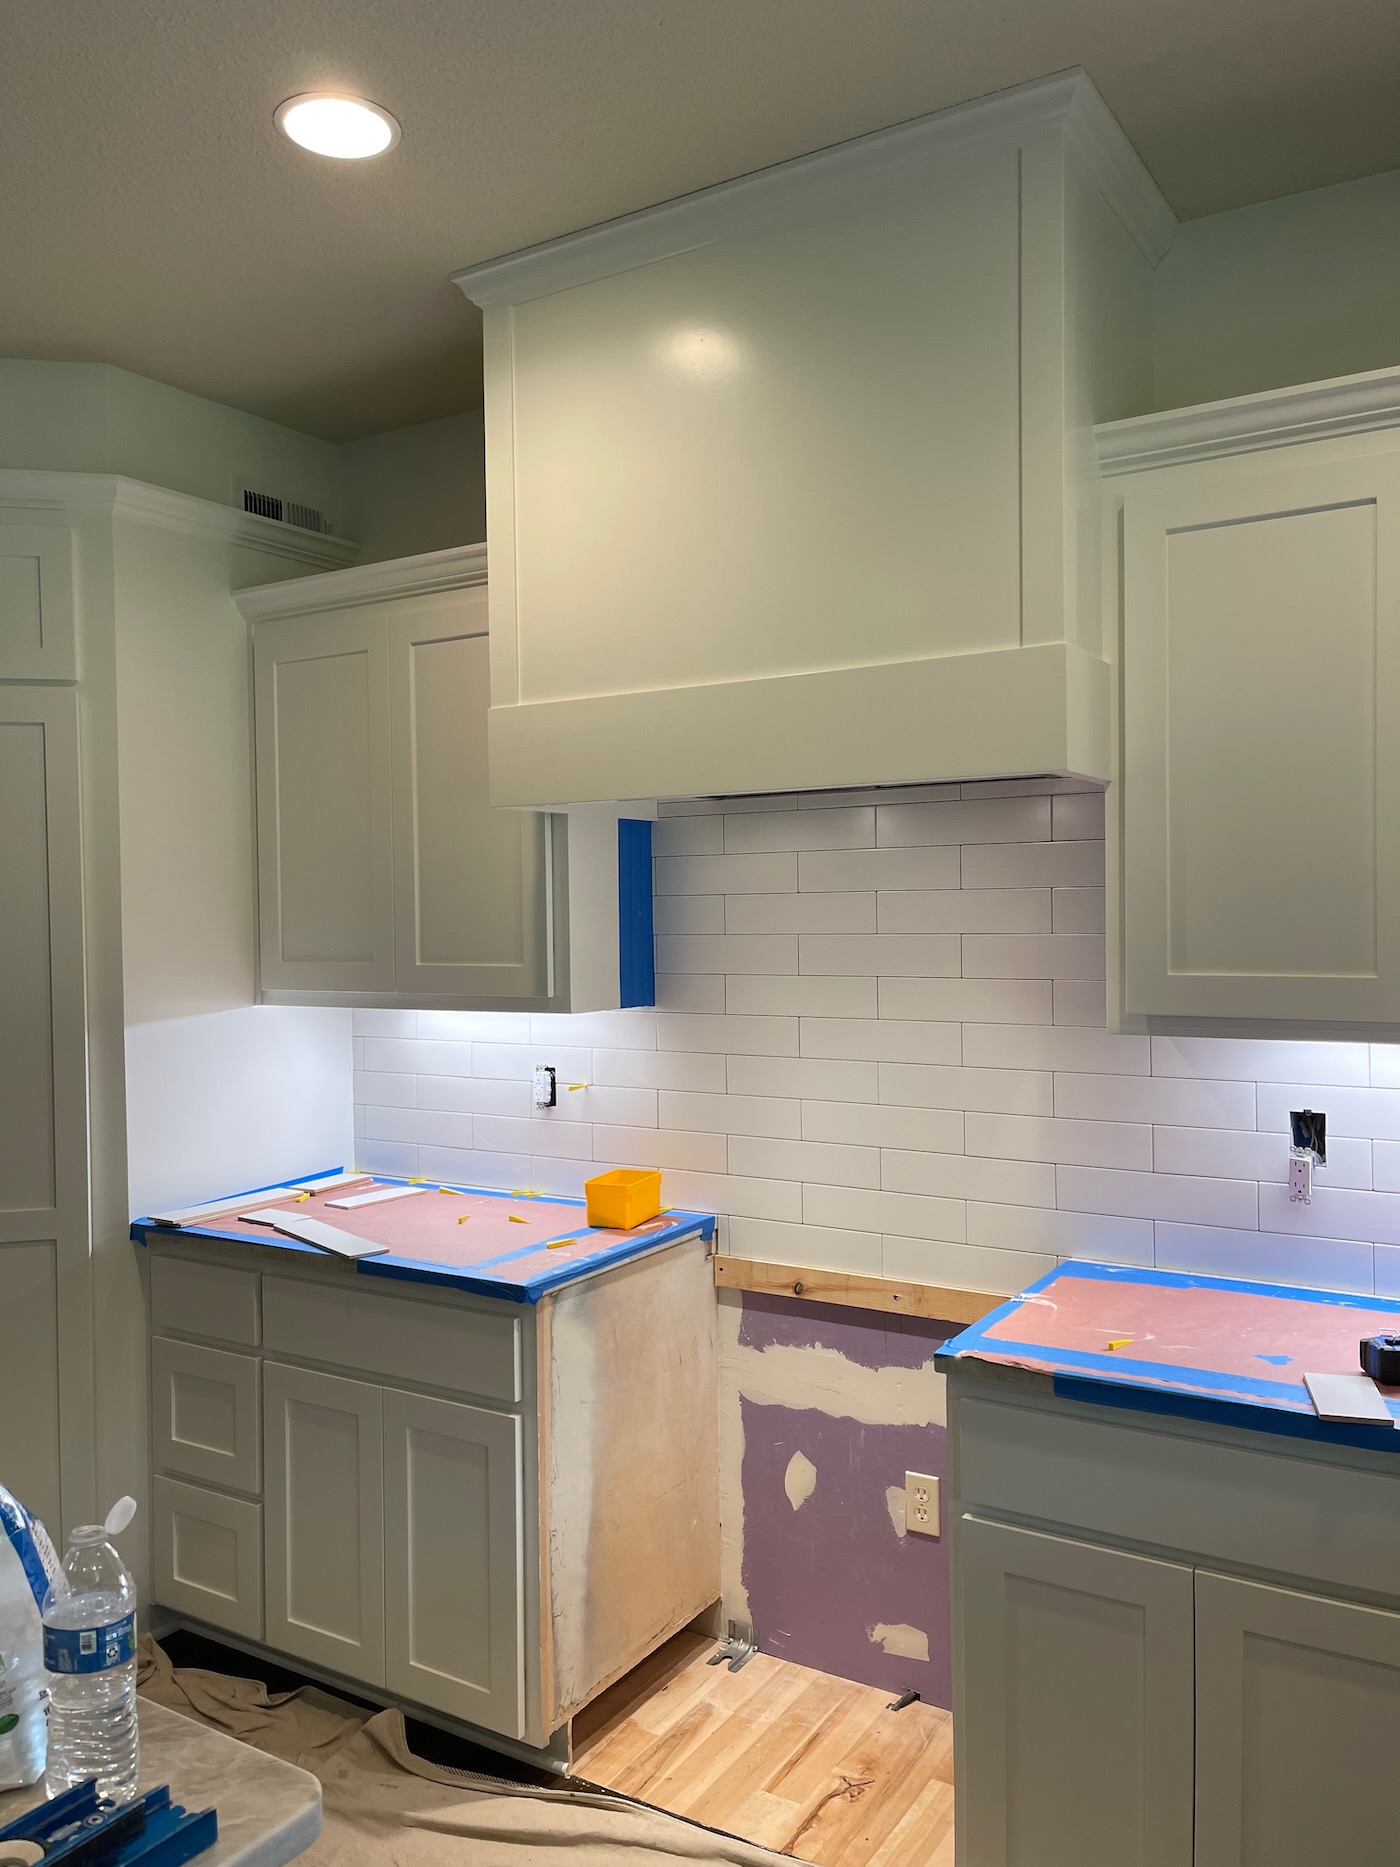
I wanted the grout lines to only be 1/8″ wide, so the tiles are set very closet together. Our contractors told us again that this subway tile is extremely easy to work with because of the straight lines. We were able to get very few grout lines behind the sink/faucet by using the longer tiles as well. They sealed the bottom line of grout with waterproof sealer so I don’t have to worry about it chipping from standing water behind the sink.
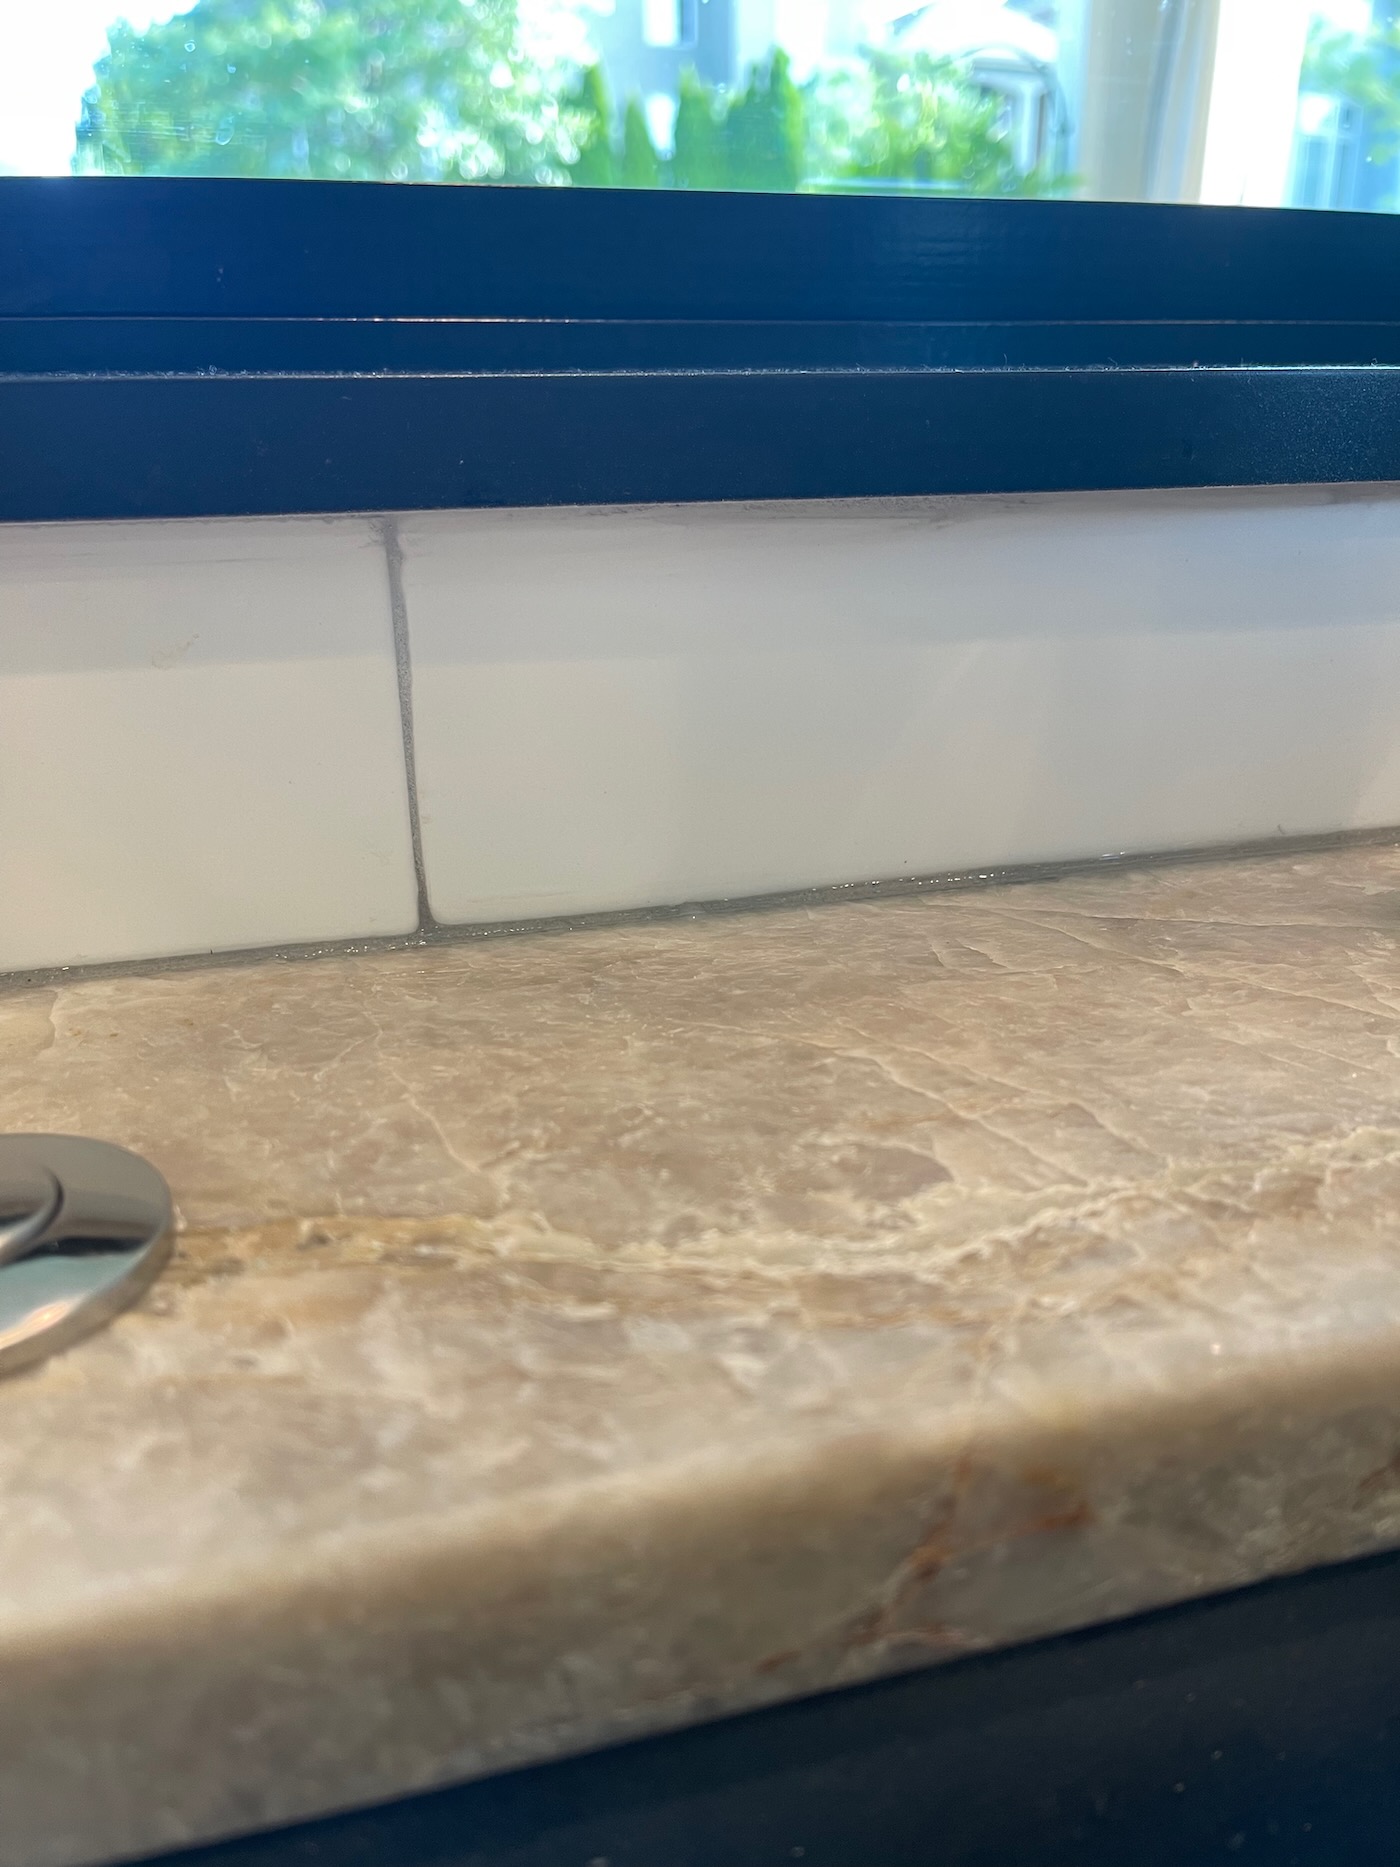
We love the classic look of this subway tile with warm gray grout! It looks timeless. The tile isn’t a showpiece in the room, but a great compliment to the other choices we made. I don’t think I will ever tire of it.
I’m working on getting blog posts written for all the different details in our new kitchen! So far, you can read about the brass hardware and the floating shelves and my fridge review. Thanks for stopping by! xo

[…] prefer side by side or French door fridge/freezer. It was fine and nothing was wrong with it, but we decided to upgrade our appliances when we recently did a kitchen renovation. Our previous fridge was relocated to the garage, so we have tons of storage! We decided to go with […]