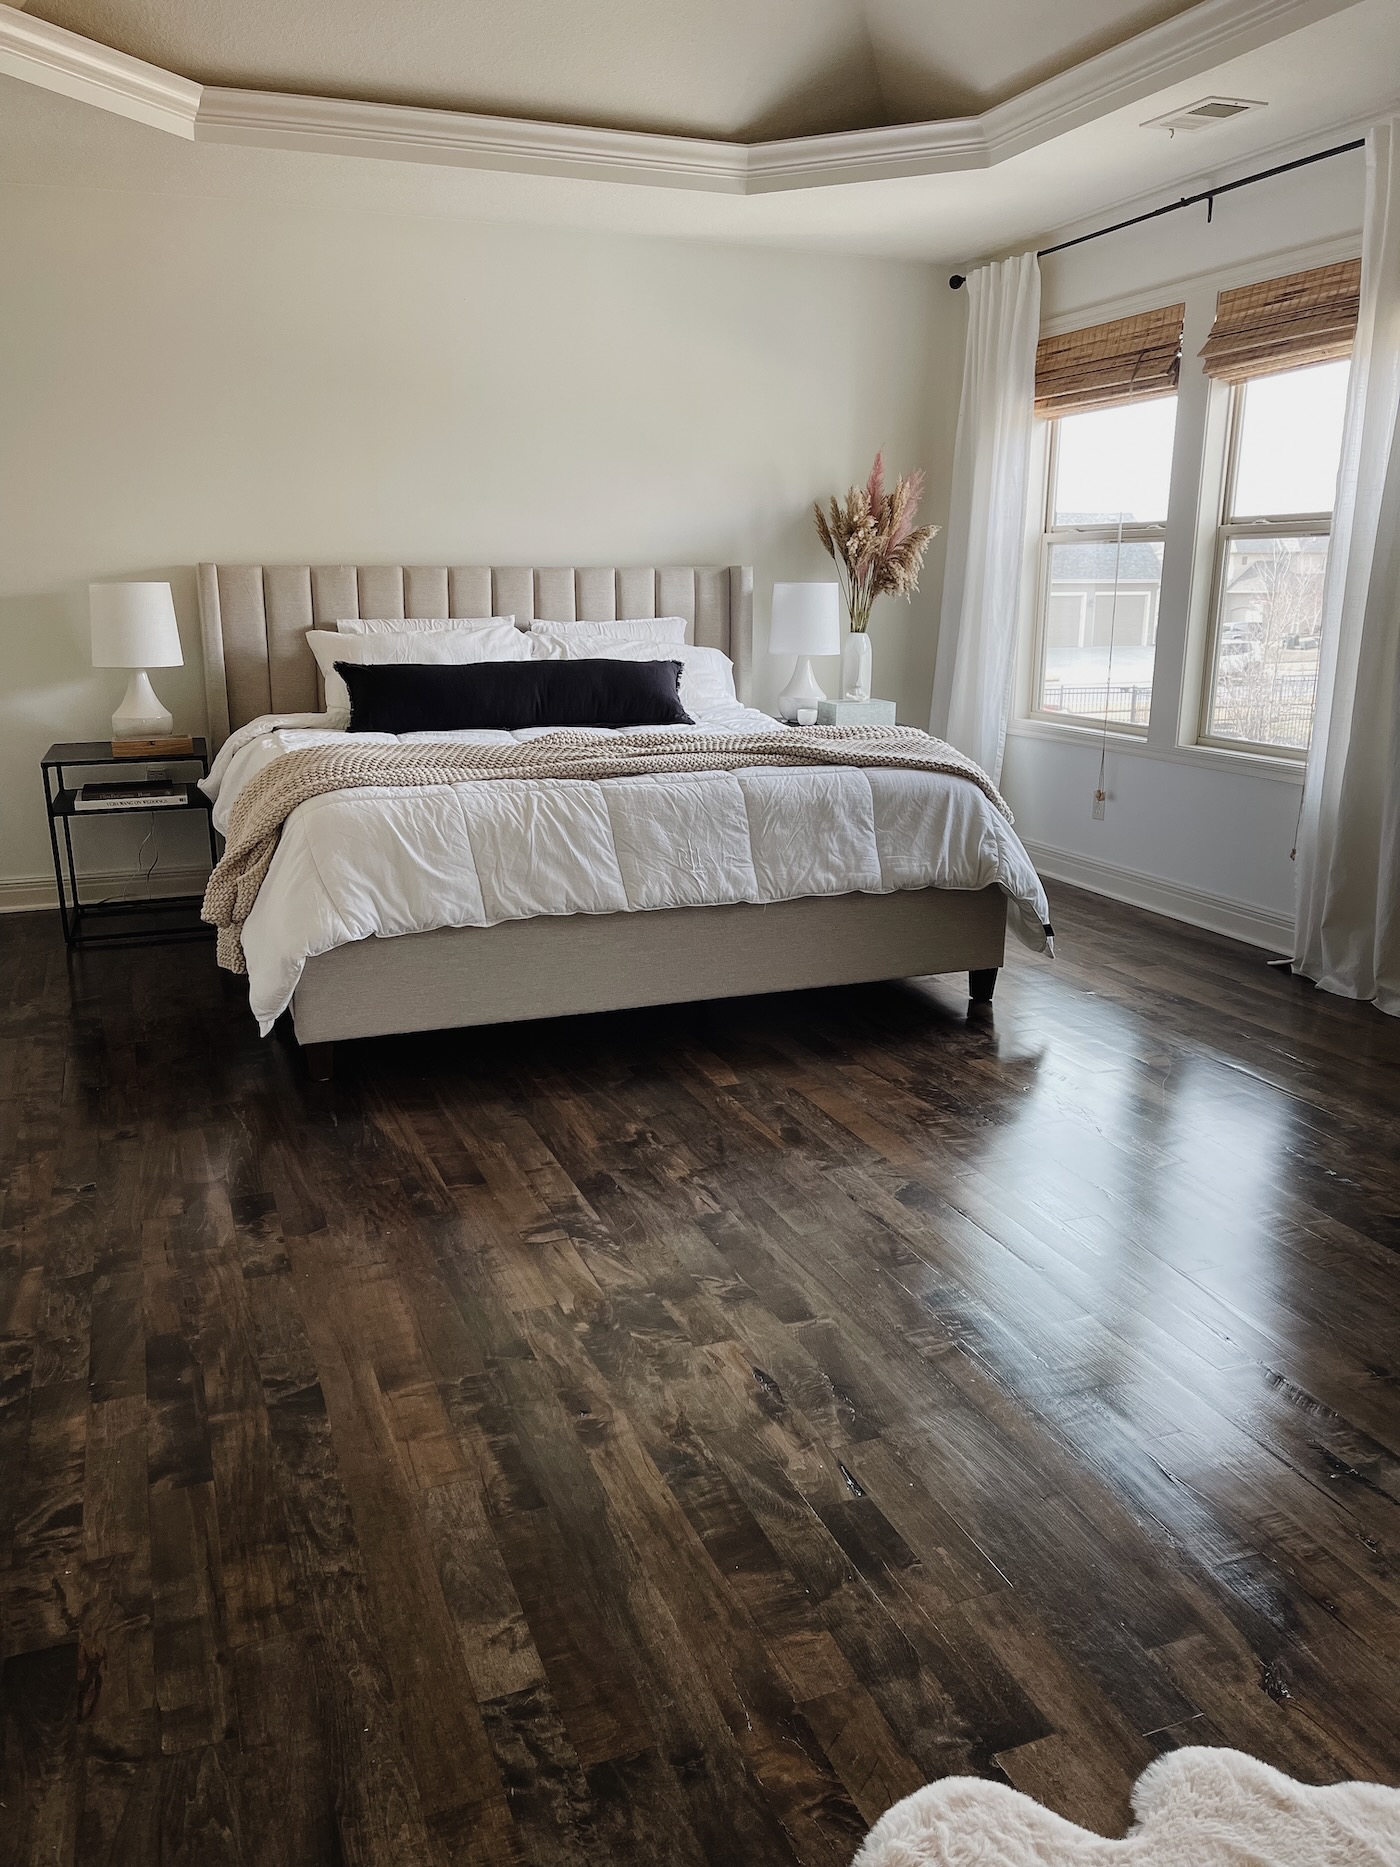
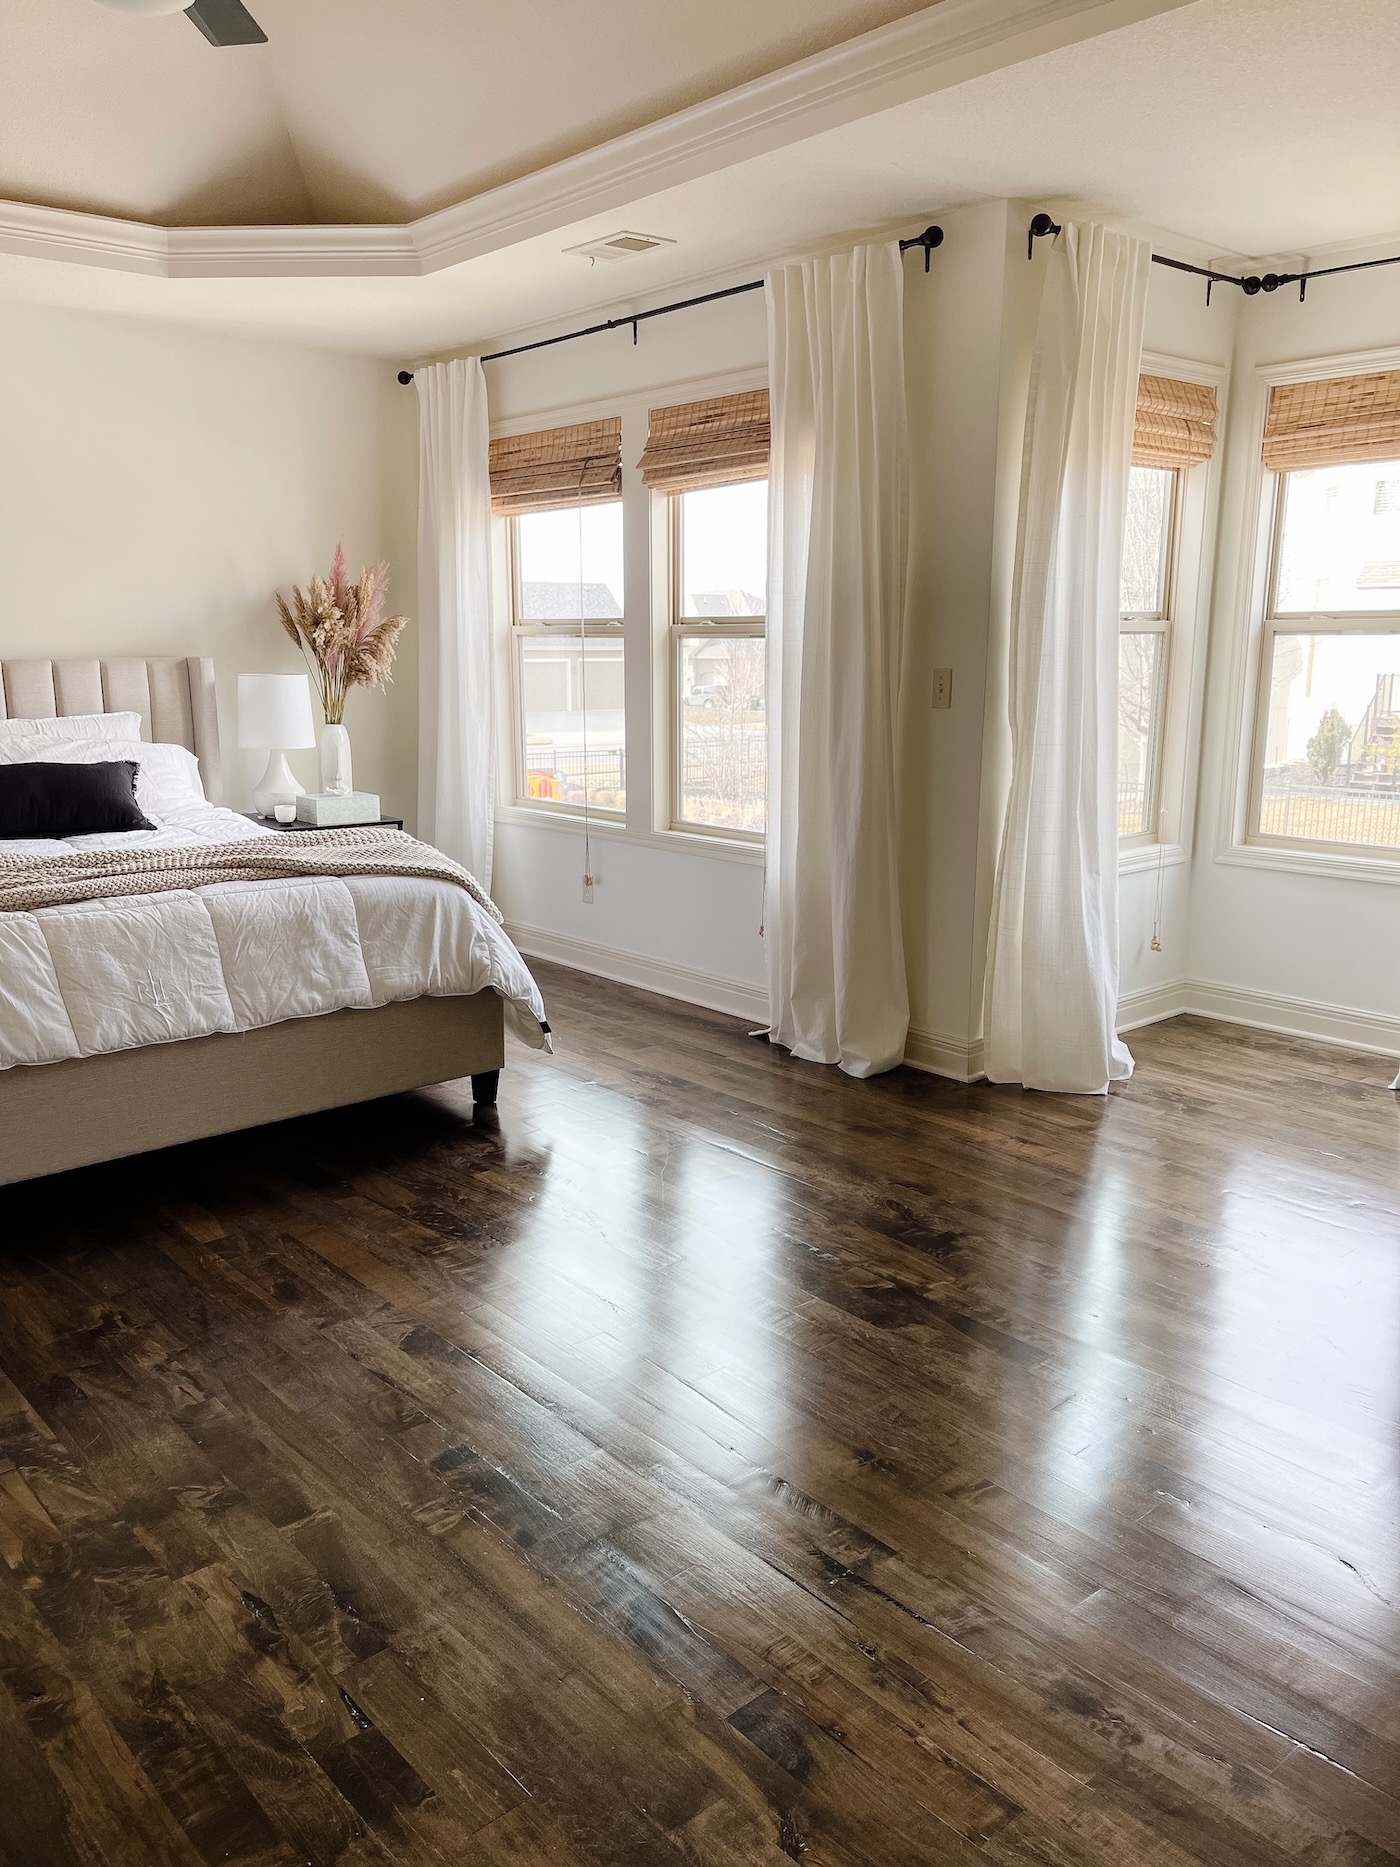
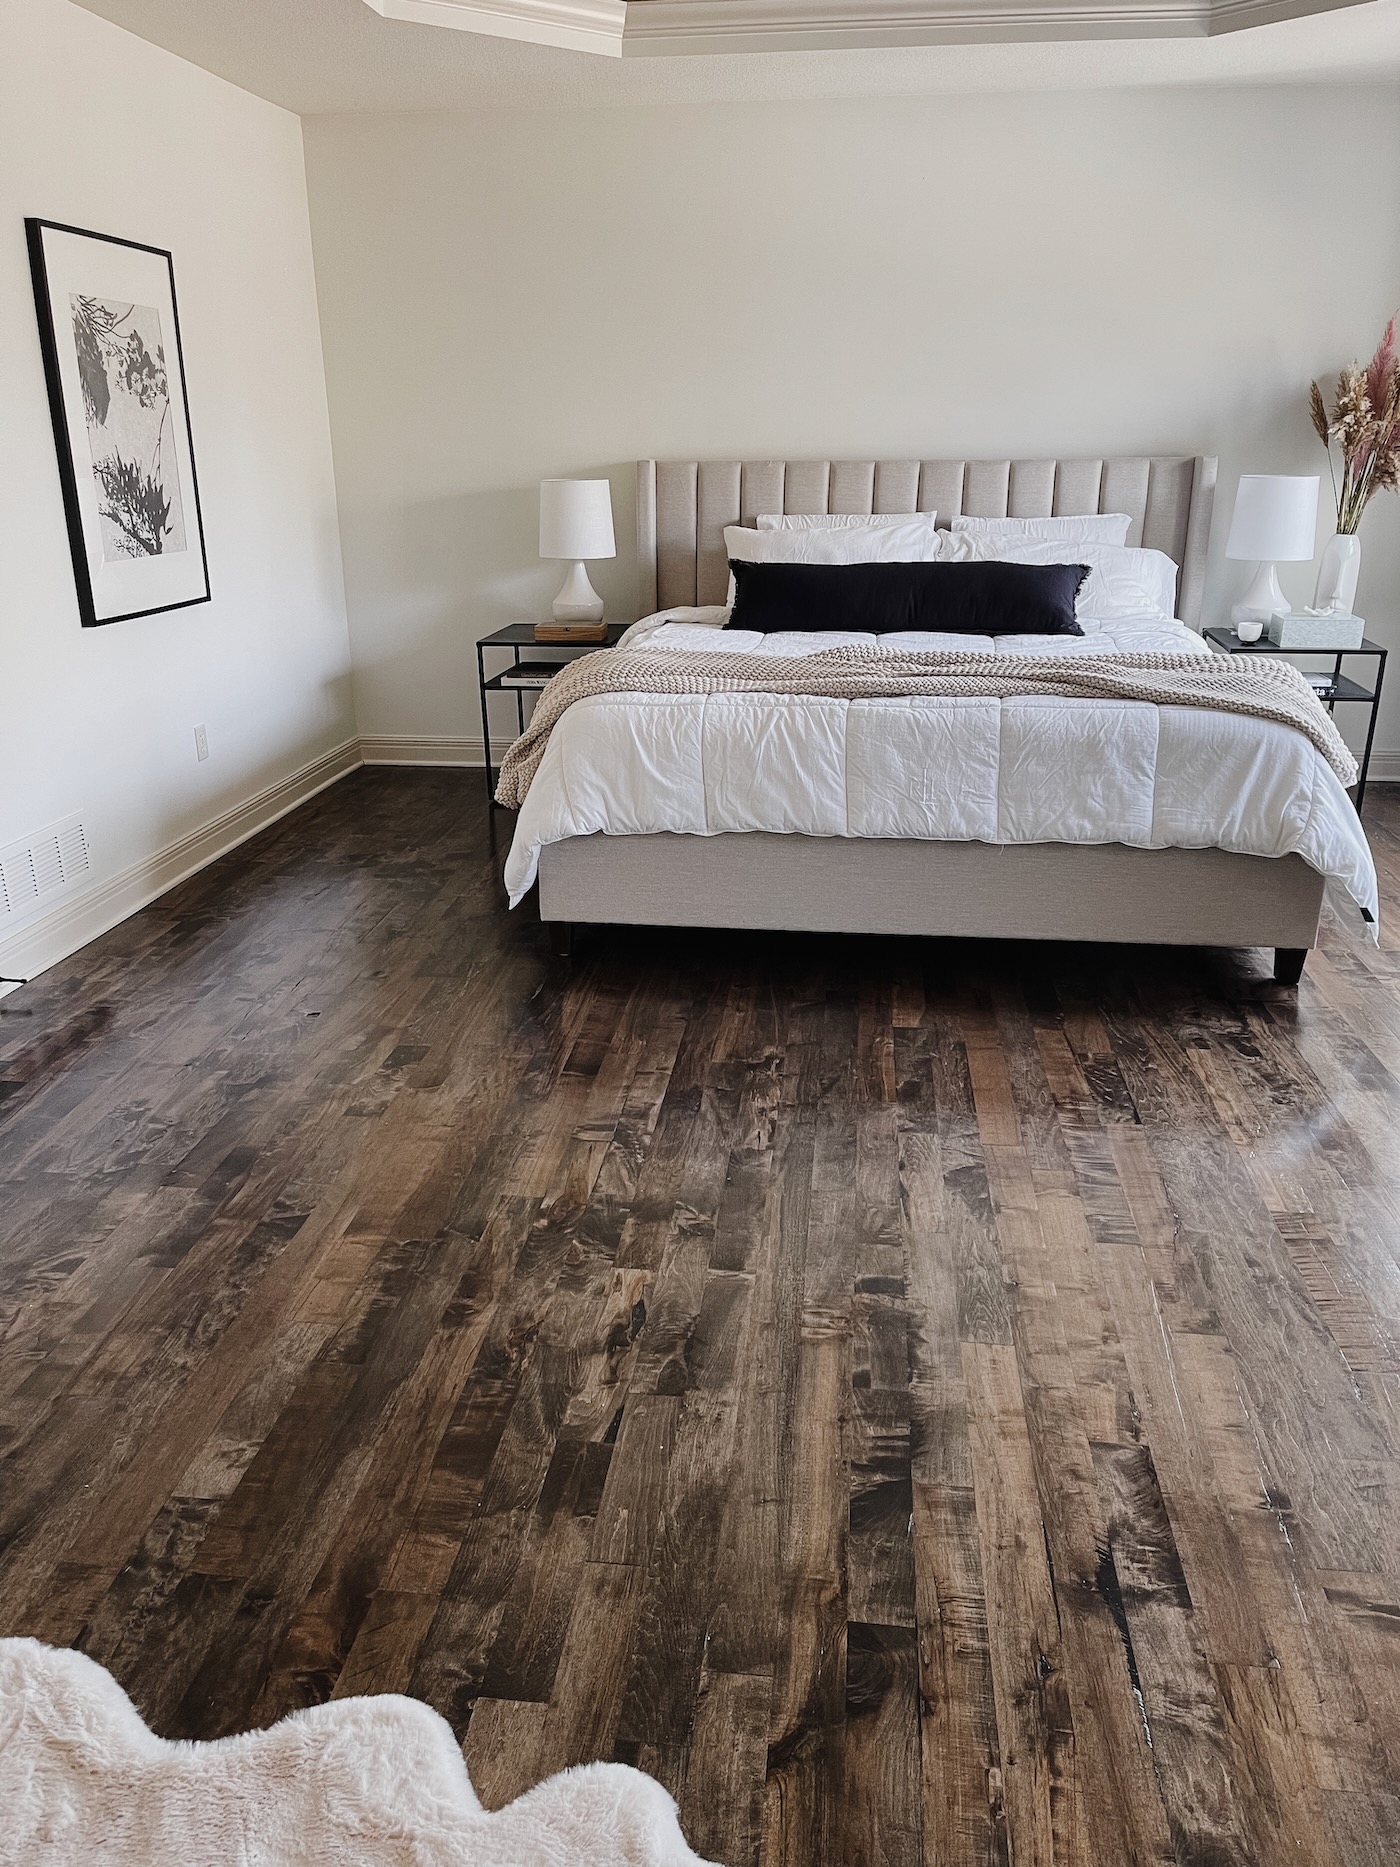
We love small but meaningful updates in our home! Our home is 10 years old and we have always talked about adding hardwood floors in our primary bedroom. Finally pulling the trigger and getting this done feels so good. We’ve had inexpensive builder grade carpet for 10 years. Our primary bedroom is HUGE, so adding dark hardwood floors in the same stain as the rest of the house makes it feel warm and elevated. You can see before photos of the bedroom by clicking here. Here is the look of adding hardwood floors in the primary bedroom.
Getting Quotes
When we finally decided to just go for it with this project, I turned to my trusty Instagram friends and asked for local recommendations on my stories. You all came through! Thank you! I ended up getting three quotes within a few days. PRO TIP: I learned from all of the contractors that came out to do a quote, that January and early February are good months to have work done to your home. They aren’t as busy during this time (post-Christmas, pre-spring), so they can likely get to your project quicker. That was definitely the case with our project as lead times were just a few weeks out.
The three quotes we got were high, medium, and low. Very interesting! This is why you get them! We ended up going with Ralph Miller Quality Hardwood Flooring. They quote came in the lowest and I really liked Ralph when he came to measure and quote. He seemed honest and hardworking. My questions were answered before I could even ask them. I was told our type of wood was in stock and actually affordable at this time! They were also able to start the project within a few weeks. You can find a full list of all the recommendations in this post – these will be local to the Kansas City area!
Prepping the Bedroom
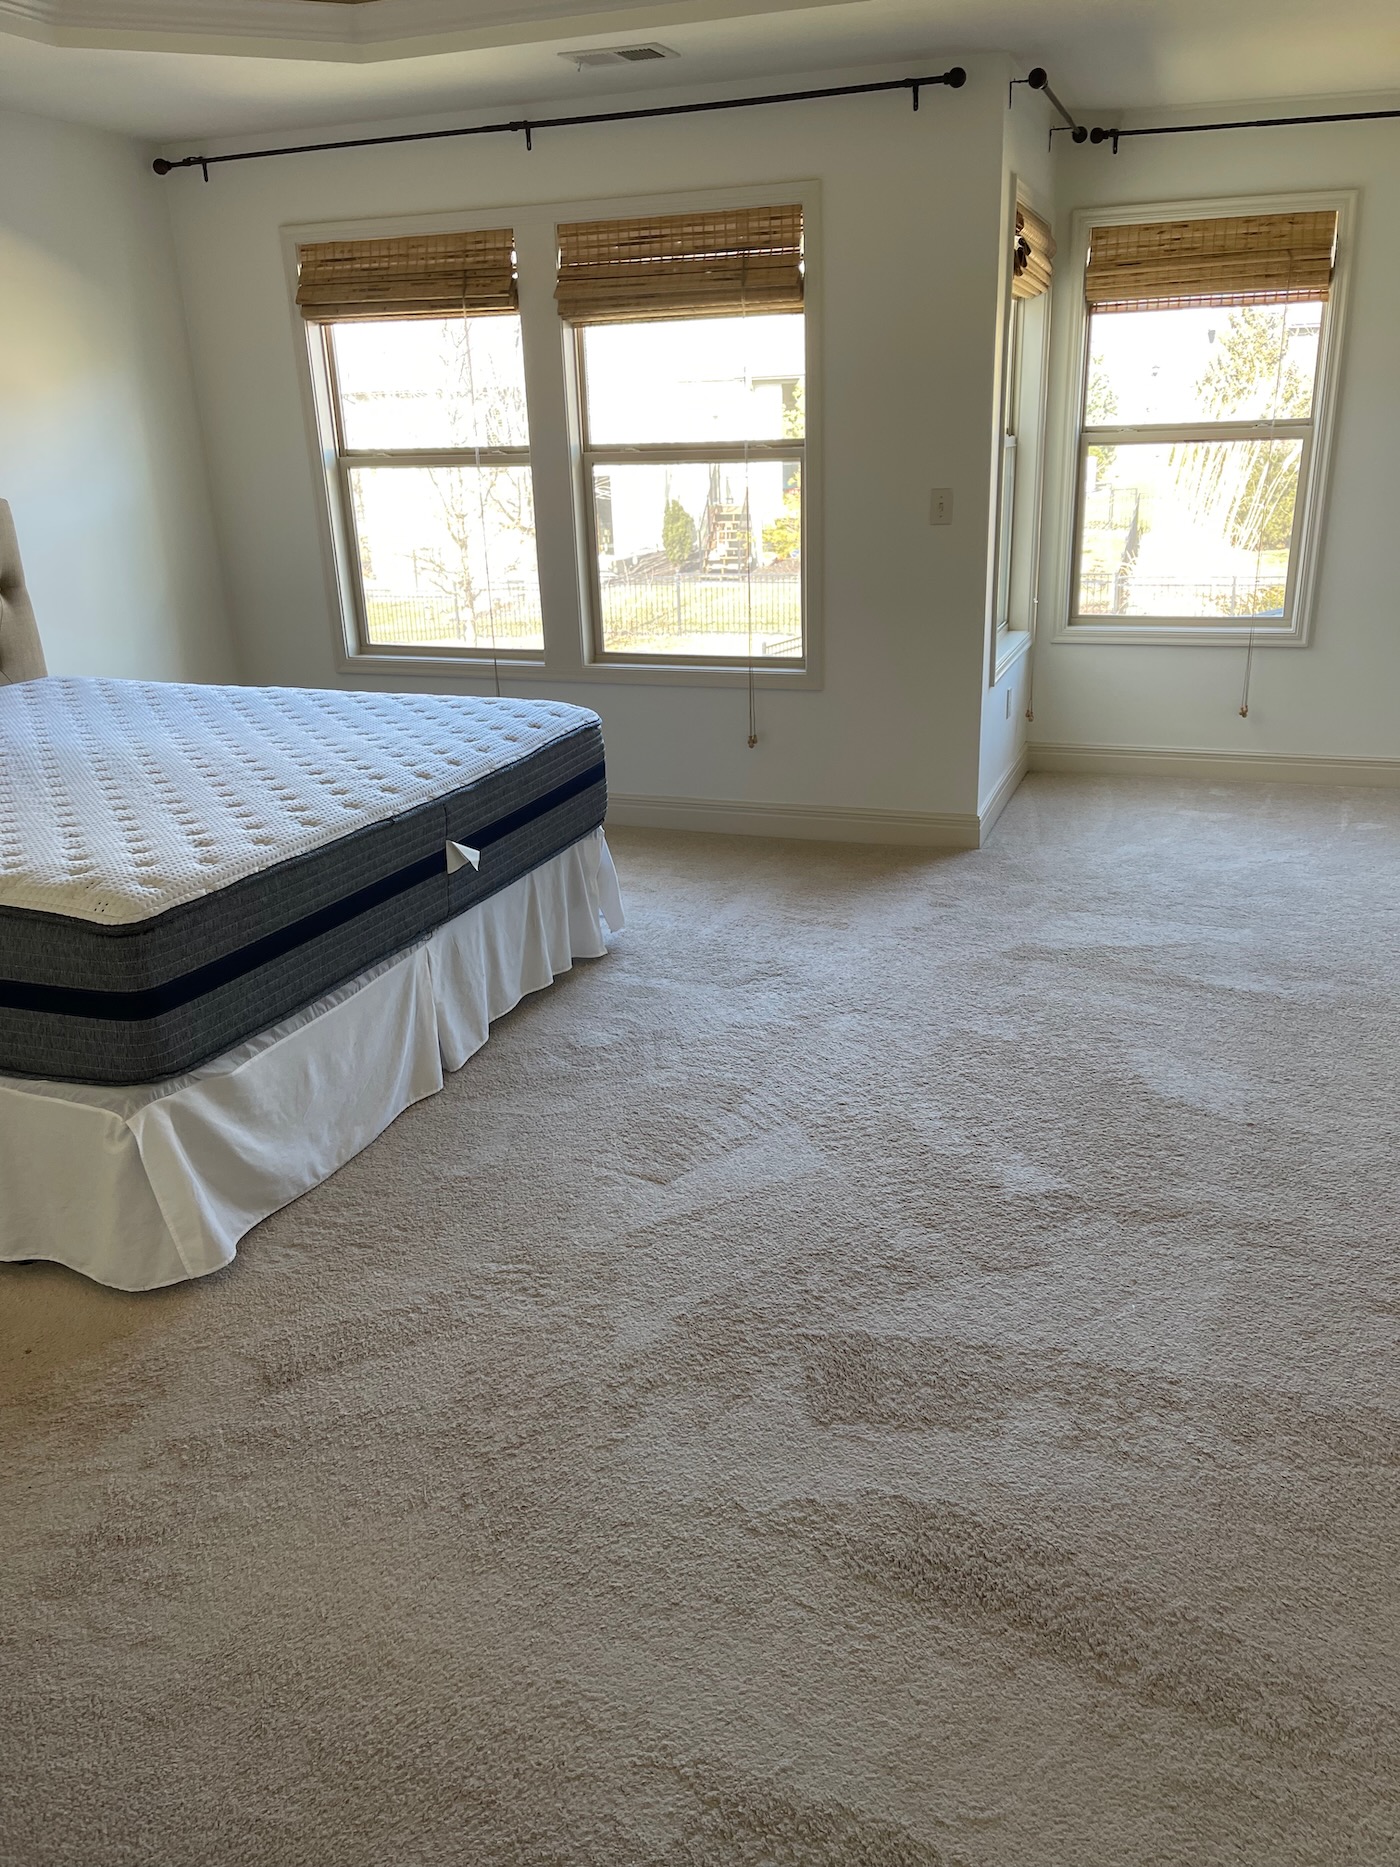
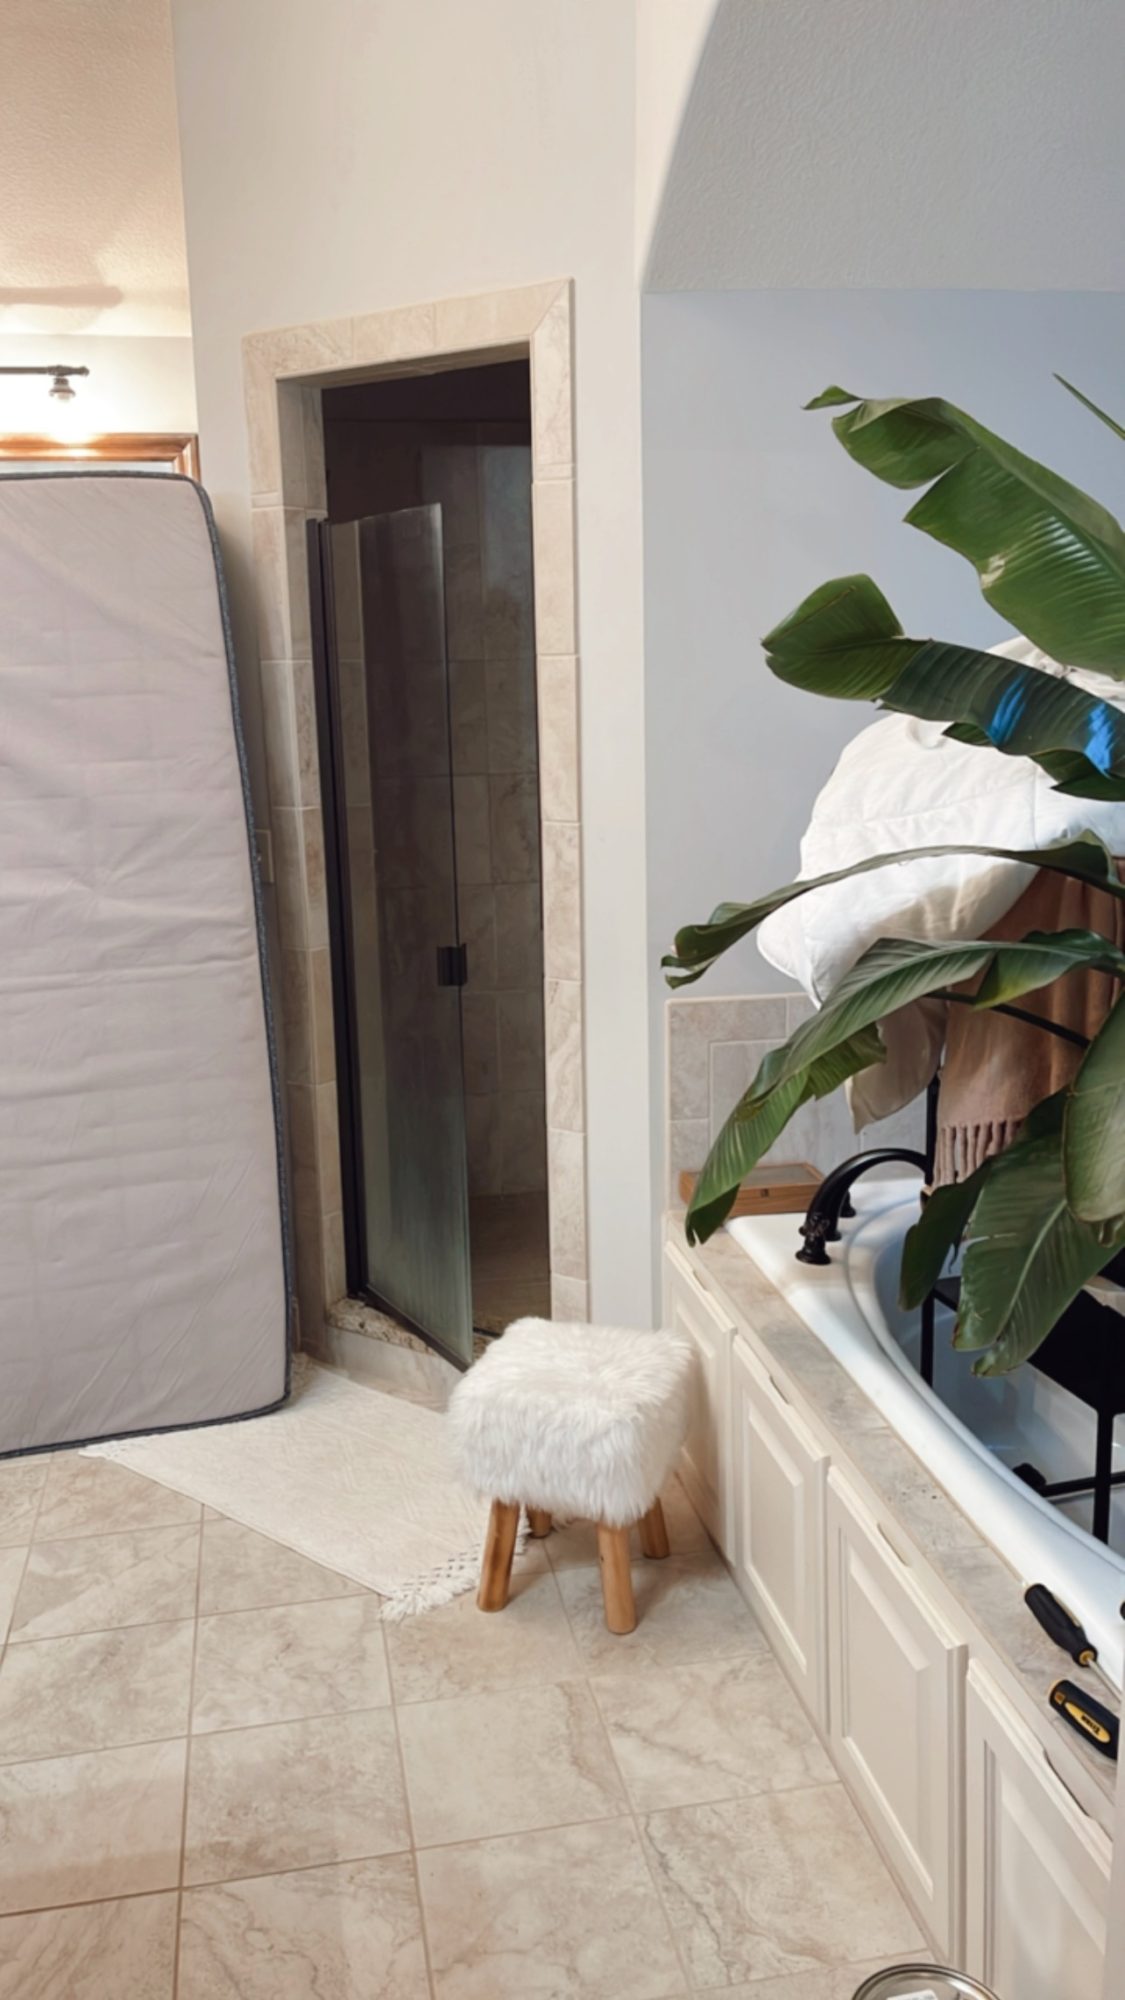
We agreed to move out all of the furniture from the room before they started. This saves you money. I actually sold our dresser and headboard, which meant we only needed to move the mattress, plants, end tables, some rugs, and a large mirror. Everything got displaced to the guest bedroom or our closet/bathroom.
You have to walk through our bedroom to get to our bathroom and closet. We made sure to move all of our toiletries and clothes we would need for the week. Steve slept in the guest bedroom (queen bed), Drew stayed in his room, and I slept in Kate’s queen bed with her. We were actually able to walk into our bathroom a few times throughout the week.
The contractor dropped off the bundles of wood at our home the Friday prior to the start of the project (They started on a Tuesday). I was told the wood needed to acclimate to our home temperature for a few days.
The Process of Getting Hardwood Floors
Day 1:
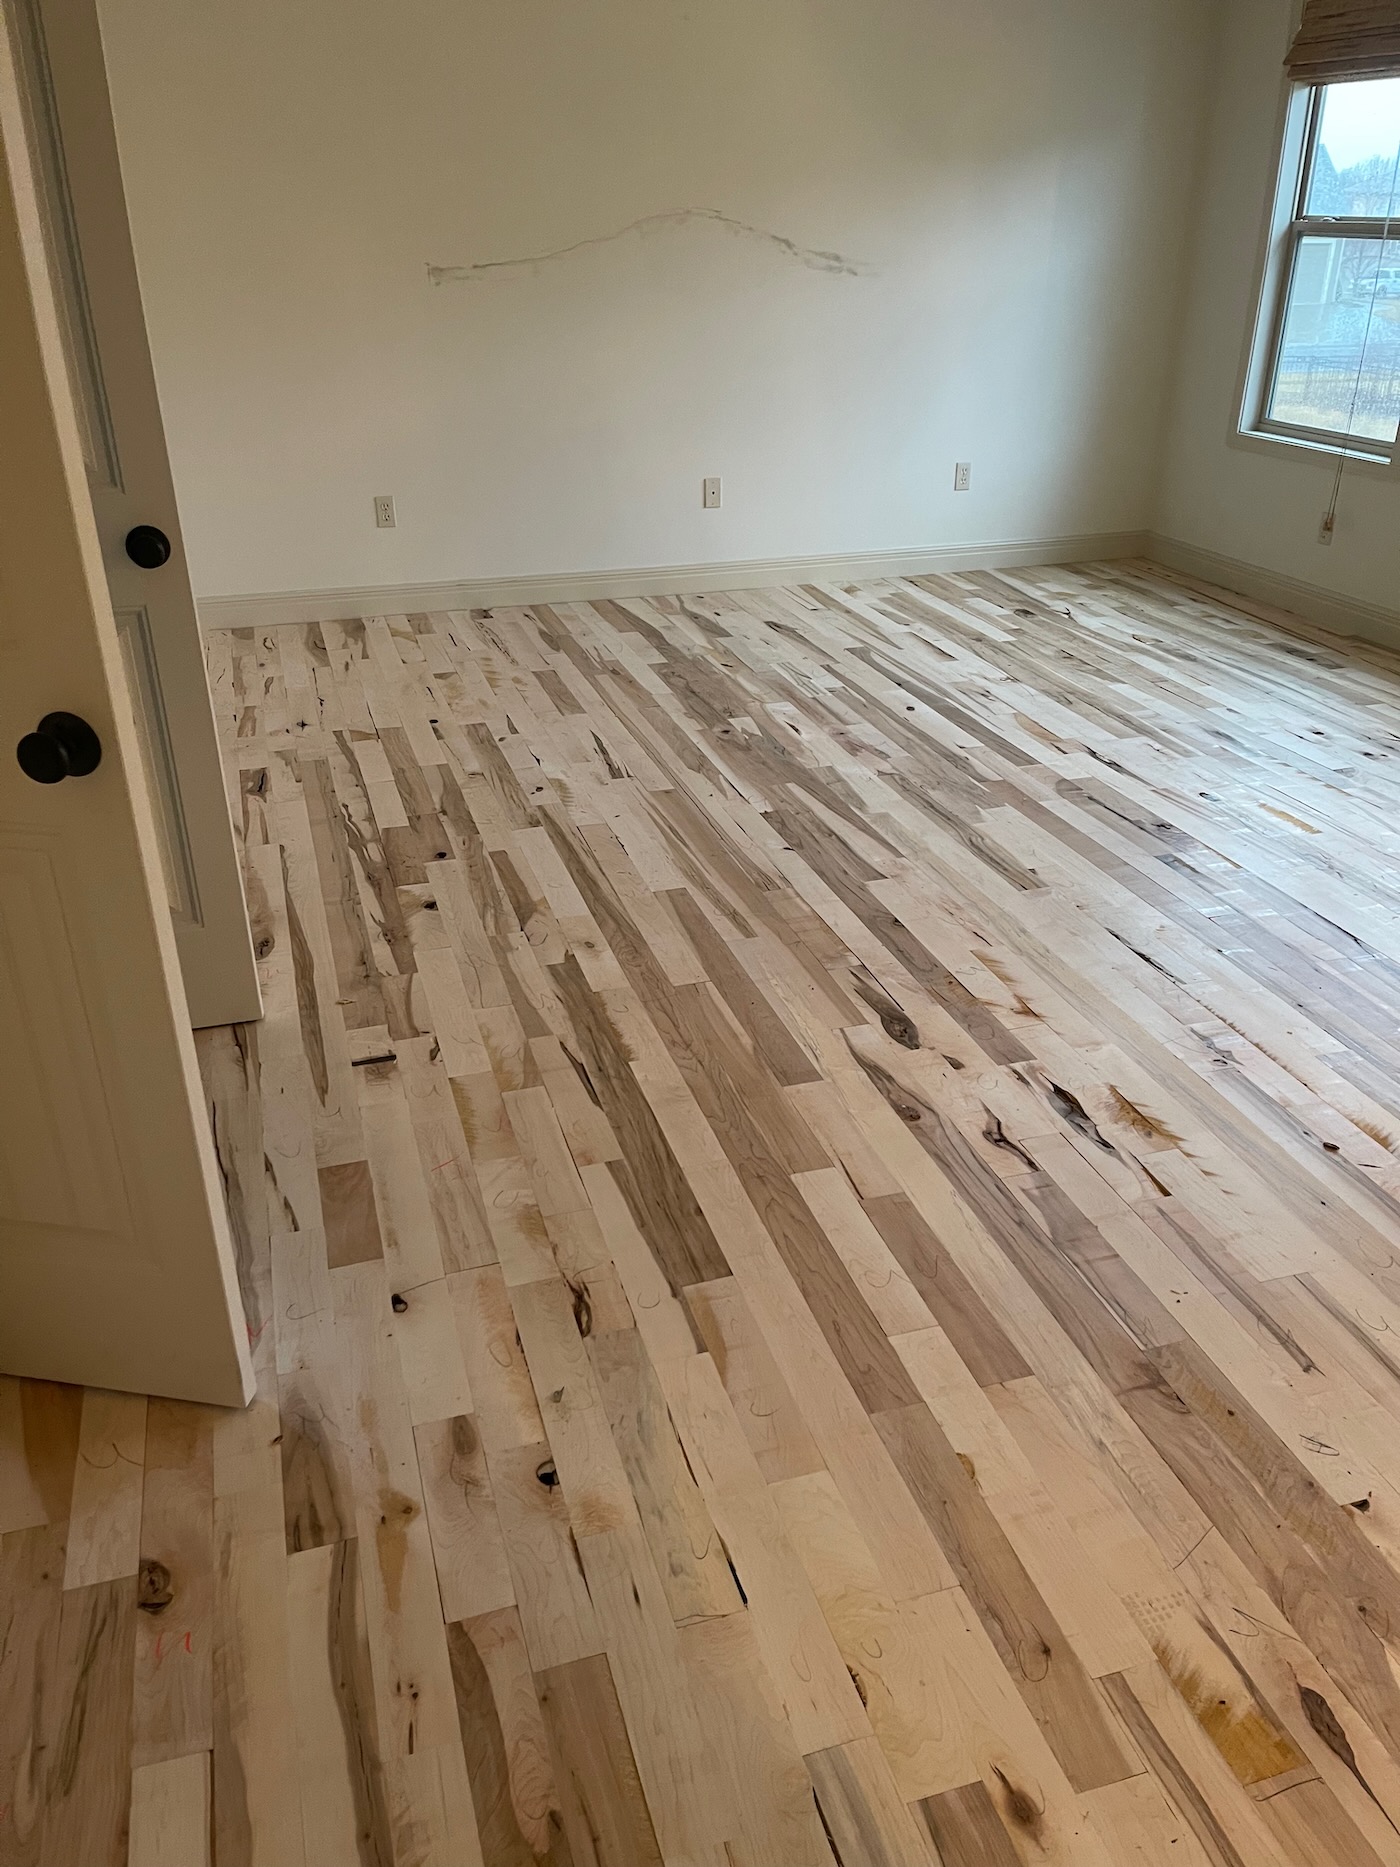
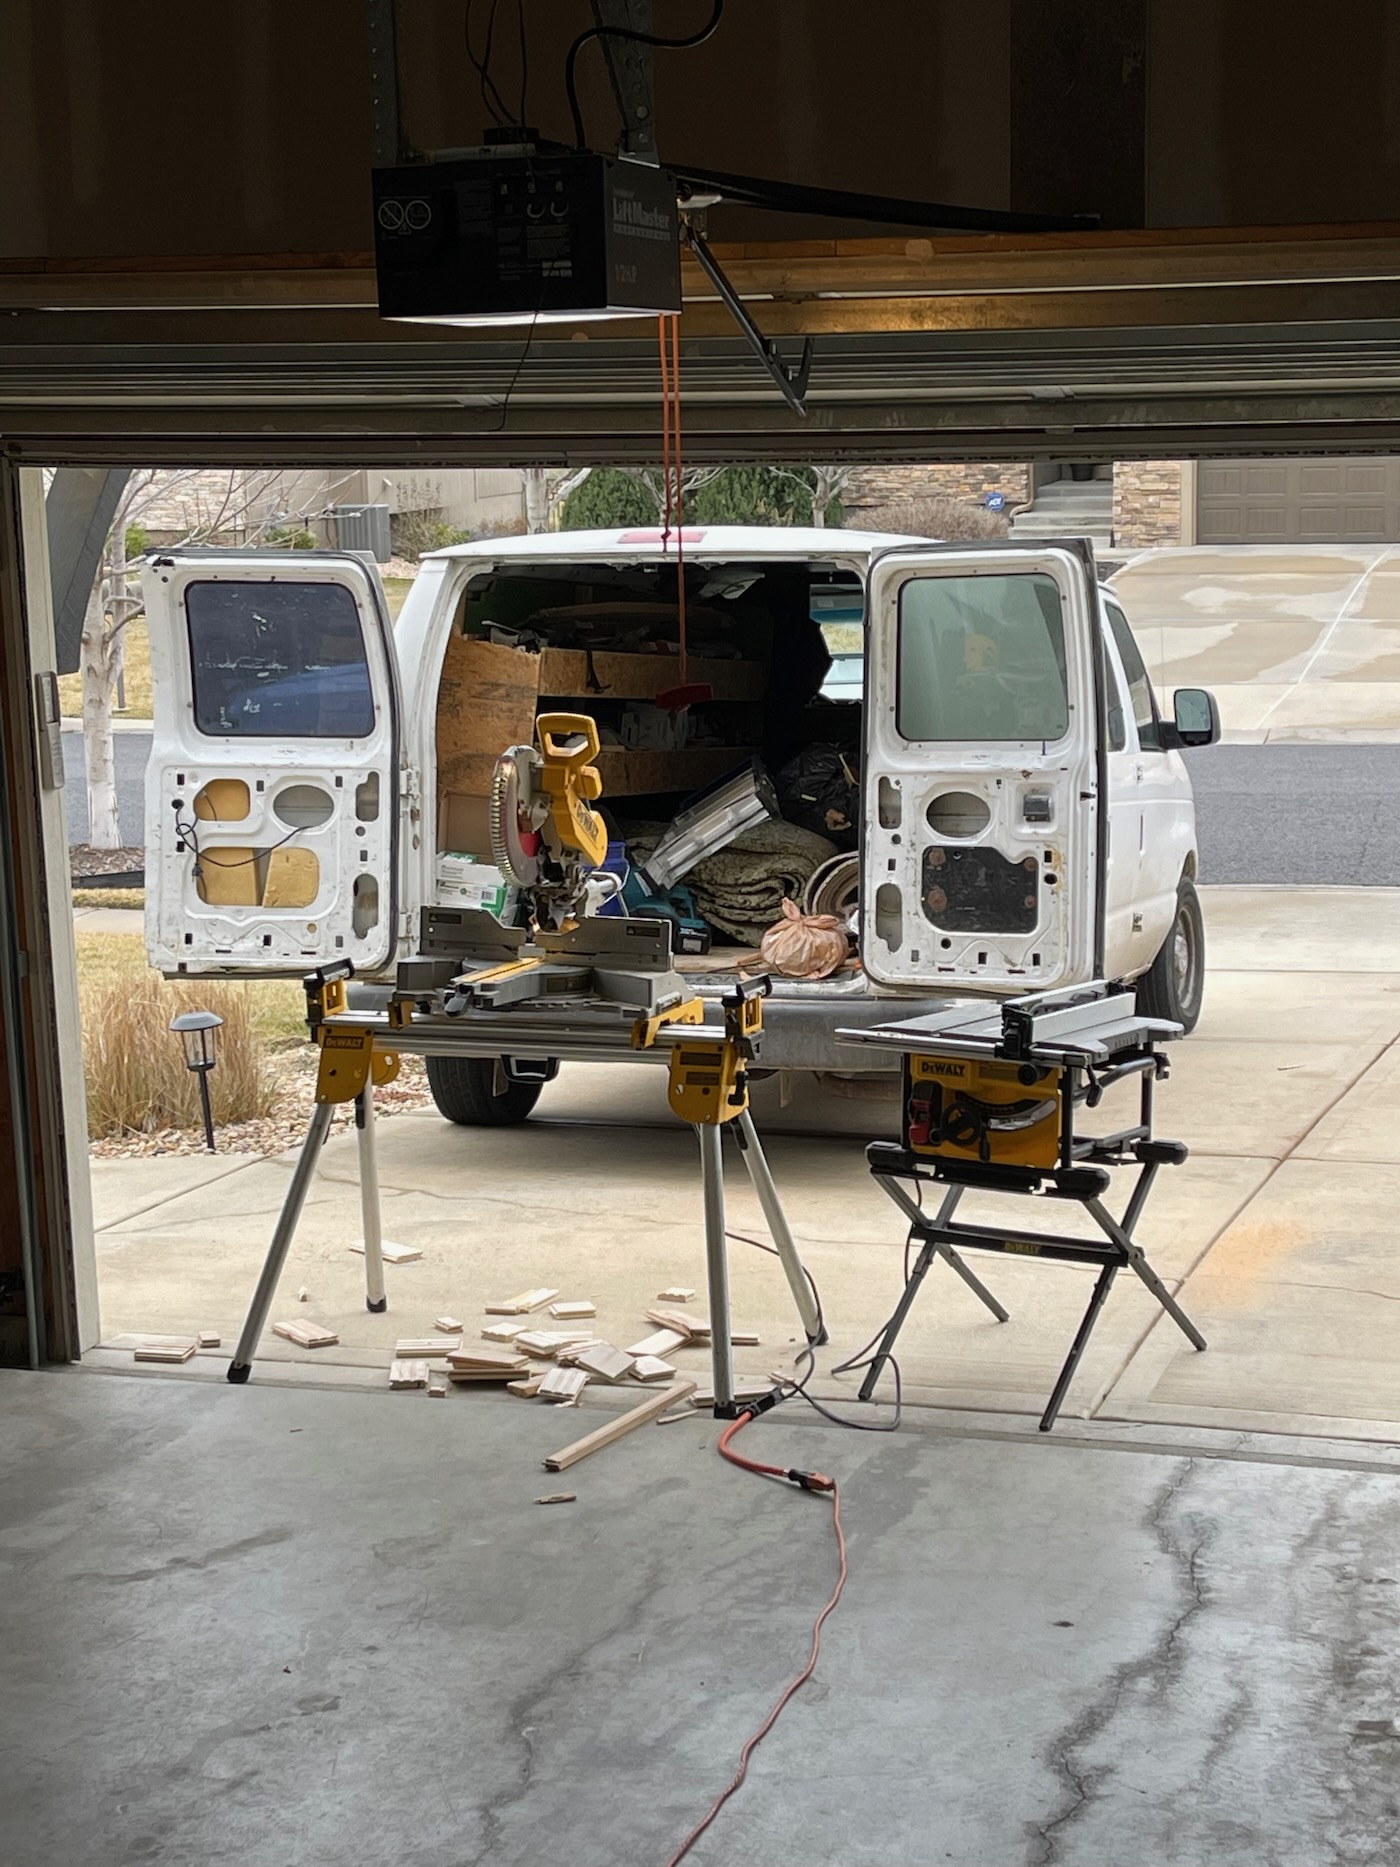
On day one, the carpet was ripped out and the hardwoods were installed. They haul away the carpet. A saw was set up in our garage area for them to work. My only advice is to make sure your carpets/floors are covered because we had guys in and out of the house all day.
Day 2:
This is sand and stain day! If you already know what stain color you want/have, this part will be easy. Trying to match an existing stain or coming up with something new might take a little longer! Once stain goes on, you cannot walk on it. As mentioned before, this was the stinkiest of all the days. Wood type and stain color at the bottom of post in FAQ section!
Day 3:
One coat of water based sealer gets applied on day 3. This is a lower sheen. This goes fast.
Day 4:
The small piece of trim around the baseboards was painted and added. They will lightly sand the floors again, and add the final high gloss top coat. Essentially the job is now done!

Day 5:
You can finally walk on your floors with socks on! Woo hoo!
Day 6:
Furniture can be moved back in! Because we were advised to hold off on adding large rugs for a few weeks, you won’t see our large rug moved back in yet. We were told the sealer would need a few weeks to really cure.
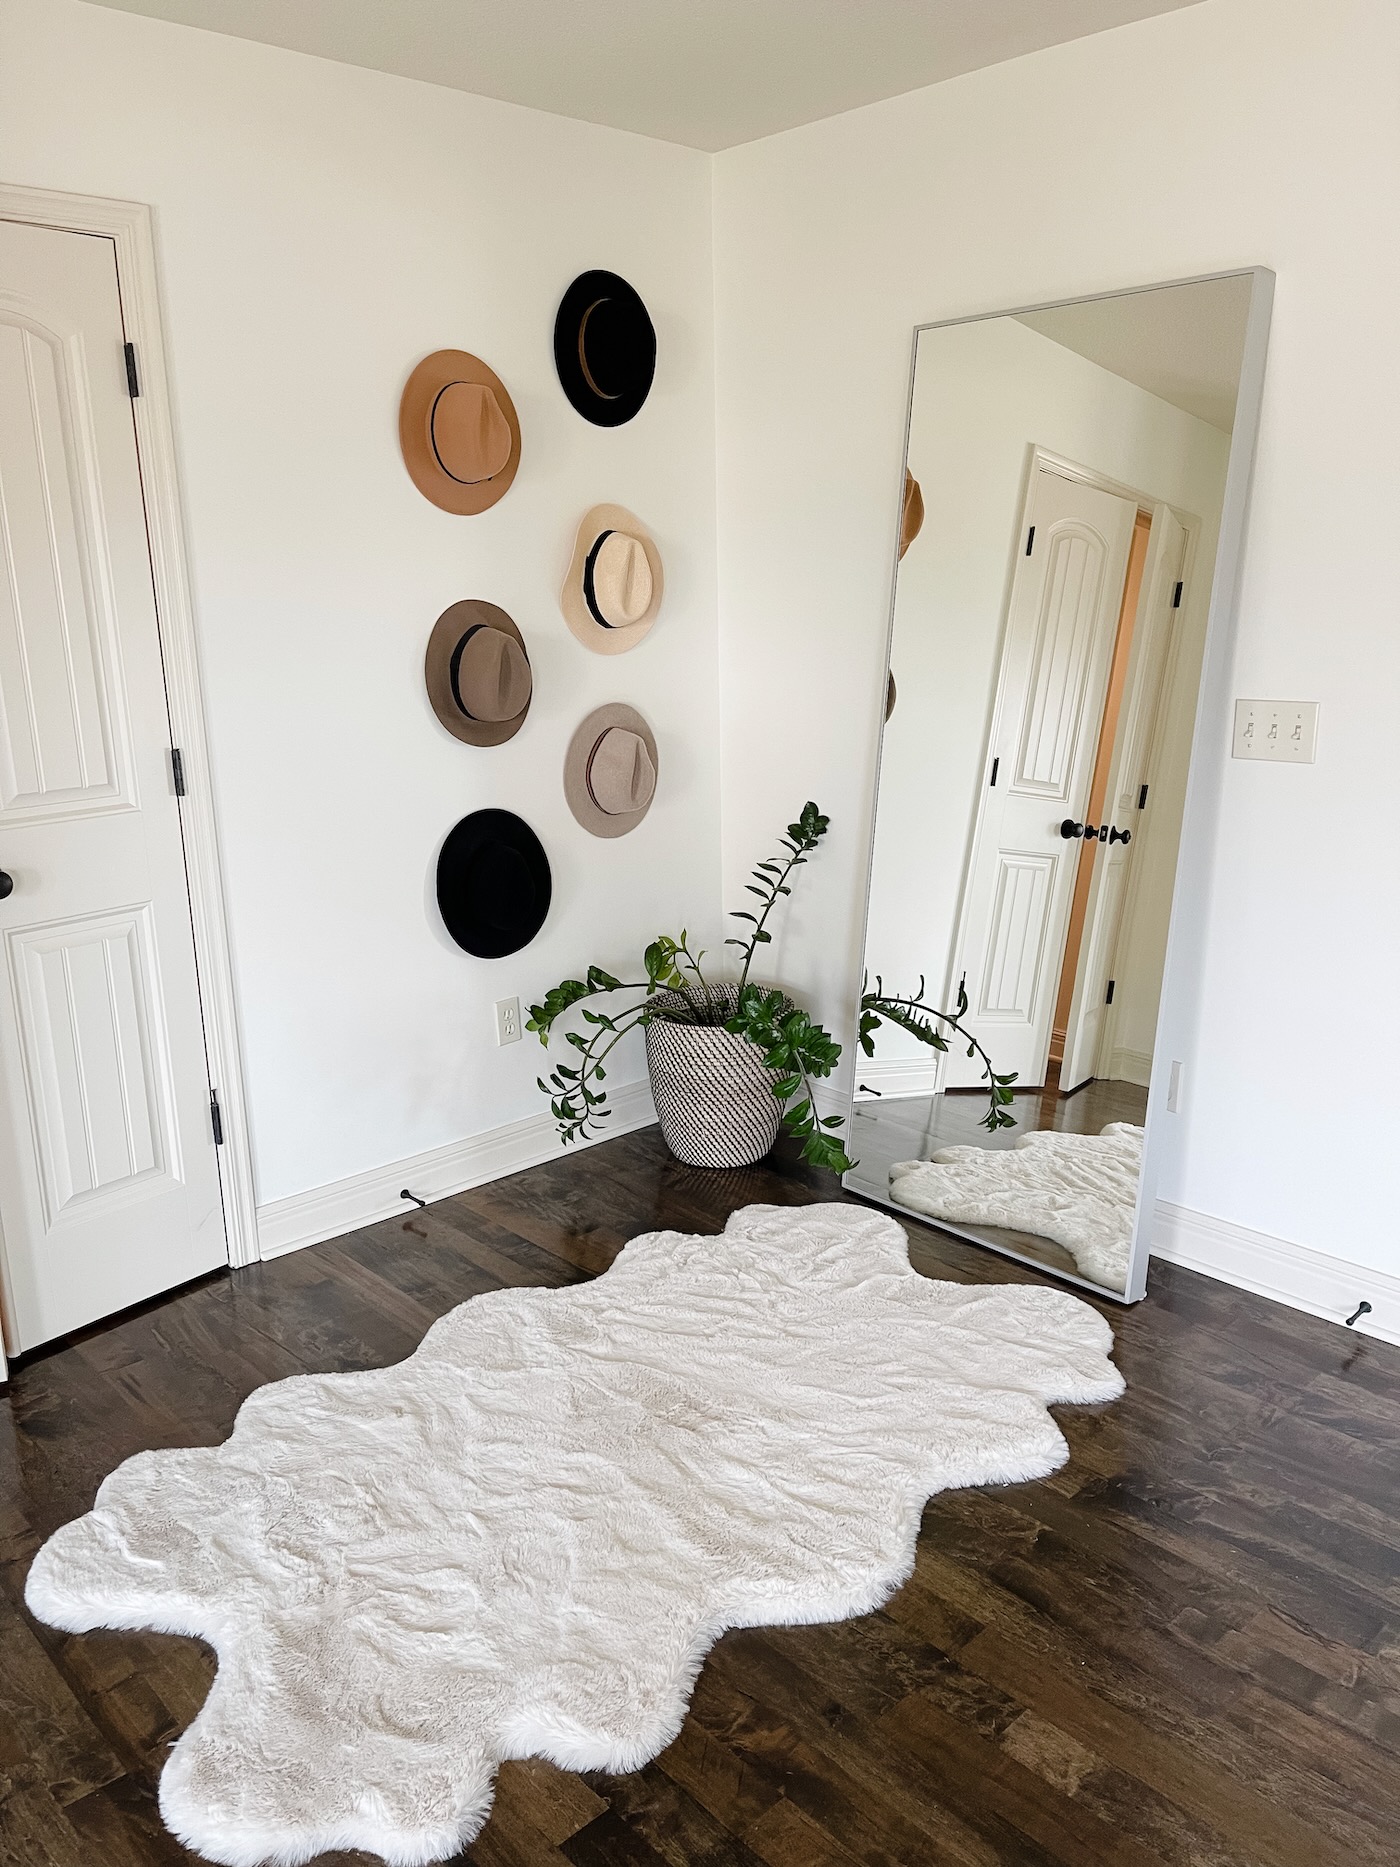
After Photos
We purchased a new bed frame/headboard and are still waiting on a new dresser to arrive. I’m hoping to add trim behind the bed soon and we still need to wait a little while longer to put our large rug underneath the bed. Still deciding if we will add a little seating area where the plants are! I’ll do a separate post when the room feels more “done”!
FAQs About Adding Hardwood Floors:
- Cost: This will obviously depend on the size of your room, the wood you choose, etc. Full disclosure, this project cost us $3400. This was the low end quote of the three we received.
- Smell: We were told the smell would be the worst on the stain day. It was definitely stinky, but we all still slept upstairs that same night. The top coat days were not as bad as stain day, but still had some odor. We slept in our home every night, on the same floor as the project, and it just wasn’t a big deal for us.
- Dust: There was some dust, and of course, we had to wipe things down afterwards, but nothing crazy! They did a good job of cleaning this all up. I was not overwhelmed by dust at all!
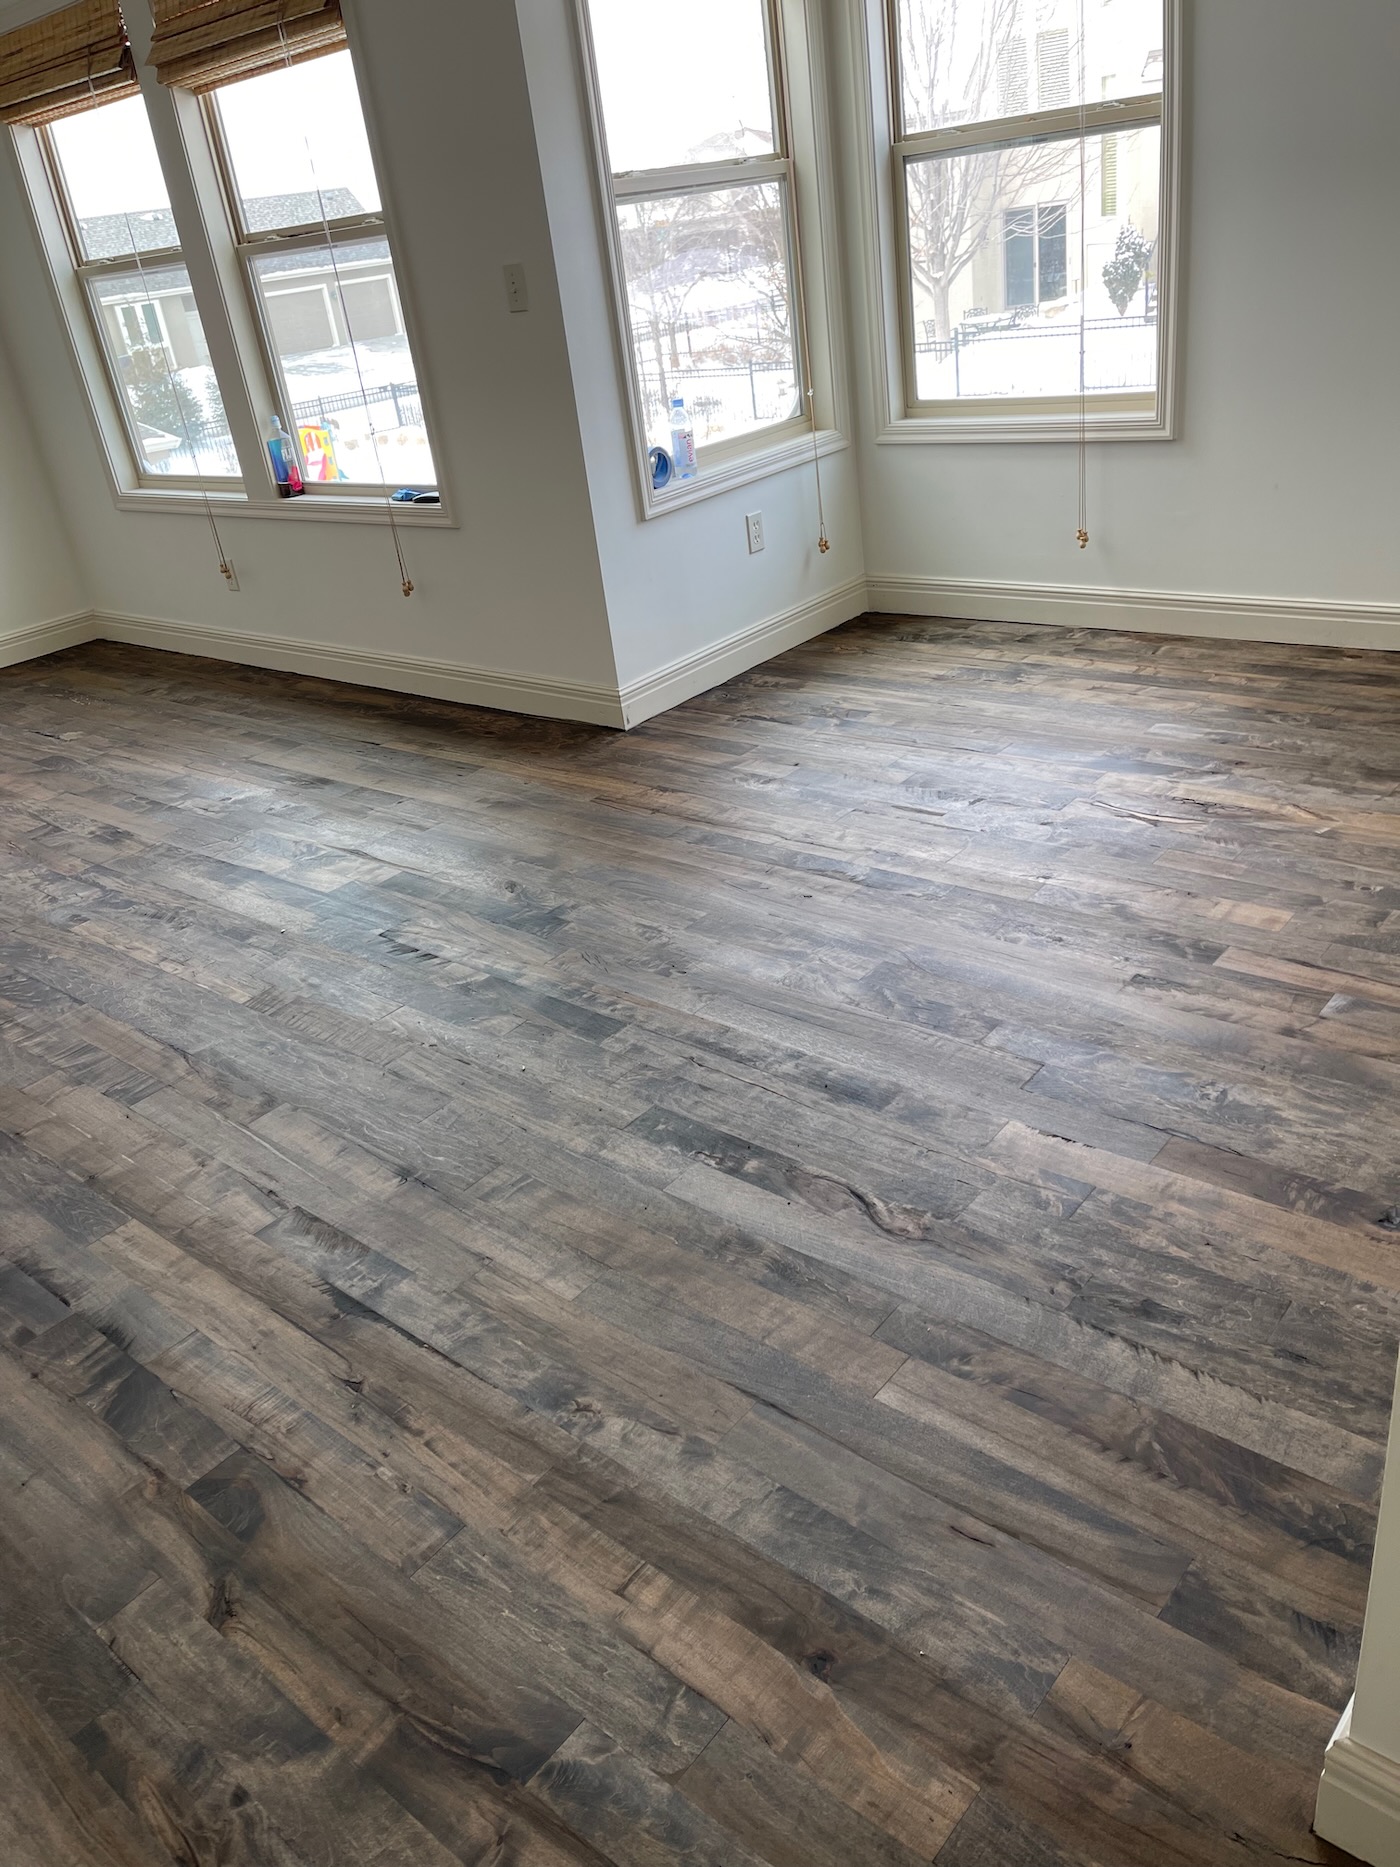
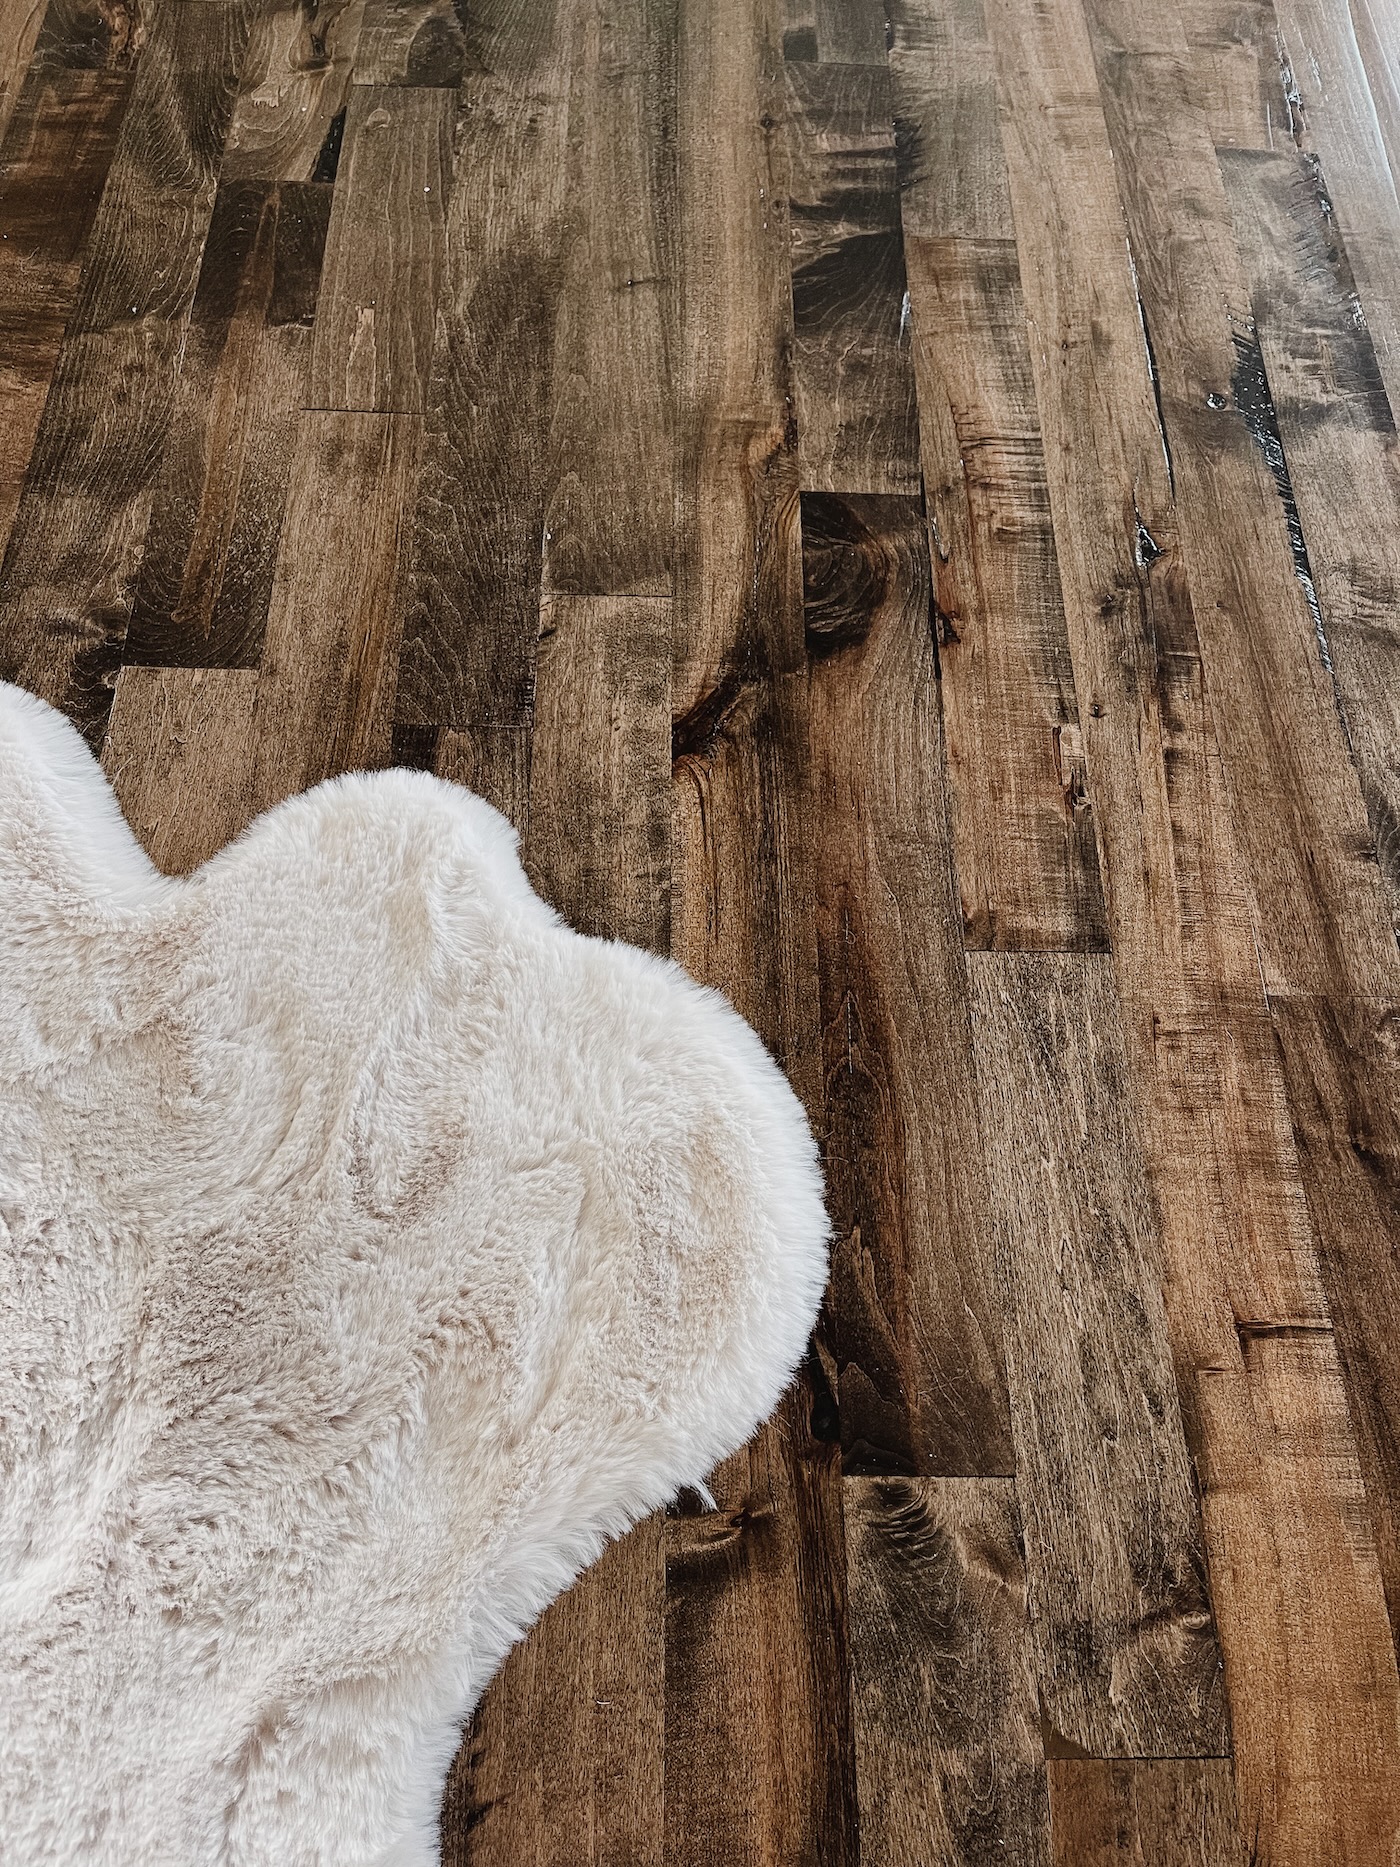
- Wood Stain/Sealer: Because we have hardwoods throughout the rest of our home, we decided to keep the stain color uniform. The floors are one part Ebony stain/one part Special Walnut. One coat of stain goes on, and three coats of water based sealer. This room gets a lot of natural light, so they look lighter during the day, and darker at night.
- Type of Wood: As with the rest of our home, we continued with Rustic Maple hardwood in our bedroom.
- Baseboards: Our existing baseboards were not damaged at all. They had to add and paint a small piece of trim at the base of the floors after removing the carpet.
Overall, we were pleased with our experience and love the end result! Adding hardwoods in the primary bedroom was worth the week of being displaced from our room. I think hardwoods add value to a home and make the whole space look and feel elevated! xo