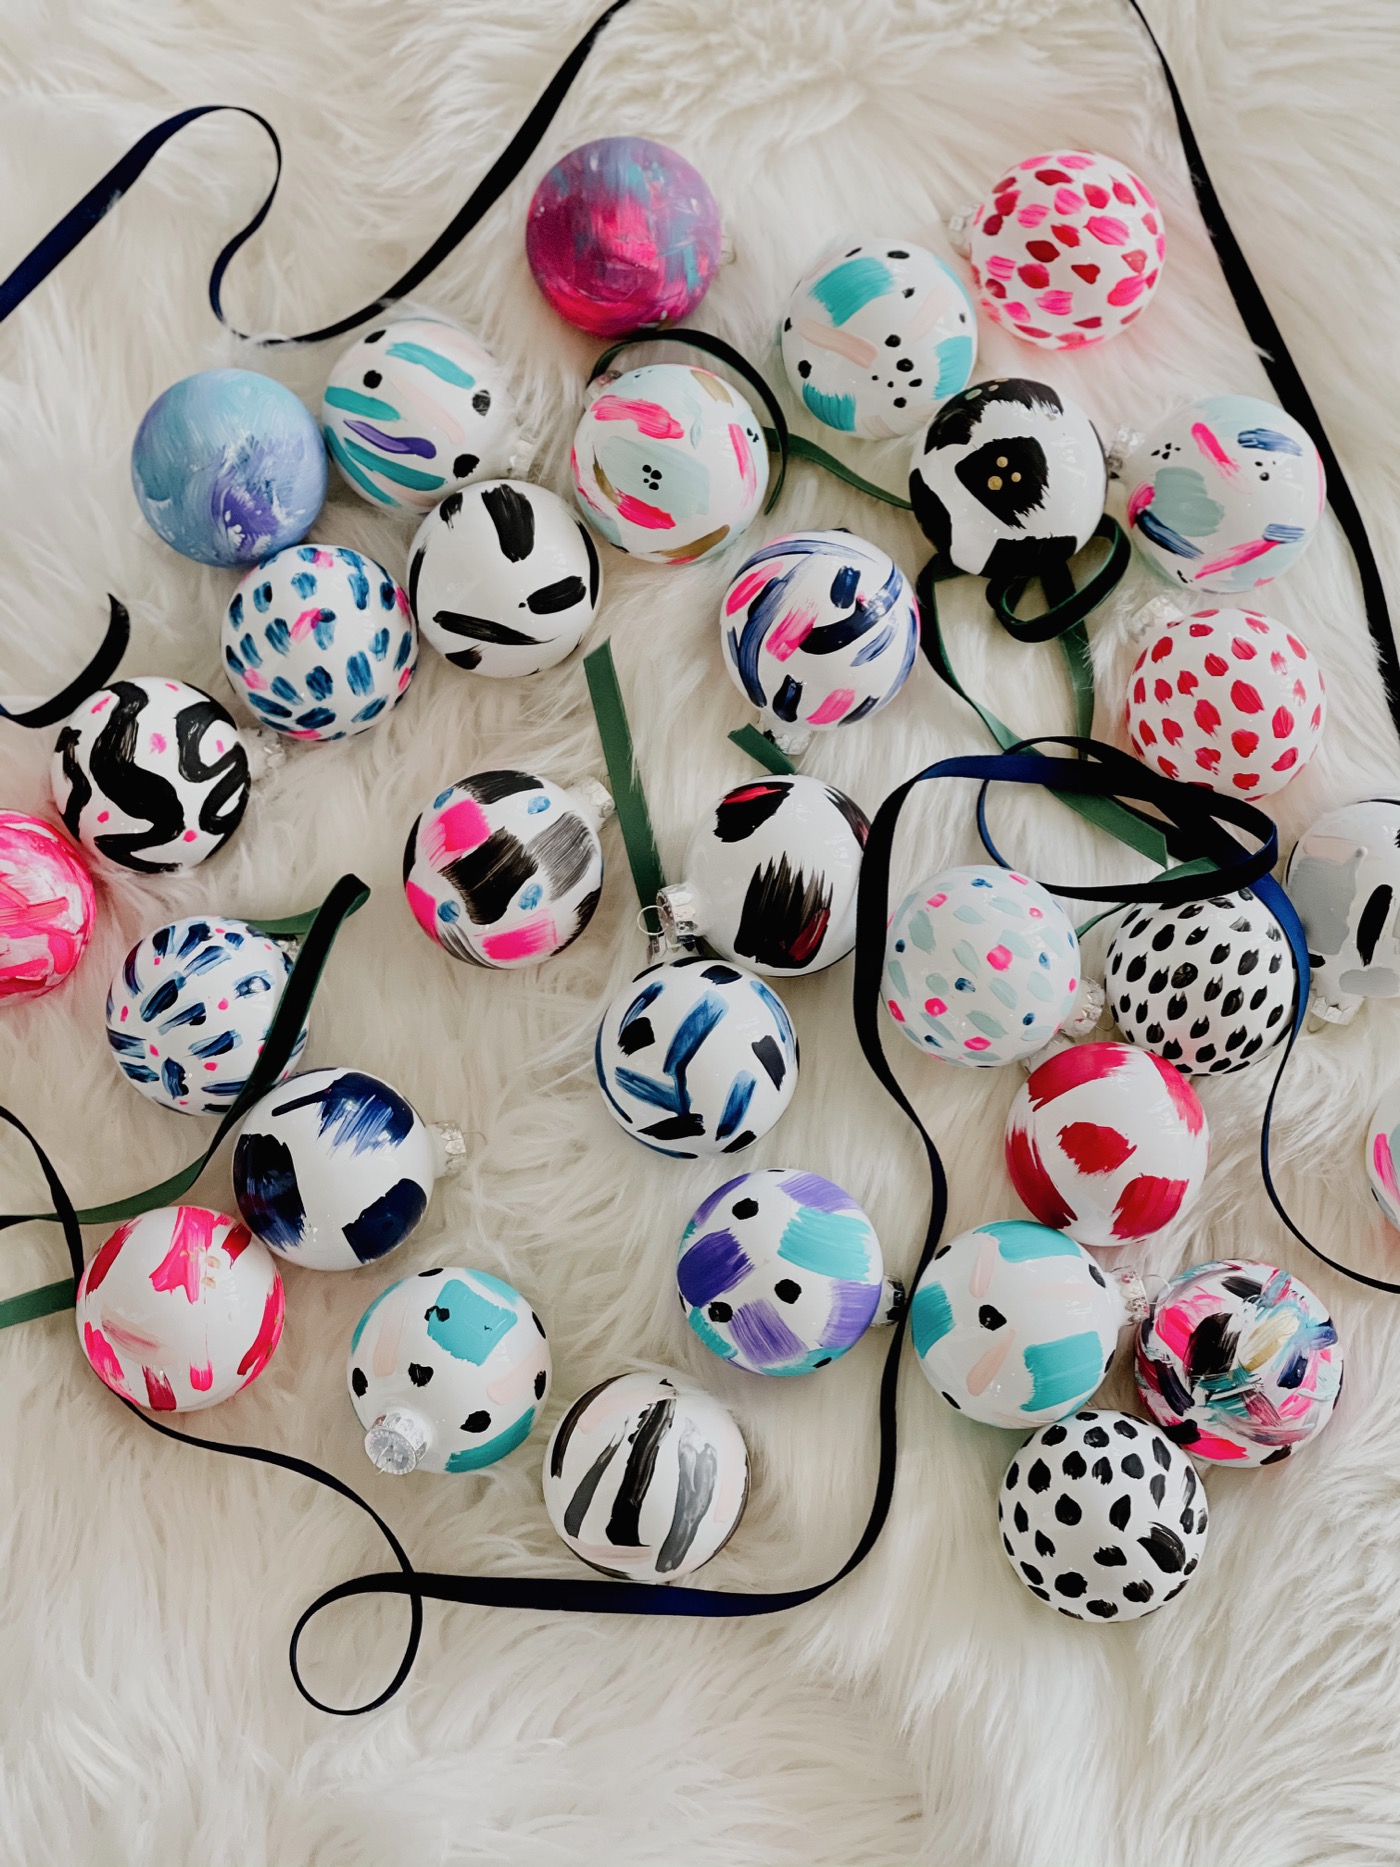
First off, I’m a bad blogger and didn’t take process or progress photos! Ahhhhhhh! I did take photos of all the completed DIY abstract painted ornaments though! And I’ll link all the of materials you need at the end of the post. The kids and I painted these ornaments last December (during Covid) and I absolutely LOVE the way they turned out! I now want a whole tree decked out in these!
Gift Giving
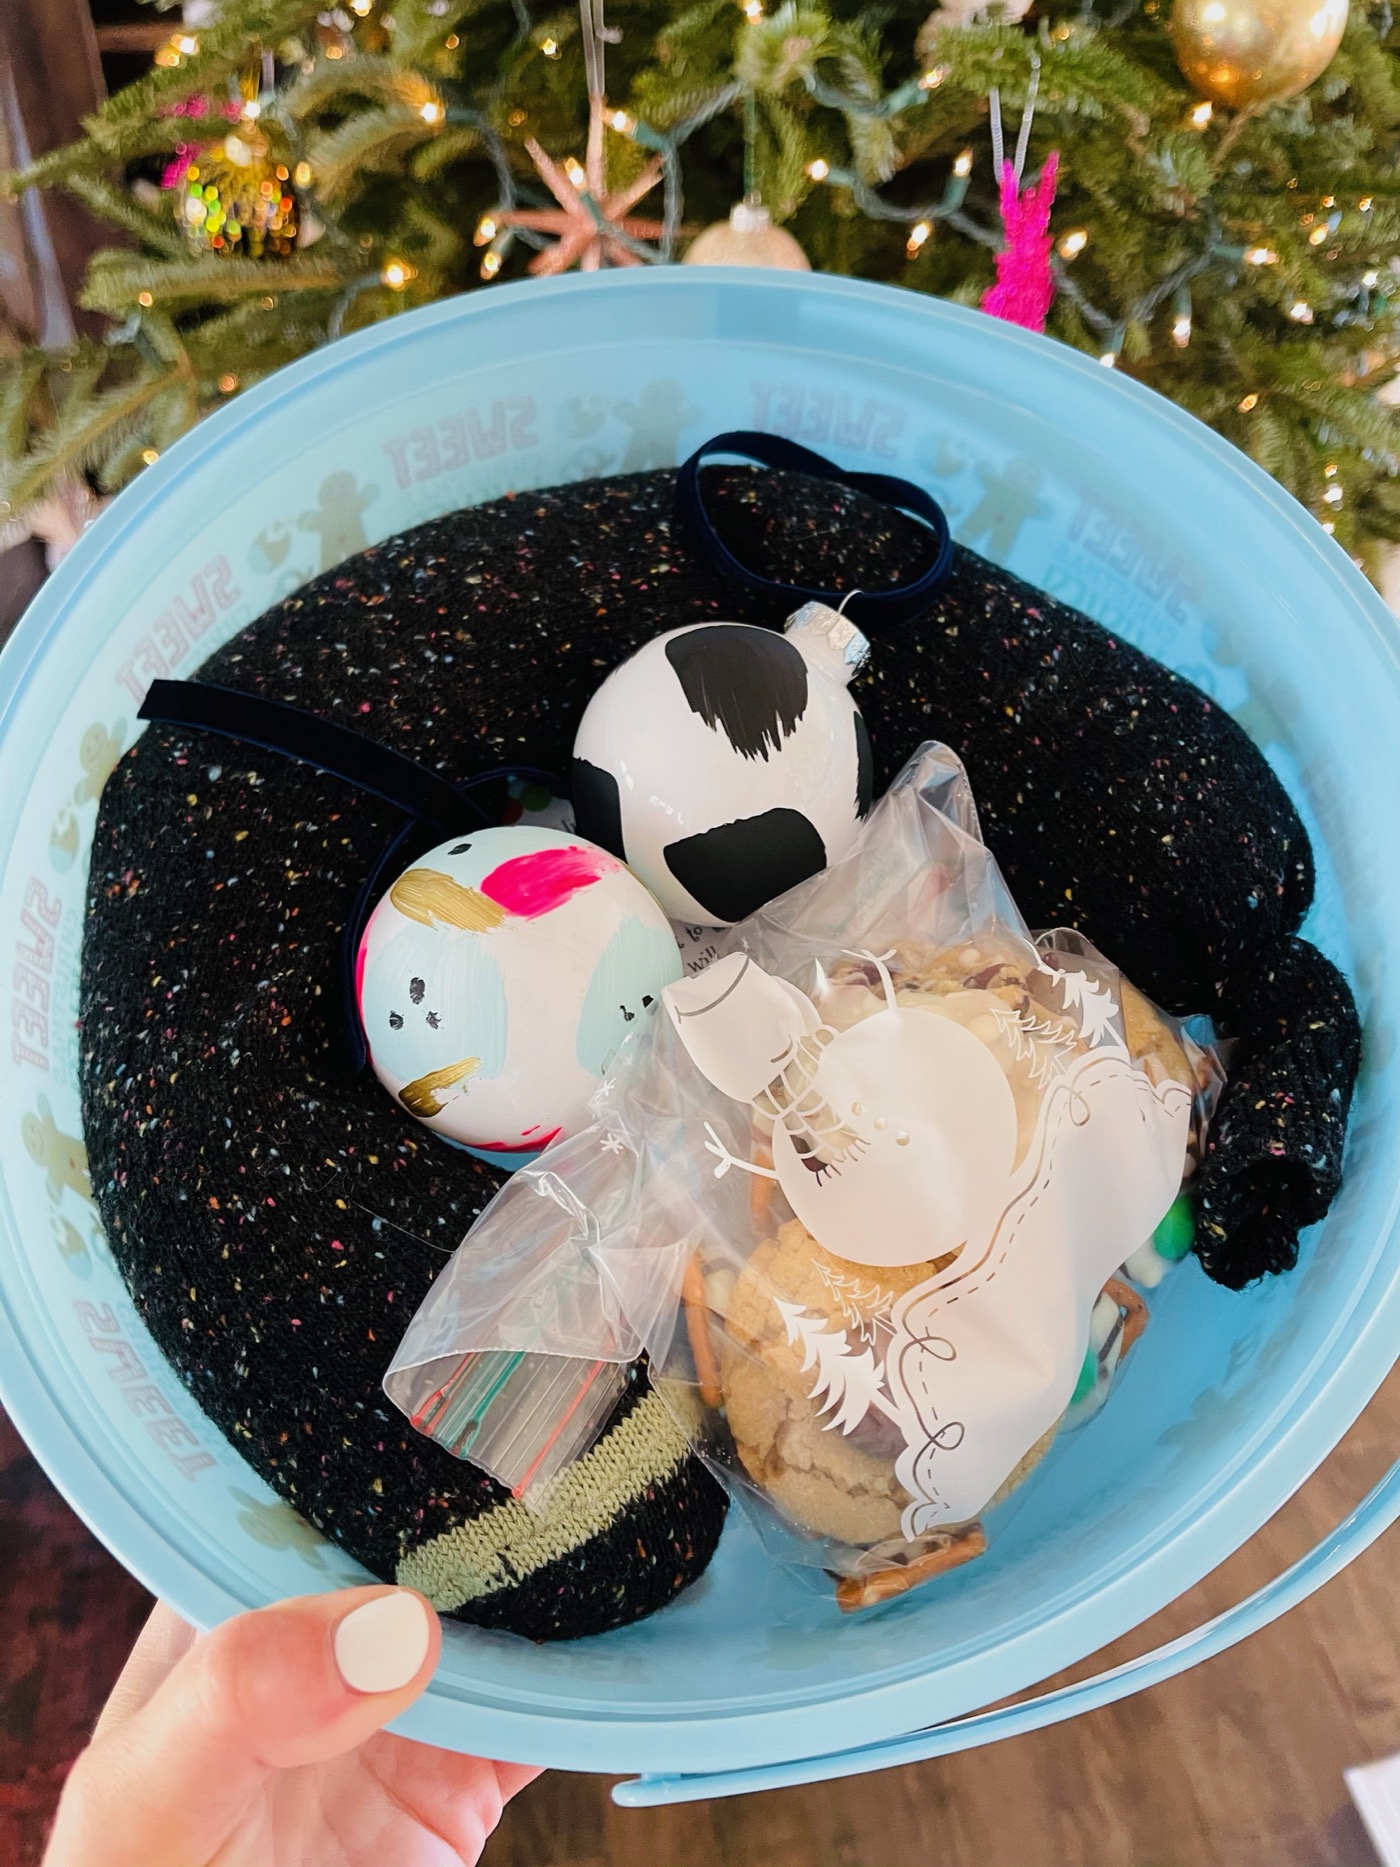
We actually painted so many of these, first off, because it’s fun, but also because we gave them as gifts to neighbors, friends, and family. I love the idea of giving something homemade! Of course we had to keep a few for ourselves too. We packaged up the homemade ornaments, treats, and rice socks to give to our friends. Dollar Tree was selling these plastic, festive containers which we perfect for delivering our gifts in!
Supplies Needed:
- White glass matte ornaments (you could use clear or colored too, but the colors really pop off of the white)
- Acrylic paints (we used what was in our stash, but you can find these paints at places like Walmart for under $1)
- Craft brushes (we used different sized brushes to create different brush strokes, dots, etc.)
- Paper plates (use to squeeze the paint onto)
- Water rinse cups
- Hangers (we used plastic hangers to hand the wet ornaments on while drying)
- Ornament hooks (attach these hooks to the ornaments and then to the long part of the hanger to dry several at a time)
- Ribbon (use any ribbon or twine to hang your ornaments – we used velvet because velvet is always a good idea!)
The Painting Process:
- Simply hold your ornament by the top silver part.
- Squeeze out the colors you want to use and start painting! Acrylic paint dries pretty quickly which is good for layering colors.
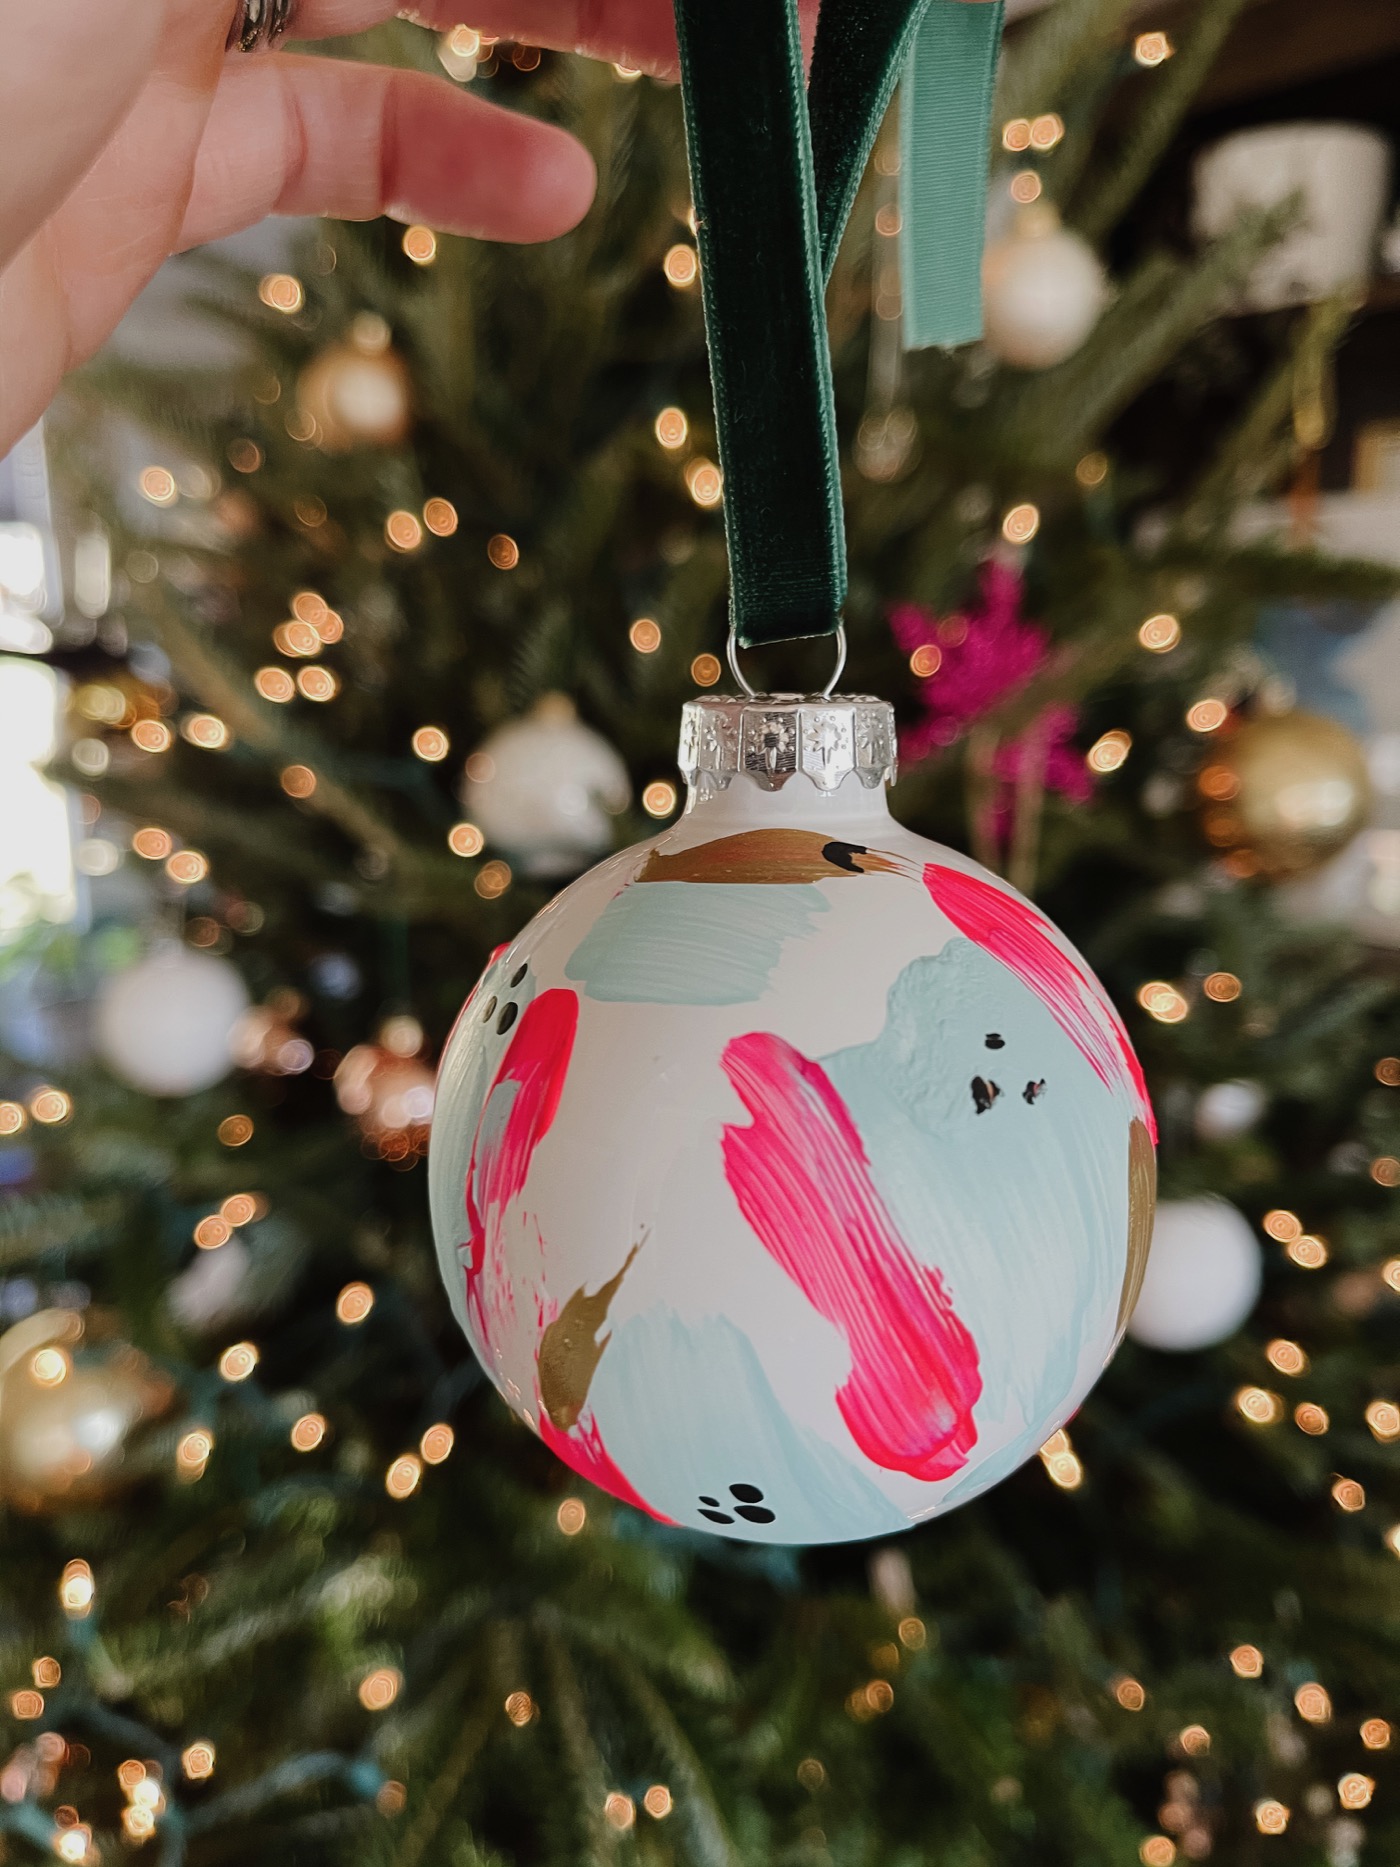
- Use a variety of color combinations and paint brush strokes and dots to get that abstract feel. We really had no game plan, we just went for it!
- Getting in on this creative process is perfect for all ages!
- Once done, hang the ornament from a hook and find somewhere let it dry. We used the long part of a plastic hanger to hang 4-5 at a time.
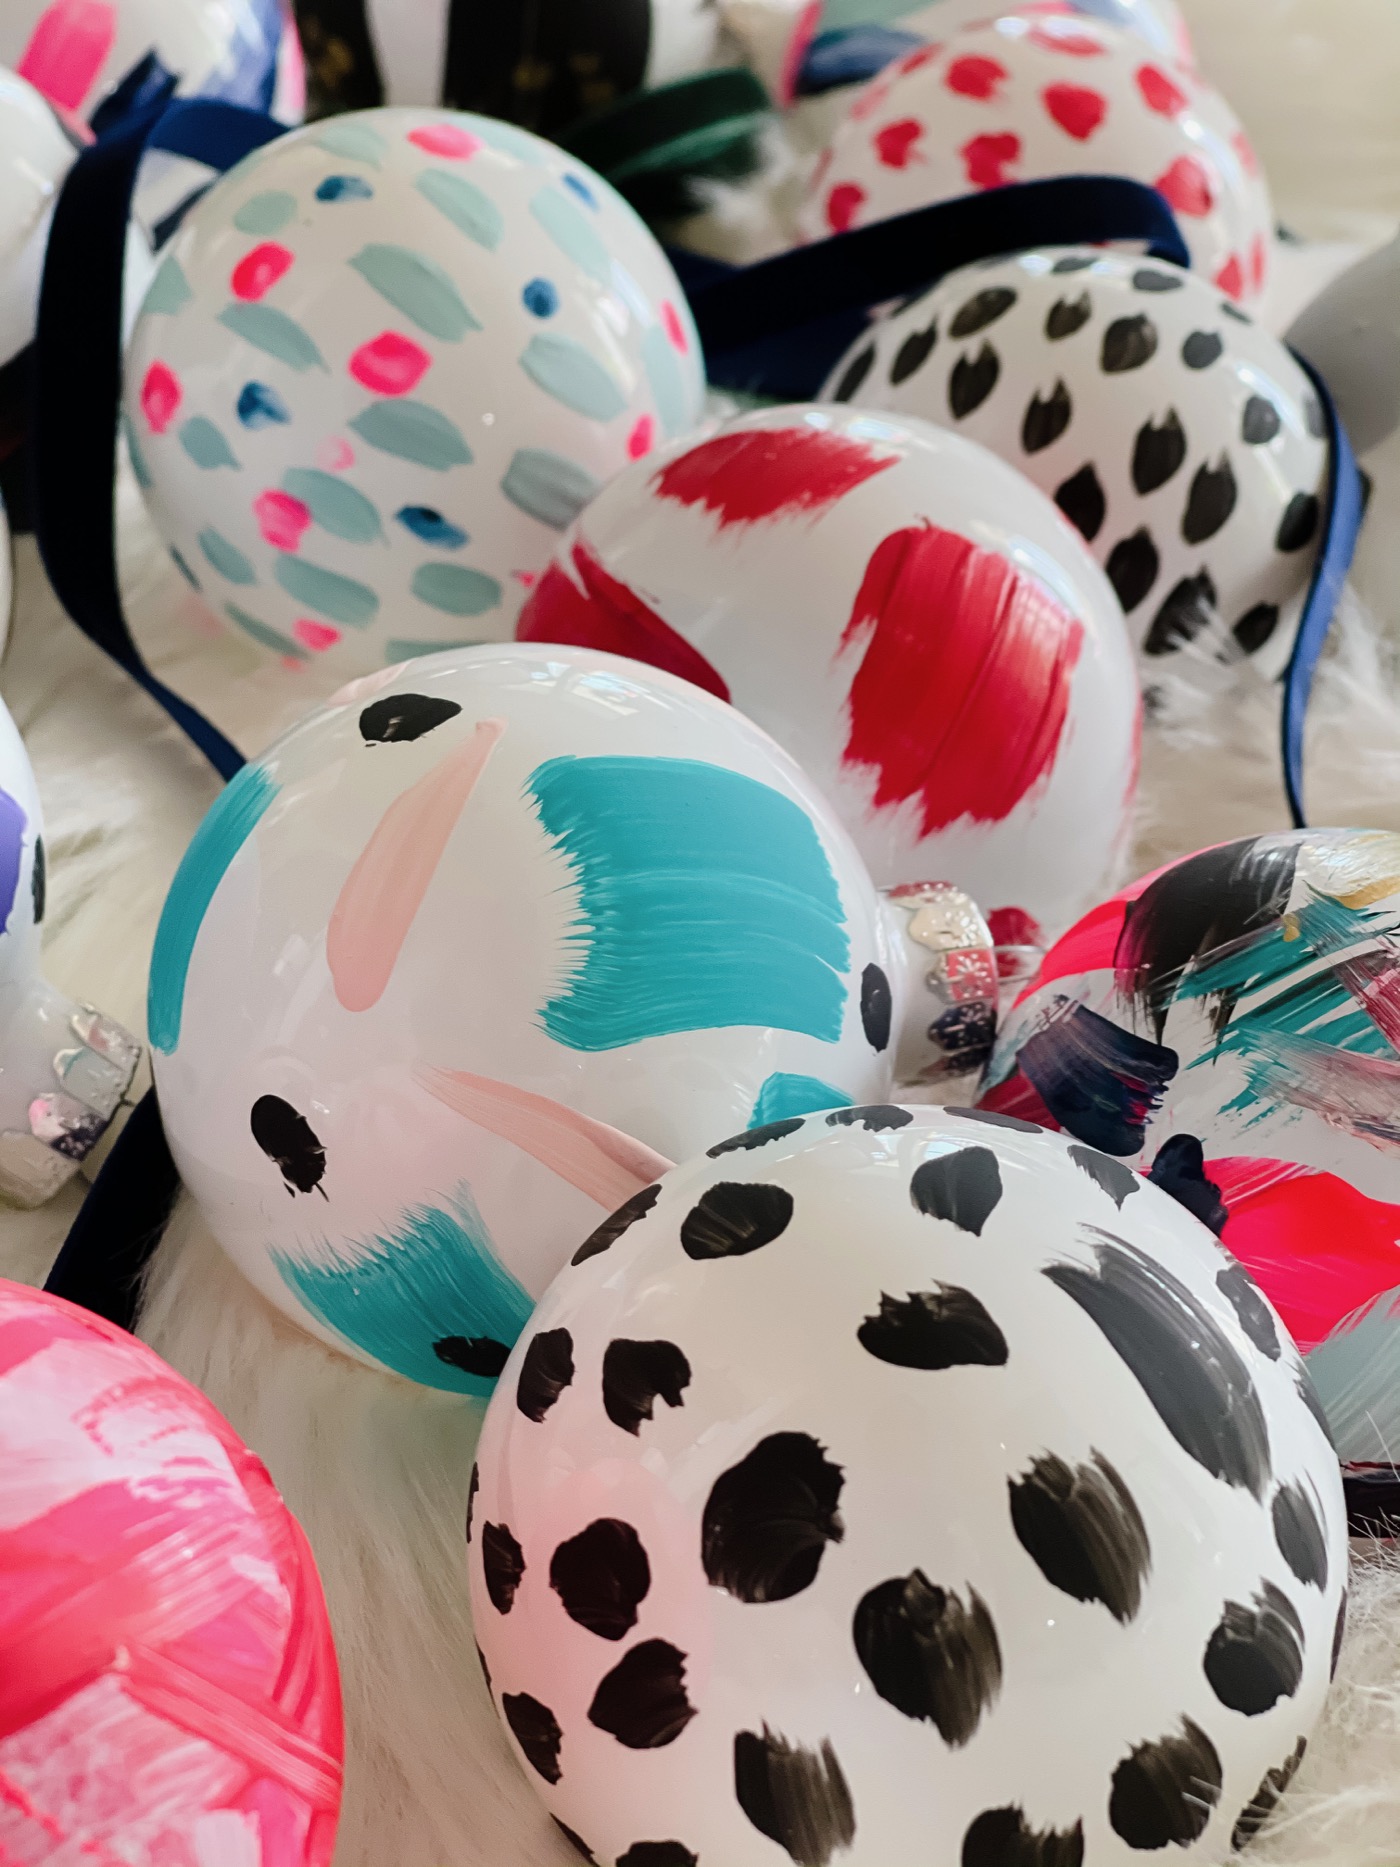
Once your ornaments are dry, you can choose the ribbon you want to use and tie it up! These are so fun to create. The possibilities with color and pattern and creativity are endless! I love that this project is easy, homemade, inexpensive, and custom!
UPDATE 2023: I’m still hanging this ornaments on our tree! But, but I want to add that you should spray these with a clear coat when you are done. Mine are not “protected” against other ornaments in the storage bin and some are starting to chip/fade. I think a spray of clear coat would solve this problem!
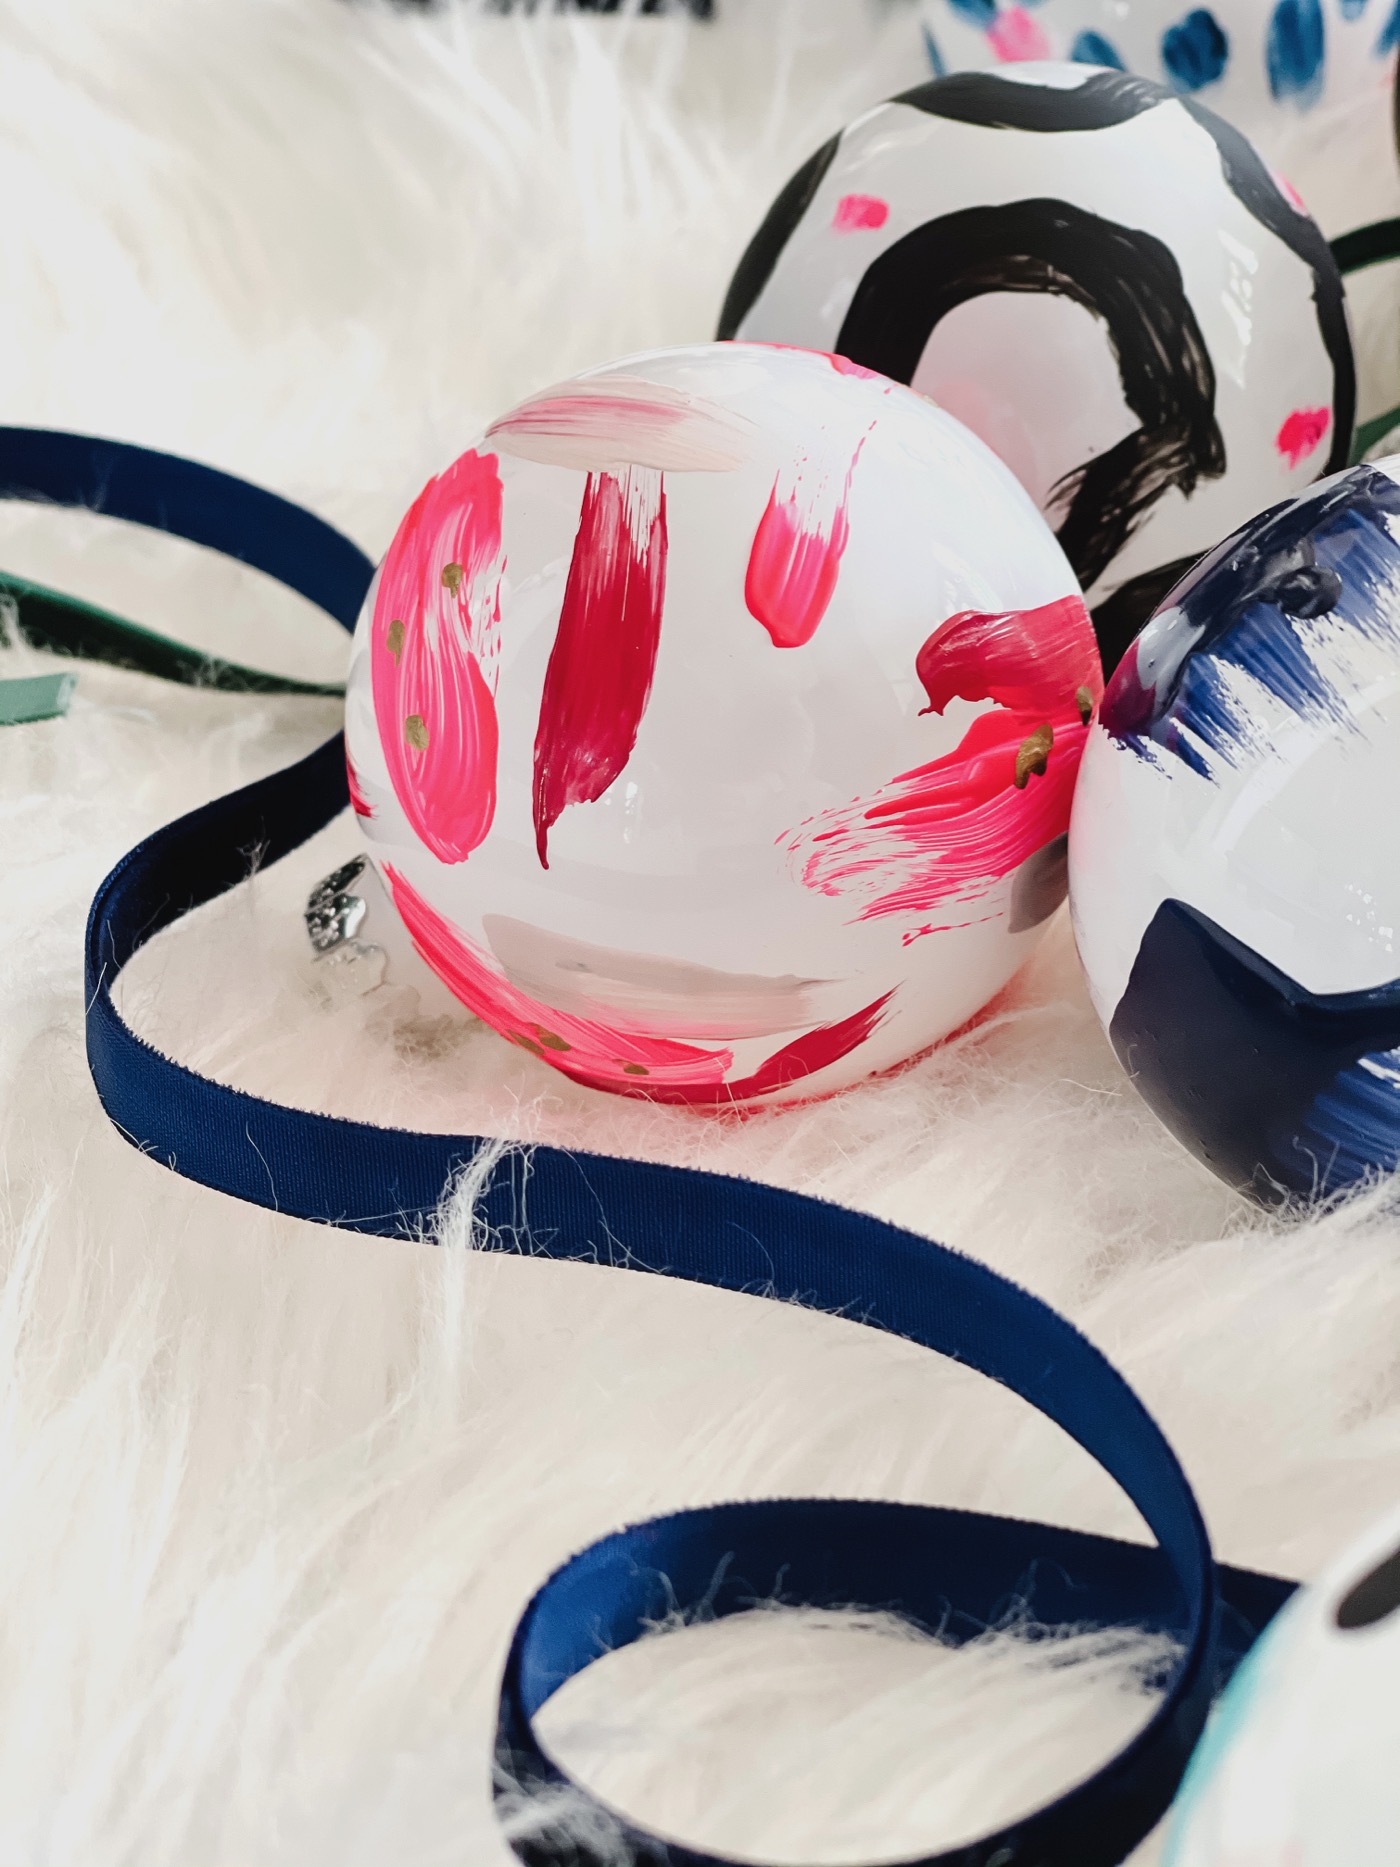
I hope you’ll be inspired to create some of these this holiday season! So many craft stores sell navy, black, red, pink, etc bulbs as well. You could create interesting ornaments with those colors as your background as well (instead of the white background)! Here are some more inspiration photos of our ornaments!
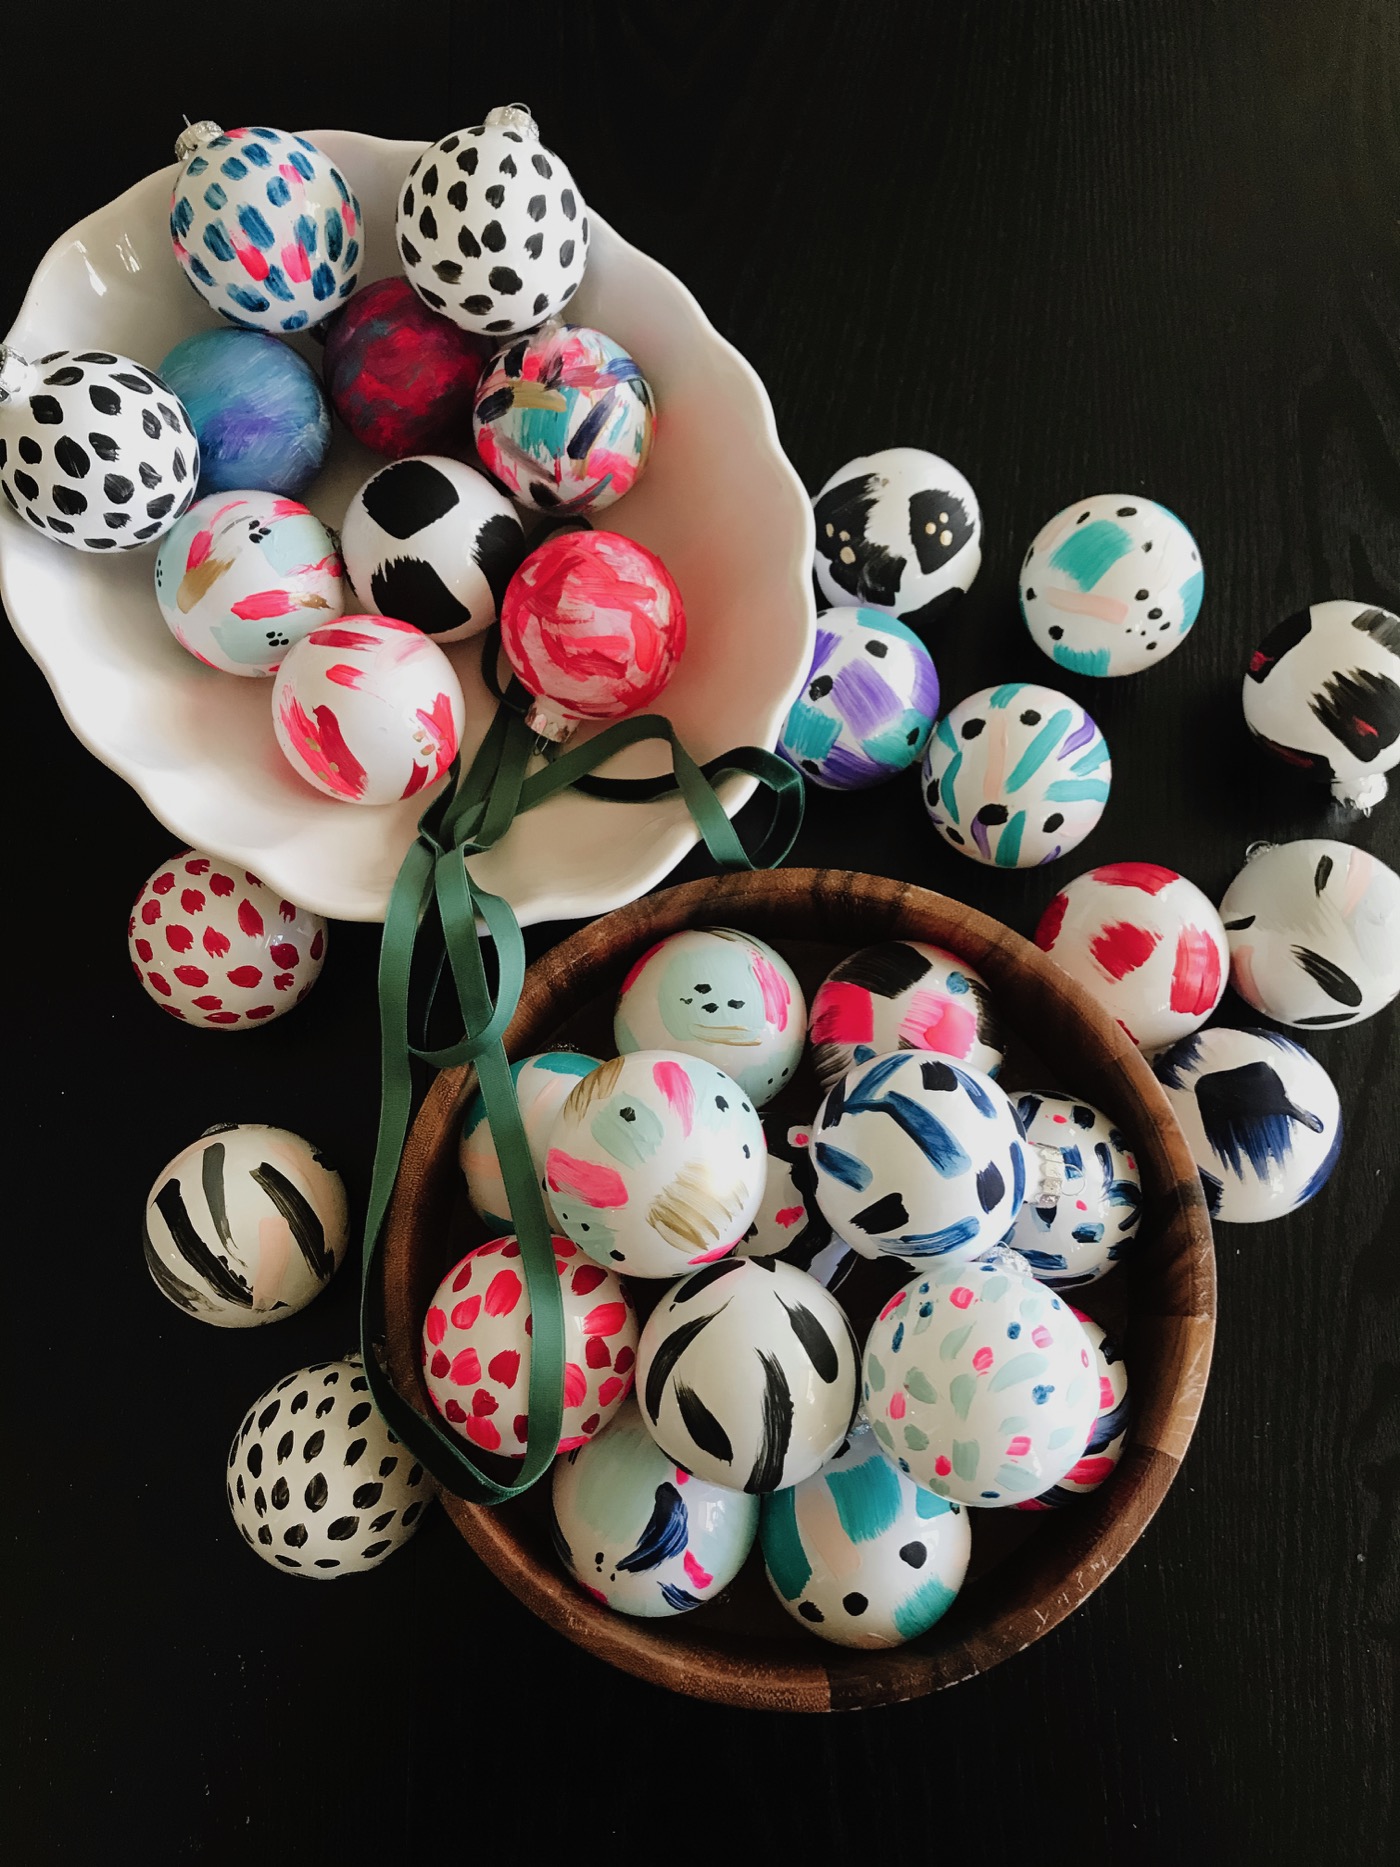
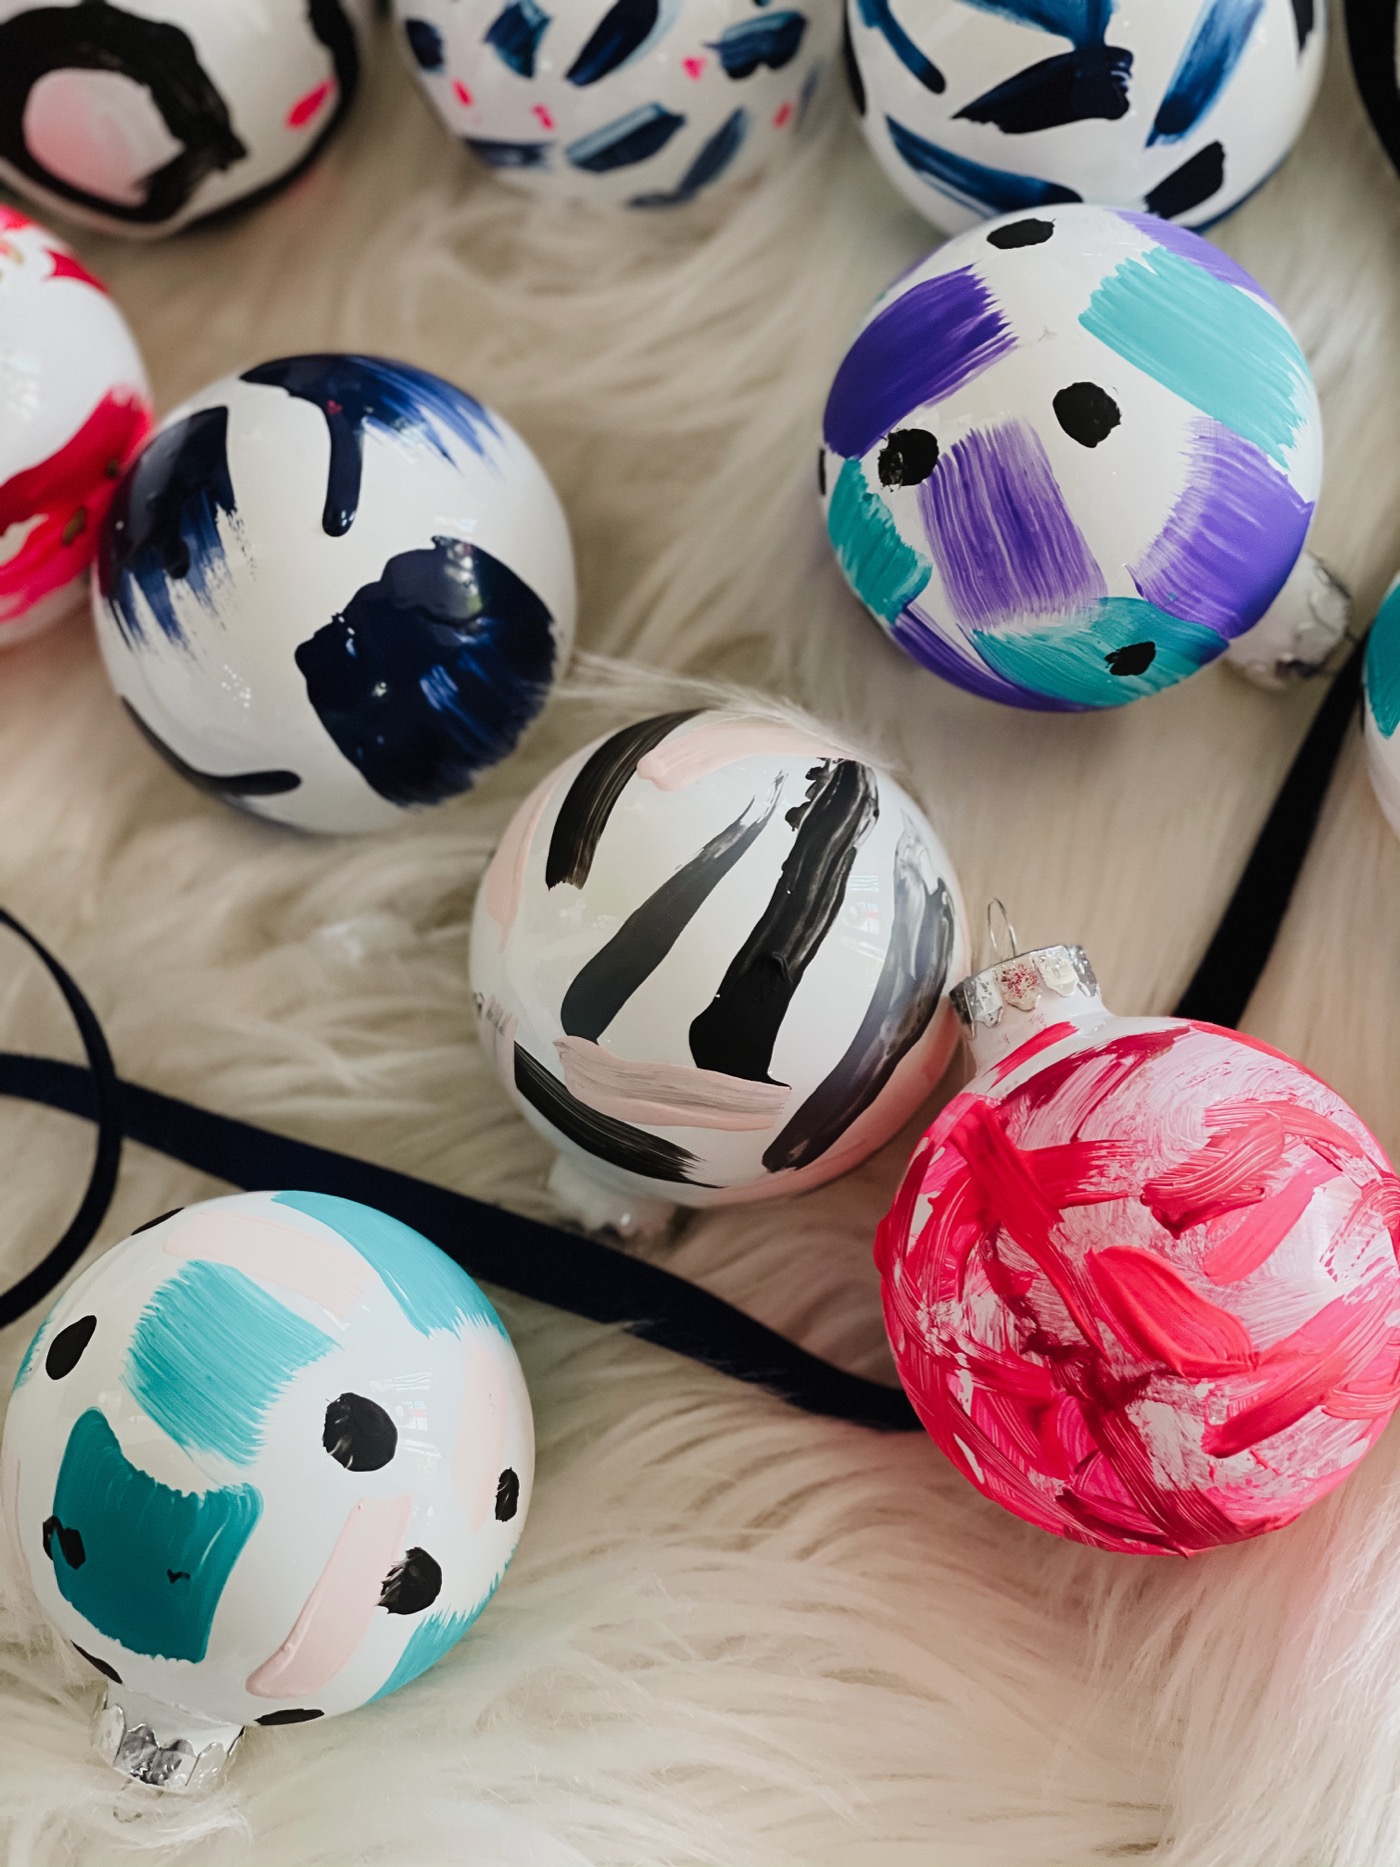
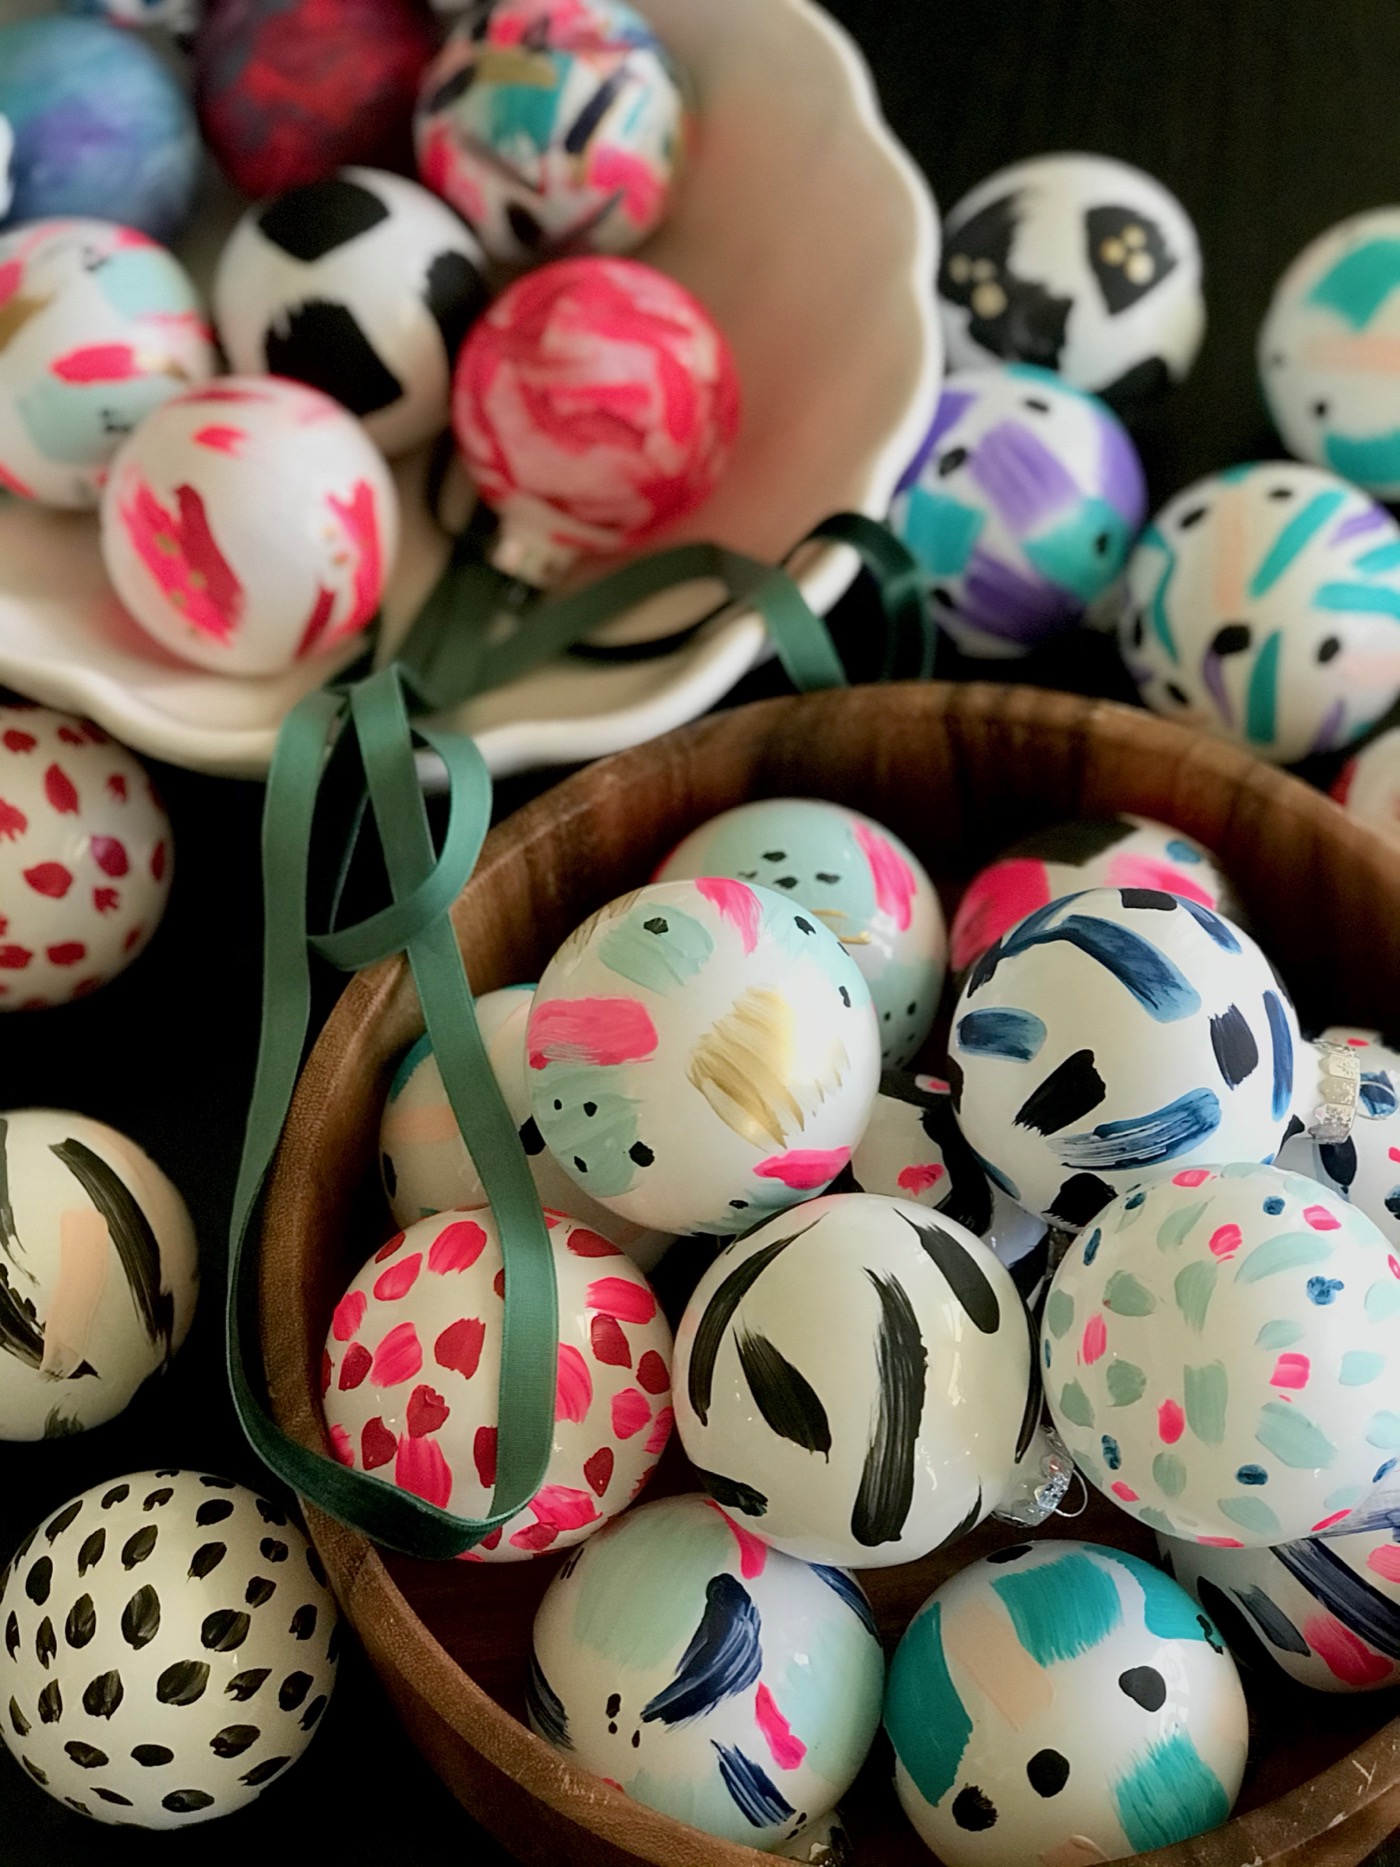
There is no right or wrong with this art project. Creating these DIY abstract painted ornaments is just fun! No art degree required! XO
Find all of the supplies needed for this project by clicking here!
