Texture spray paint is a new discovery for me! For as long as we have owned our home, I have had a thrifted lamp base in our office space. I probably paid $10 for it back in 2012. Buying an inexpensive lamp base and a new shade is a great way to add character to a space without spending a lot of money! We recently had our office painted white, and when I was putting the room back together, I decided it was a good time to update this lamp base. I purchased some texture spray and googled the technique. This is so easy, let’s get started! Here’s how to update a lamp base using texture spray paint.
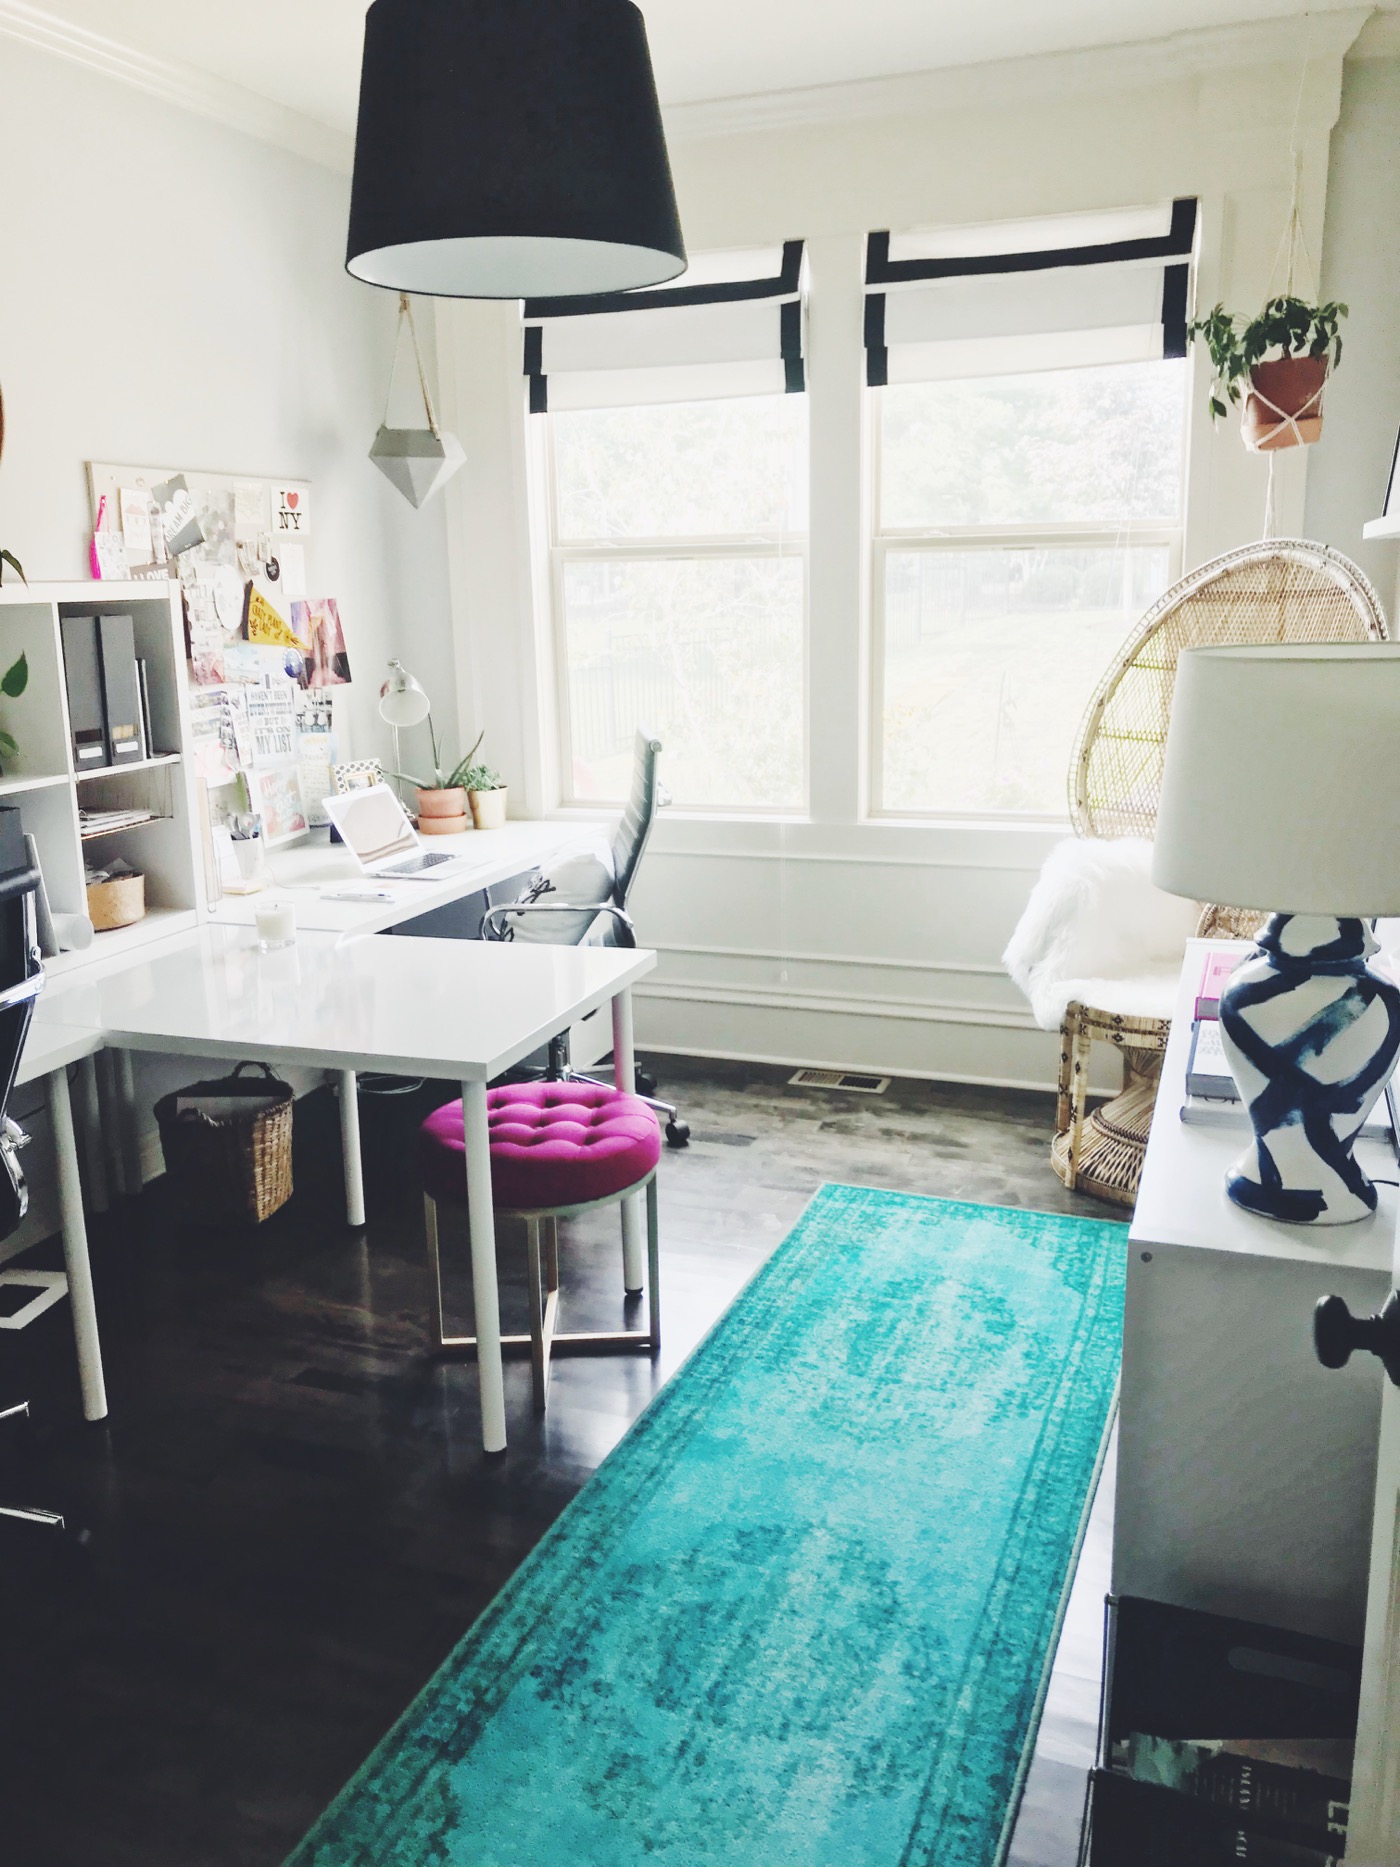
I think the lamp was originally pink when I found it. The shape is what drew me in. Ten years ago, I decided to spray paint it white and add DIY brushstrokes. Wanting a pop of modern color, I actually always loved this DIY! Here is a photo of the office and the lamp from 2019.
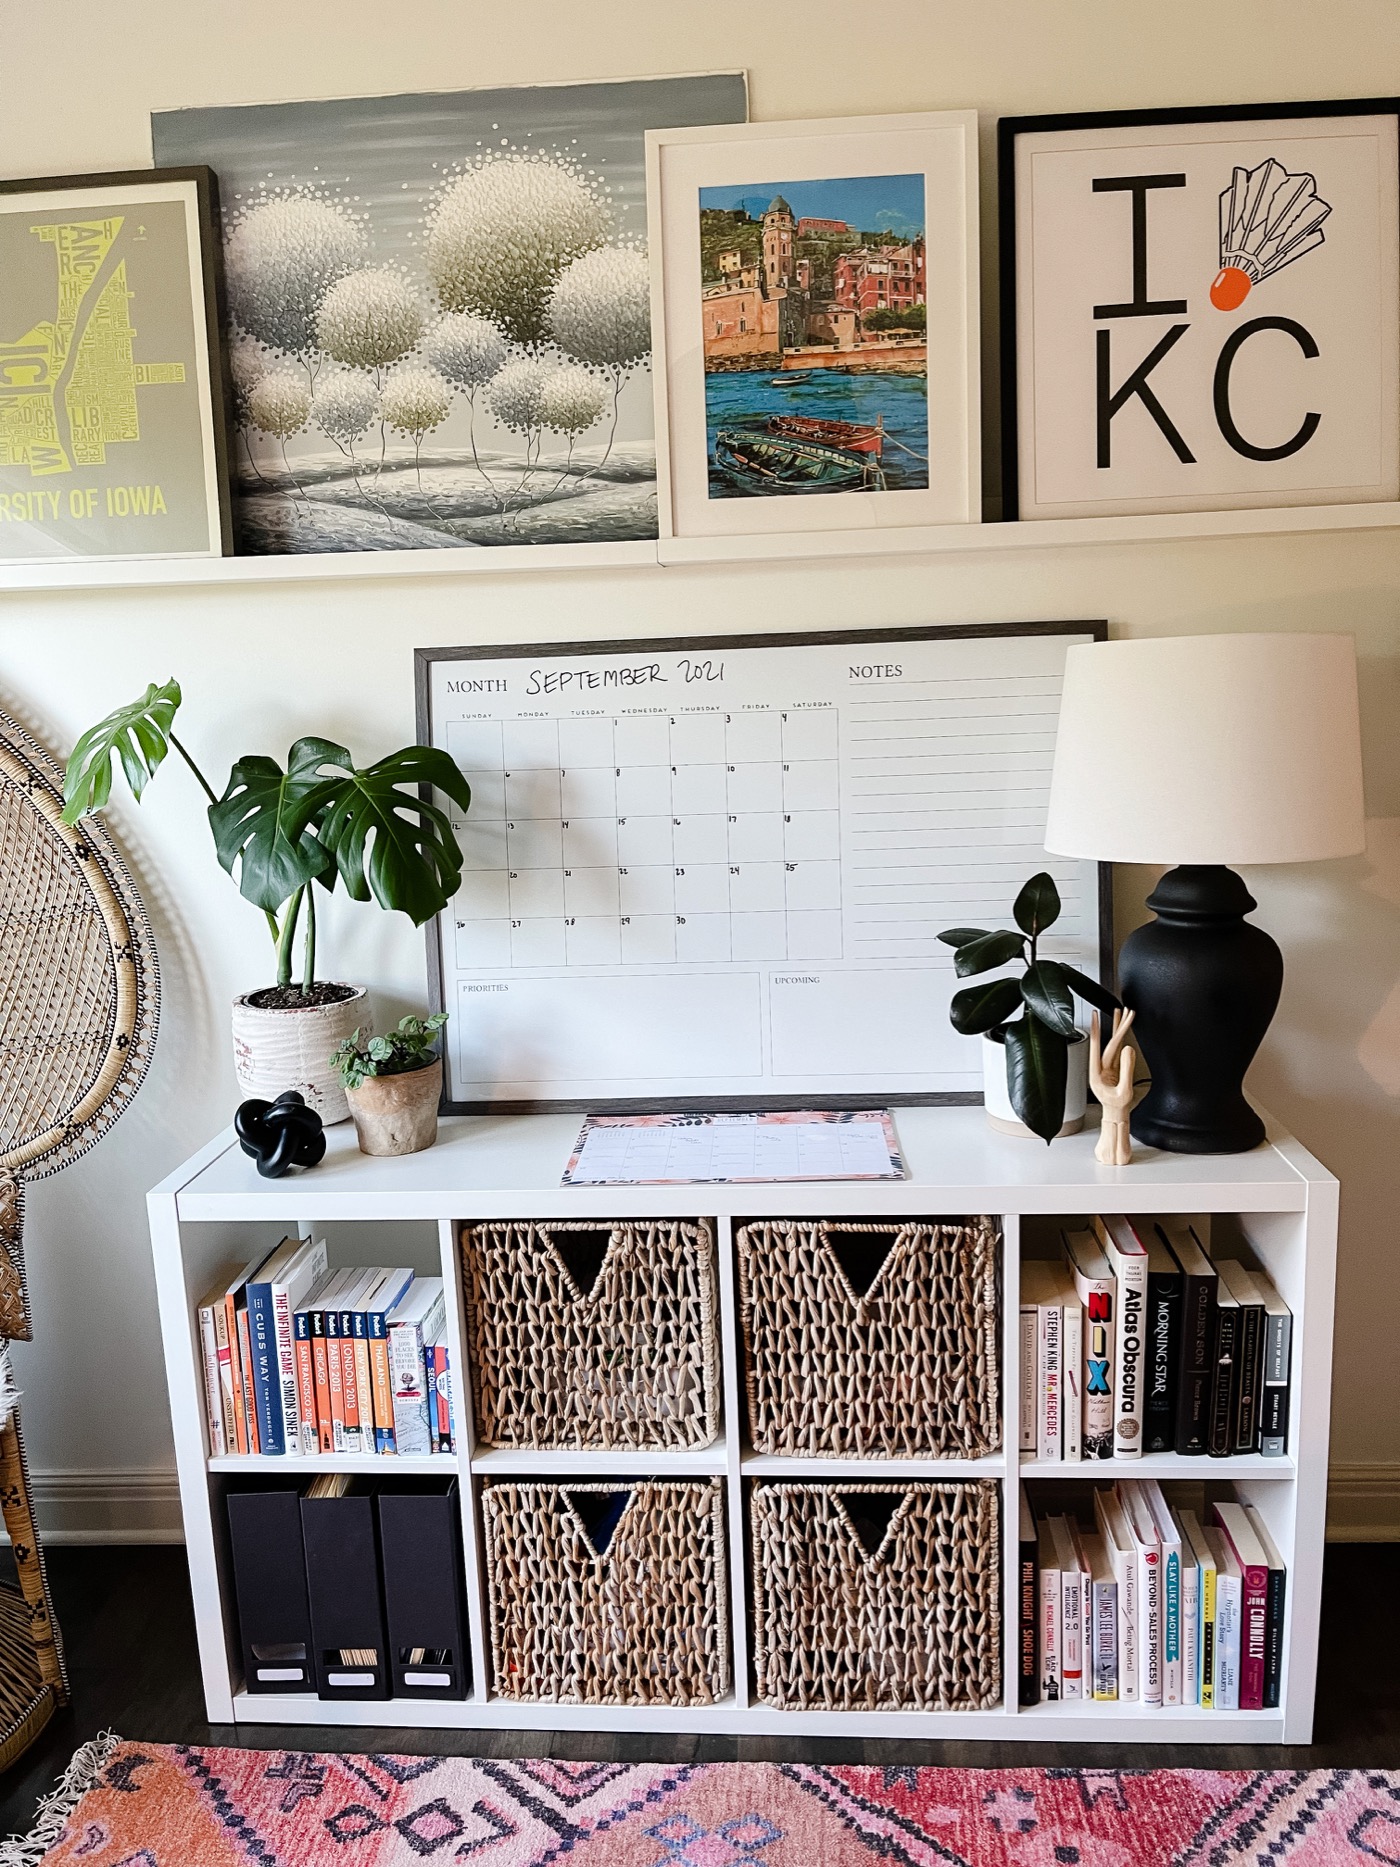
The walls are now painted white, and I purchased a new rug for the space. I decided I wanted the lamp in here to be more neutral and have some texture. The lamp shade is in perfect condition and I still love the shape, so I just decided to DIY and use the thrifted lamp AGAIN!
Supplies Needed
- Lamp base
- Painters tape
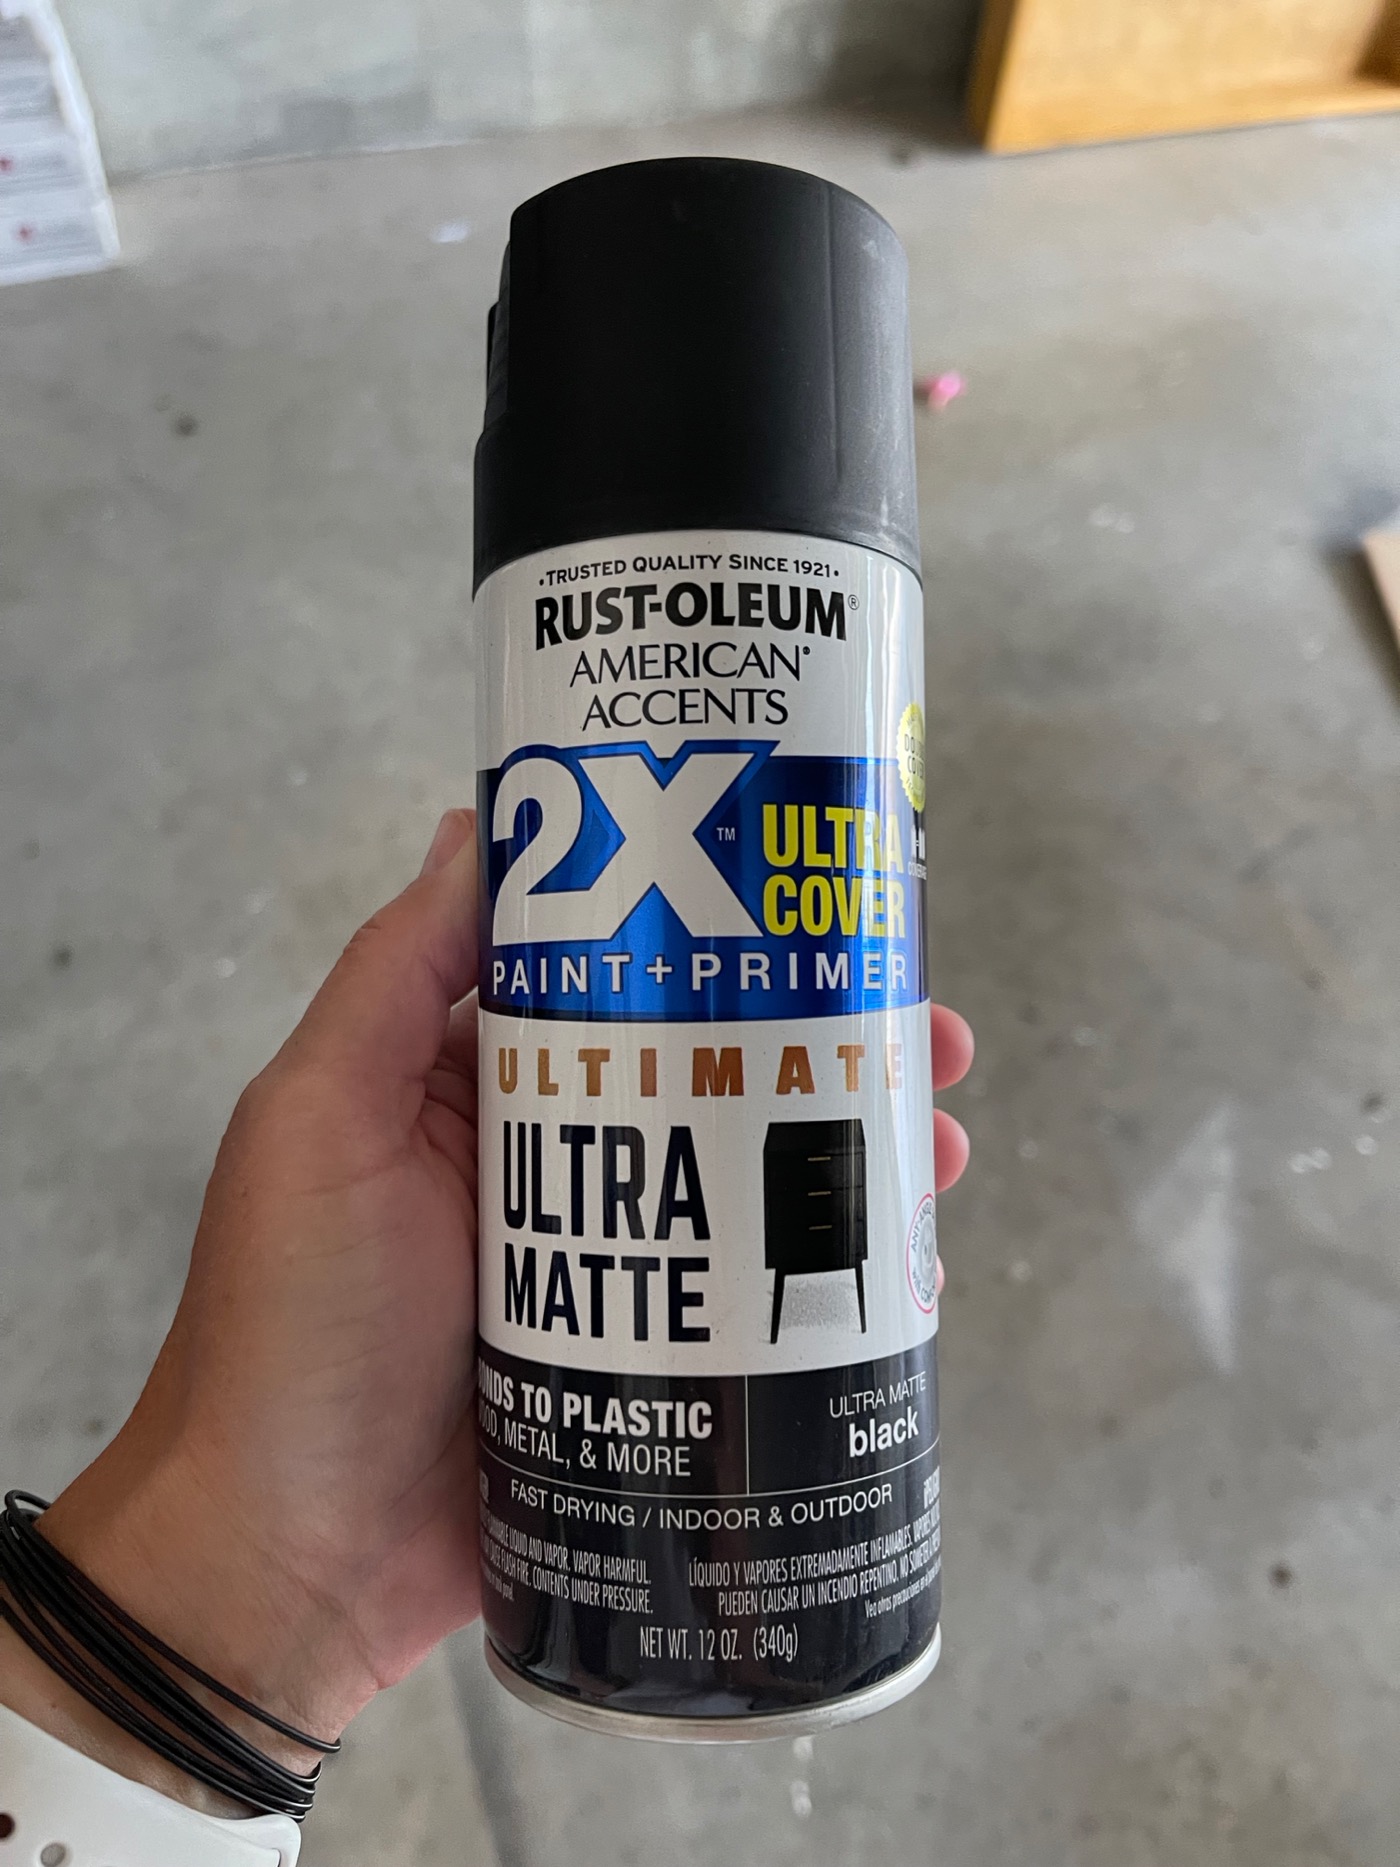
- Base spray paint (I used matte black because I already had it on hand)
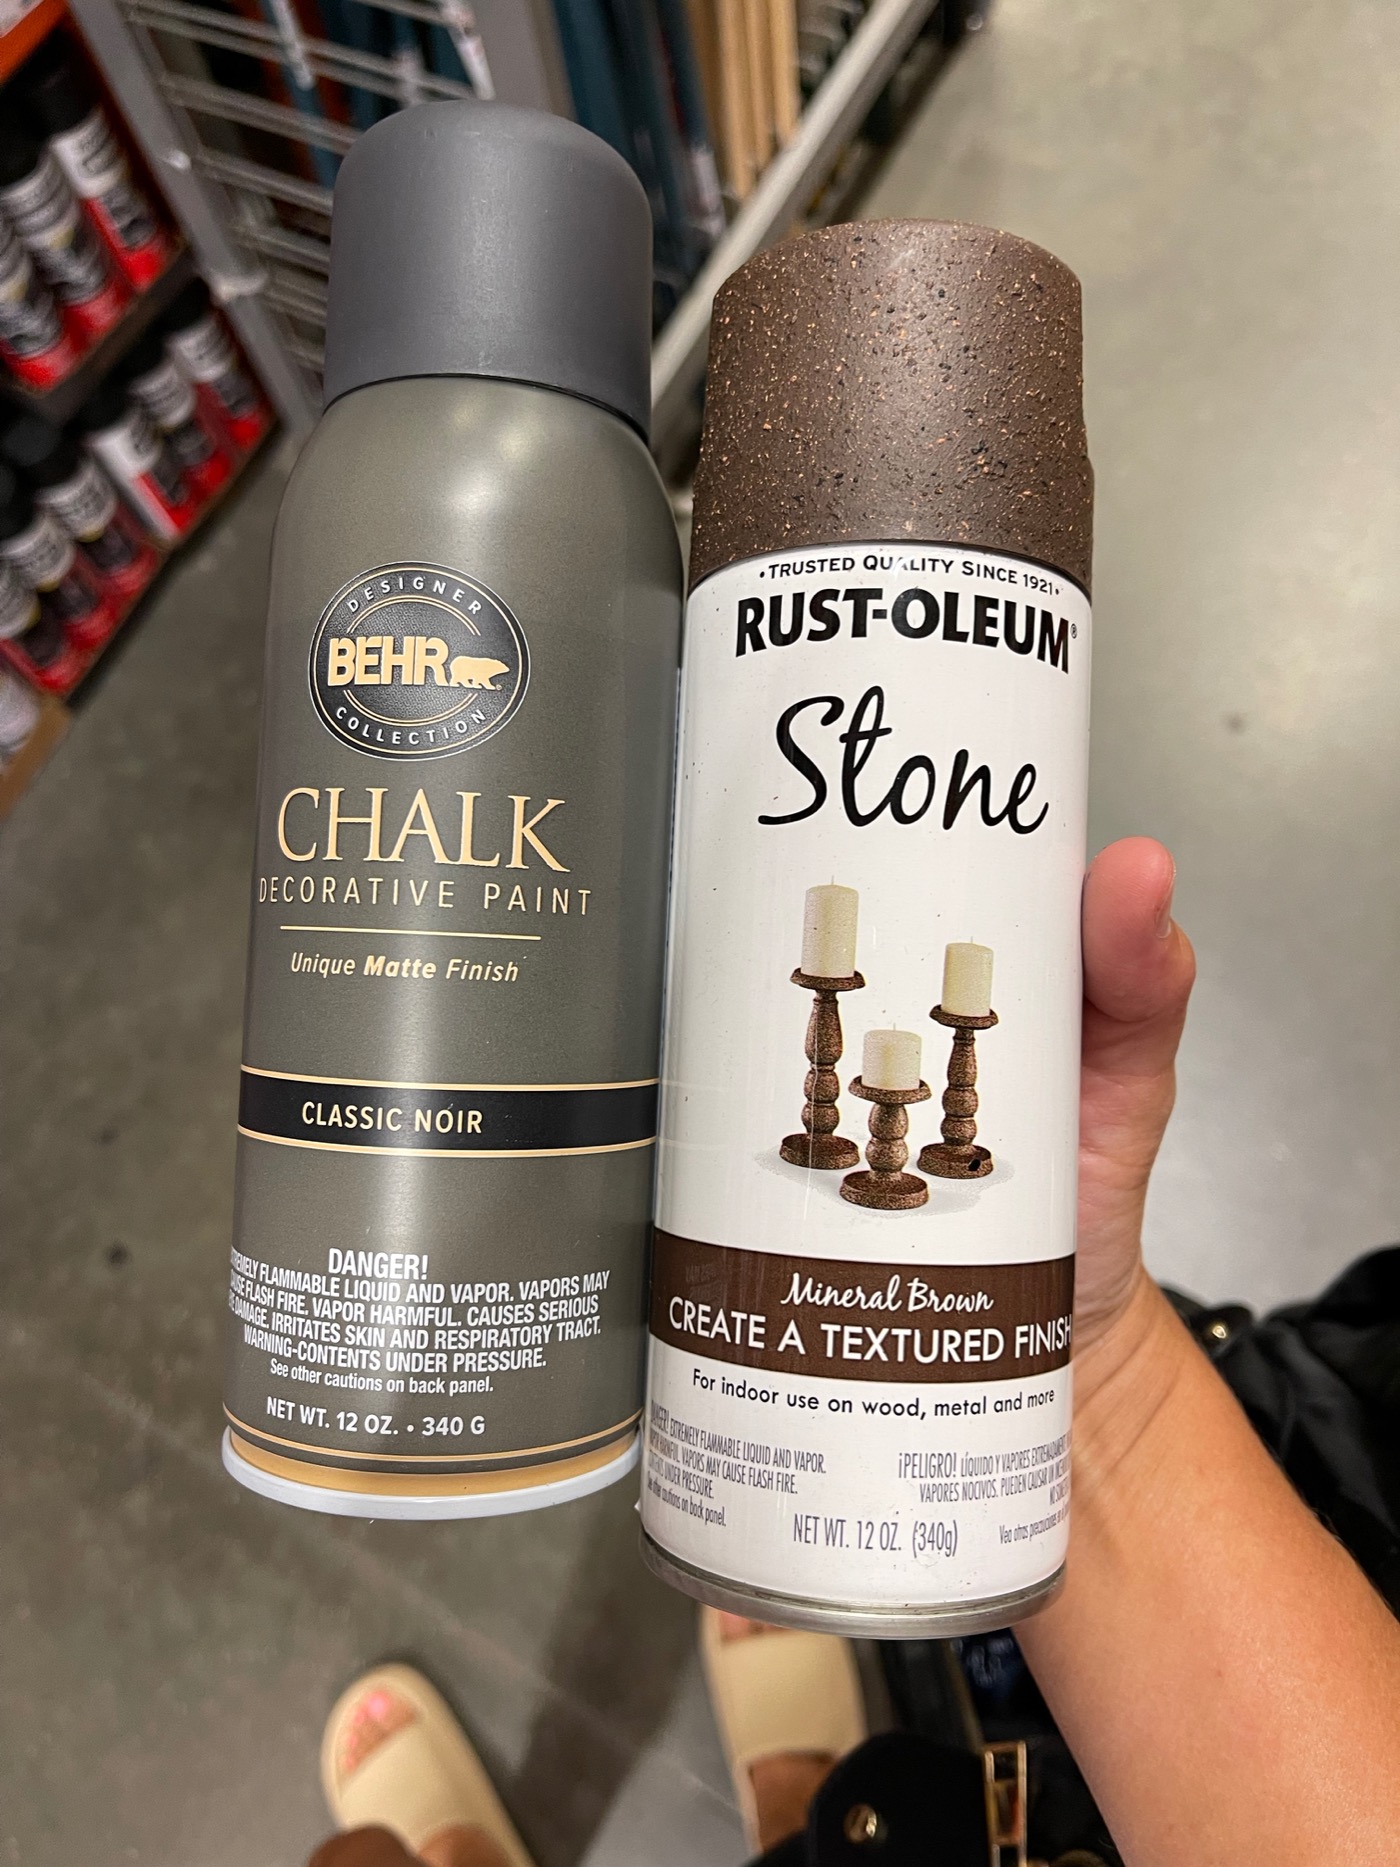
- Textured spray paint (I used Rust-Oleum Stone)
- Final color spray paint (I used Behr Chalk Paint in Noir for a matte finish)
I wanted to use a dark color base spray because I was covering a white lamp. If you already have a darker lamp base, you could probably skip the base coat.
Prep the Lamp Base for Spray Paint
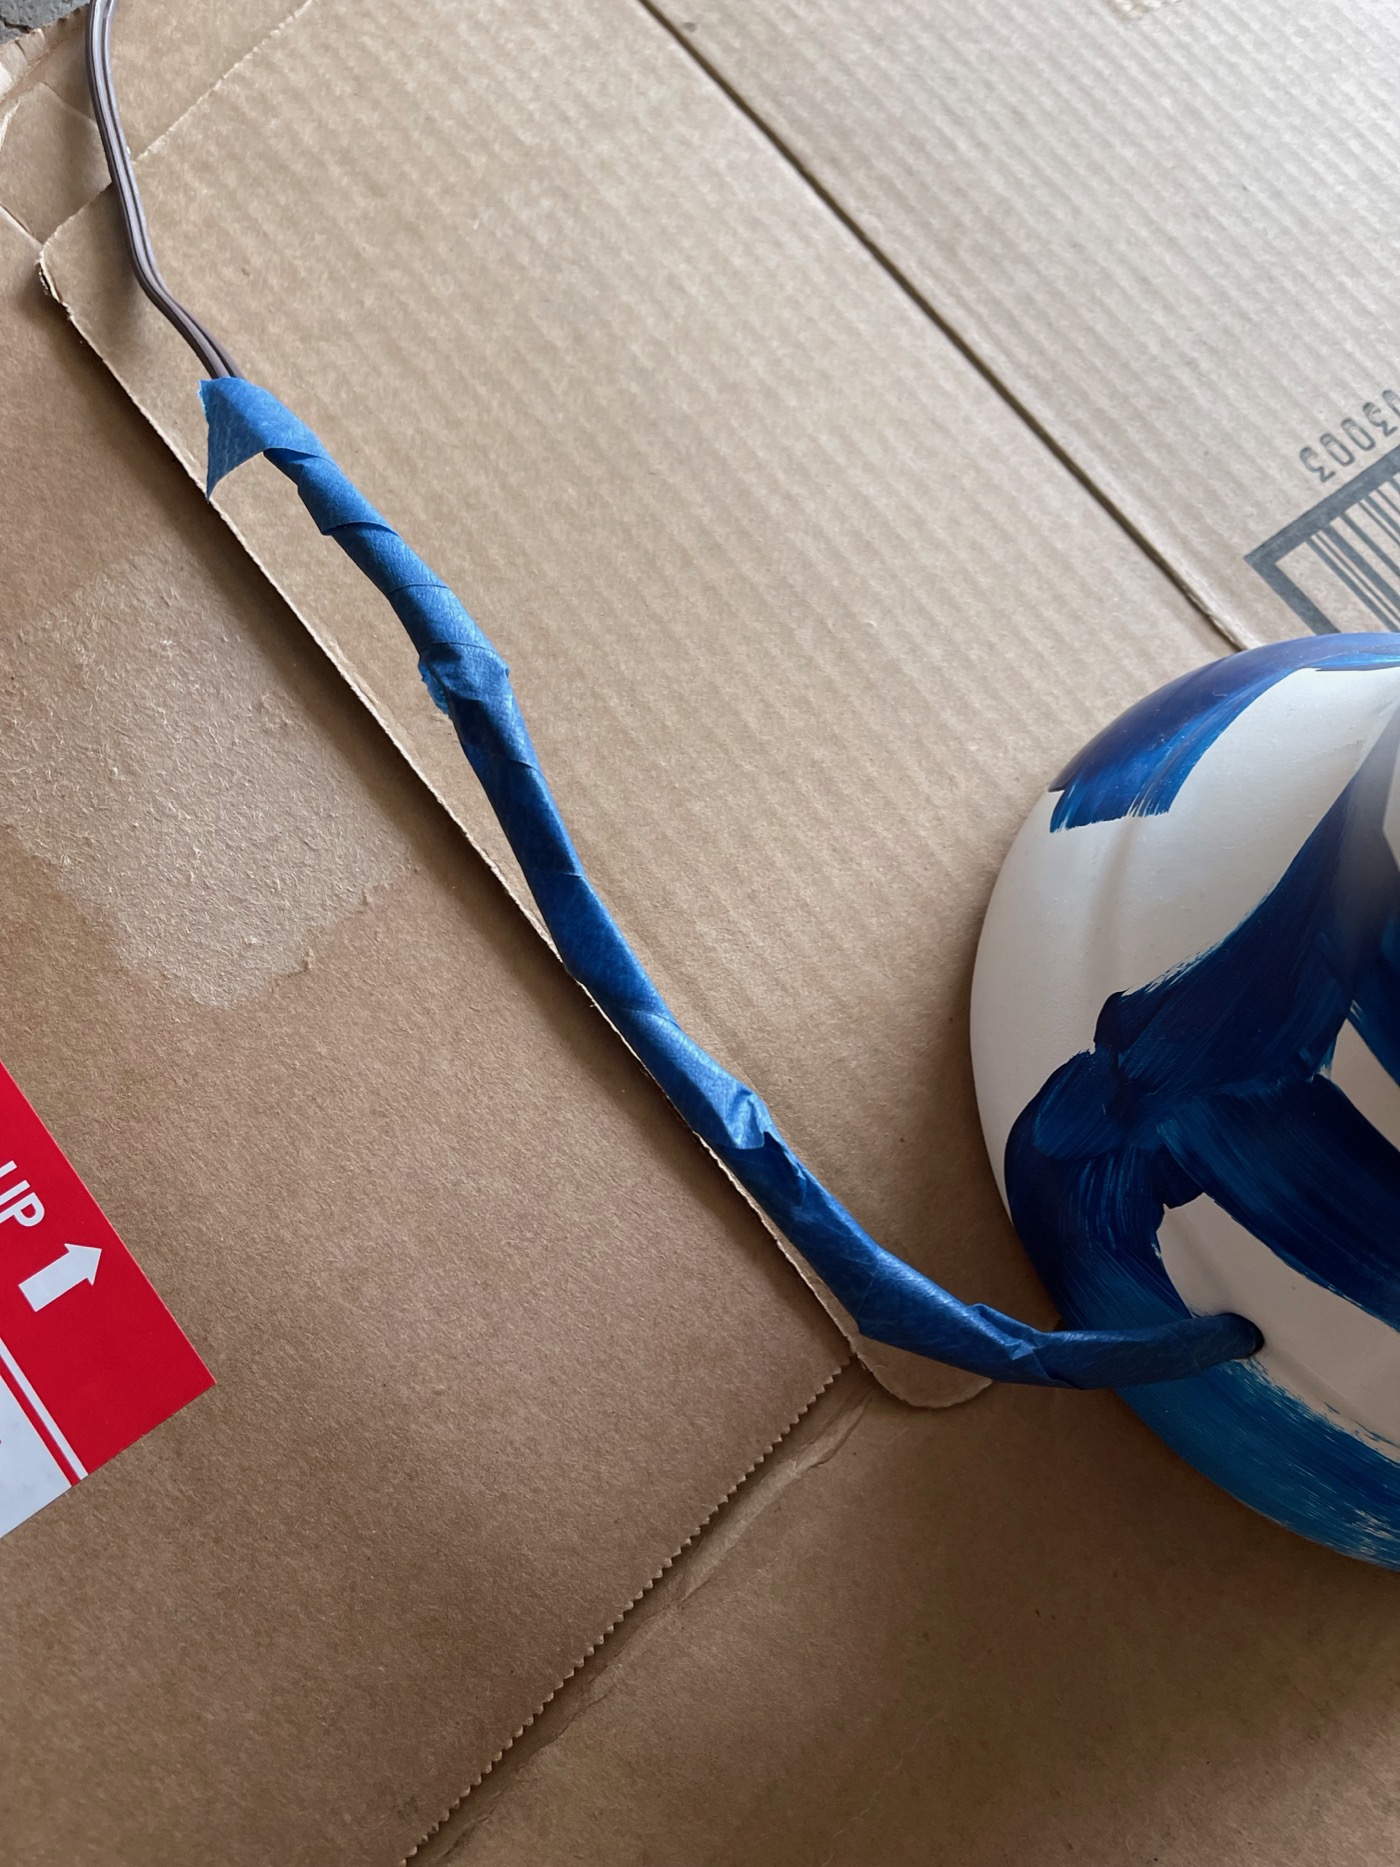
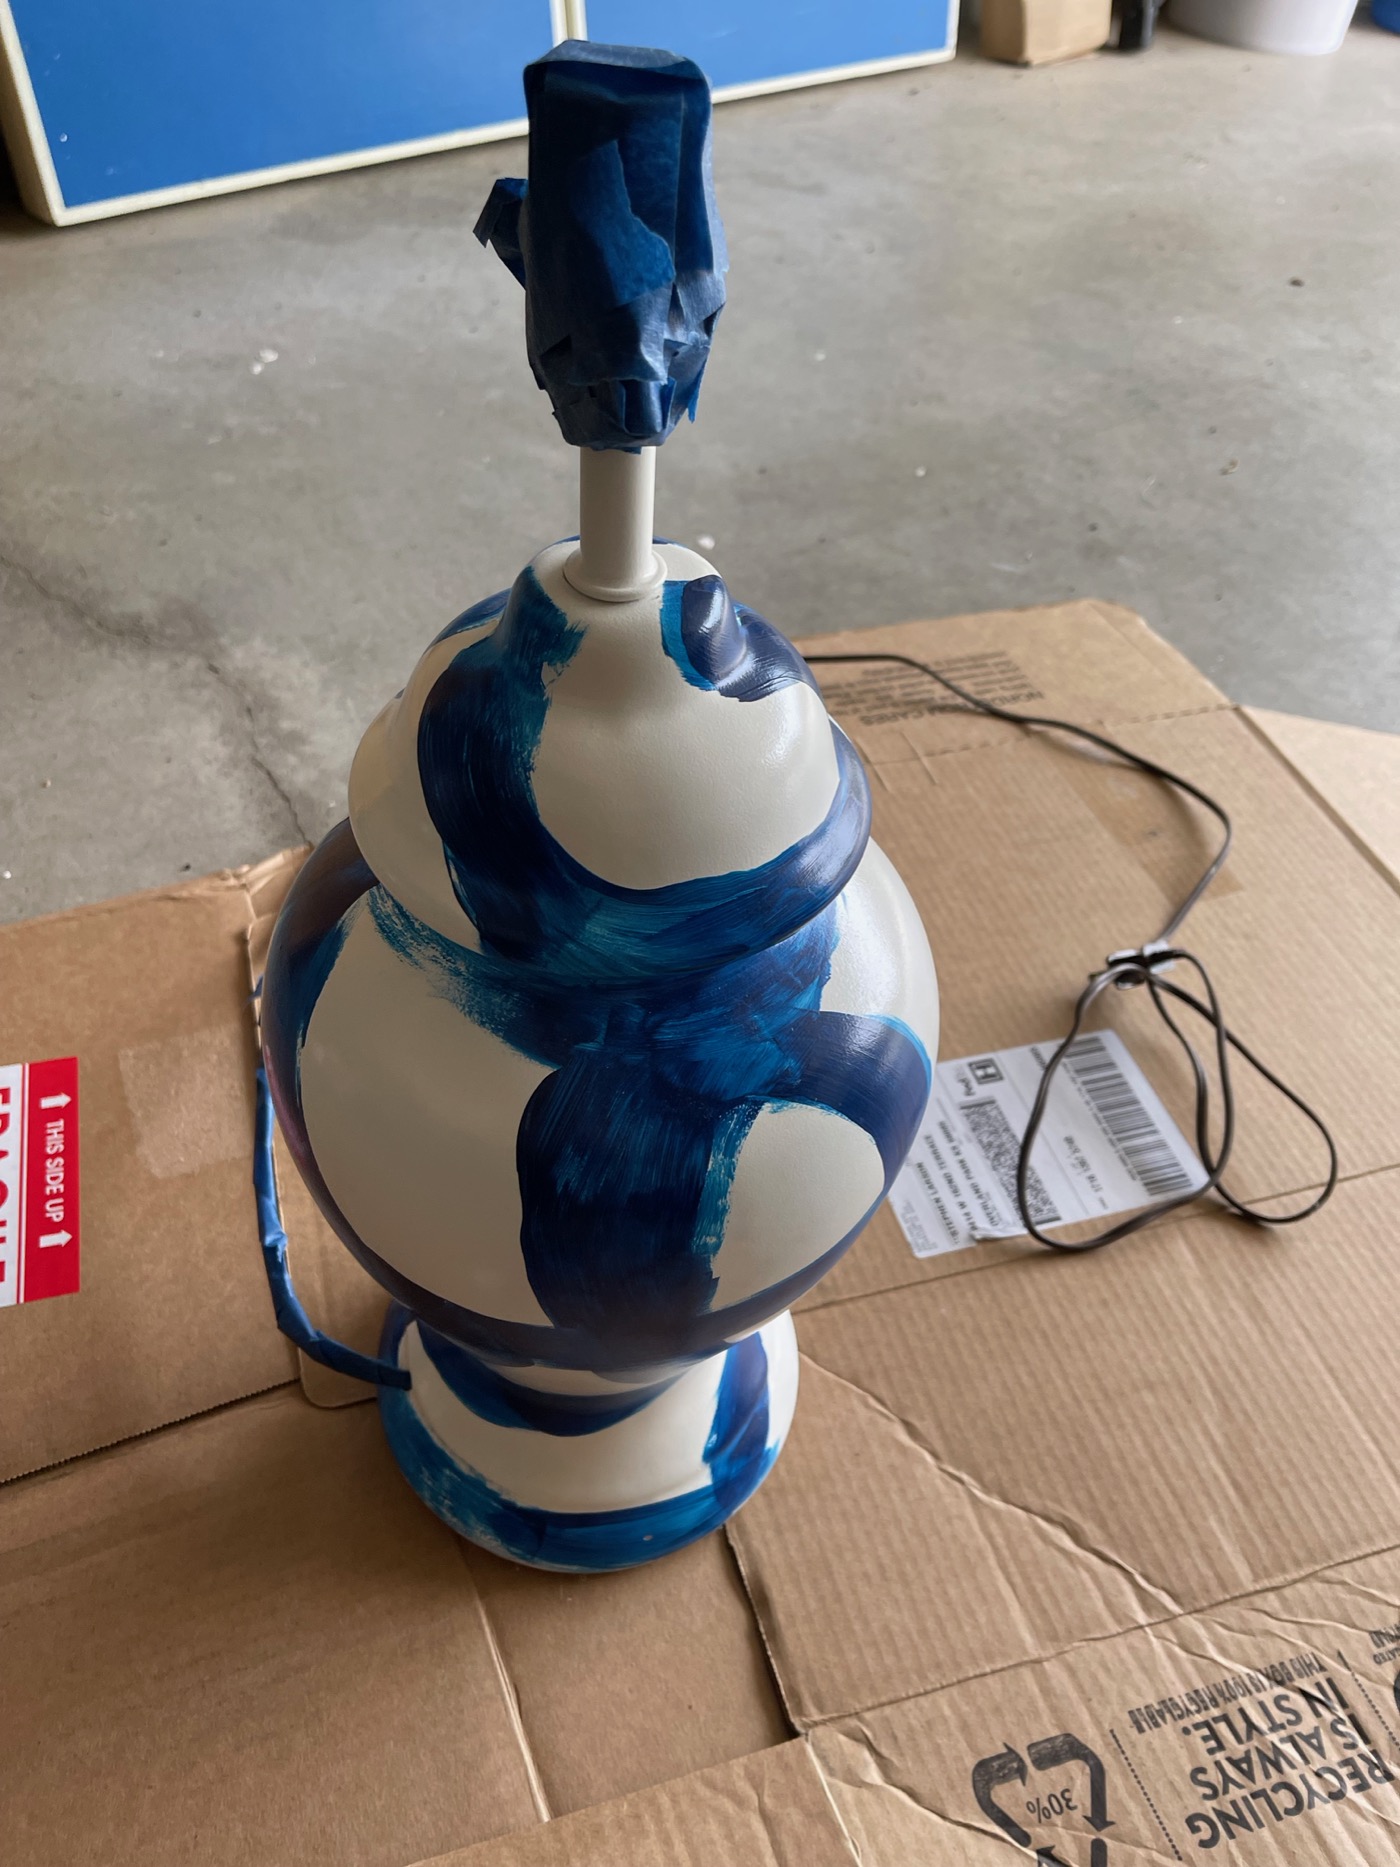
For this part, I simply wrapped painters tape around the neck of the lamp and the base of the cord. This always works just fine. I always use cardboard boxes to spray paint on, either in my garage or in my yard. My husband doesn’t love this part of the DIY, ha! Also, make sure your lamp is dusted/wiped down so you are working with a clean surface.
Spray Paint the Base Coat
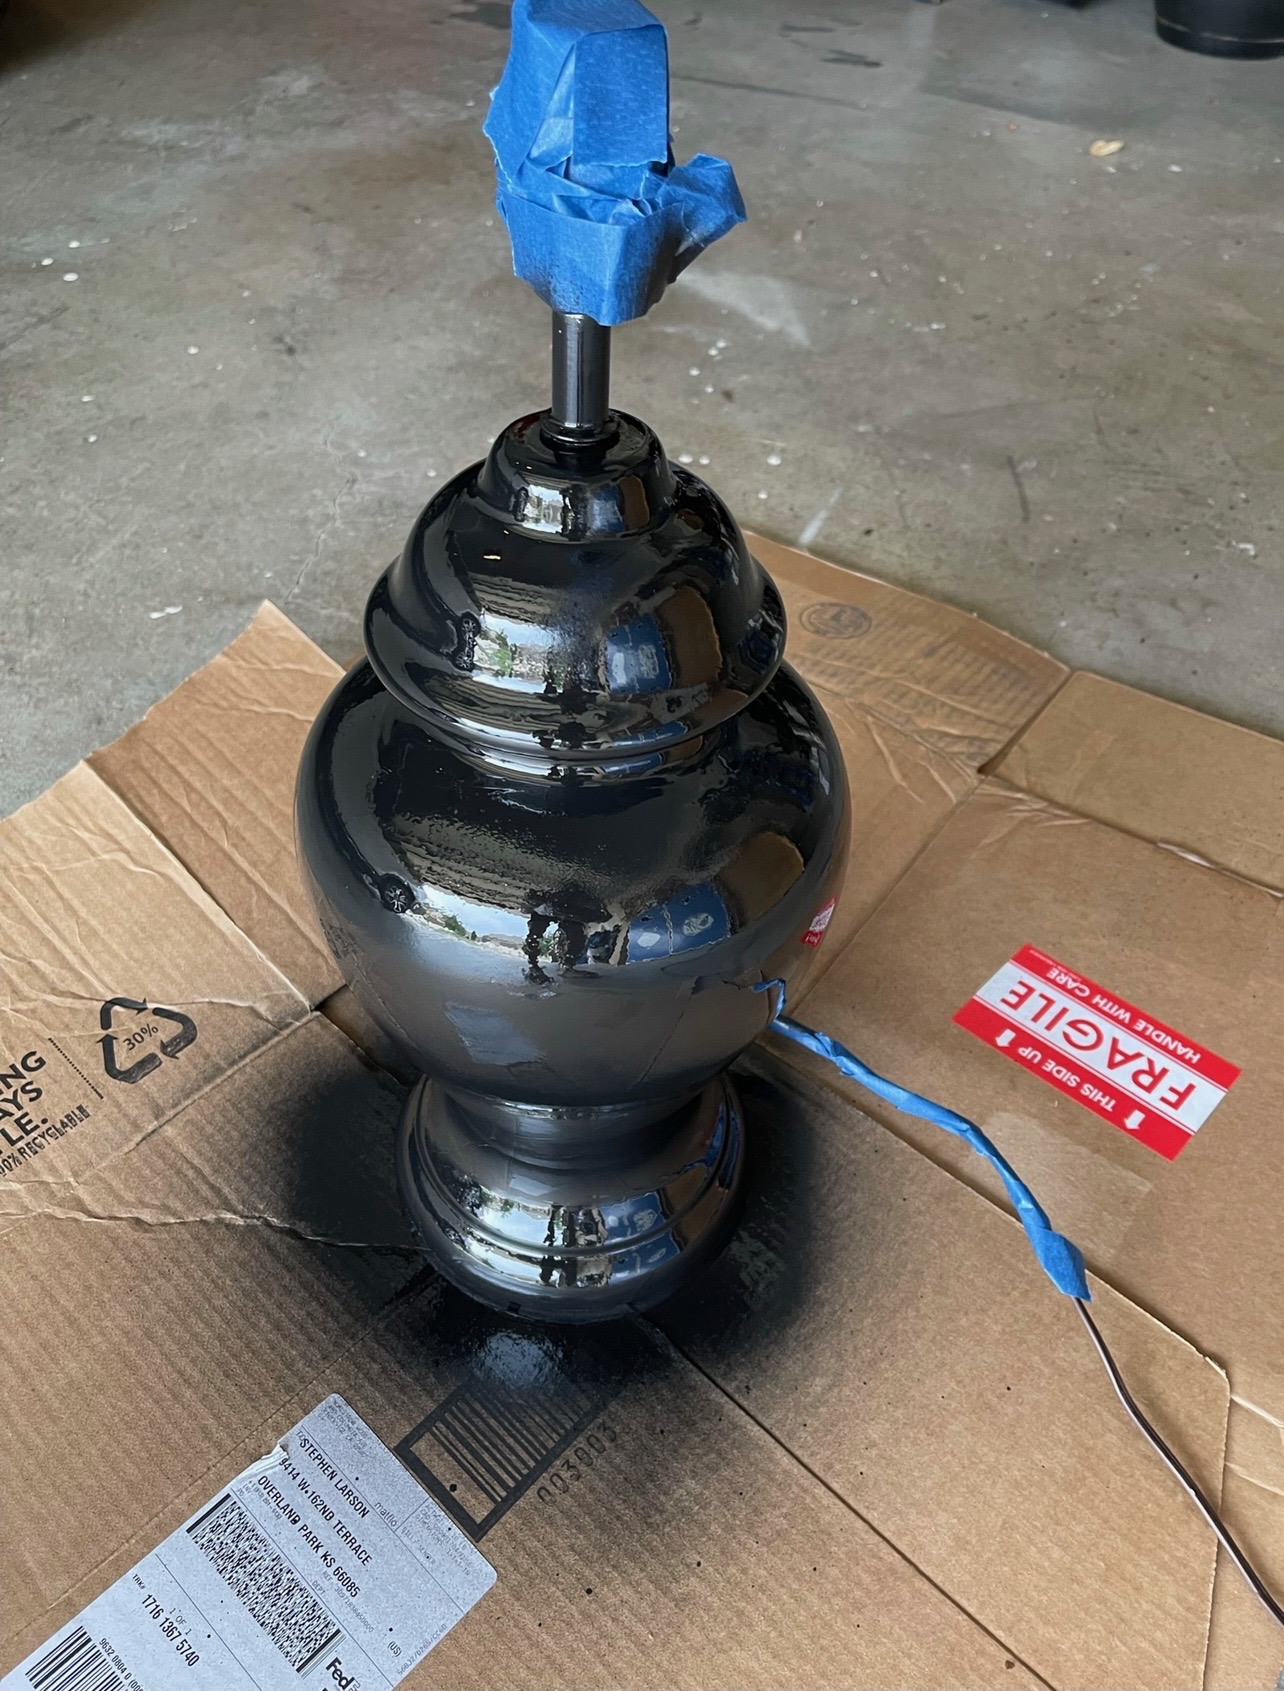
As mentioned earlier, I used a matte black spray paint from my stash to get a dark base coat. I applied one coat, let it dry, and touched up as needed. This coat doesn’t have to be perfect.
Texture Spray Paint
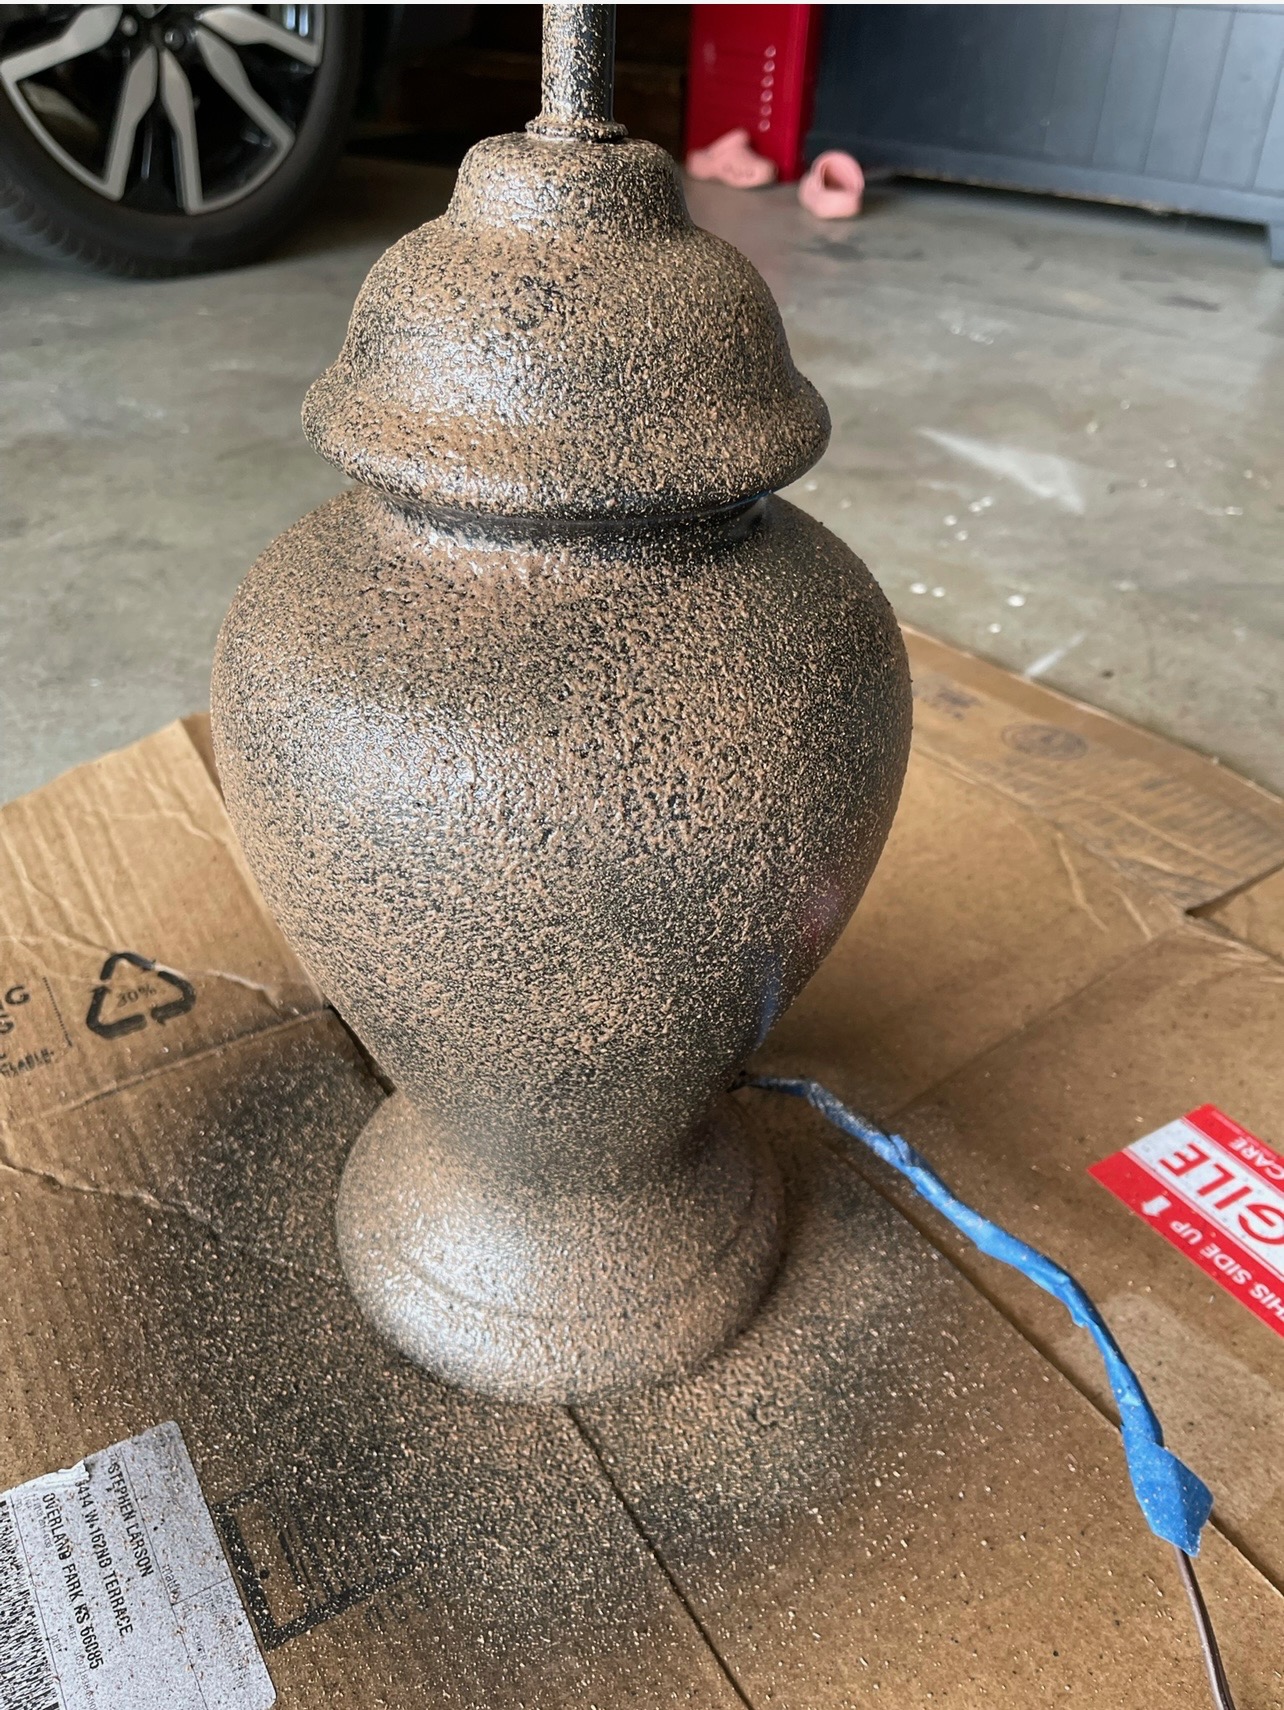
I found this textured spray paint at Home Depot. It was my first time buying it or trying it, so this was total trial and error. Again, the color doesn’t really matter, because I was going to go over it with a final color. However, I chose something dark just because the final color would be dark charcoal. This textured spray goes on just like a spray paint. I ended up doing two solid coats of the texture spray.
Final Spray Paint Coat
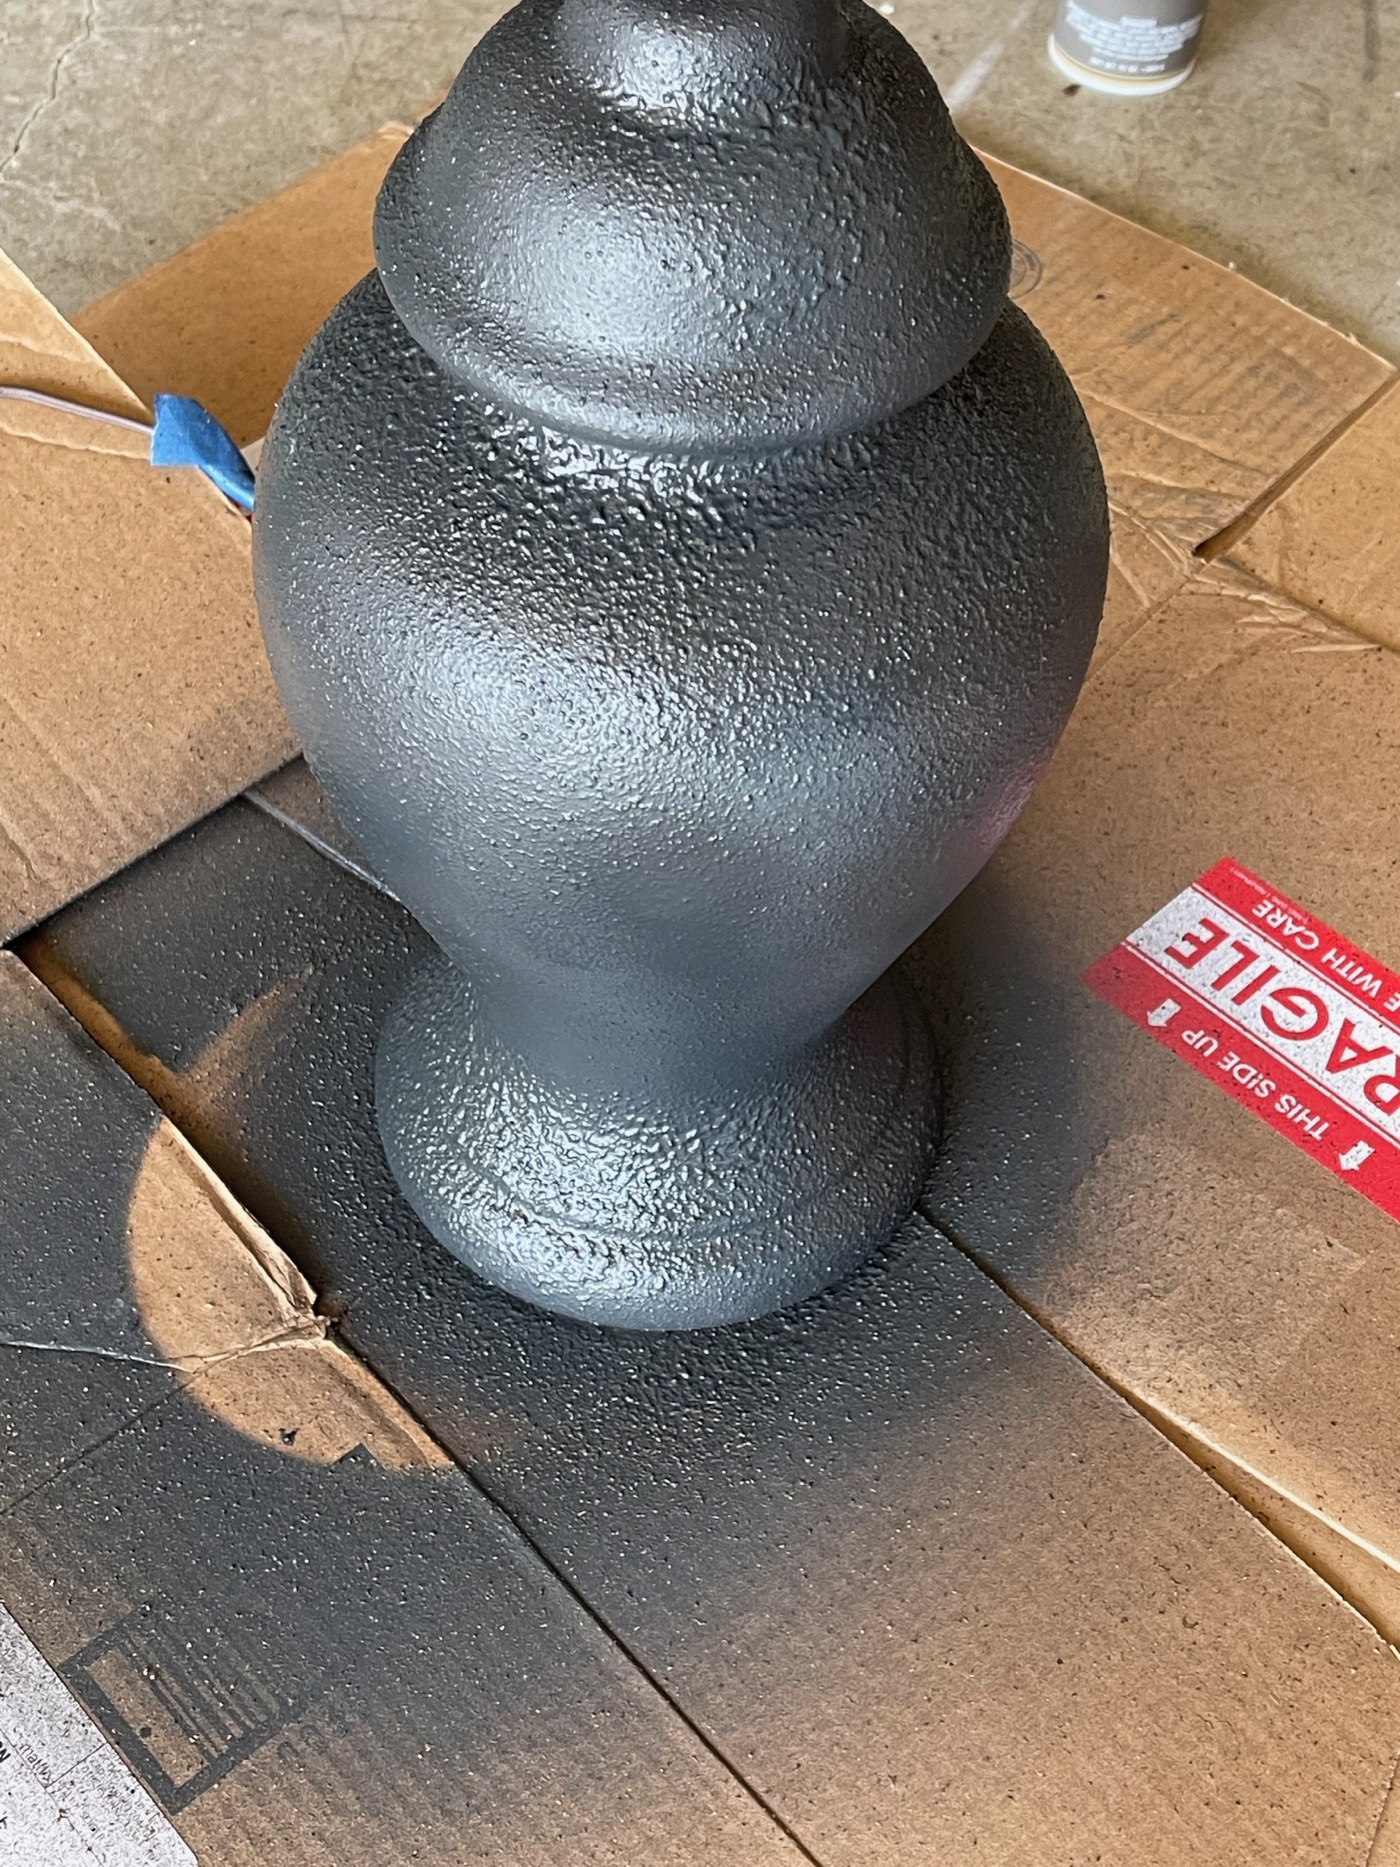
Once you have your base and your texture, you can spray the final coats! I used a chalk spray paint, also found at Home Depot. Knowing I wanted a really matte finish, I decided chalk was the best bet. Even regular matte spray paints still show up shiny. I love the end result and color of this combo!
Final Styling
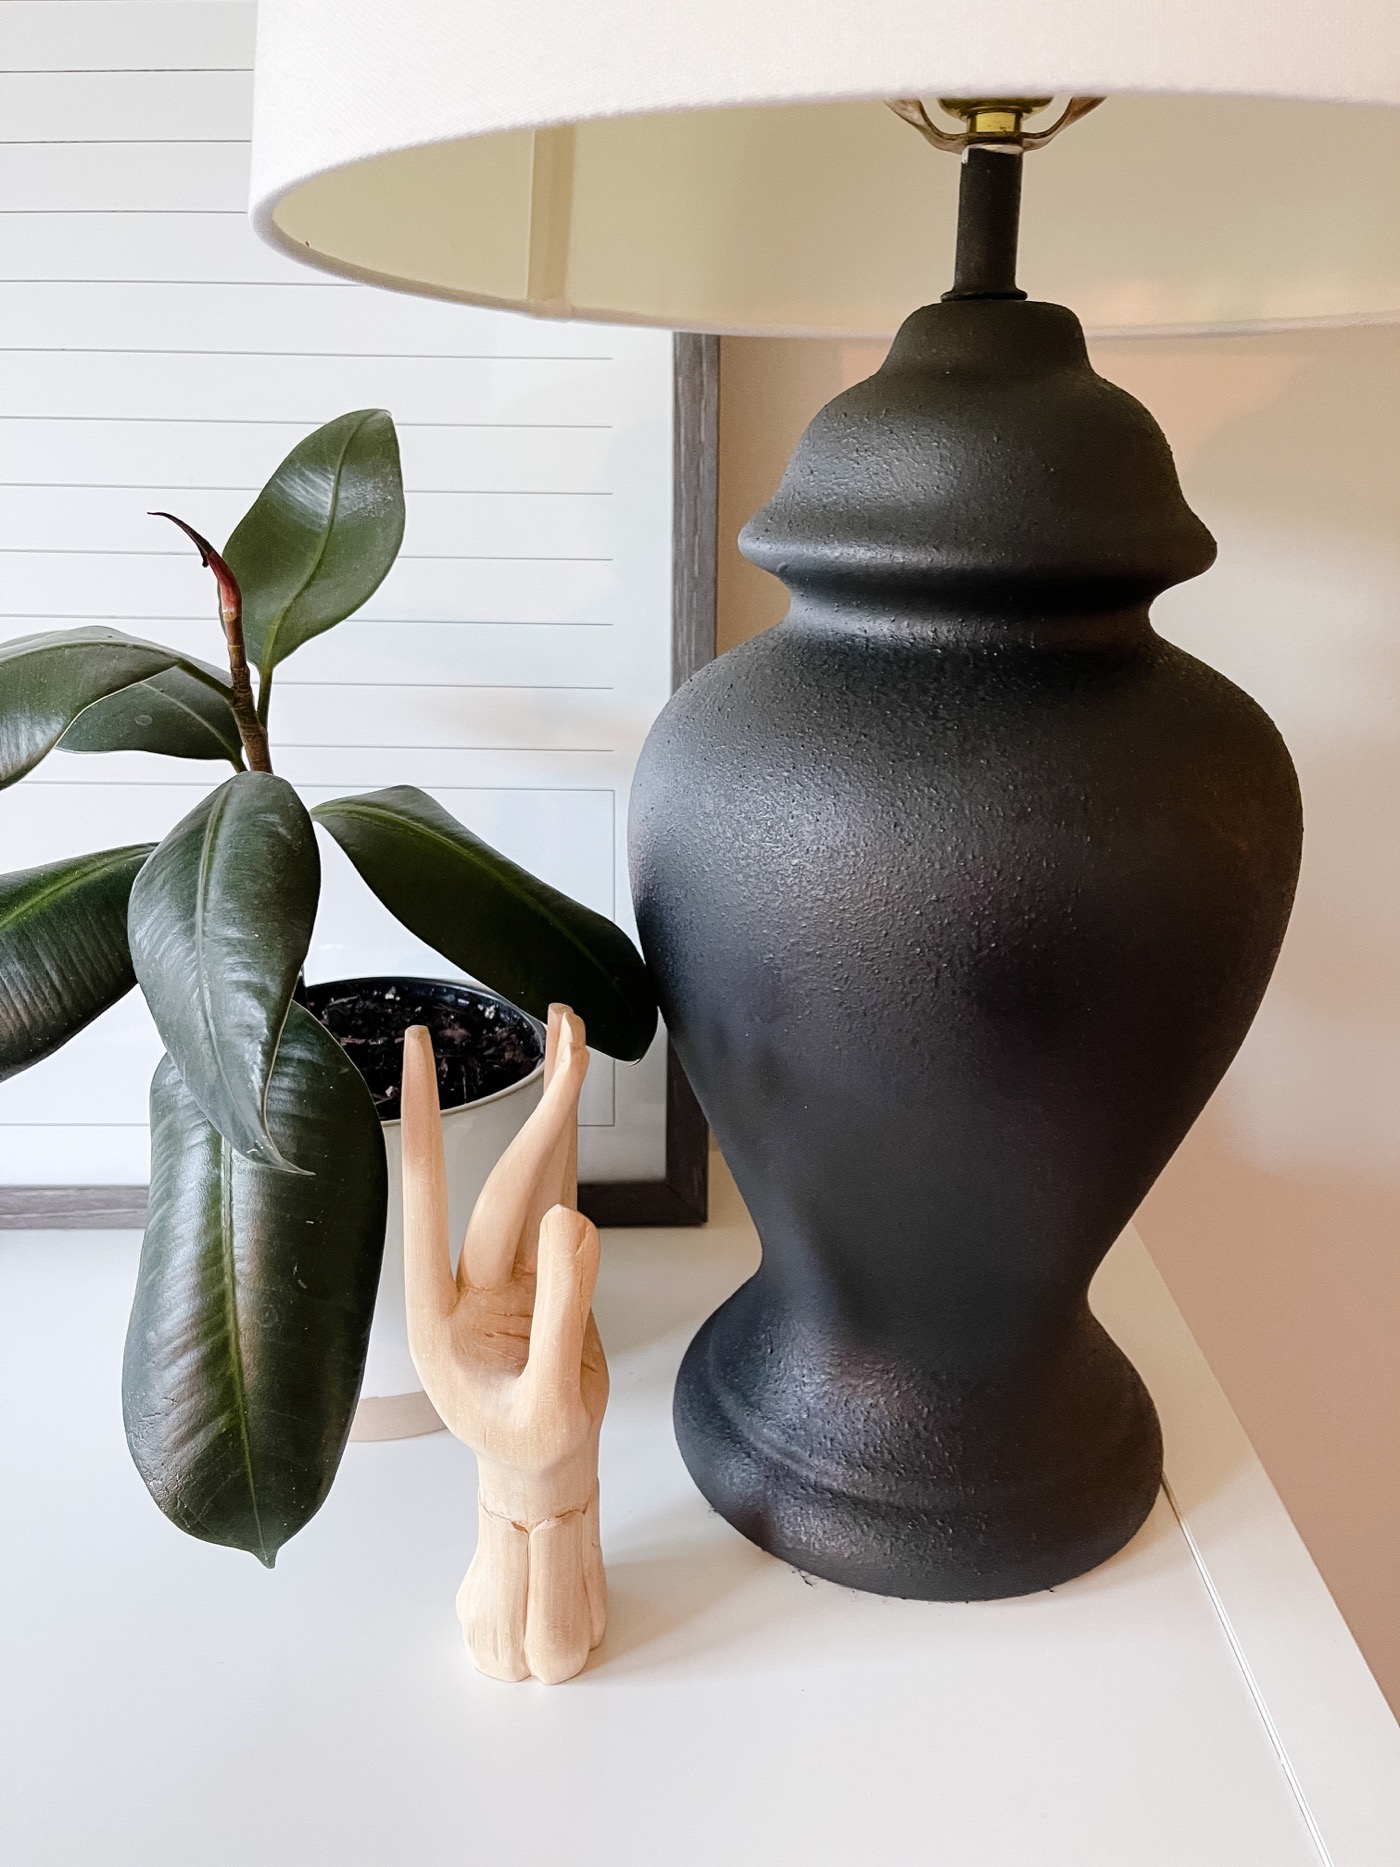
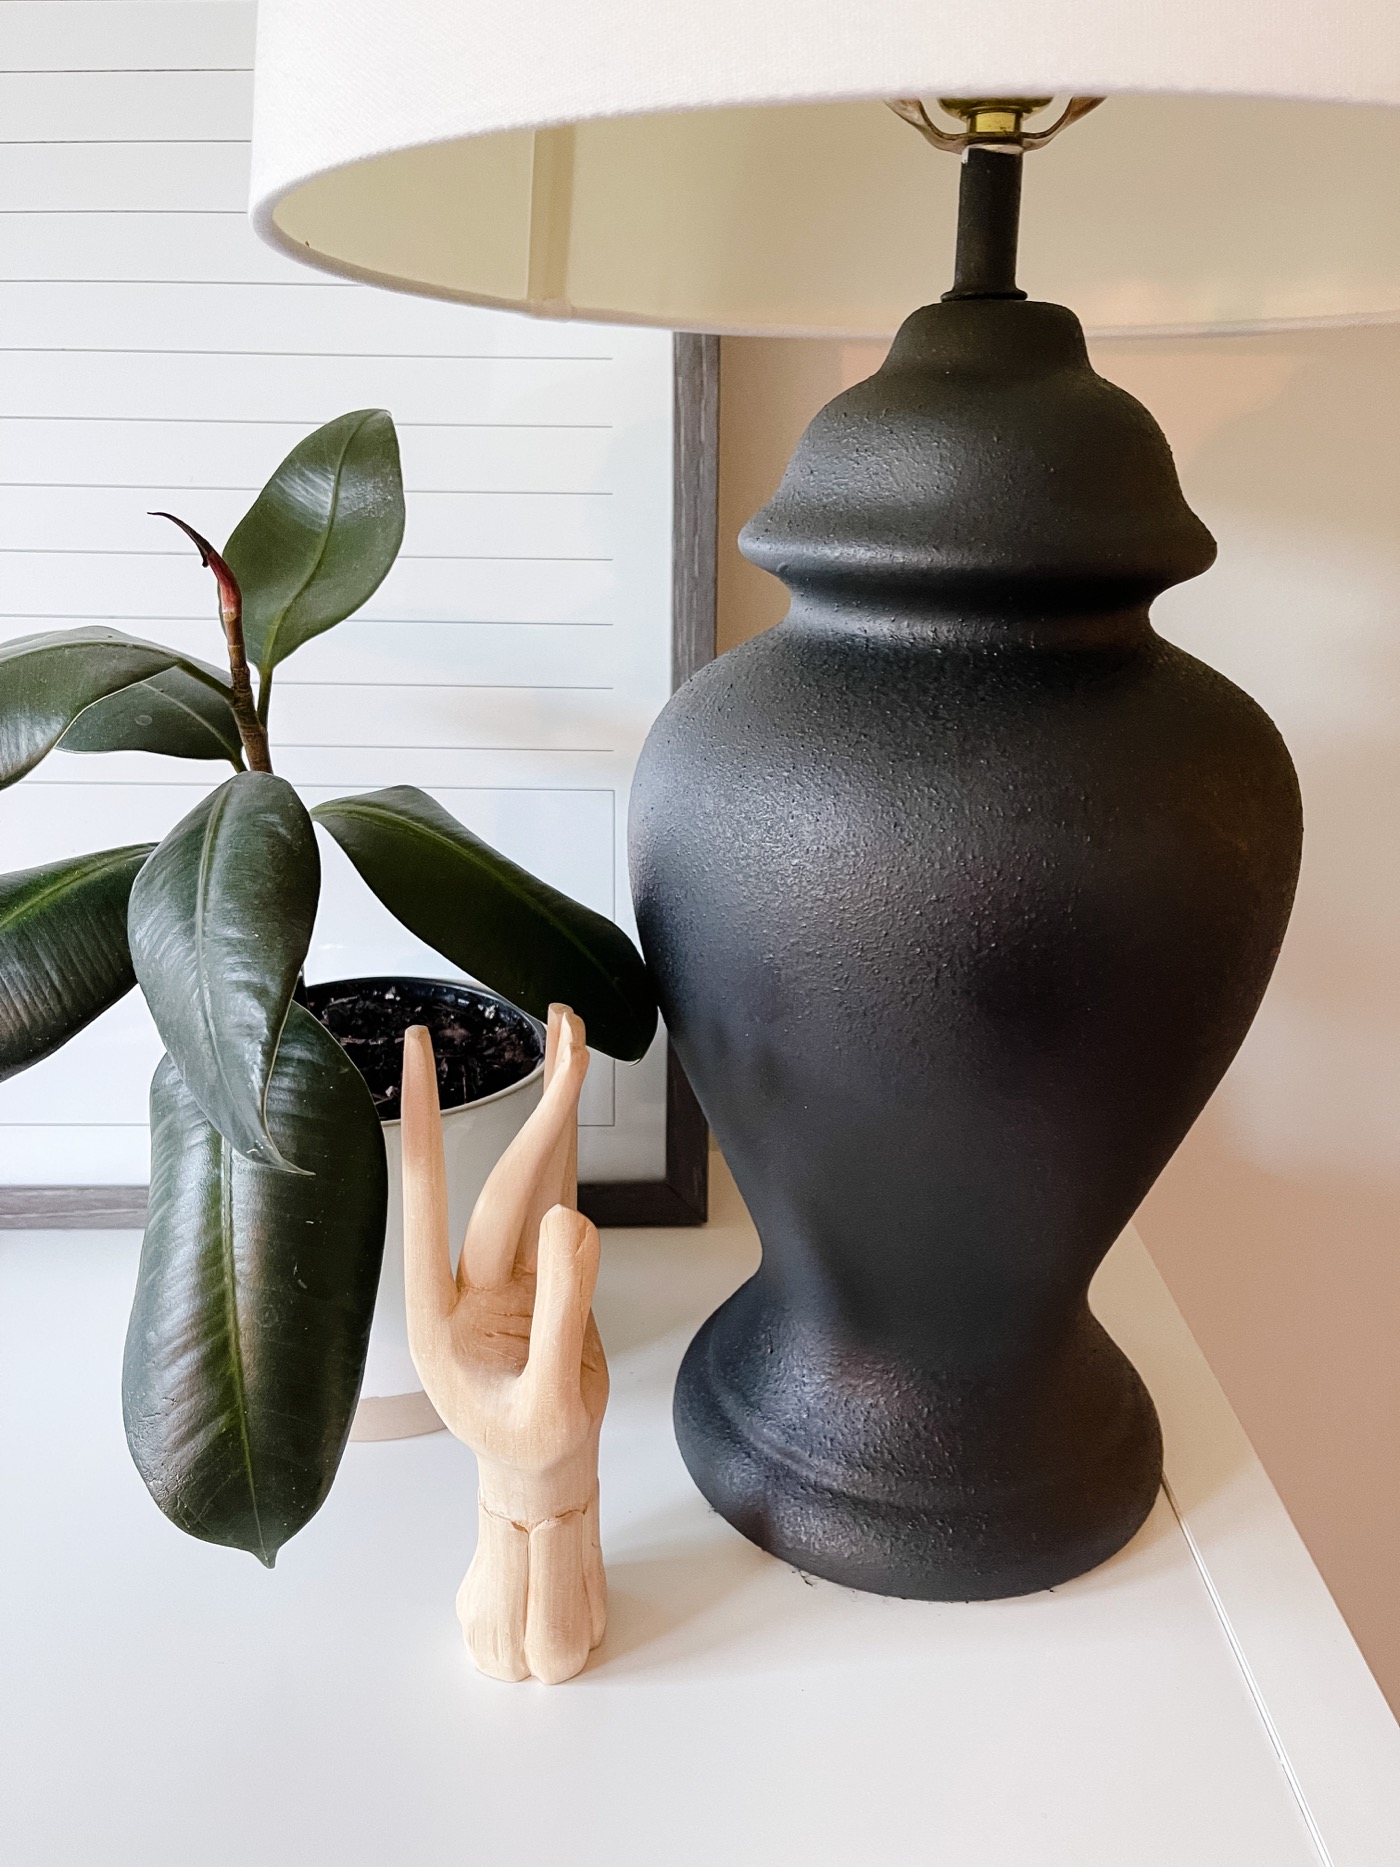
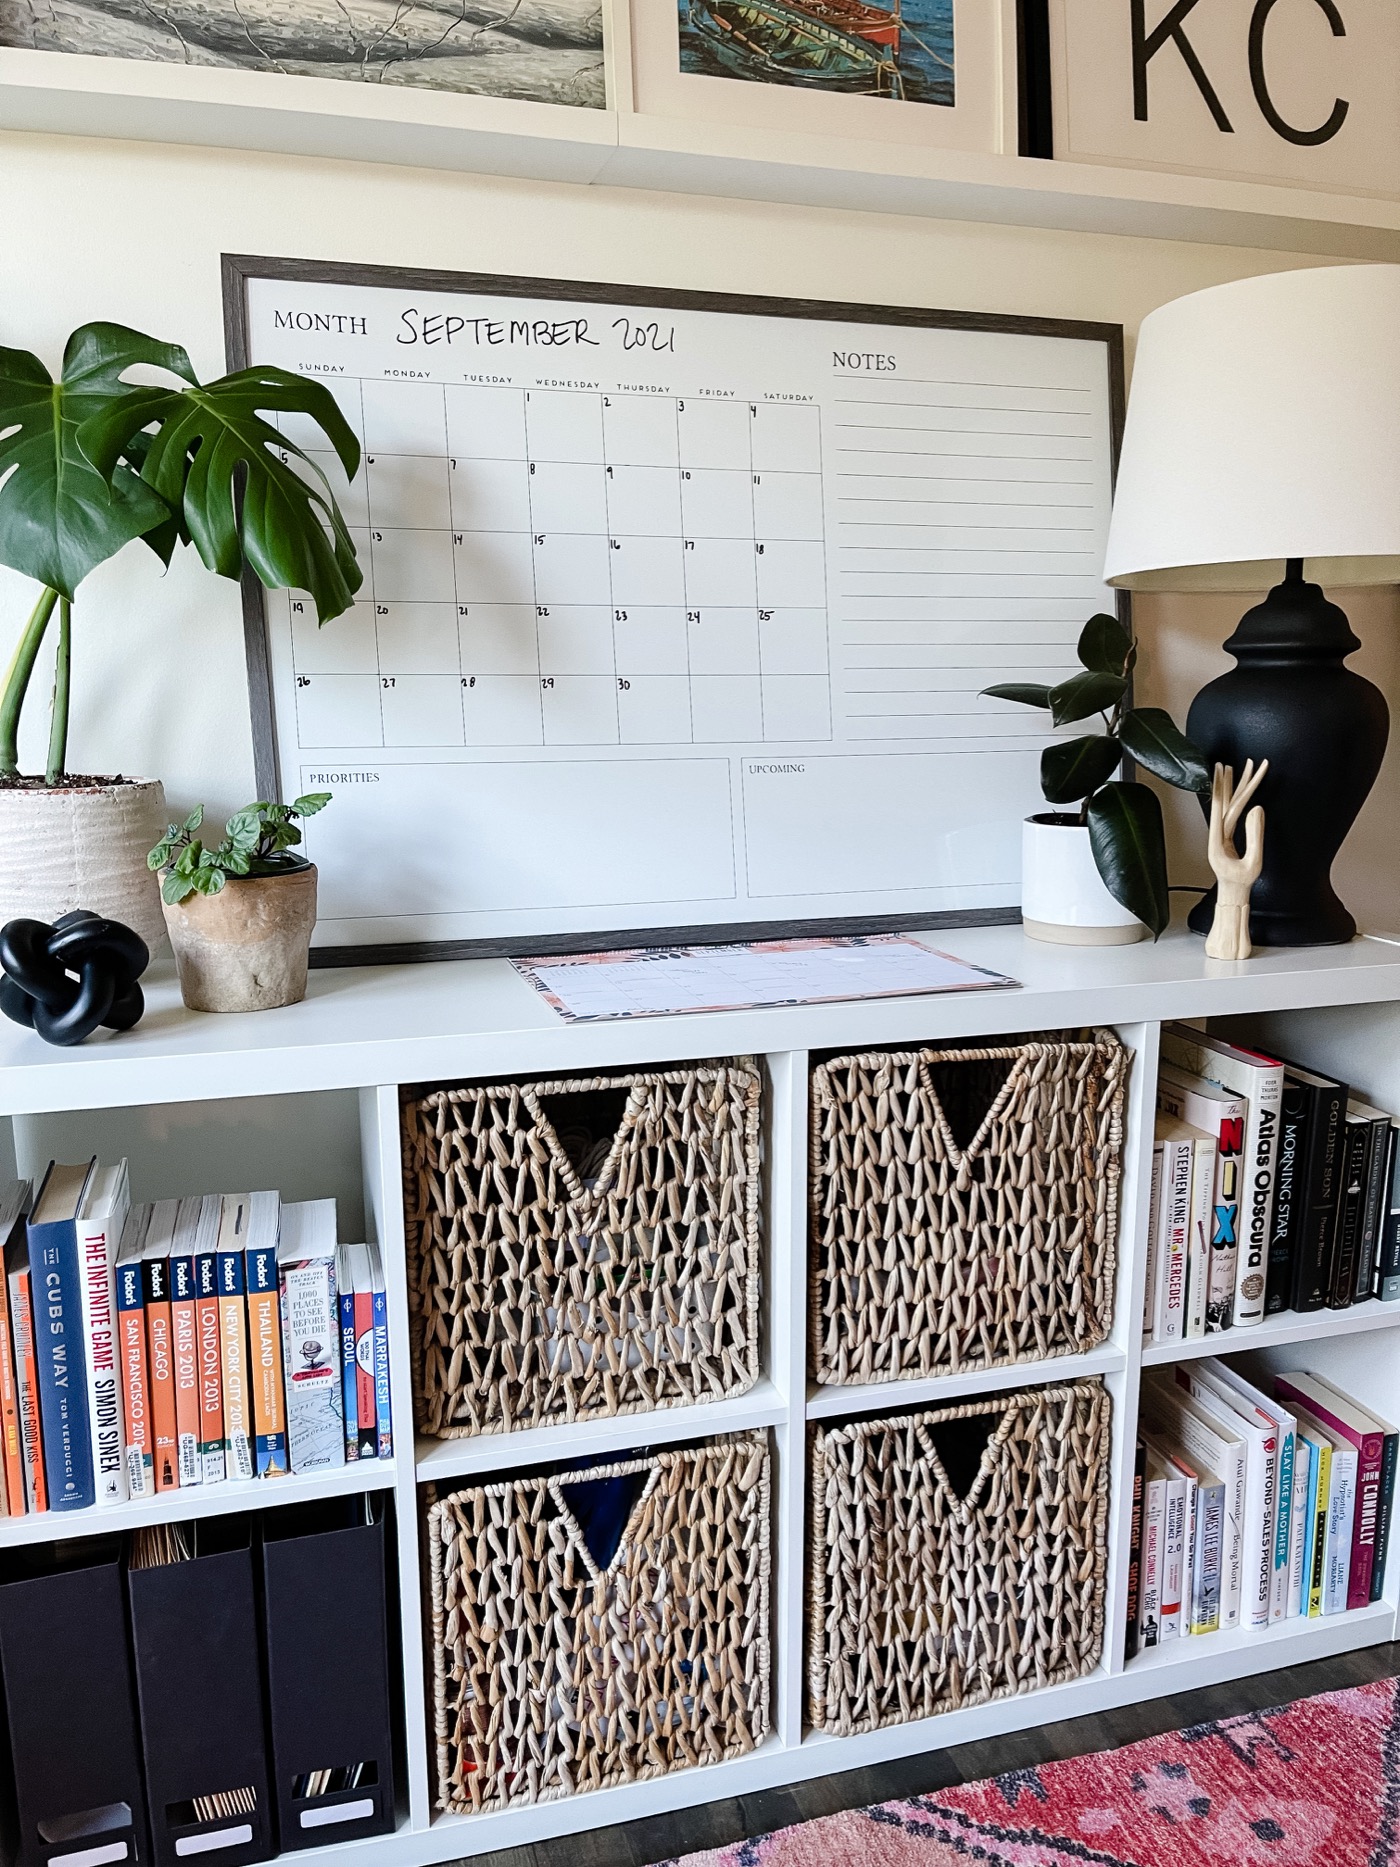
We actually use this lamp in the office daily! I love having it on to create some ambiance in the room and it adds light to the side of the room opposite our desks. Loving the neutral look and if you know me, I’m all about the TEXTURE! The lamp shade is reused too, so this DIY project only set me back the cost of the textured spray and the chalk spray!
Are you rethinking throwing out that old lamp now?! As long as you have a great base and shade, any lamp base can be updated using this texture spray paint! This whole project takes no time at all to complete! XO
