This summer, I decided to try the trend of making planter pots looked “aged”. I love the look of cement and pottery pots. The texture and “age” adds so much character. These aged pots can be super expensive though! Everything I used for this project I already had on hand at my house, so I’m calling this a no-cost DIY in my case! Let me start by saying I totally winged this! I had viewed a few different tutorials, but wanted to use what I had on hand to try to make it work.
UPDATE 2023: These looked great in the beginning, but did not hold up over the winter. They really chipped! I’ve since tried a new technique that I love so much more. Find that link here!
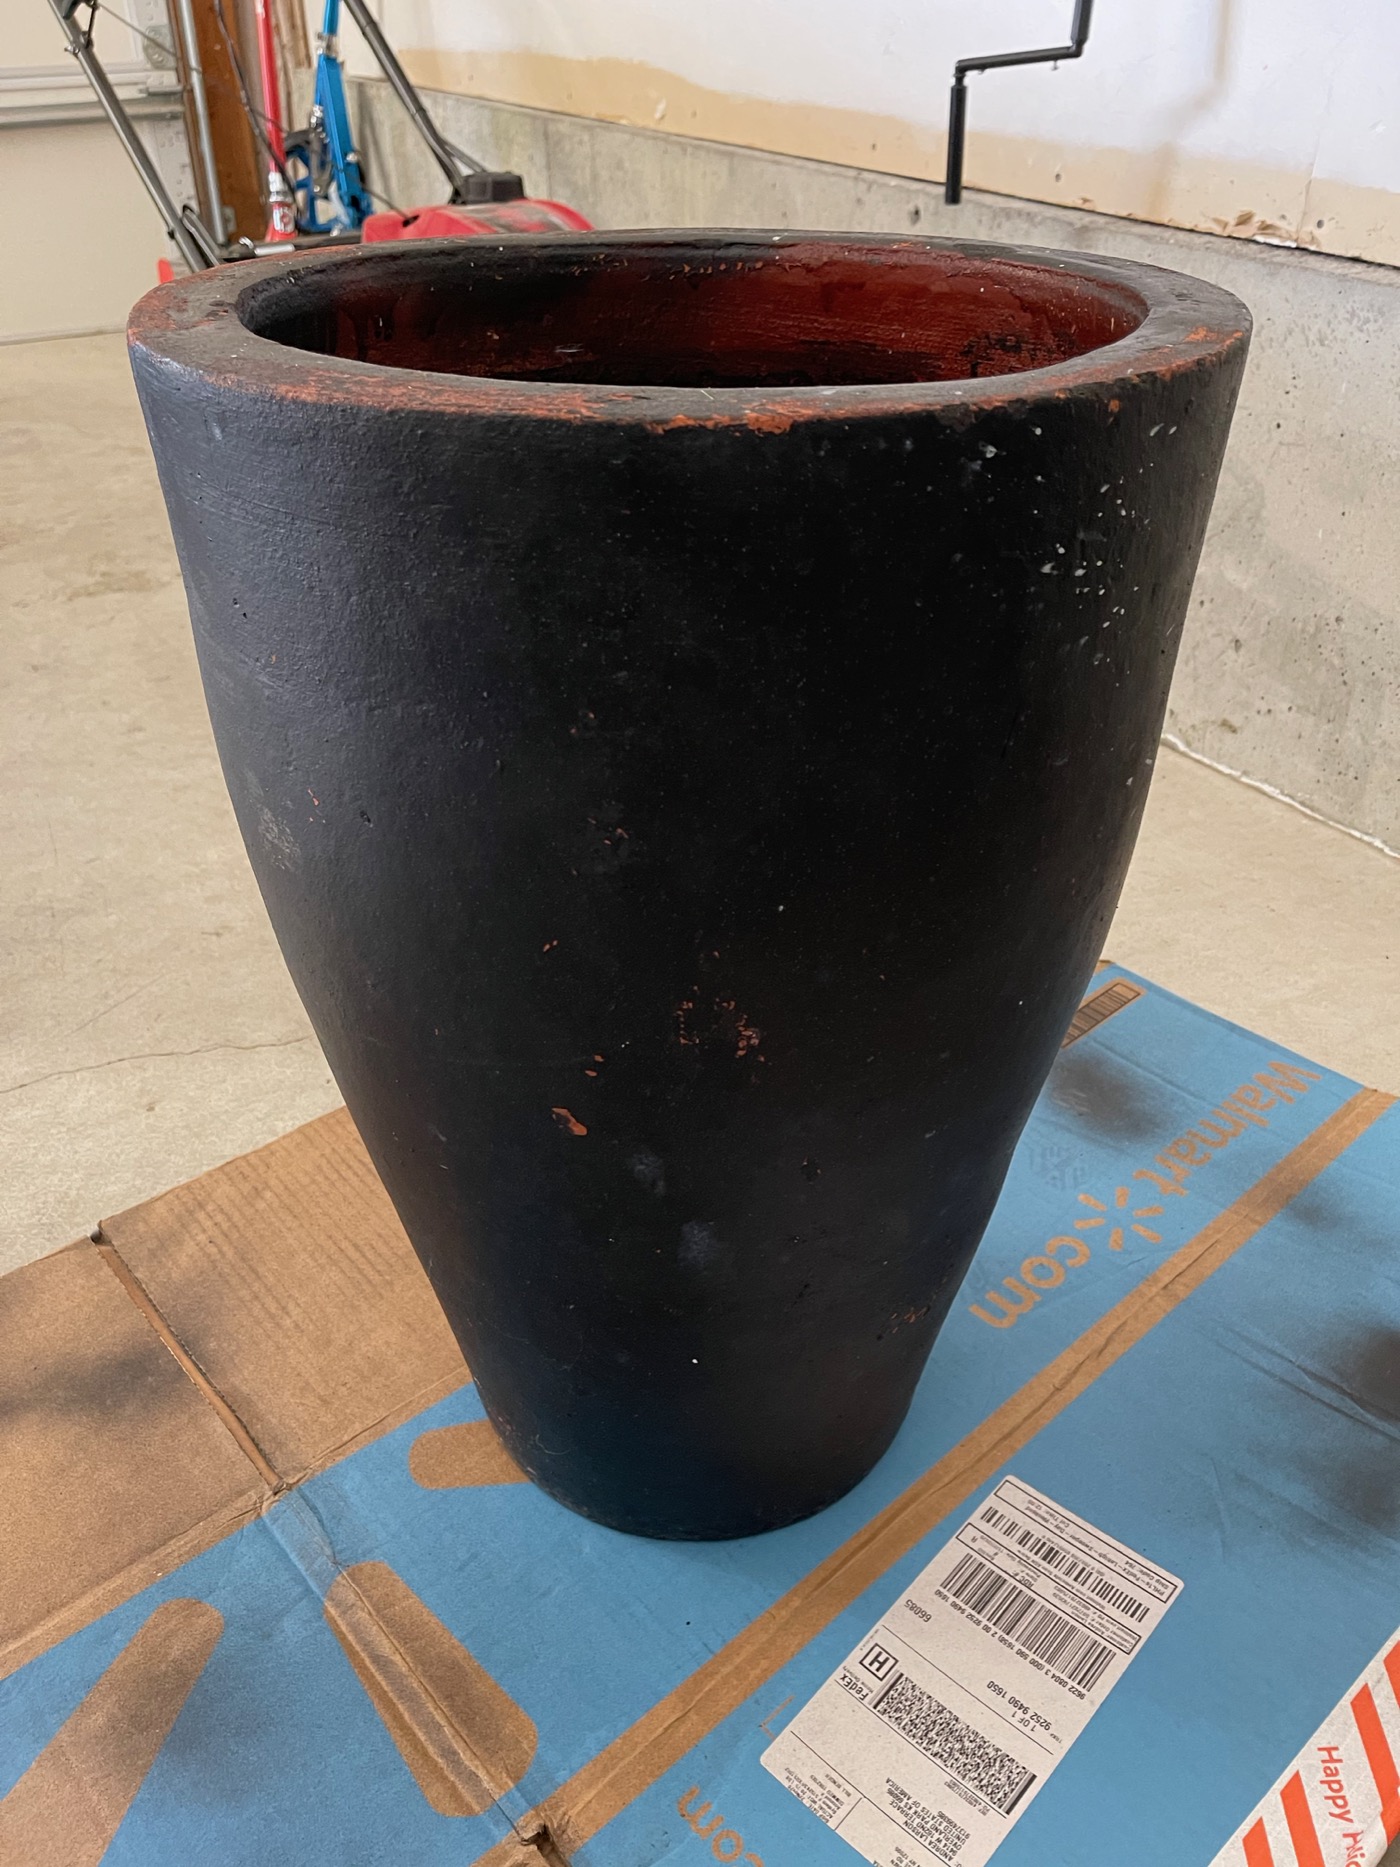
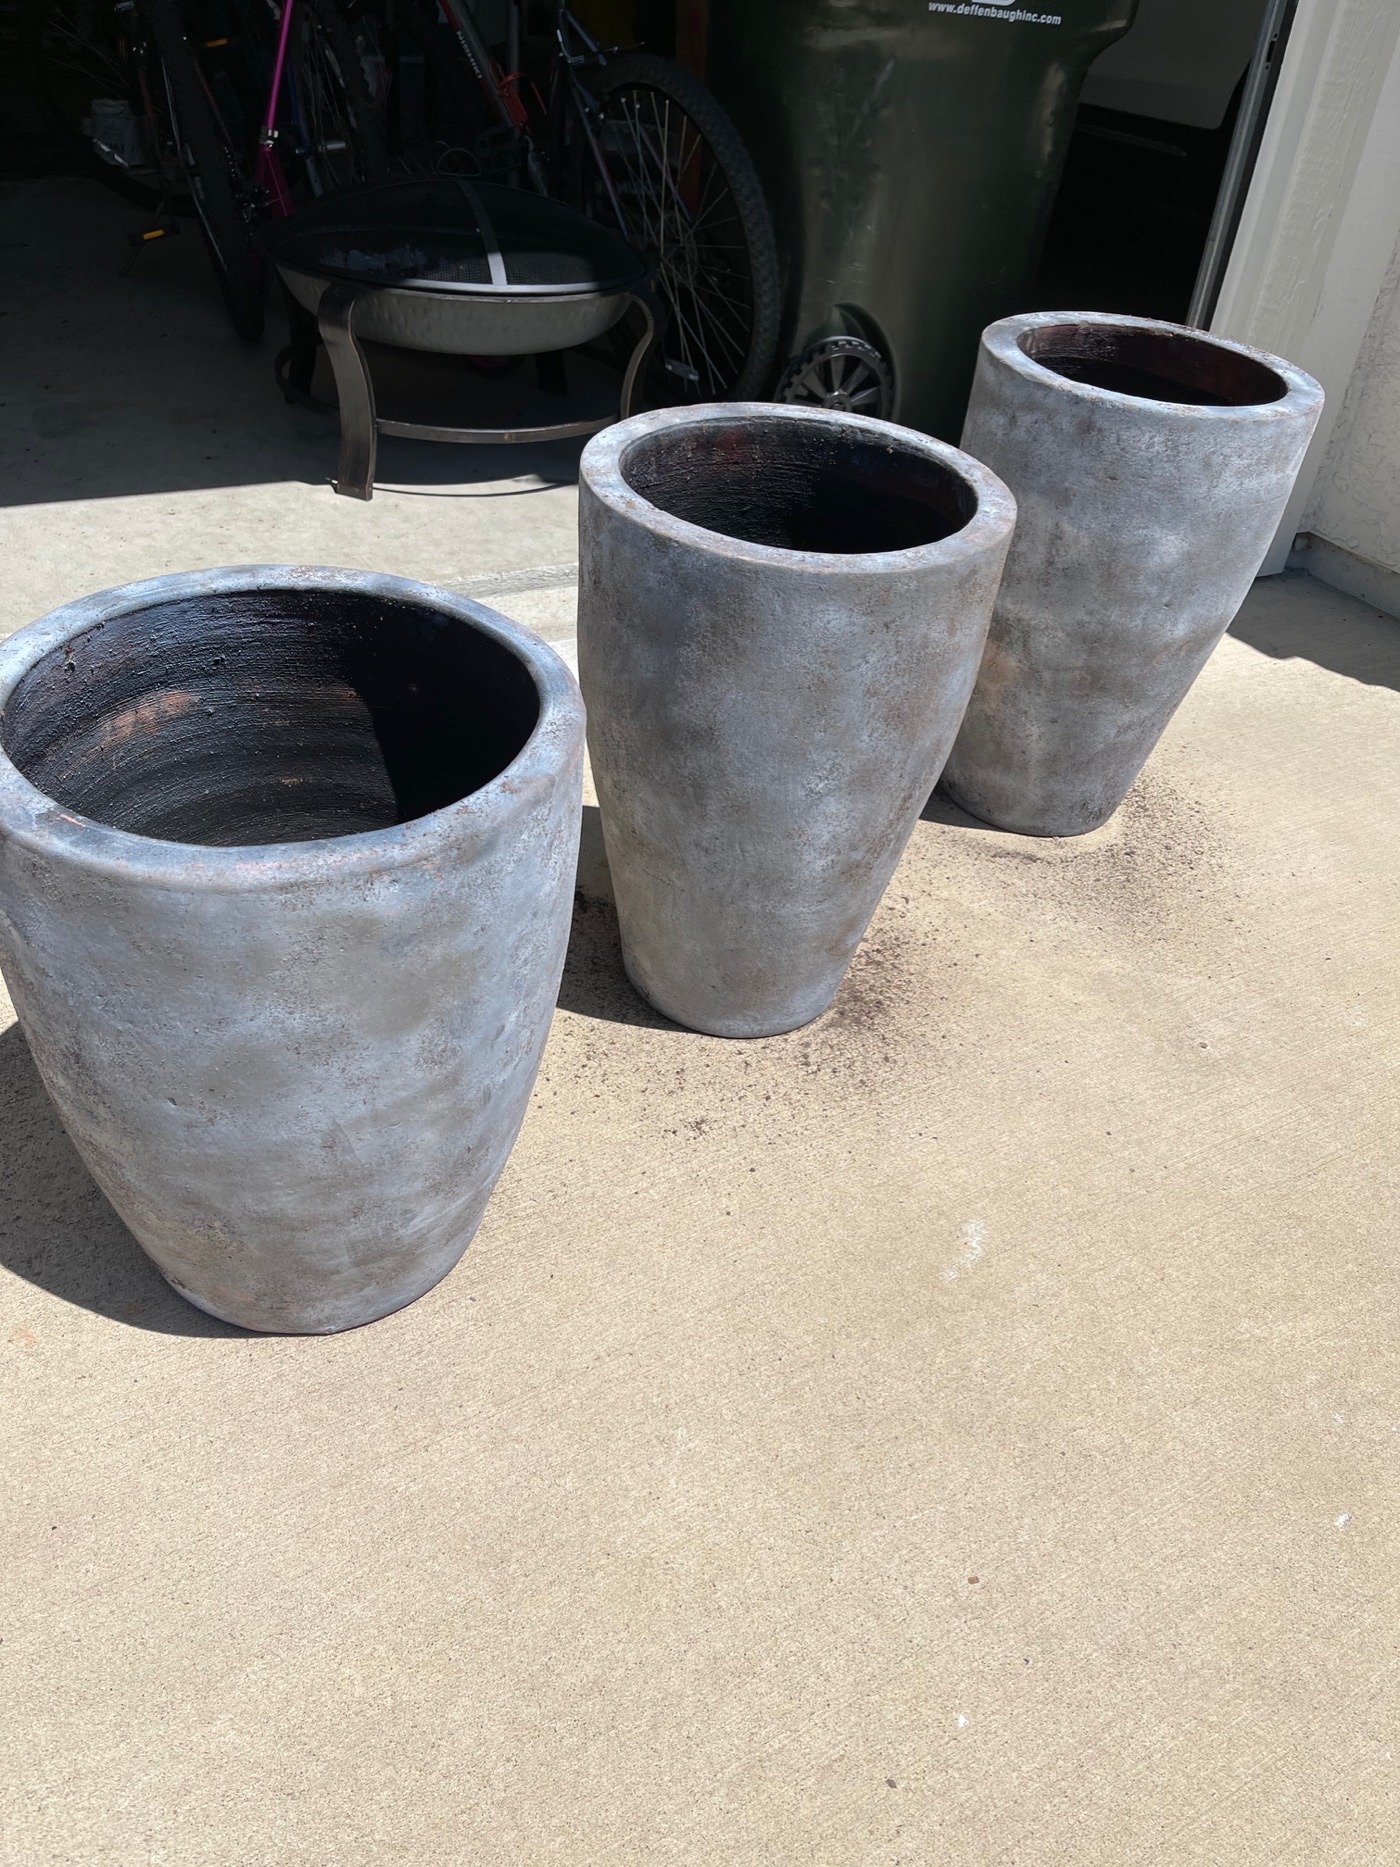
Gather Your Pots
Steve picked me up three of these tall, heavy ceramic pots at a little shop across the street from his old work place. He saw they’re having a sale and brought them home one day. He’s a keeper! The original color was kind of a painted on Terrace Cotta look. Last summer I spray painted them black and by the end of the summer, the color was chipping. This summer I decided that these would be the pots I would try to “age”. I started with them as is, and as you can see, they already had a little texture to start.
The Process
Because I was in the thick of this project and had dirty hands, I didn’t get photos of the step by step process. I was also just learning as I went, but you can see the colors I achieved. As a serial DIYer over the years, I have acquired a basket full of spray paints. I chose white, cream, and gray matte spray paints for this project. Again, I was totally winging this! After viewing a few tutorials, I also gathered a bucket of soil with a little bit of water to make a mud paste.
First, spray a layer of gray matte spray paint. It does not have to perfectly covered or coated, just kind of haphazardly spraying. While the paint was still a little wet, I would take handfuls of mud and start to rub over the pots. Some will stick and some will fall. That’s okay, keep picking it up and rubbing it all over. THIS DOES NOT HAVE TO PERFECT!
Next, spray a layer of matte white/cream over the top of the gray and mud layer. Add more mud on top of the white layer. Keep repeating this process until you get the color and texture you desire. You might want to use gloves for this process depending on the texture of your pots (so you don’t cut your hands)!
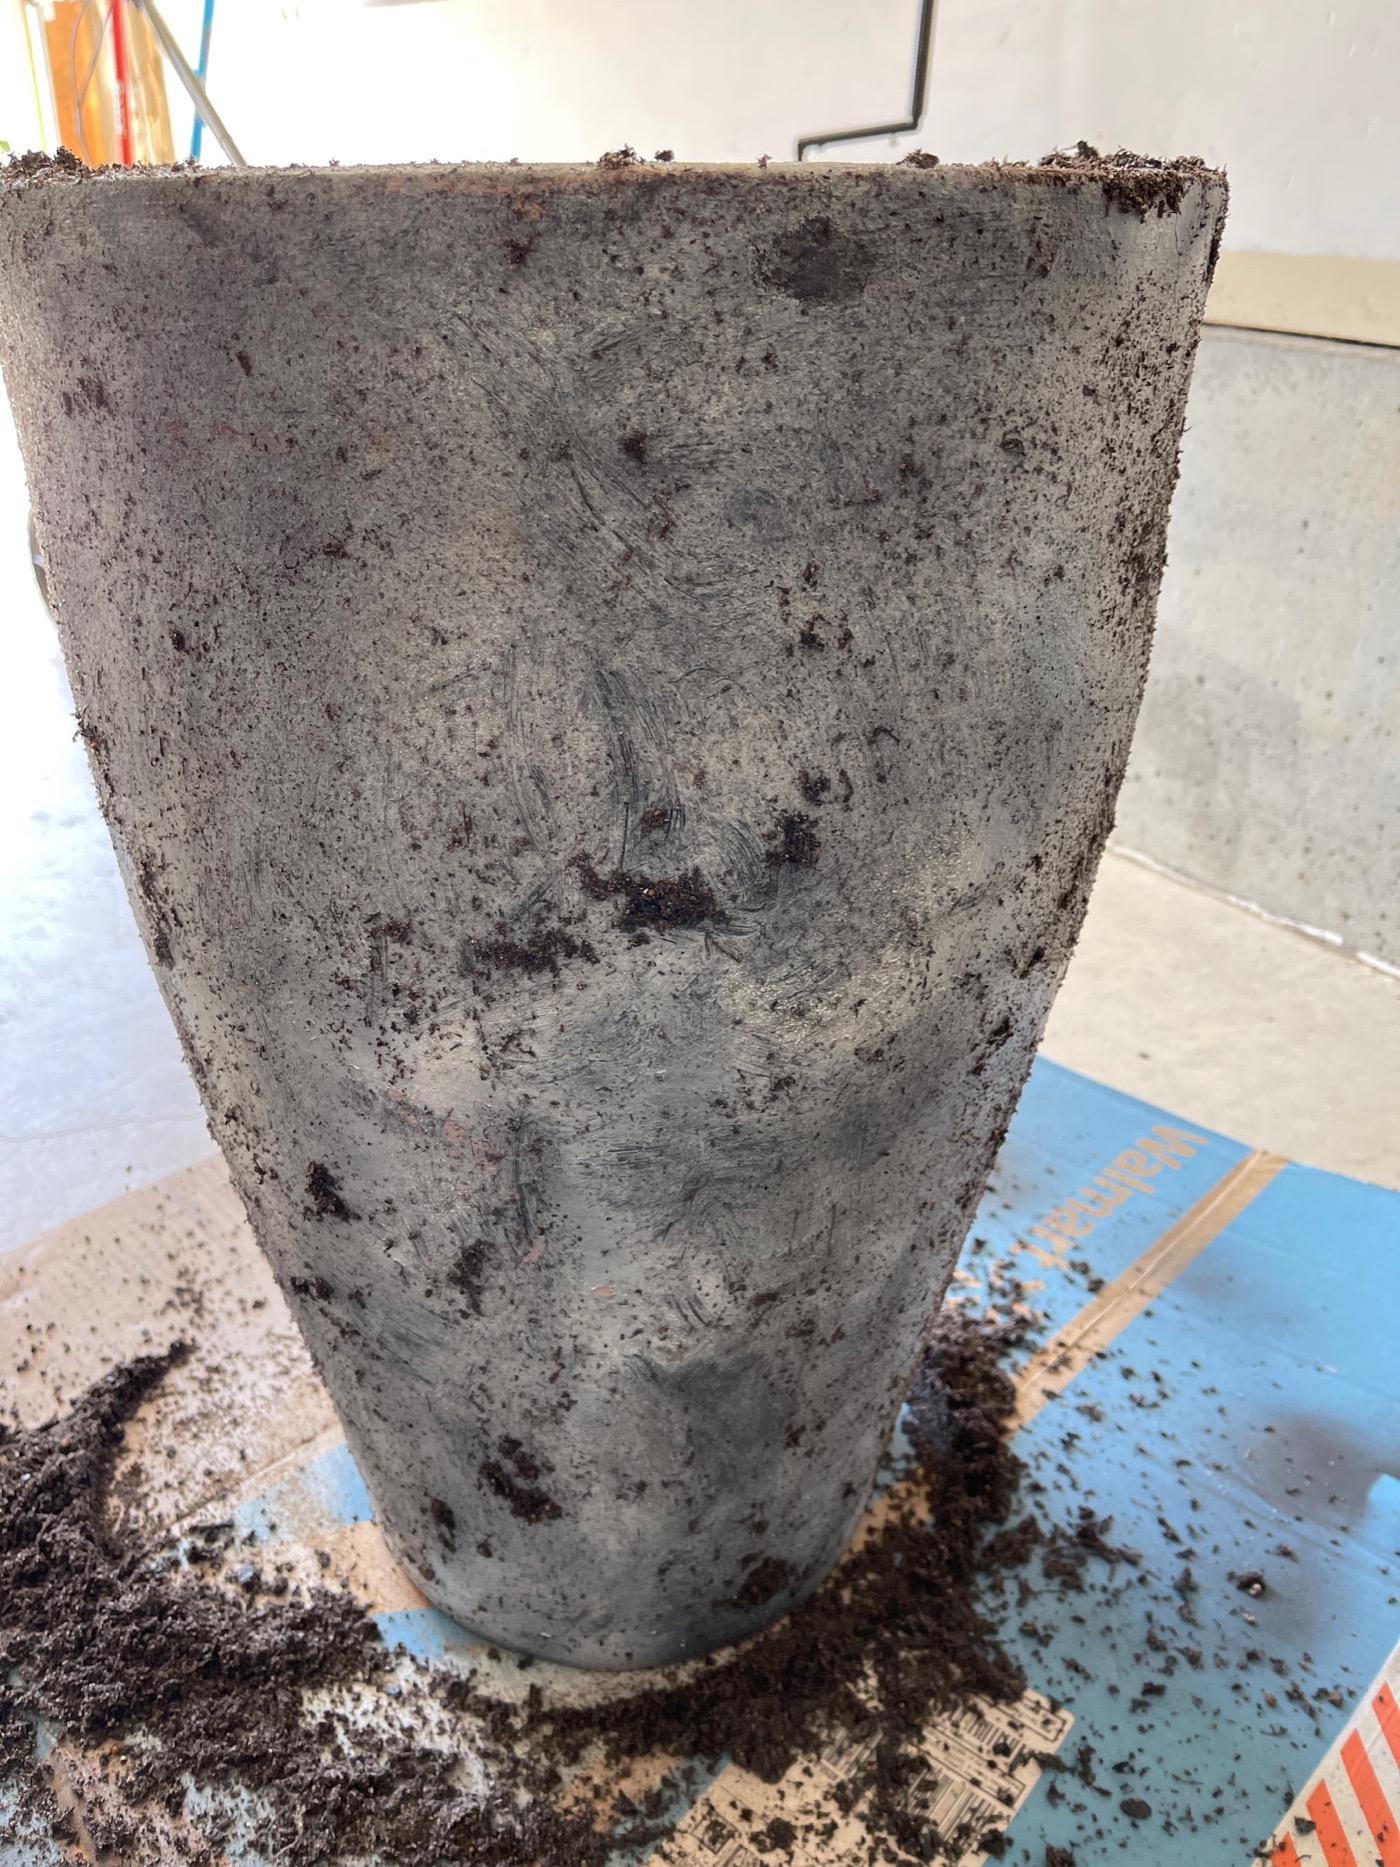
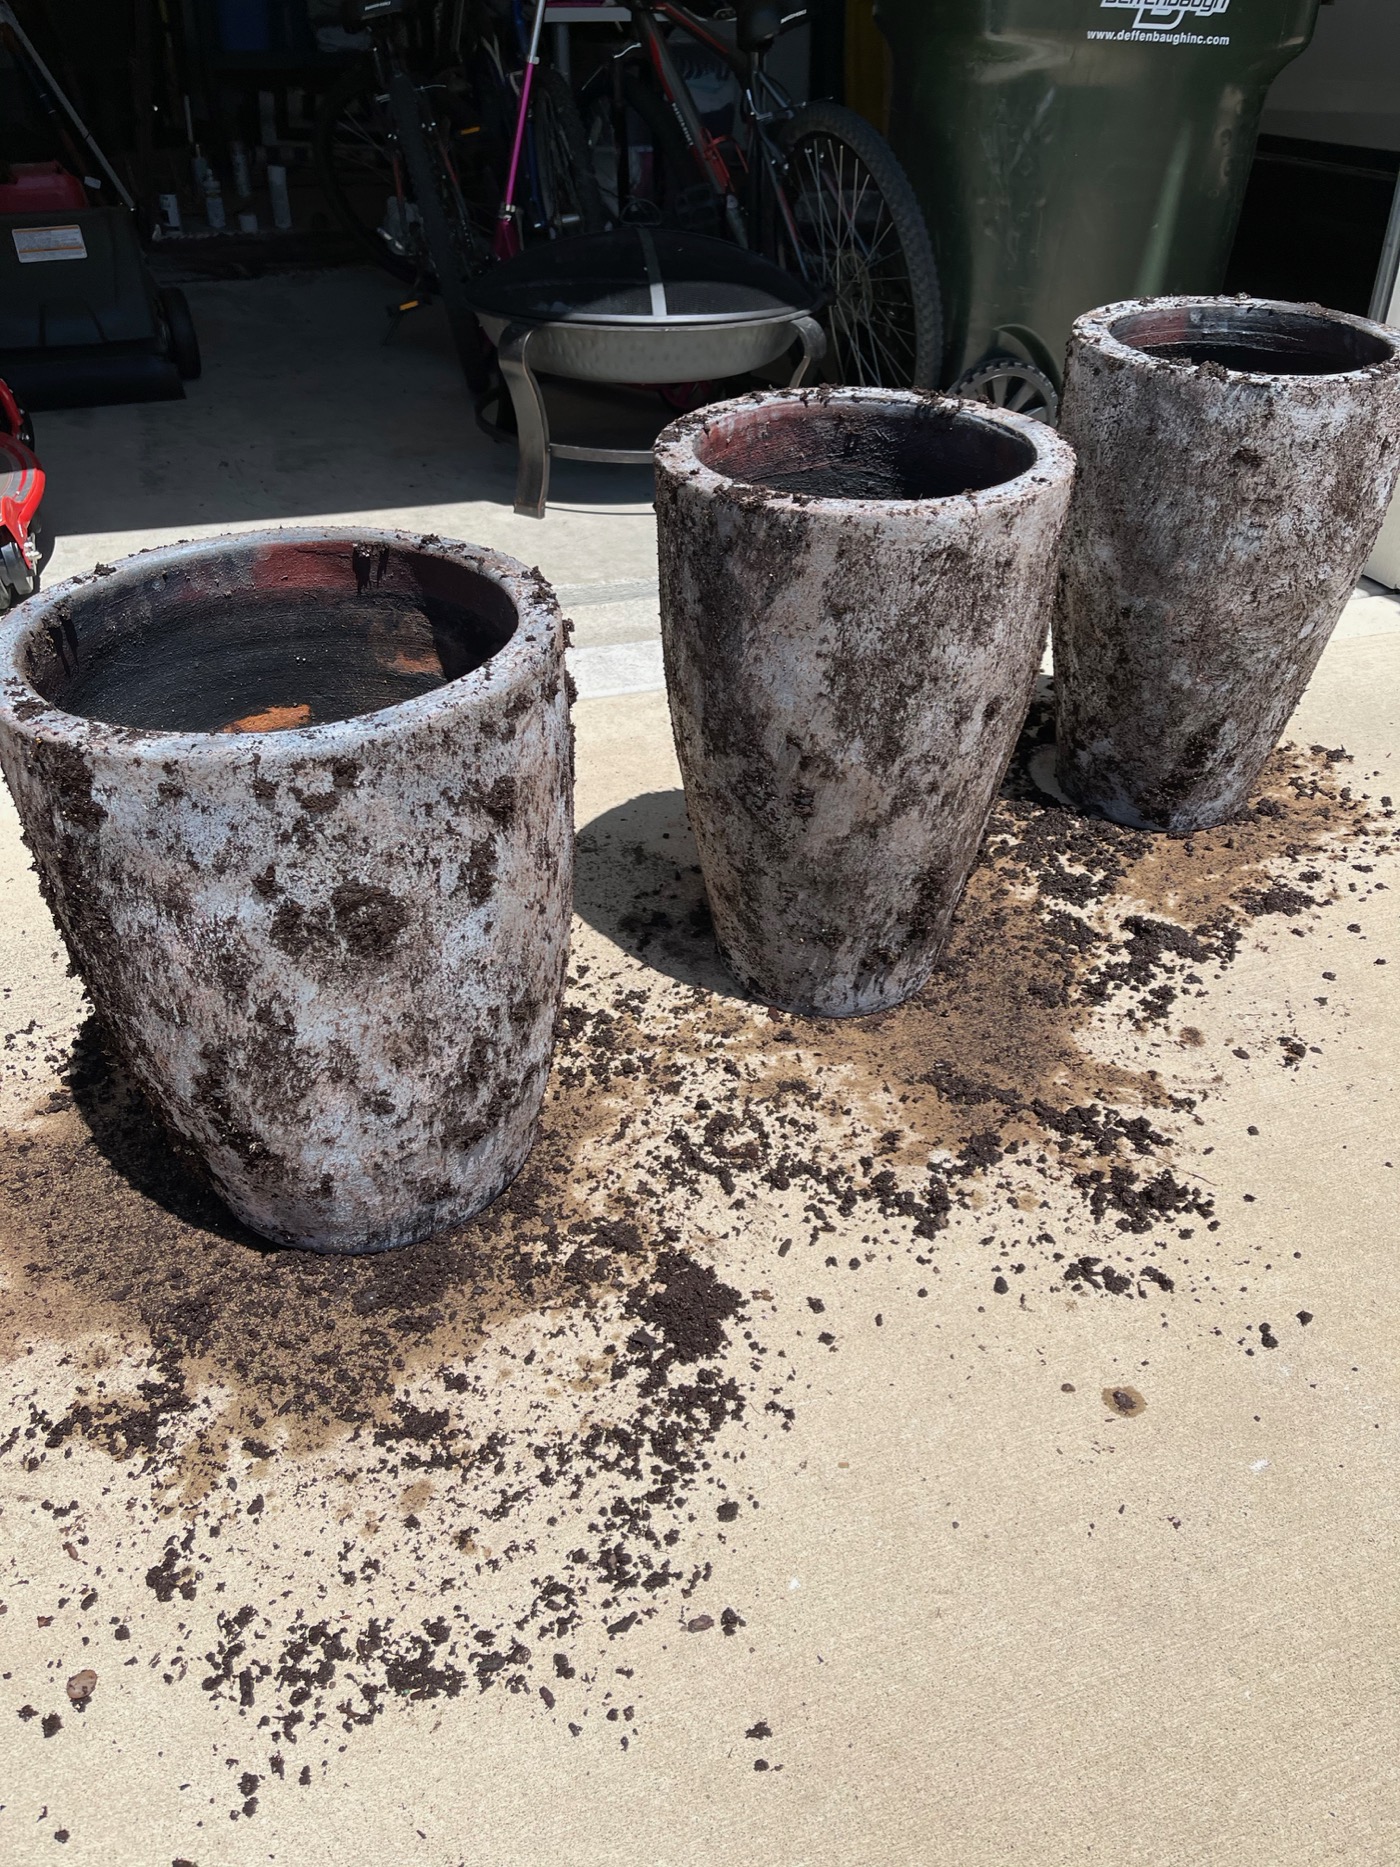
After I got the colored I wanted, I set them out in the sun to dry.
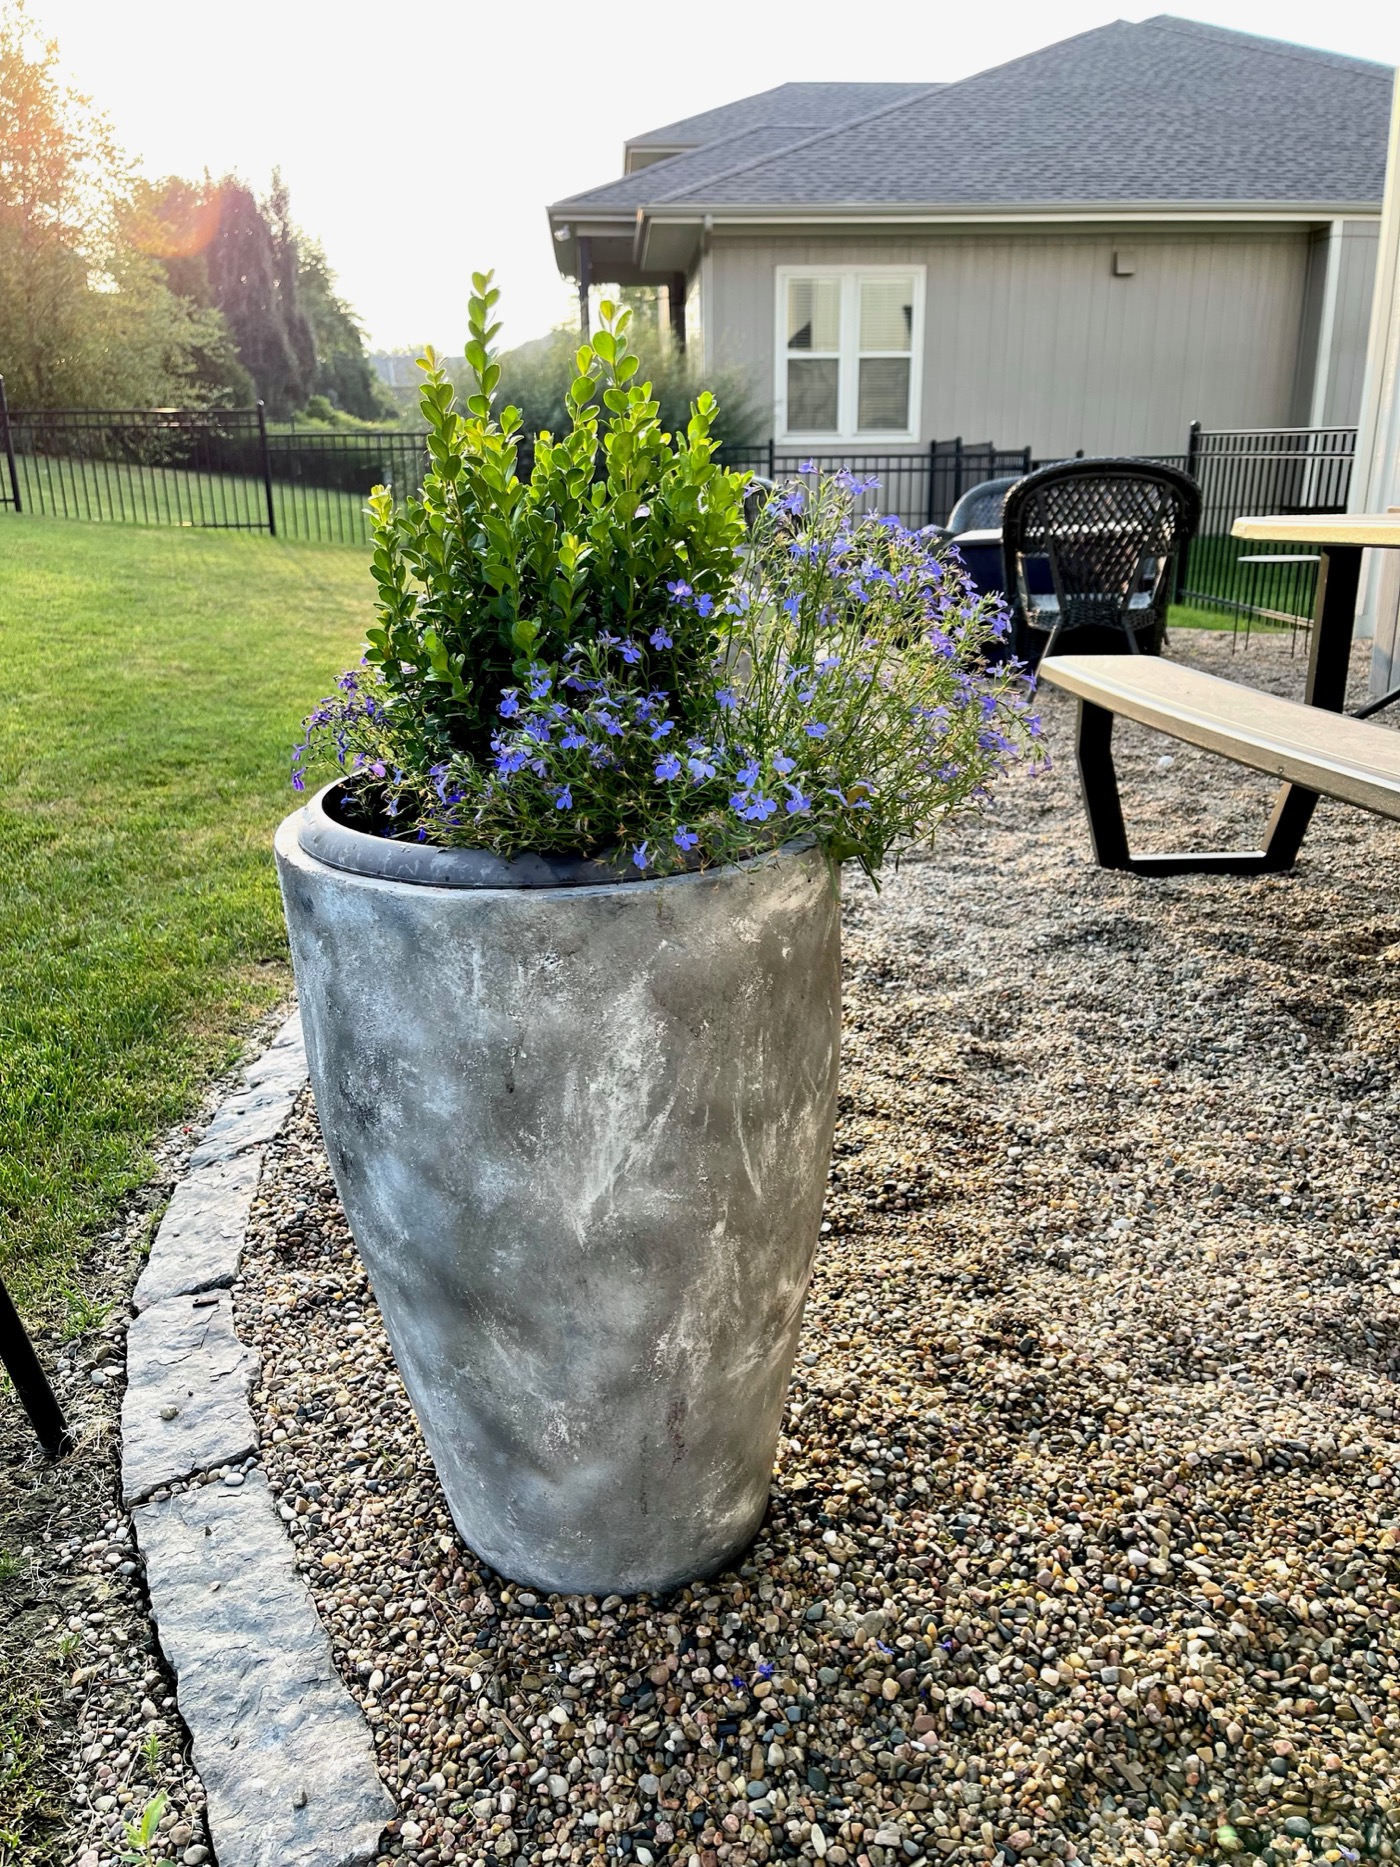
When dried, I brushed away all the dried mud. You can see the layering and the texture the spray paint and mud created. It’s kind of a cement look, which is what I was going for.
Sealing the Pots
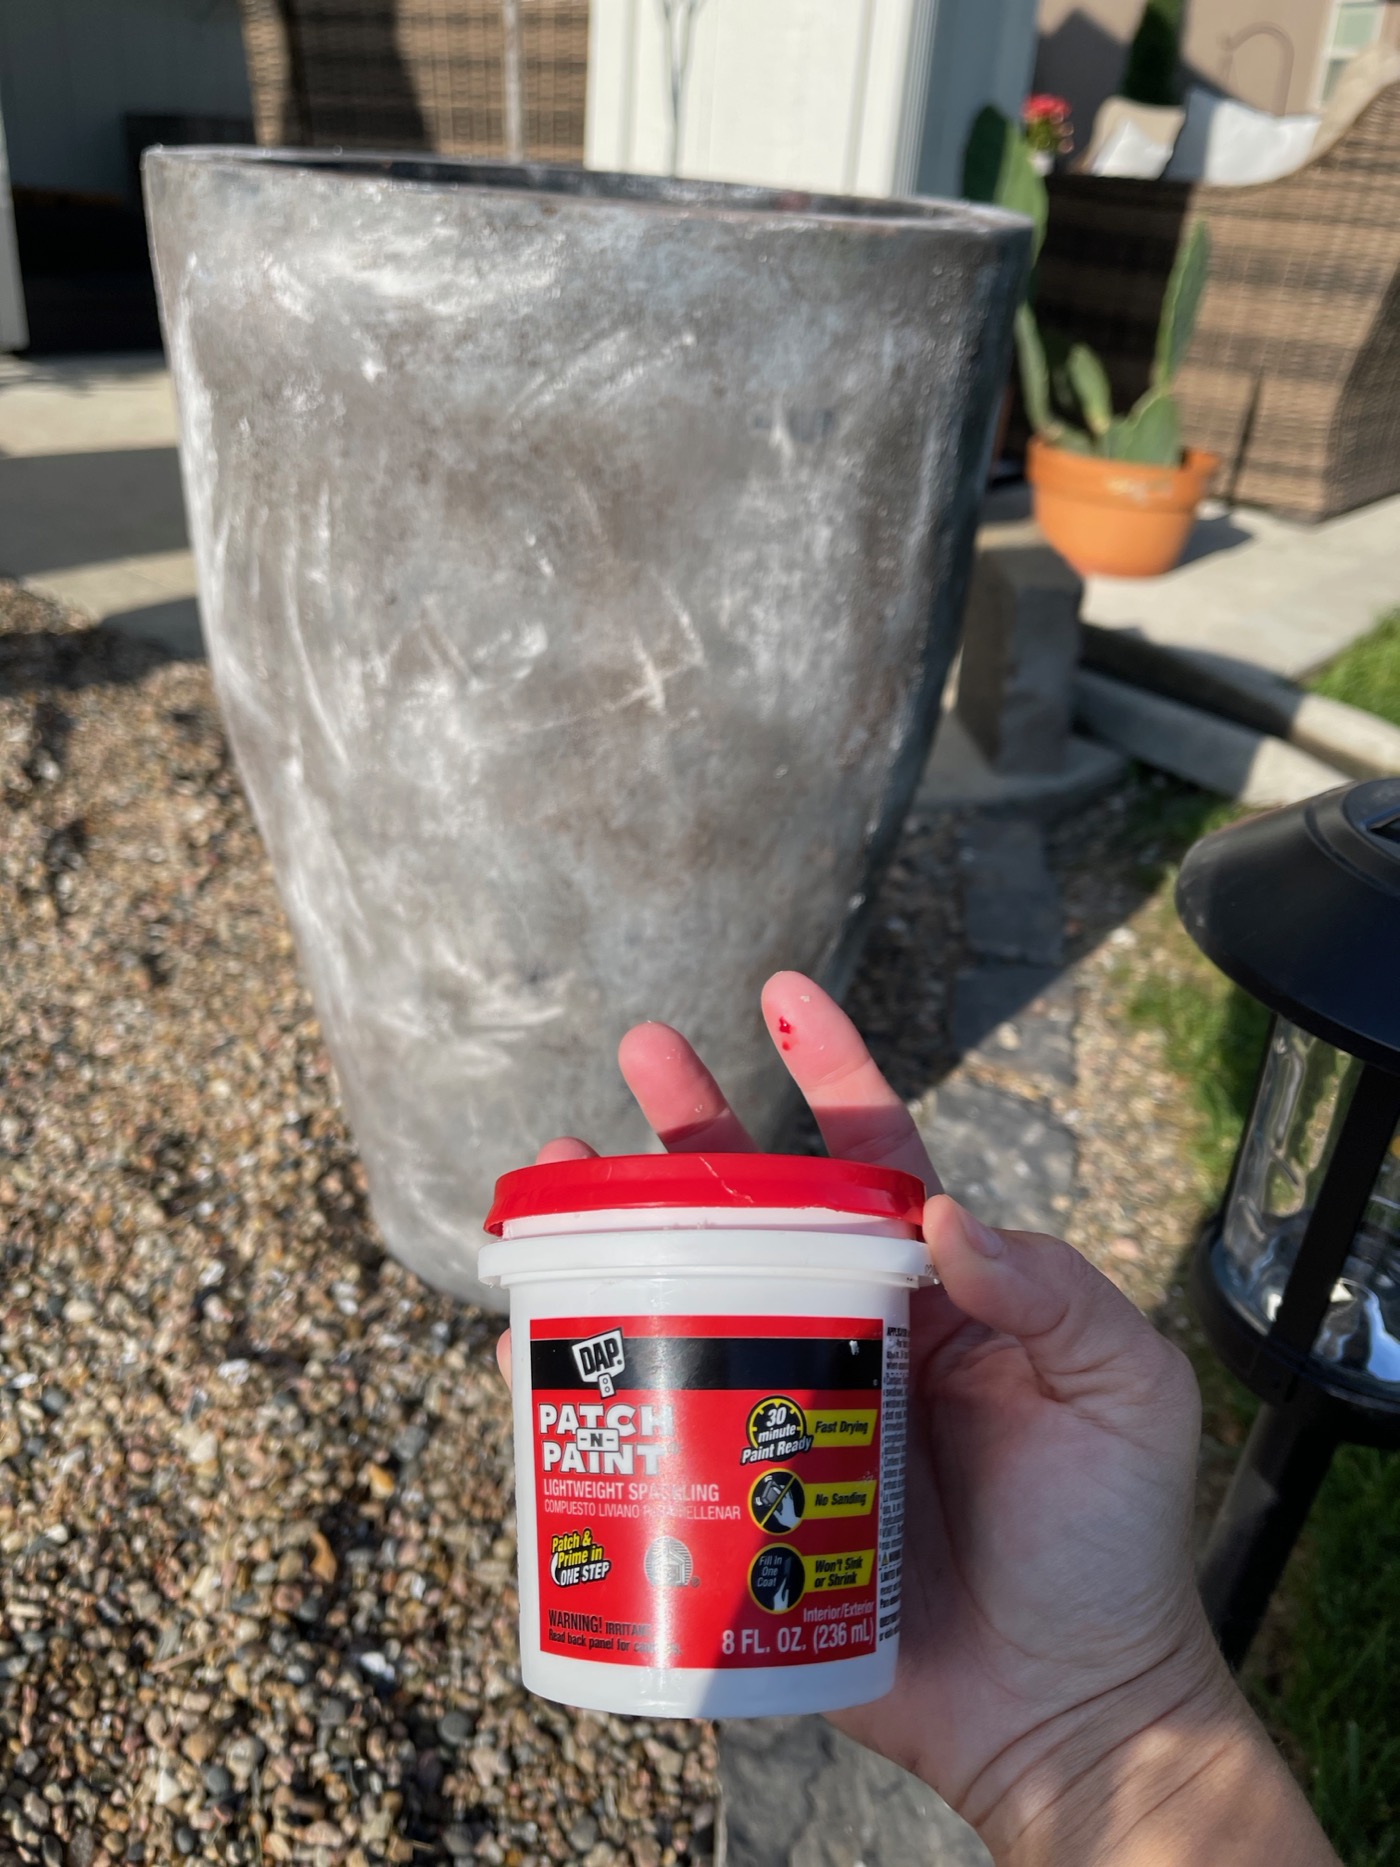
I gave them all a coat of clear spray sealer when I was done. After I moved them to the back yard, I decided I want them to have even more texture and a little more white on them. So….I grabbed some wall spackle from my stash and started applying at random. This gave it just the extra touch I wanted! The spackle was able to settle into some of the natural groves of the pots. Careful…I didn’t use gloves and I cut myself!
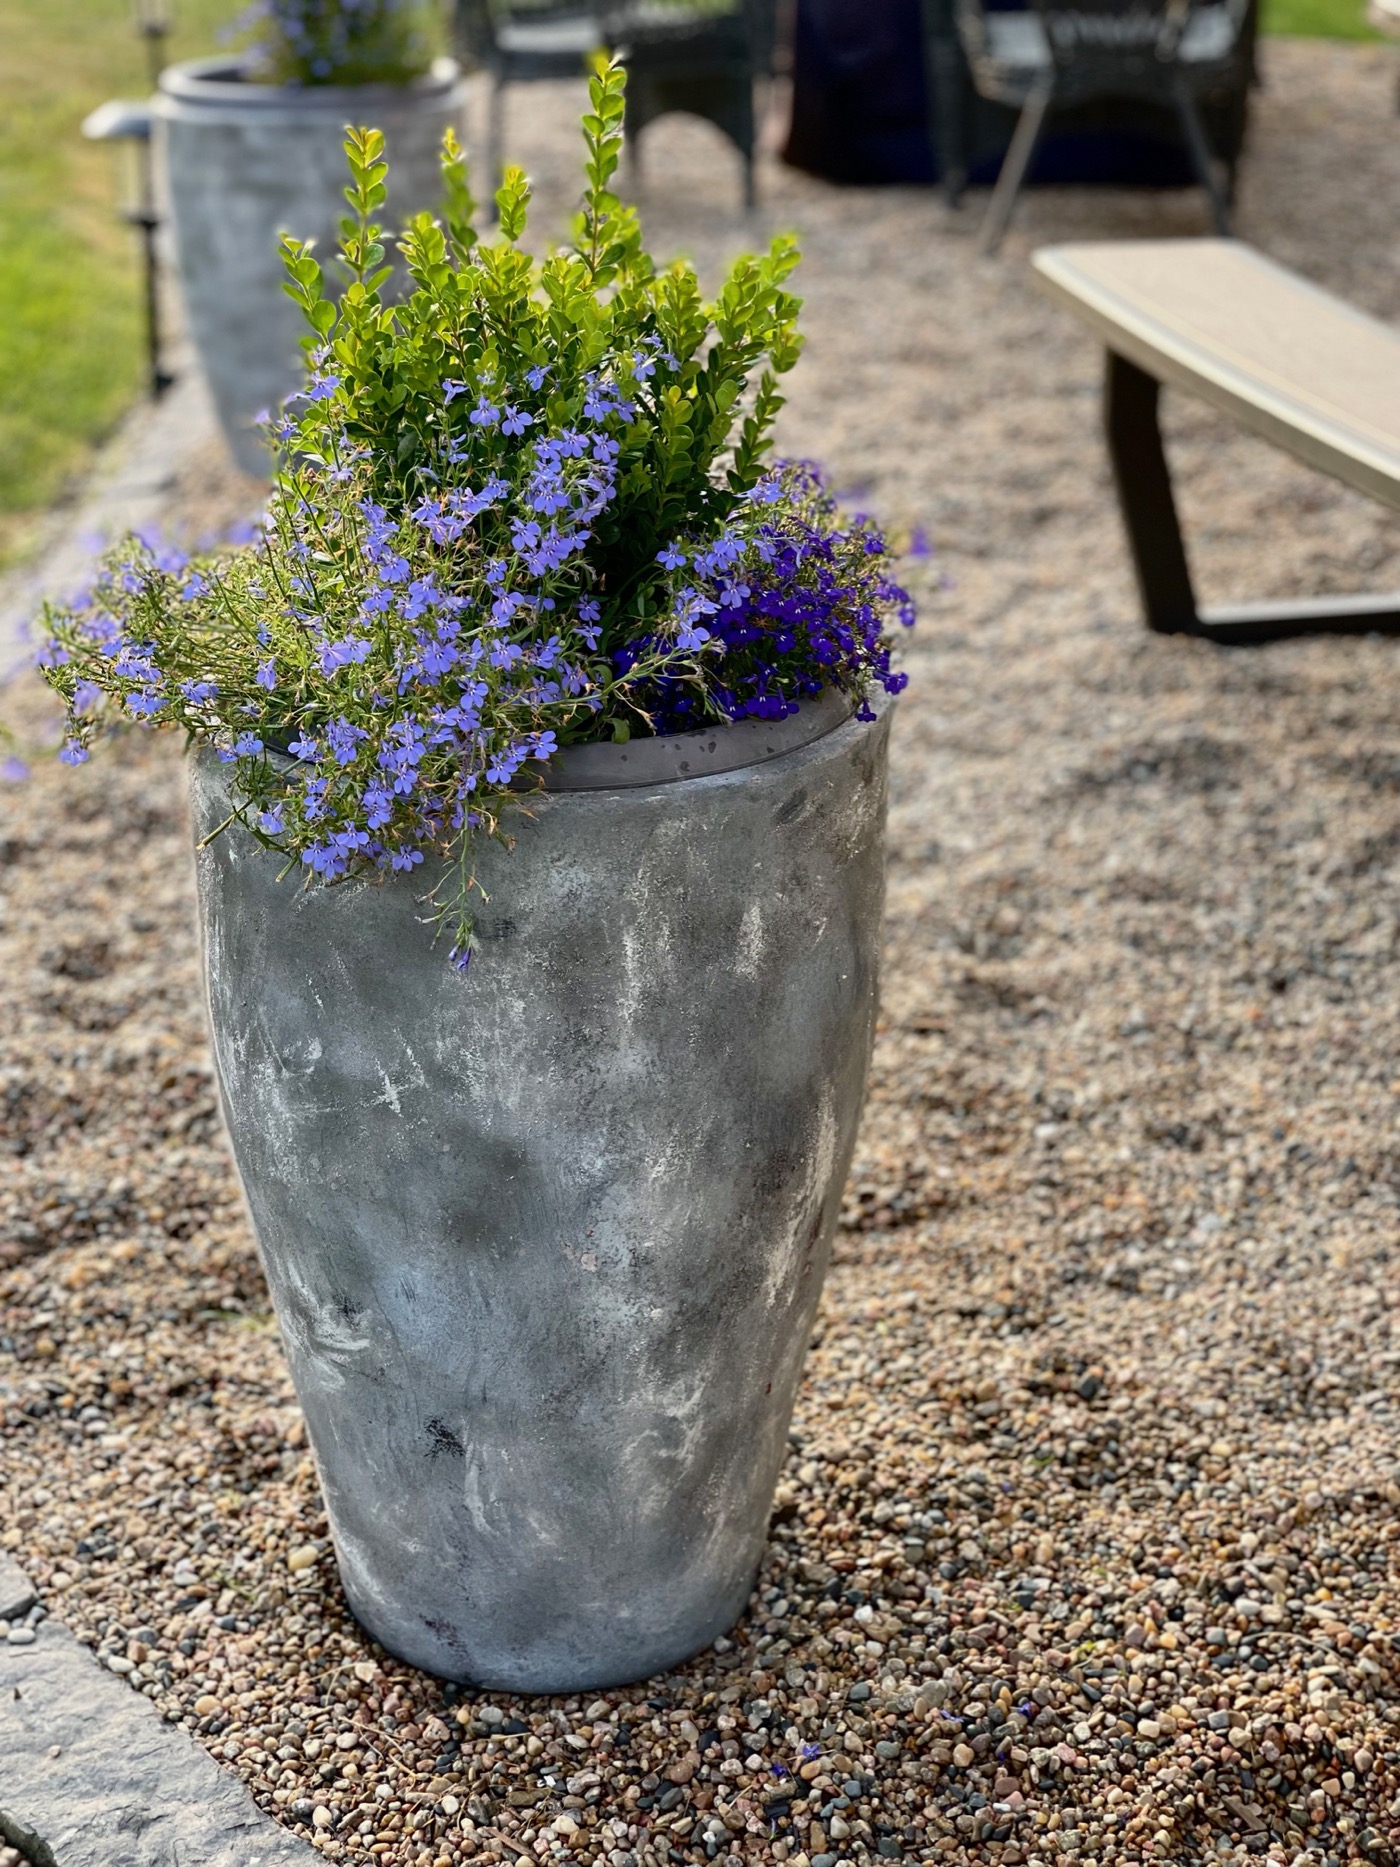
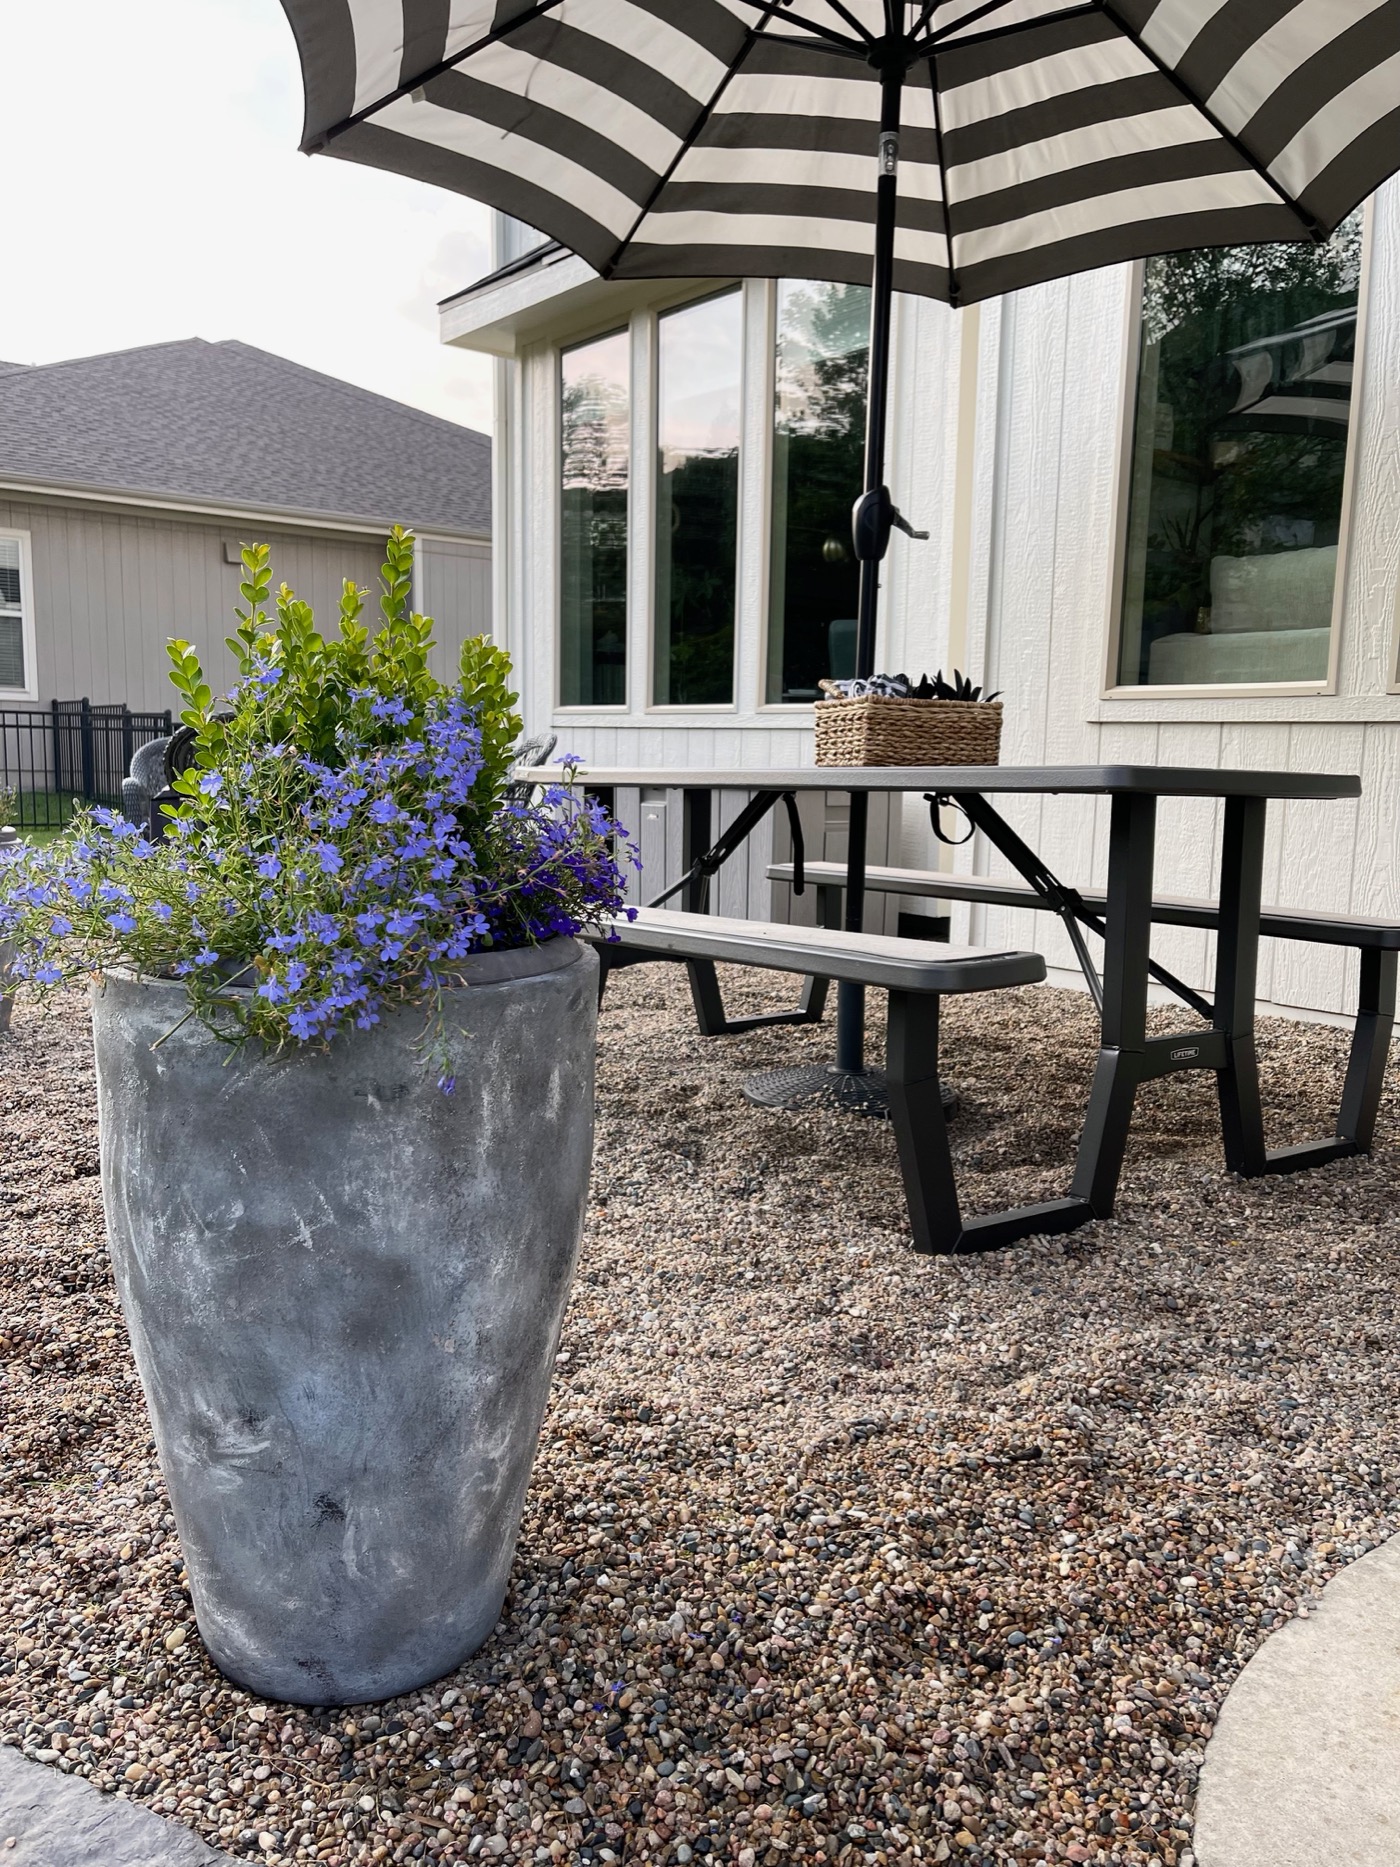
Filling the Aged Pots
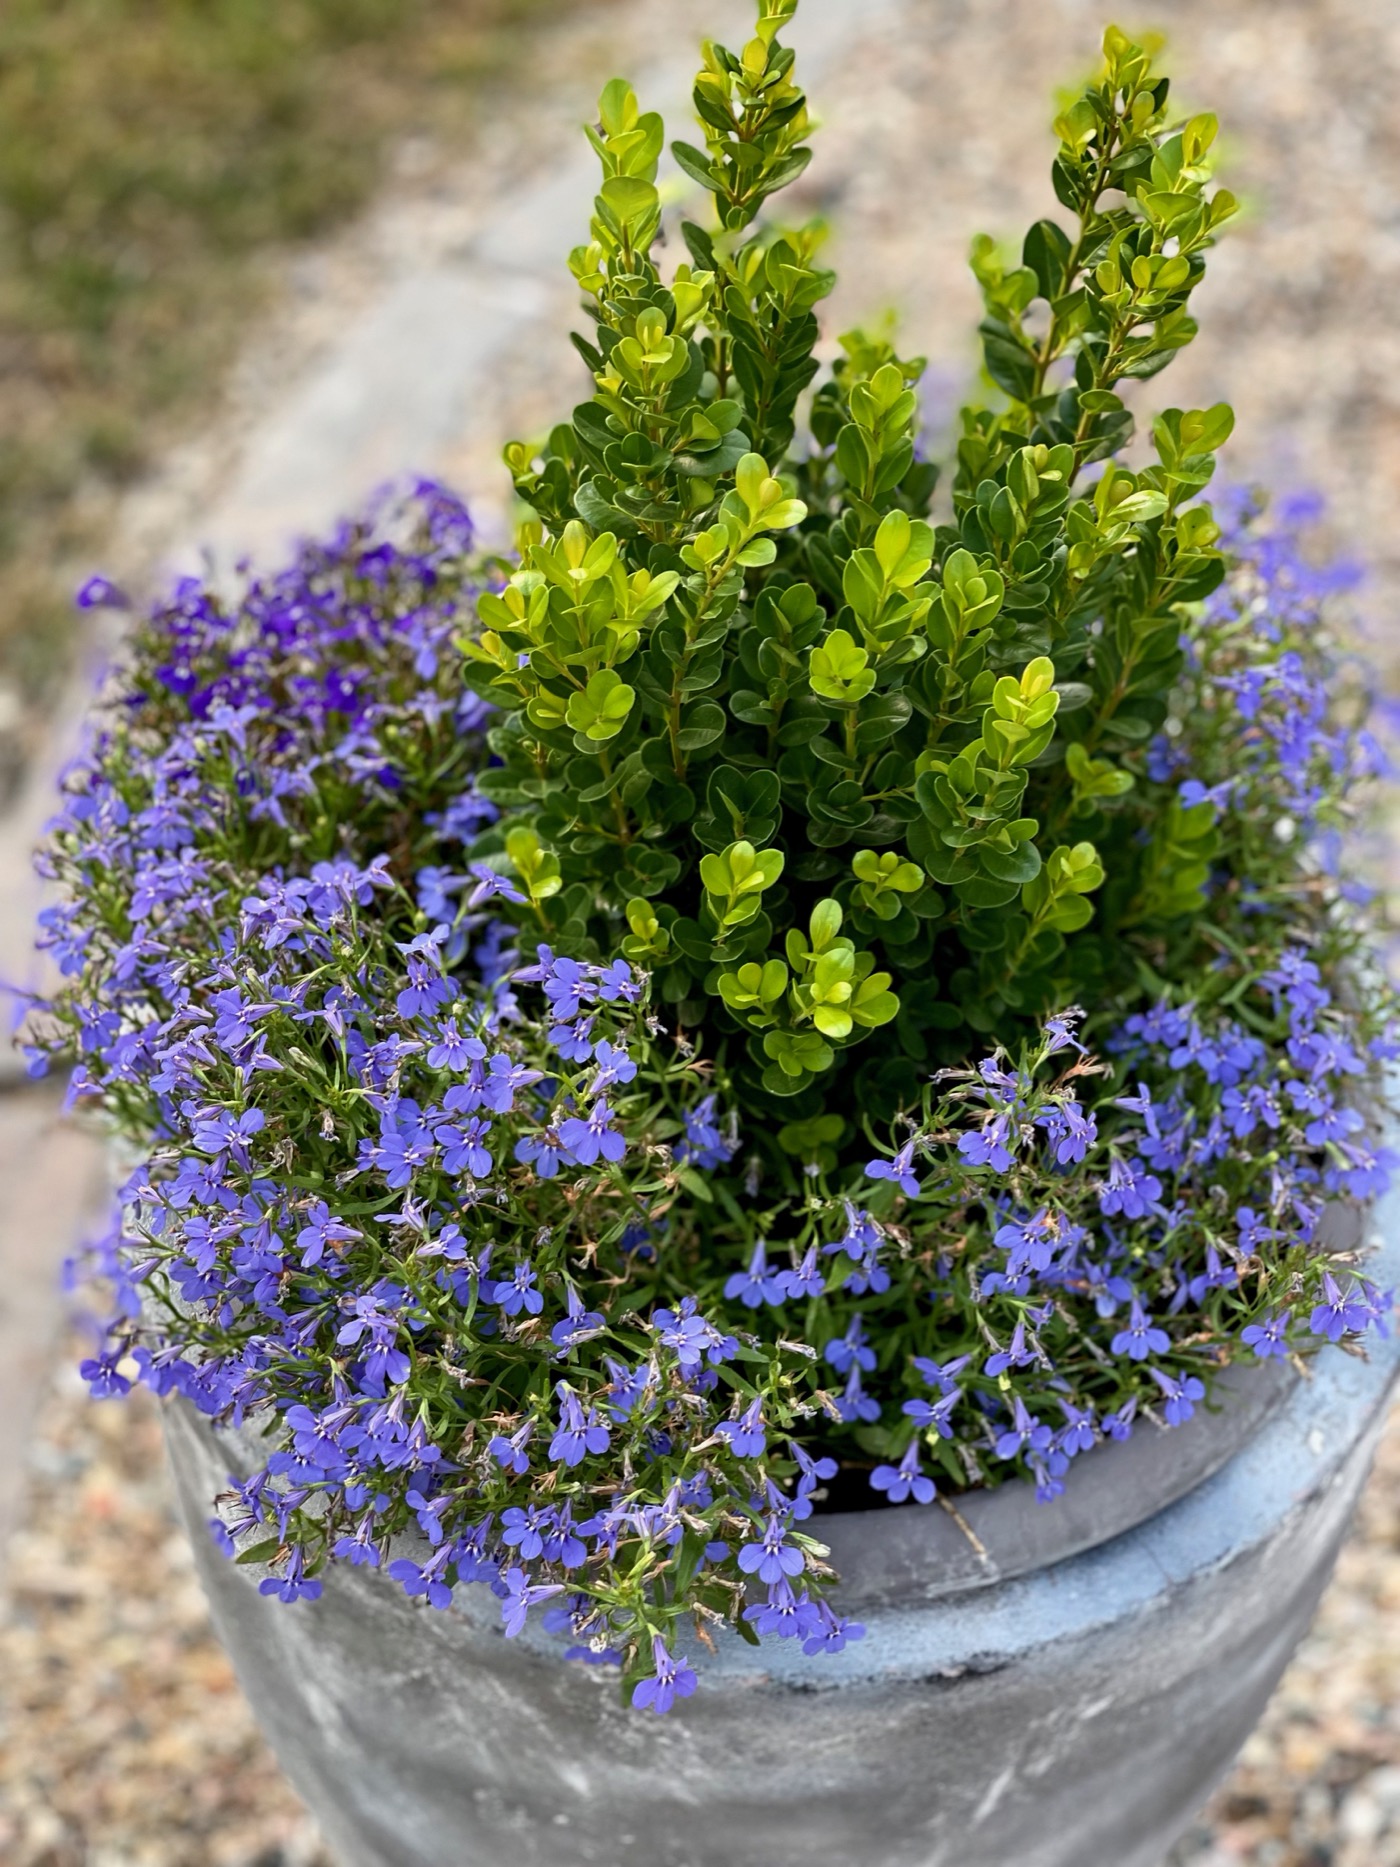
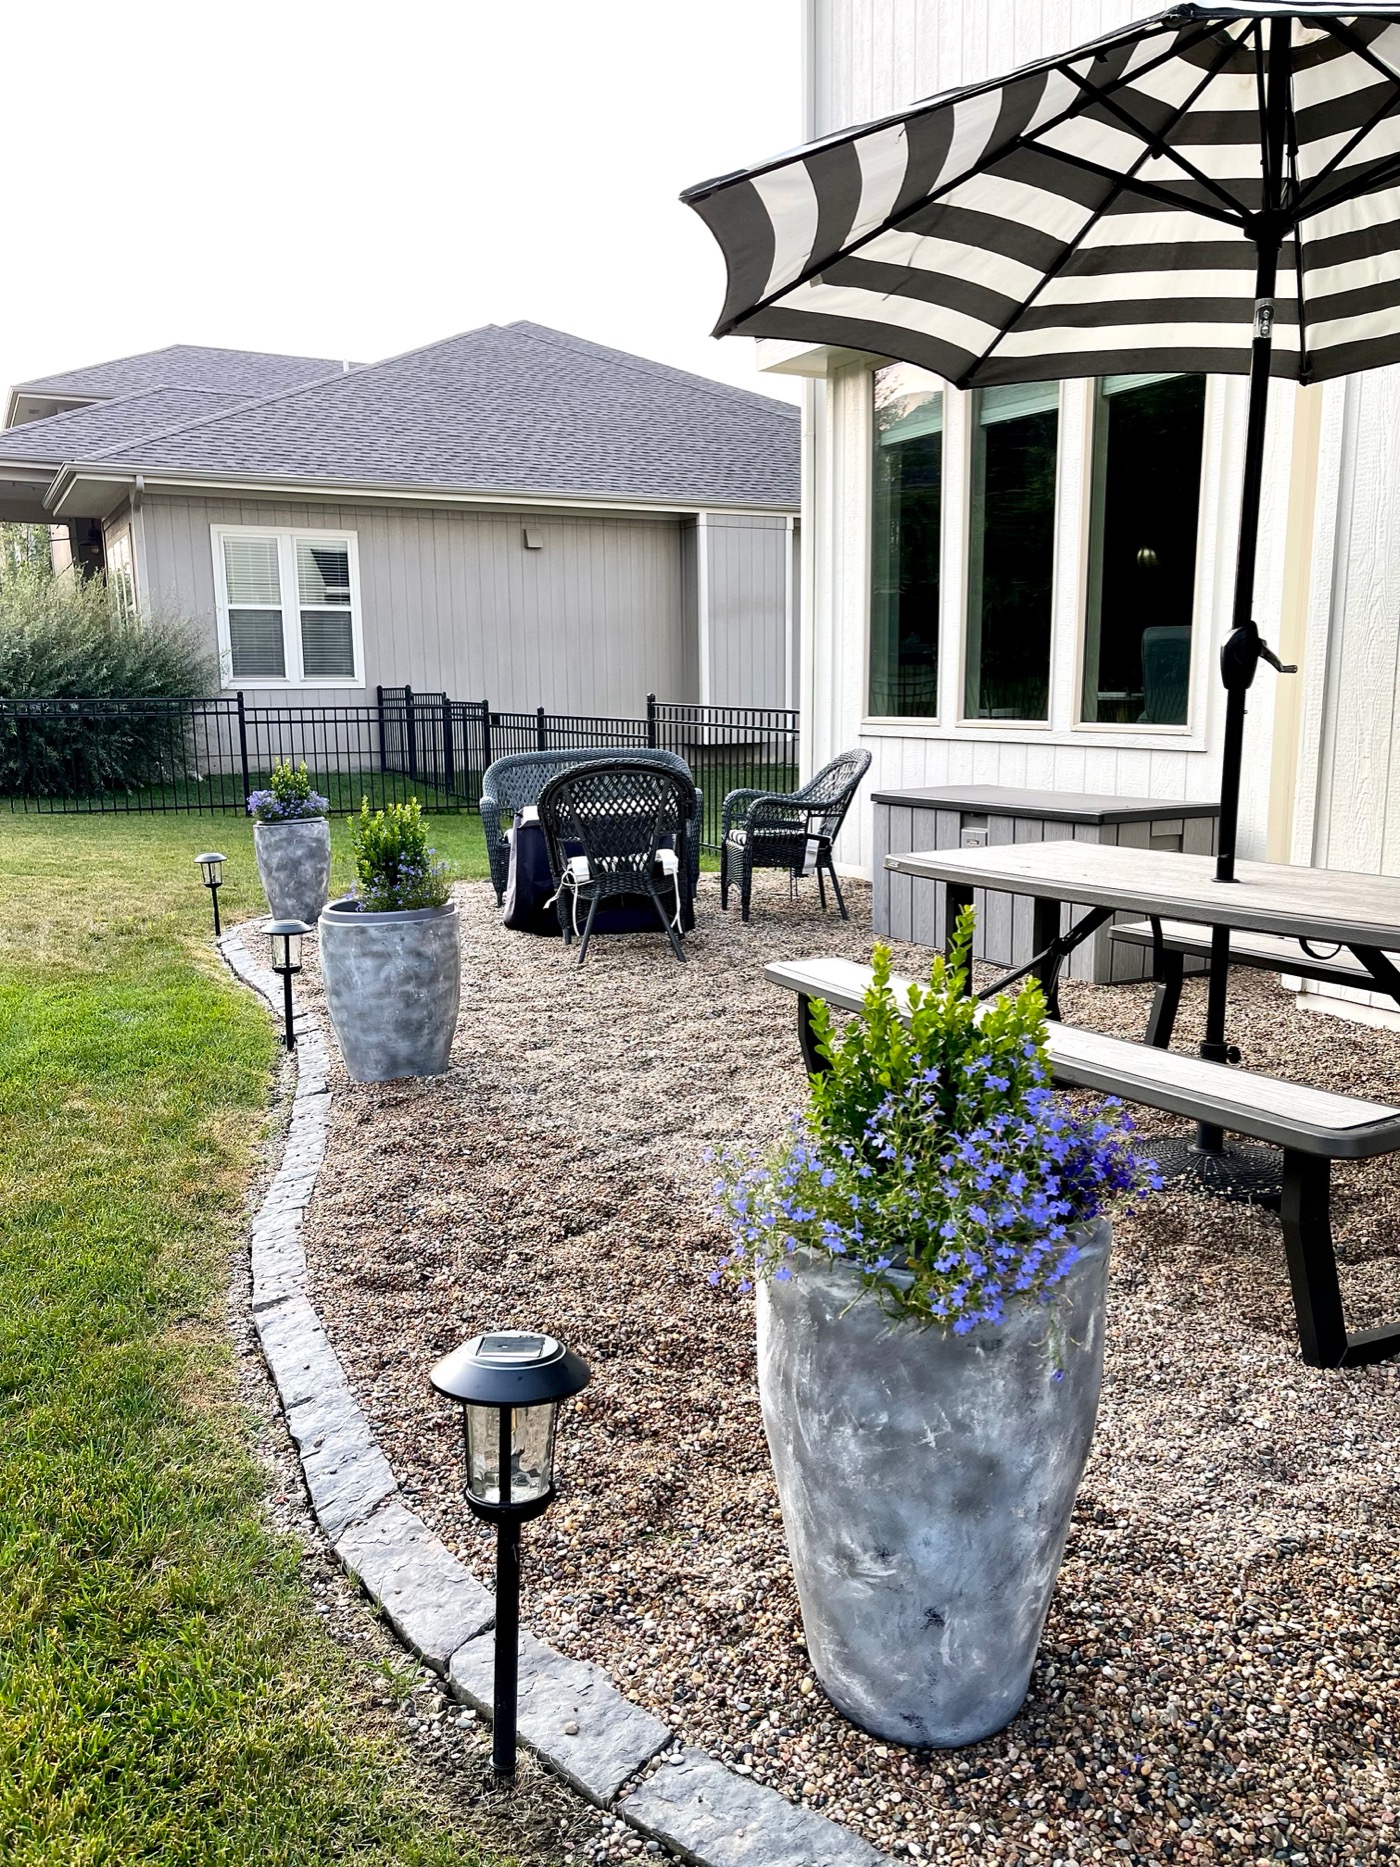
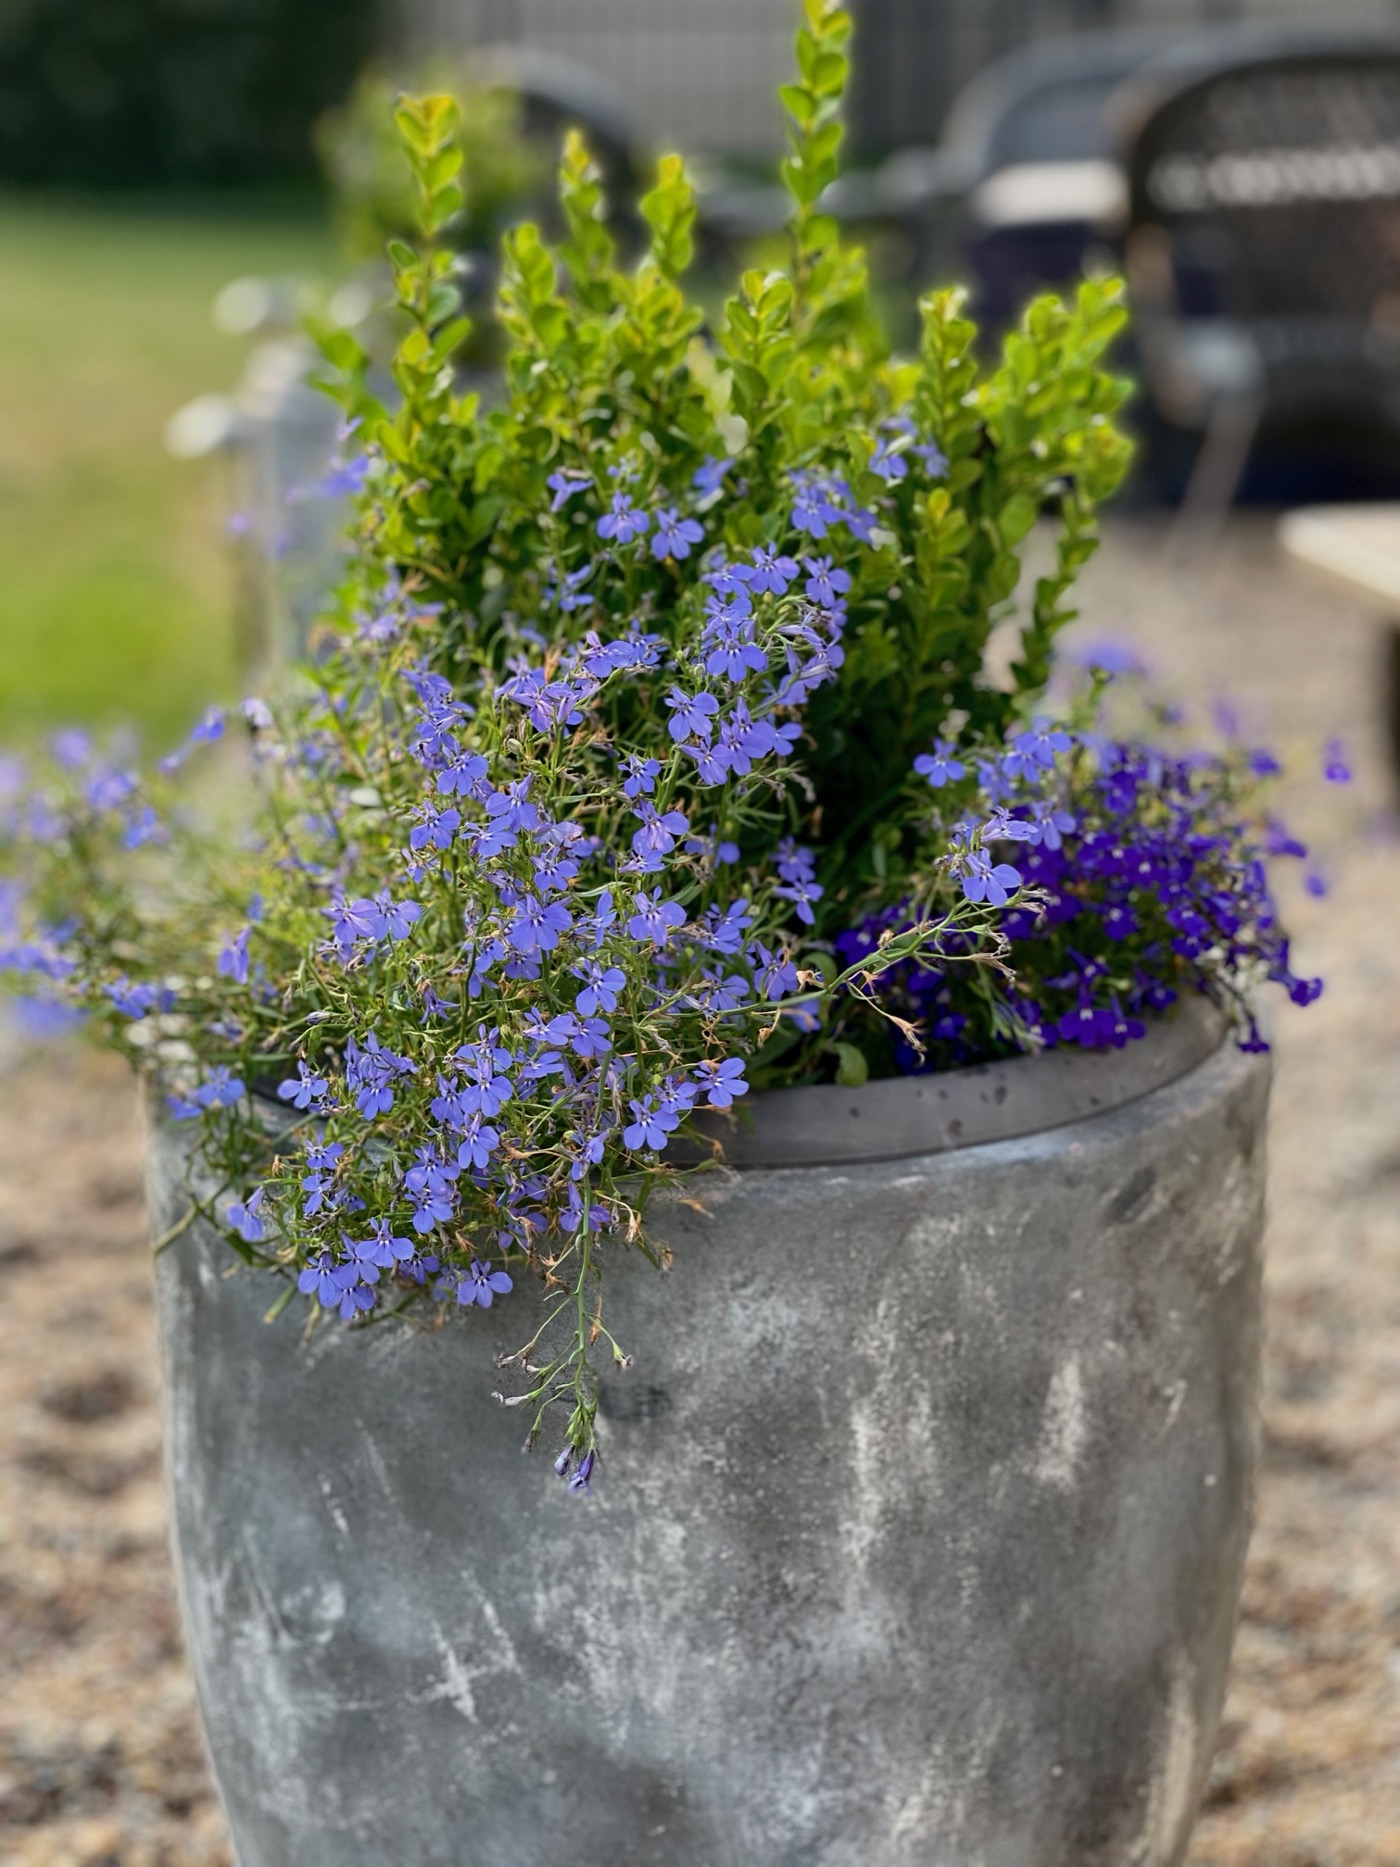
These three pots found a home on our pea gravel patio space. They fit perfectly at the edge to give the space some height and color. The pots fit right in with the color of the pea gravel too! I want to keep these heavy pots out here all year long, so I wanted to pick something to plant in them that would withstand our Kansas winters. Taking a cue from our other landscaping and what does well in the winter, I grabbed three boxwood plants to put in the center. For summer, I planted Lobelia around the boxwoods. In the fall and spring, I’ll probably plant pansies around the boxwoods. In winter, I’ll just leave the boxwoods as is. If we get a stretch of really cold weather, I will probably cover the boxwoods, but hoping they can pretty much be a year long staple out back!
I do use a cheap plastic pot to plant the flowers in and then insert that pot into the aged pots. It uses less soil and doesn’t make the pots as heavy.
How are the pots holding up? I “aged” these in May and it’s the beginning of August, and they look the exact same! They are in full sun, get hit with sprinklers and water every day, and they have maintained their aged look perfectly. Hopefully, they will just “age” even more with sun and water!
Have you tried this aging trend yet? I found the process to be fun and stretched my creative brain a bit by just winging it. Sometimes we have to just go for it! You might just surprise yourself! XO