In 2020, my best friend introduced me to press-on nails and I’ve never turned back! I want to share how to apply Impress Press-On Nails and the reasons I love them. These are a great alternative to spending a lot of time and money at the nail salon. Update 2023: I have been wearing these for years and continue to love Impress Press-On Nails! These last me on week long vacations, even when I go in pools/ocean. These press-on nails are the best! Update 2025: Still wearing! Here is why I love Impress press-on nails.

Most years of my life I spent with plain nails or painted nails that eventually became chipped. I use my hands a lot in my everyday life…plant care, gardening, working out, swimming in the summer, washing dishes, cleaning, etc. Insert Impress nails into my life and things got a whole lot easier! These press on nails work and I can usually get about 5-7 days in them. And the best part…no glue and no drying time and they don’t cause damage to my real nails.
Where You Purchase Impress Nails
I have purchased Impress Nails at Walmart, Target, and Walgreens, CVS, Ulta, Amazon. Basically everywhere beauty products are sold. You can get more color and sizing options by buying online! There are options for longer an shorter, rounded or oval, etc. I prefer the shorter options and I still cut those down further.
How Much Do Impress Nails Cost?
Impress nails range from $5.99 – $8.99 depending on the retailer. There are several different brands and several different types and lengths of nails on the market, but I always go back to Impress brand.
How To Apply Impress Nails
I have been wearing these for years and have learned that prep is the most important thing to focus on if you want your nails to last for 5-7 days. Don’t skip the prep! A pro tip that I have learned to make the nails stay on better – if you can plan ahead, put the nails on right before bed. Make sure you won’t be washing your hands or using your hands after putting them on. Sleep with the long nails. Cut in the morning after the nails have had all night to really adhere to your natural nail.
- Make sure your natural nails are cut to the length you want them. My natural nails are short and I like to keep them short.
- I always apply a cuticle remover serum and use a cuticle pusher to remove/push back my cuticles. This allows you to place the press-on nail near the base of your nail, which makes them look more natural.
- The nail kit will come with prep instructions. I HIGHLY recommend using this and following the directions. It involves an alcohol swab of the nails and a file to make the nails a little gritty. The sticky stuff will stick better if you follow these steps.
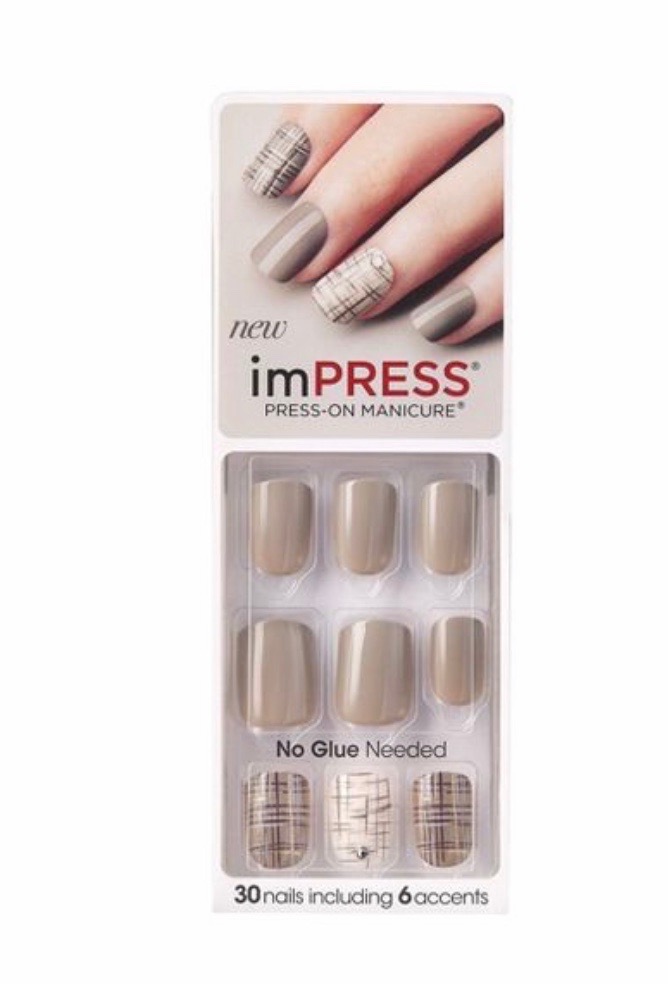
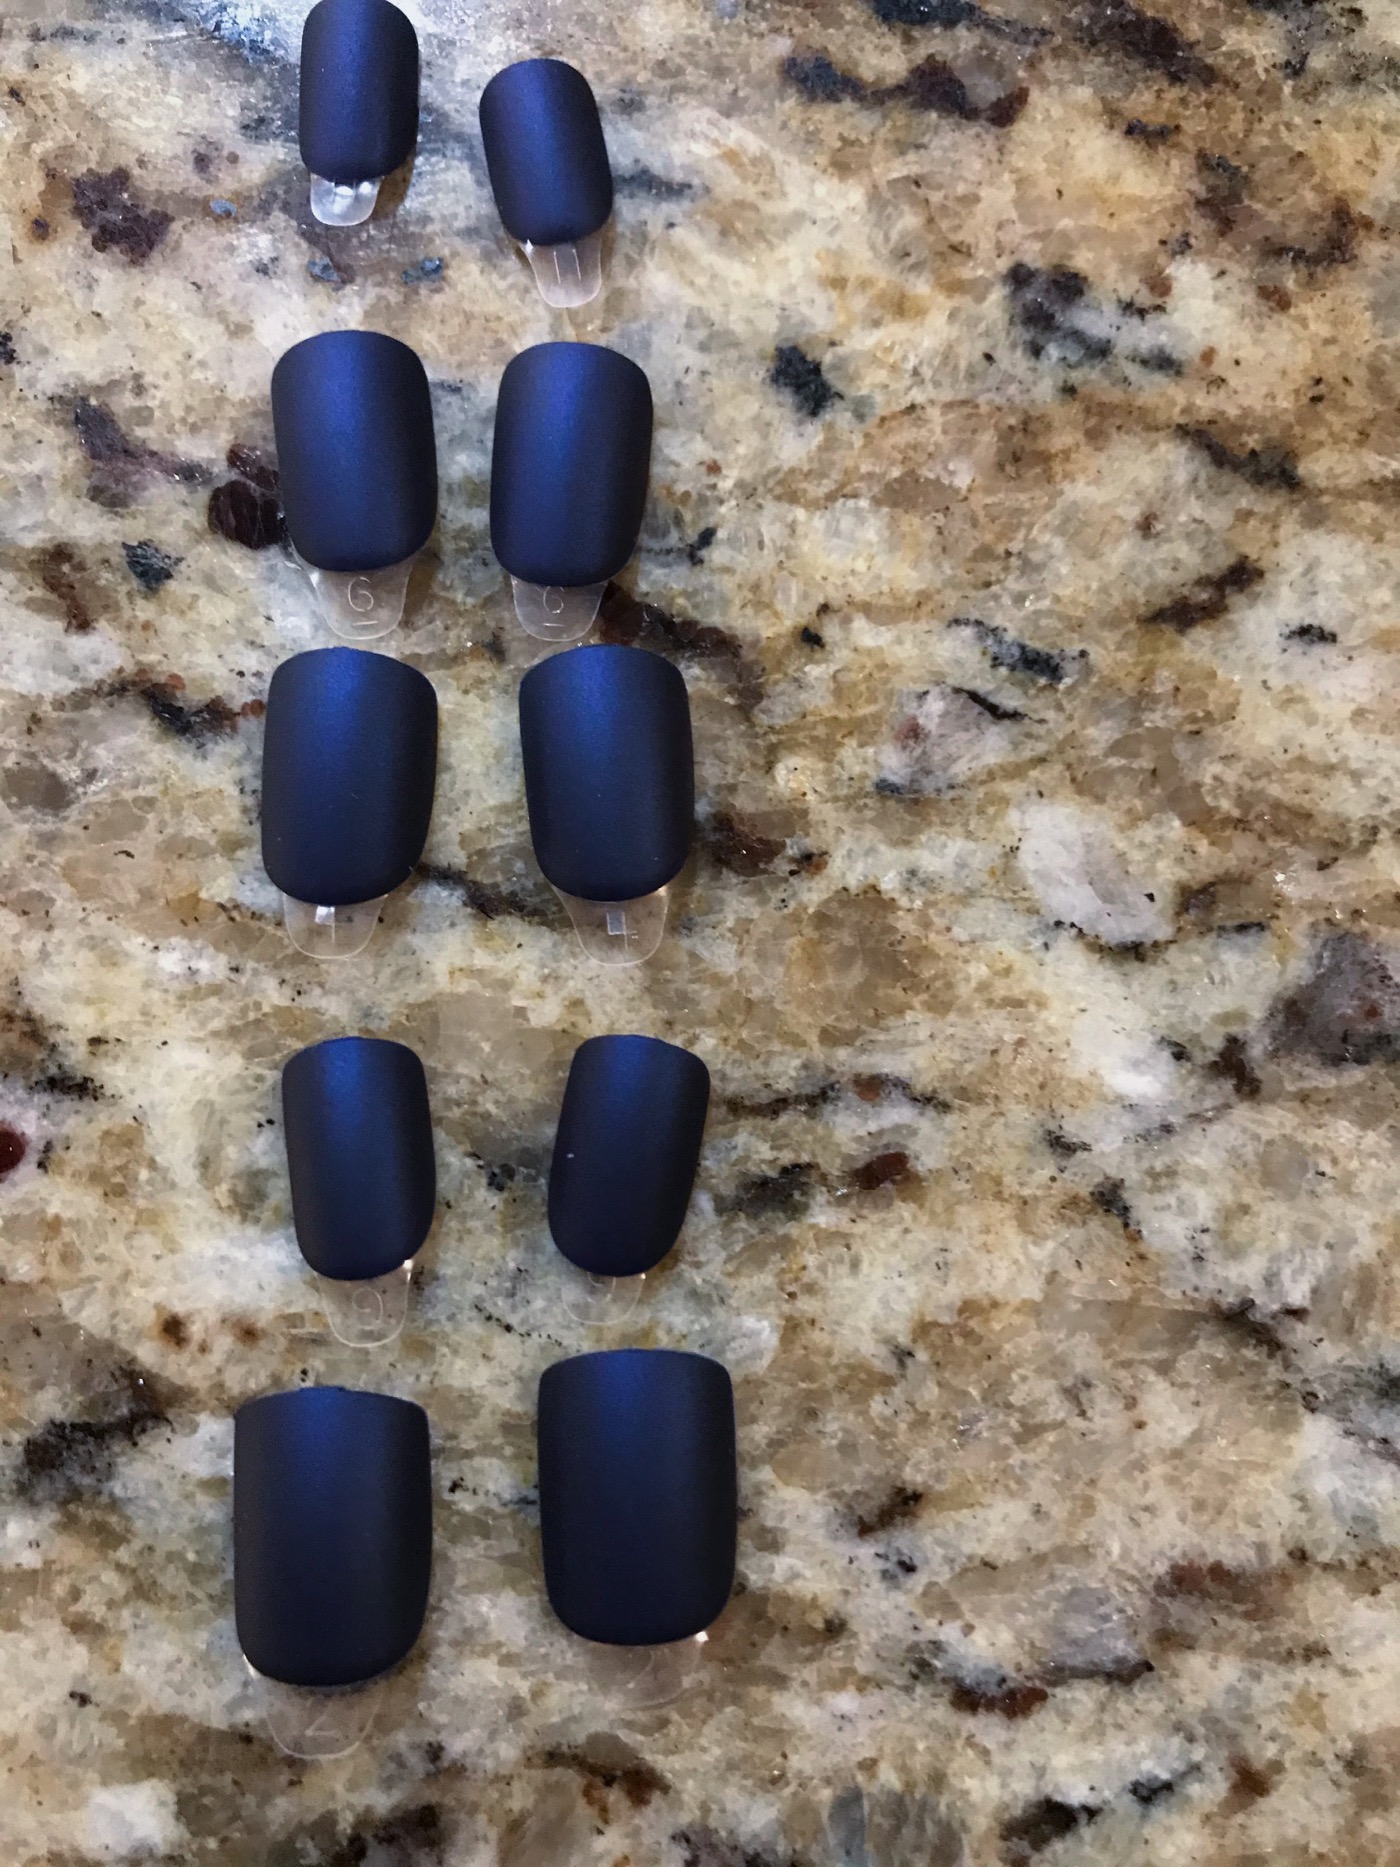
- After you have prepped your nails you will want to choose the size of nails you want for each of your digits. The nails conveniently have numbers on them making it easy to match up to each other (see photo below). You will be able to place them on the nail to get a range of size for your nail beds before actually sticking them on. I have small nail beds, so I go for the smaller sizes and line them up from thumb to pinky so I’m all set for application. Pro tip: I put the fingers and corresponding numbers in the notes app on my phone so I can always remember which to use.
- Make sure you don’t choose too big of a size for your nail beds! You want the entire nail and sticky stuff to be touching your entire nail, not your skin. There is a happy medium between choosing too large and too small. After you do it once, it’s super easy each time after!
- Peel back the plastic covers and start adhere to your nails. I press down really hard after each nail and continue to press for about five minutes after the nails are placed on. These really do adhere immediately!
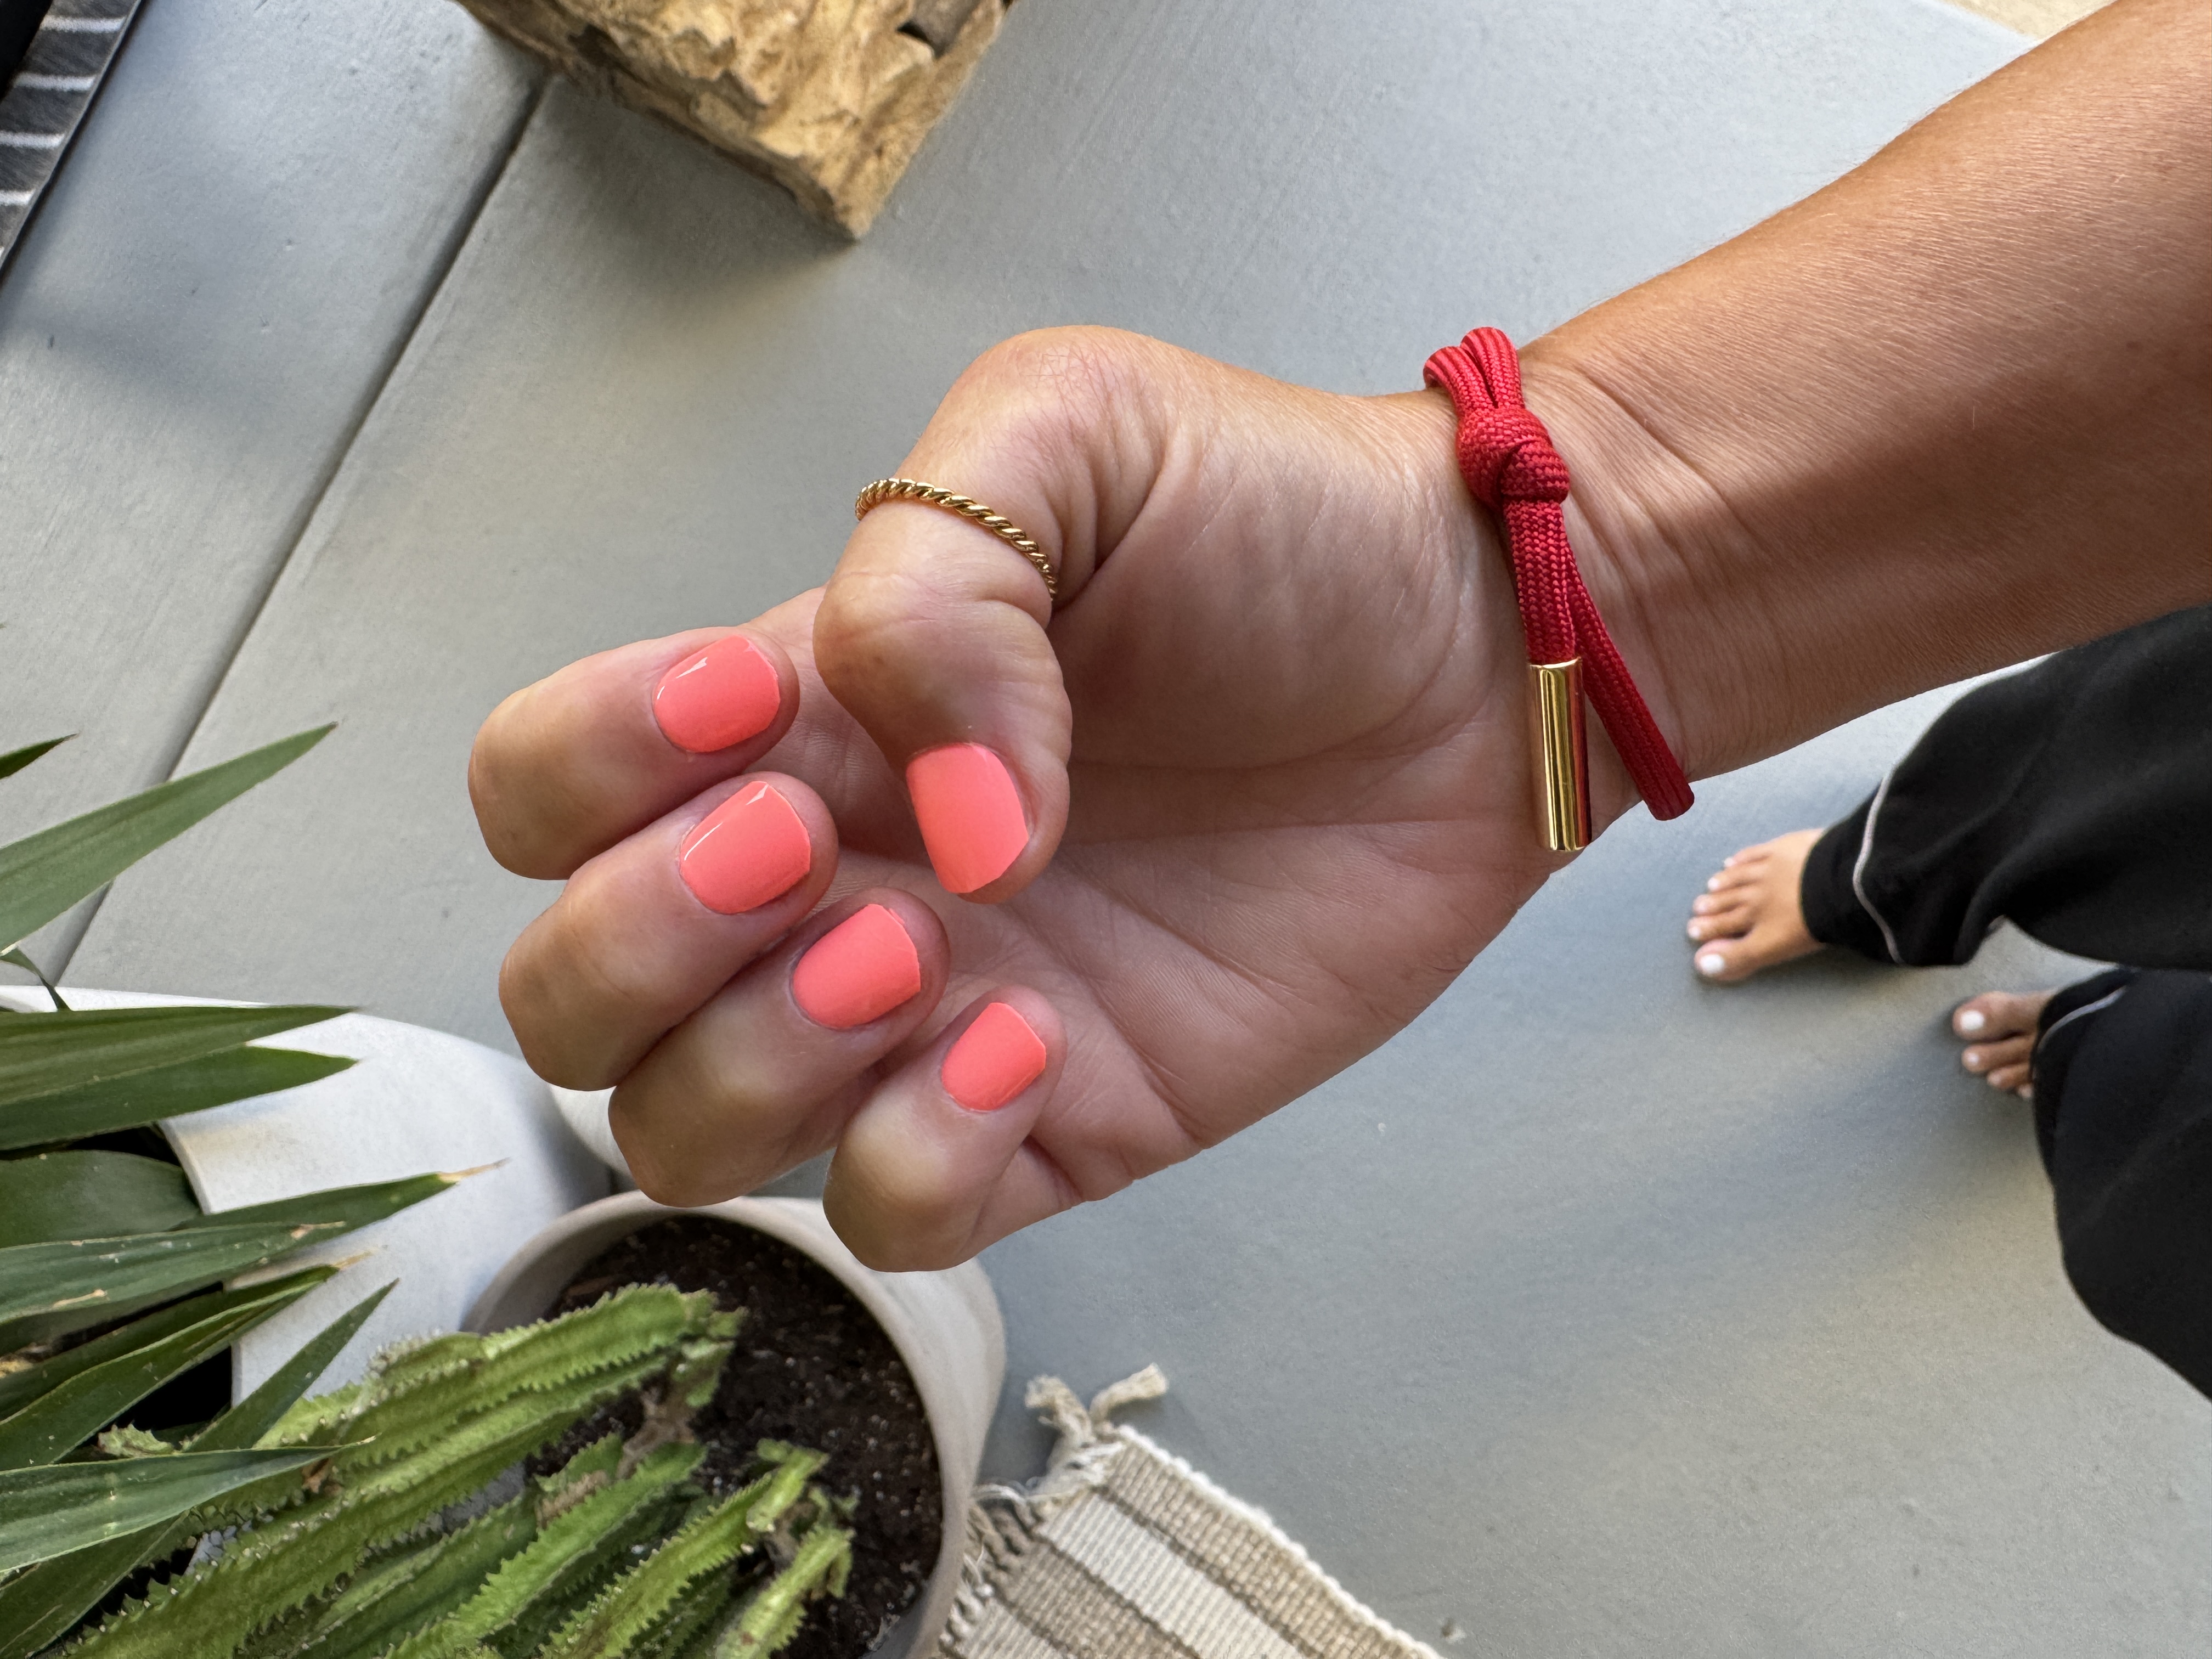
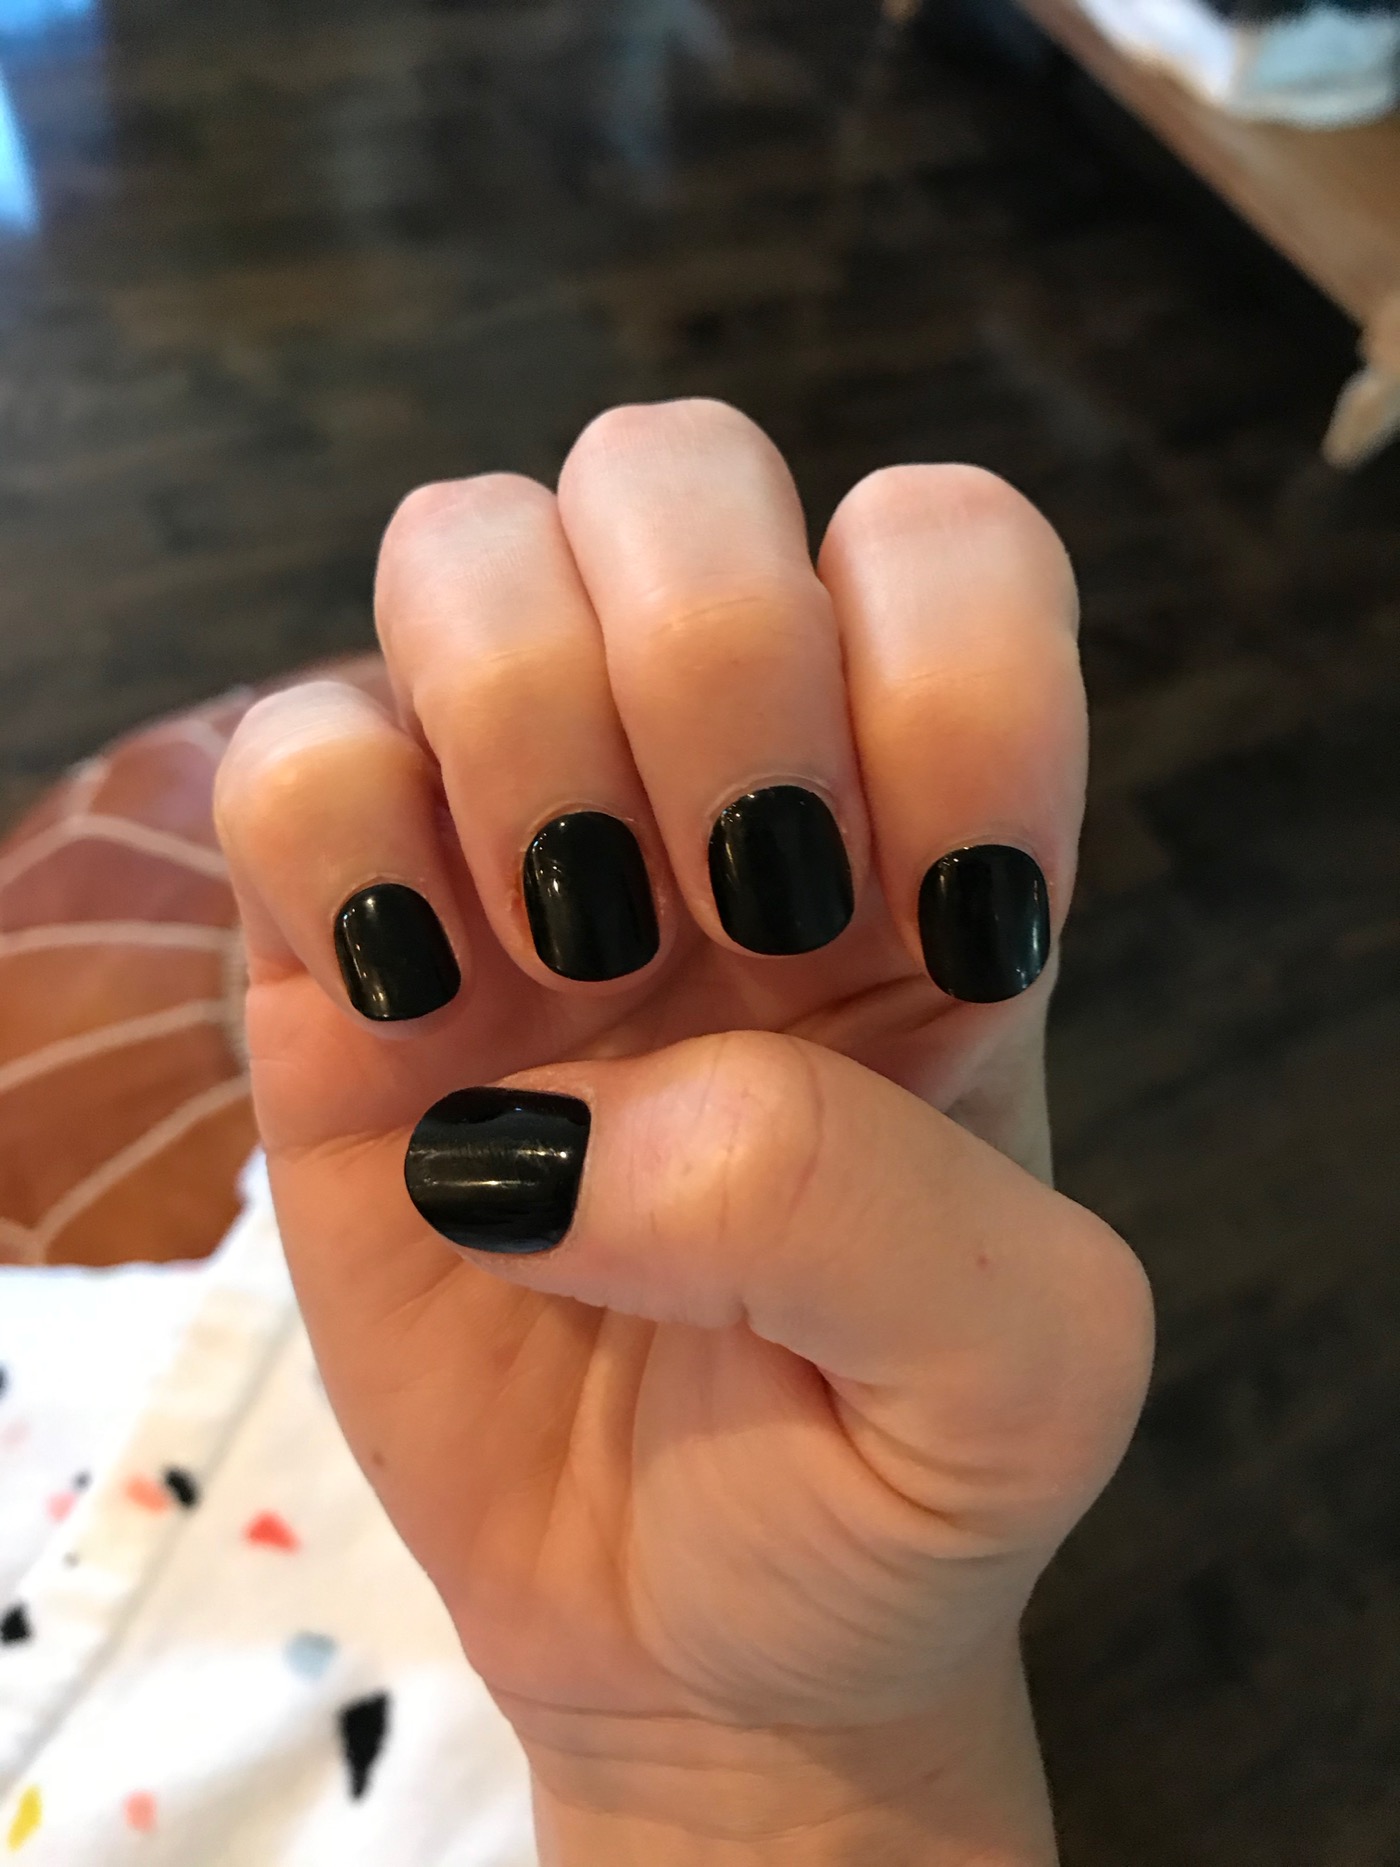
- Lastly, I trim mine down with large clippers! These work great. I like the look of longer nails, but they are NOT functional for me. Shorter nails allow me to do everything I want to do while still having the look of painted nails. Cutting the nails make them look more natural too. I do not use a file with these nails after cutting, but you certainly could.
- To remove nails, simply peel off! Seriously! You will have some leftover glue on your nails but a shower, you should be good. I also sometimes take a nail file over the nail to help remove any remaining residue.
Why I Love Impress Press-On Nails
- EASE: I don’t find these daunting to put on. It’s a quick and easy process.
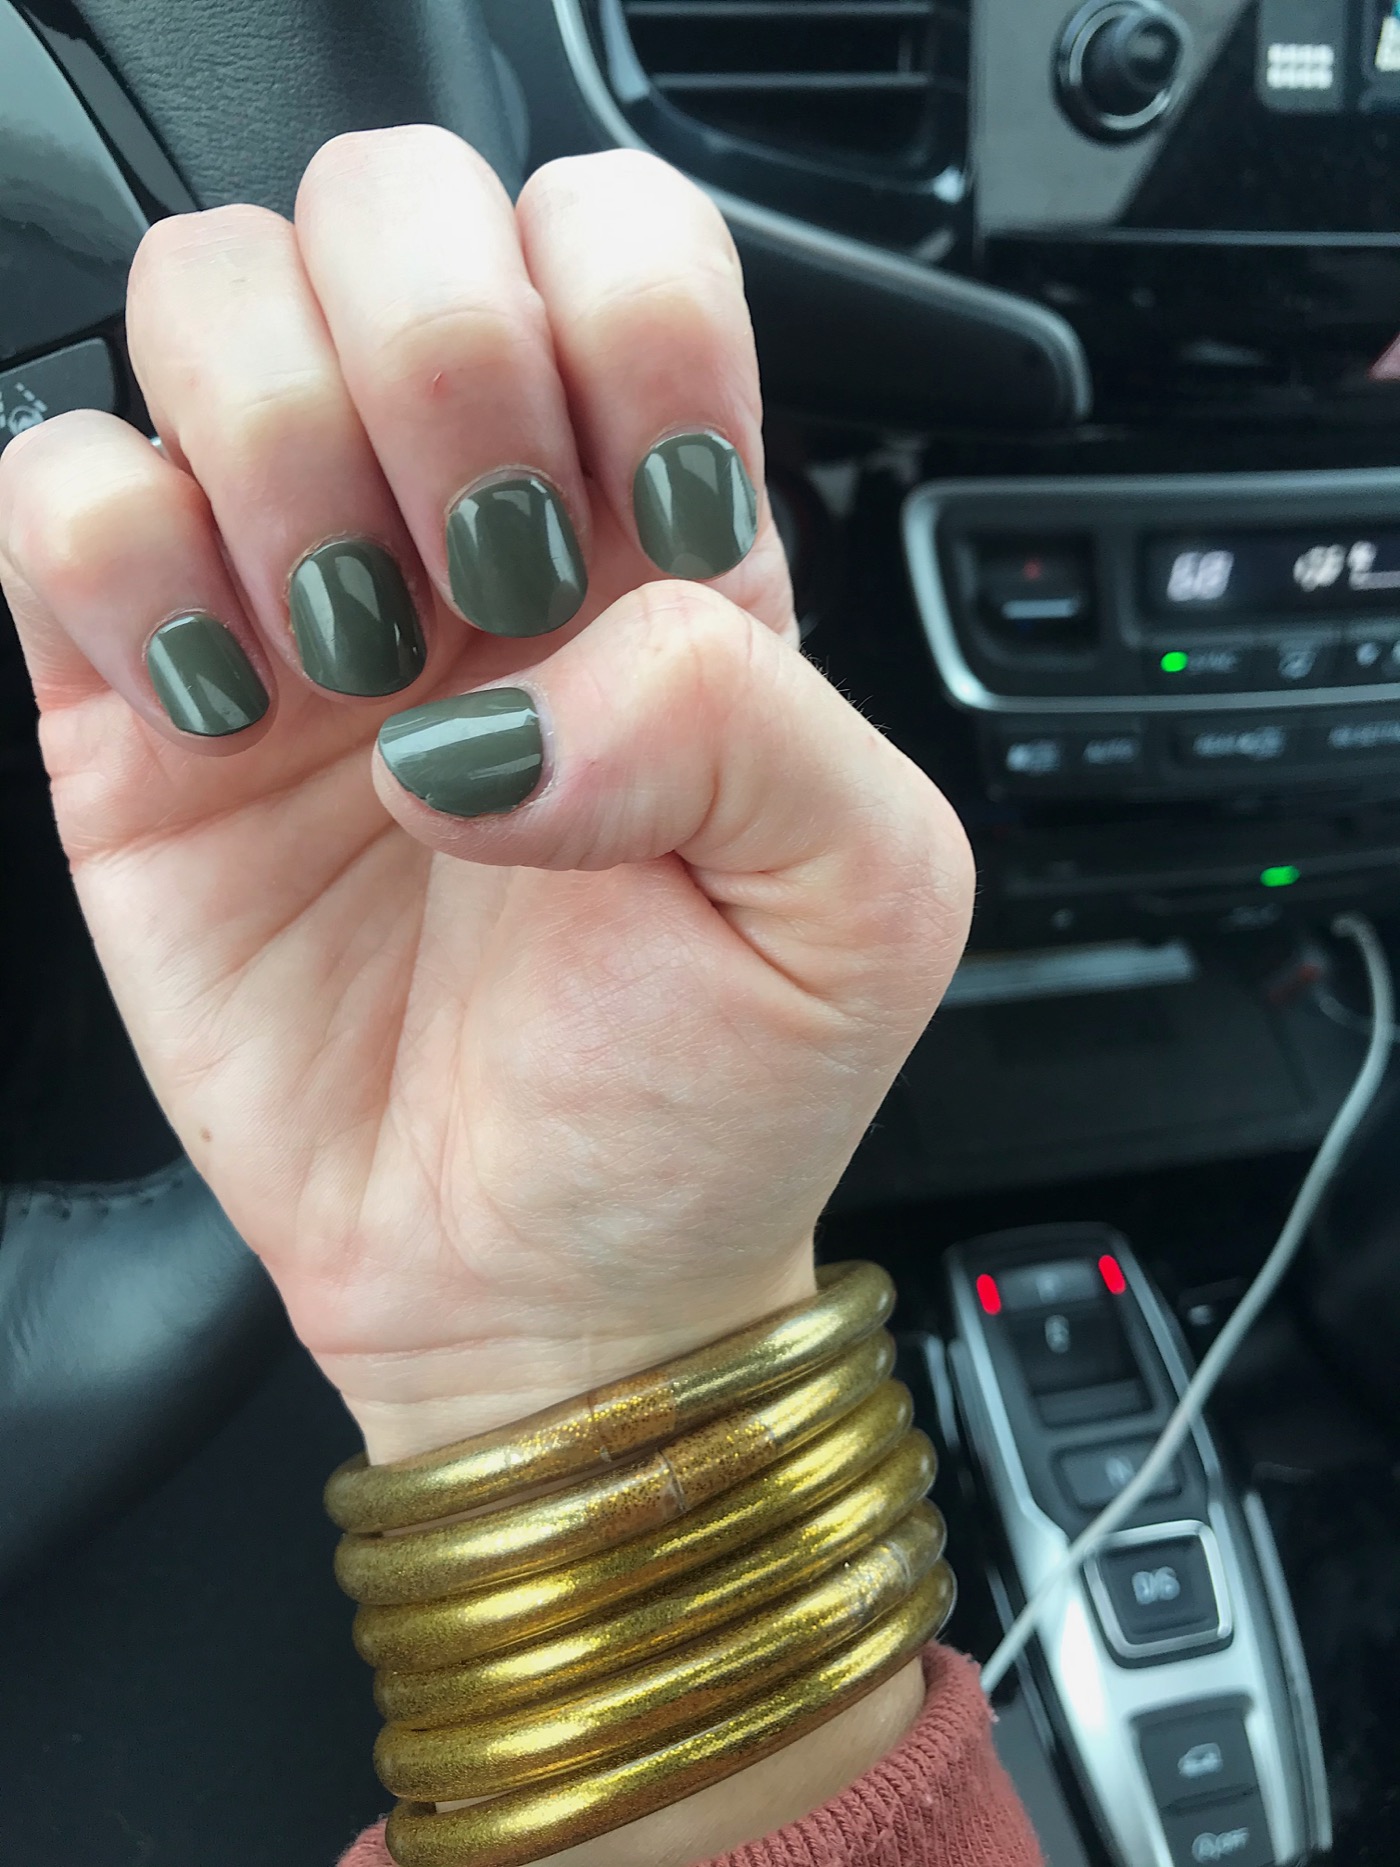
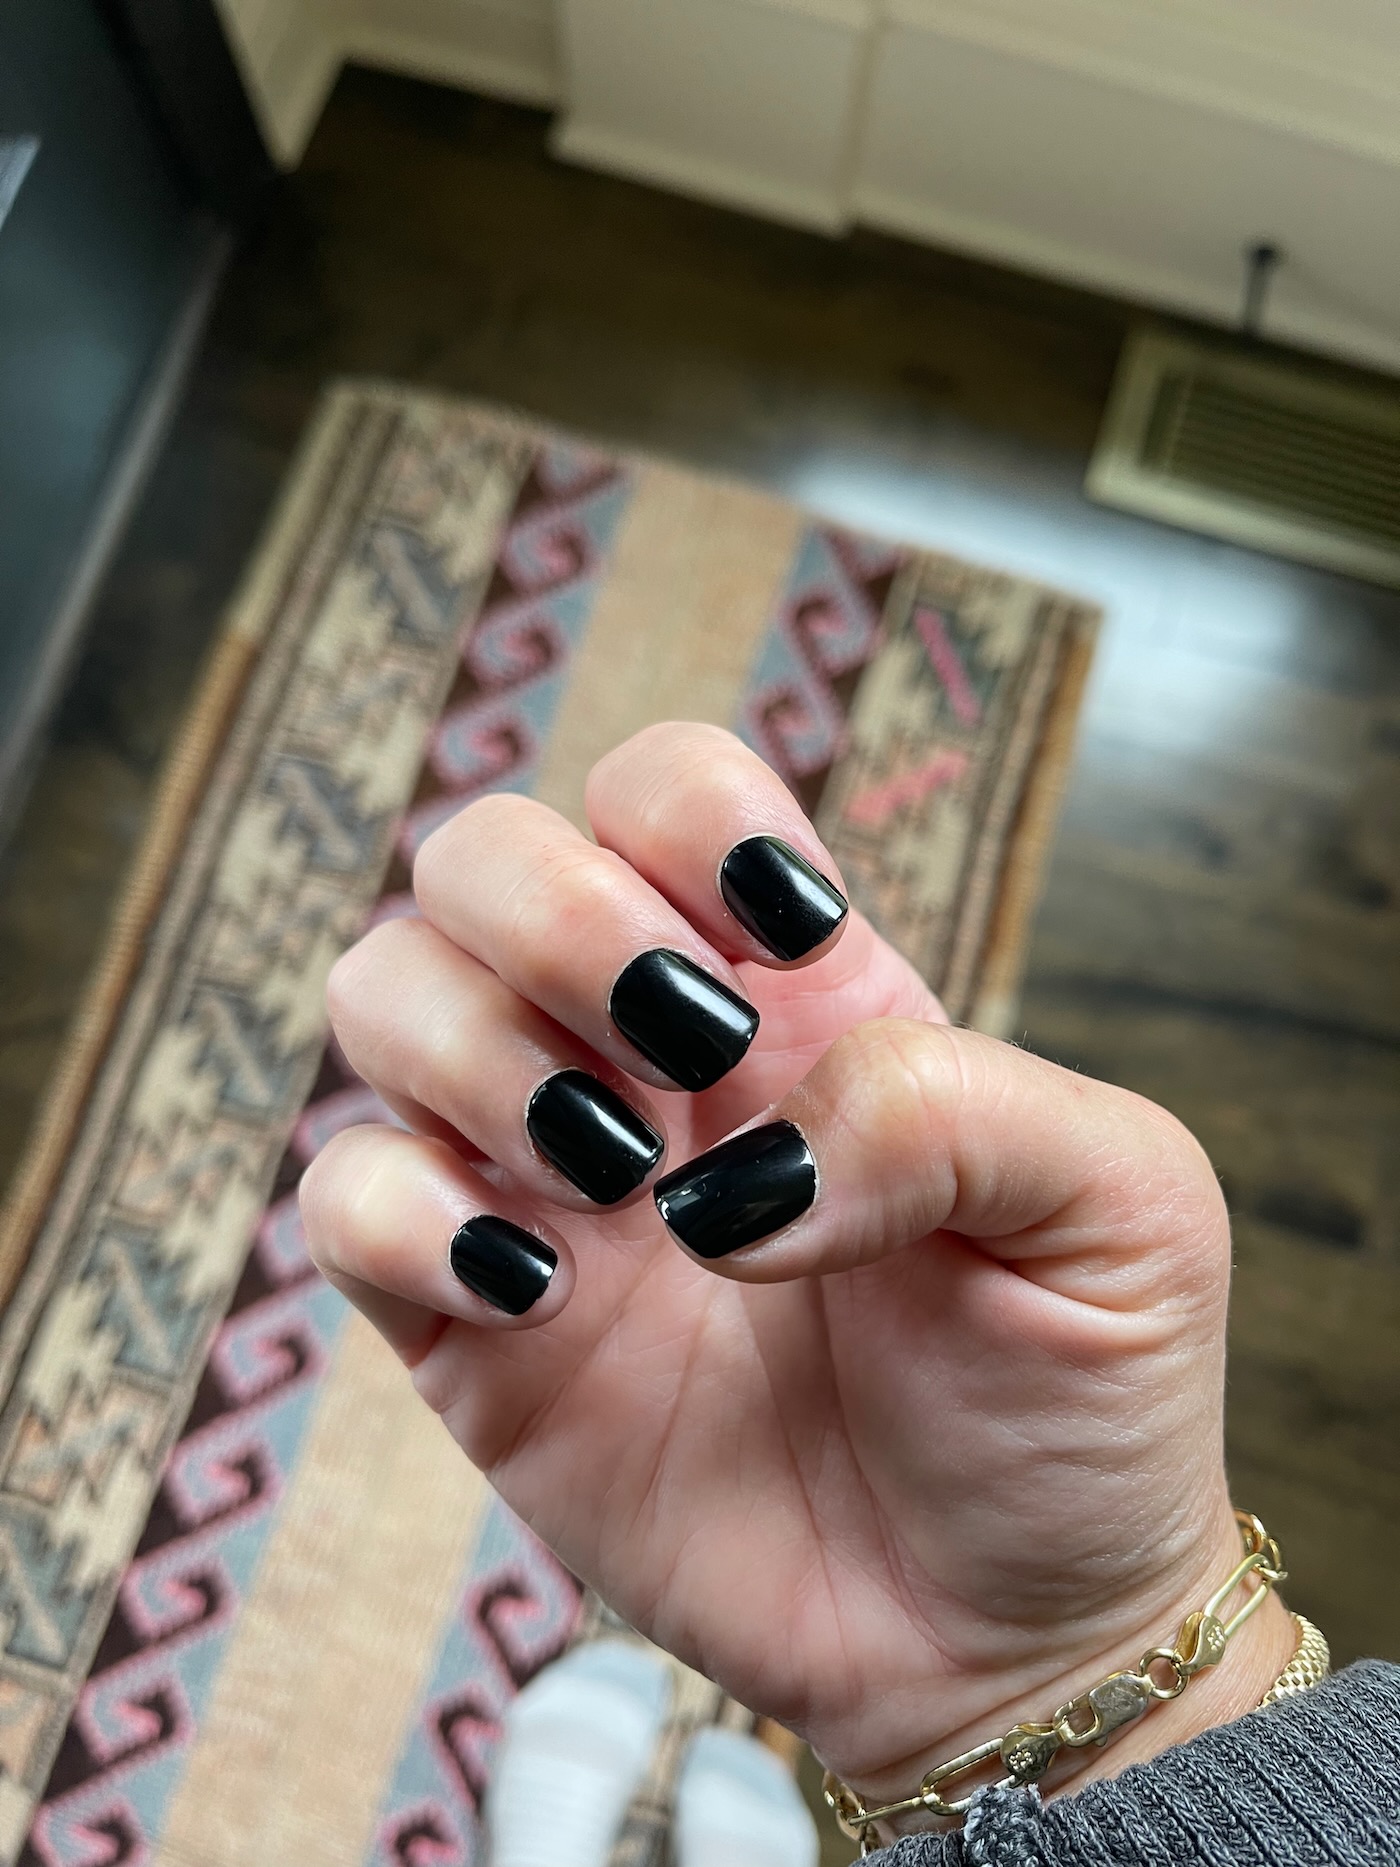
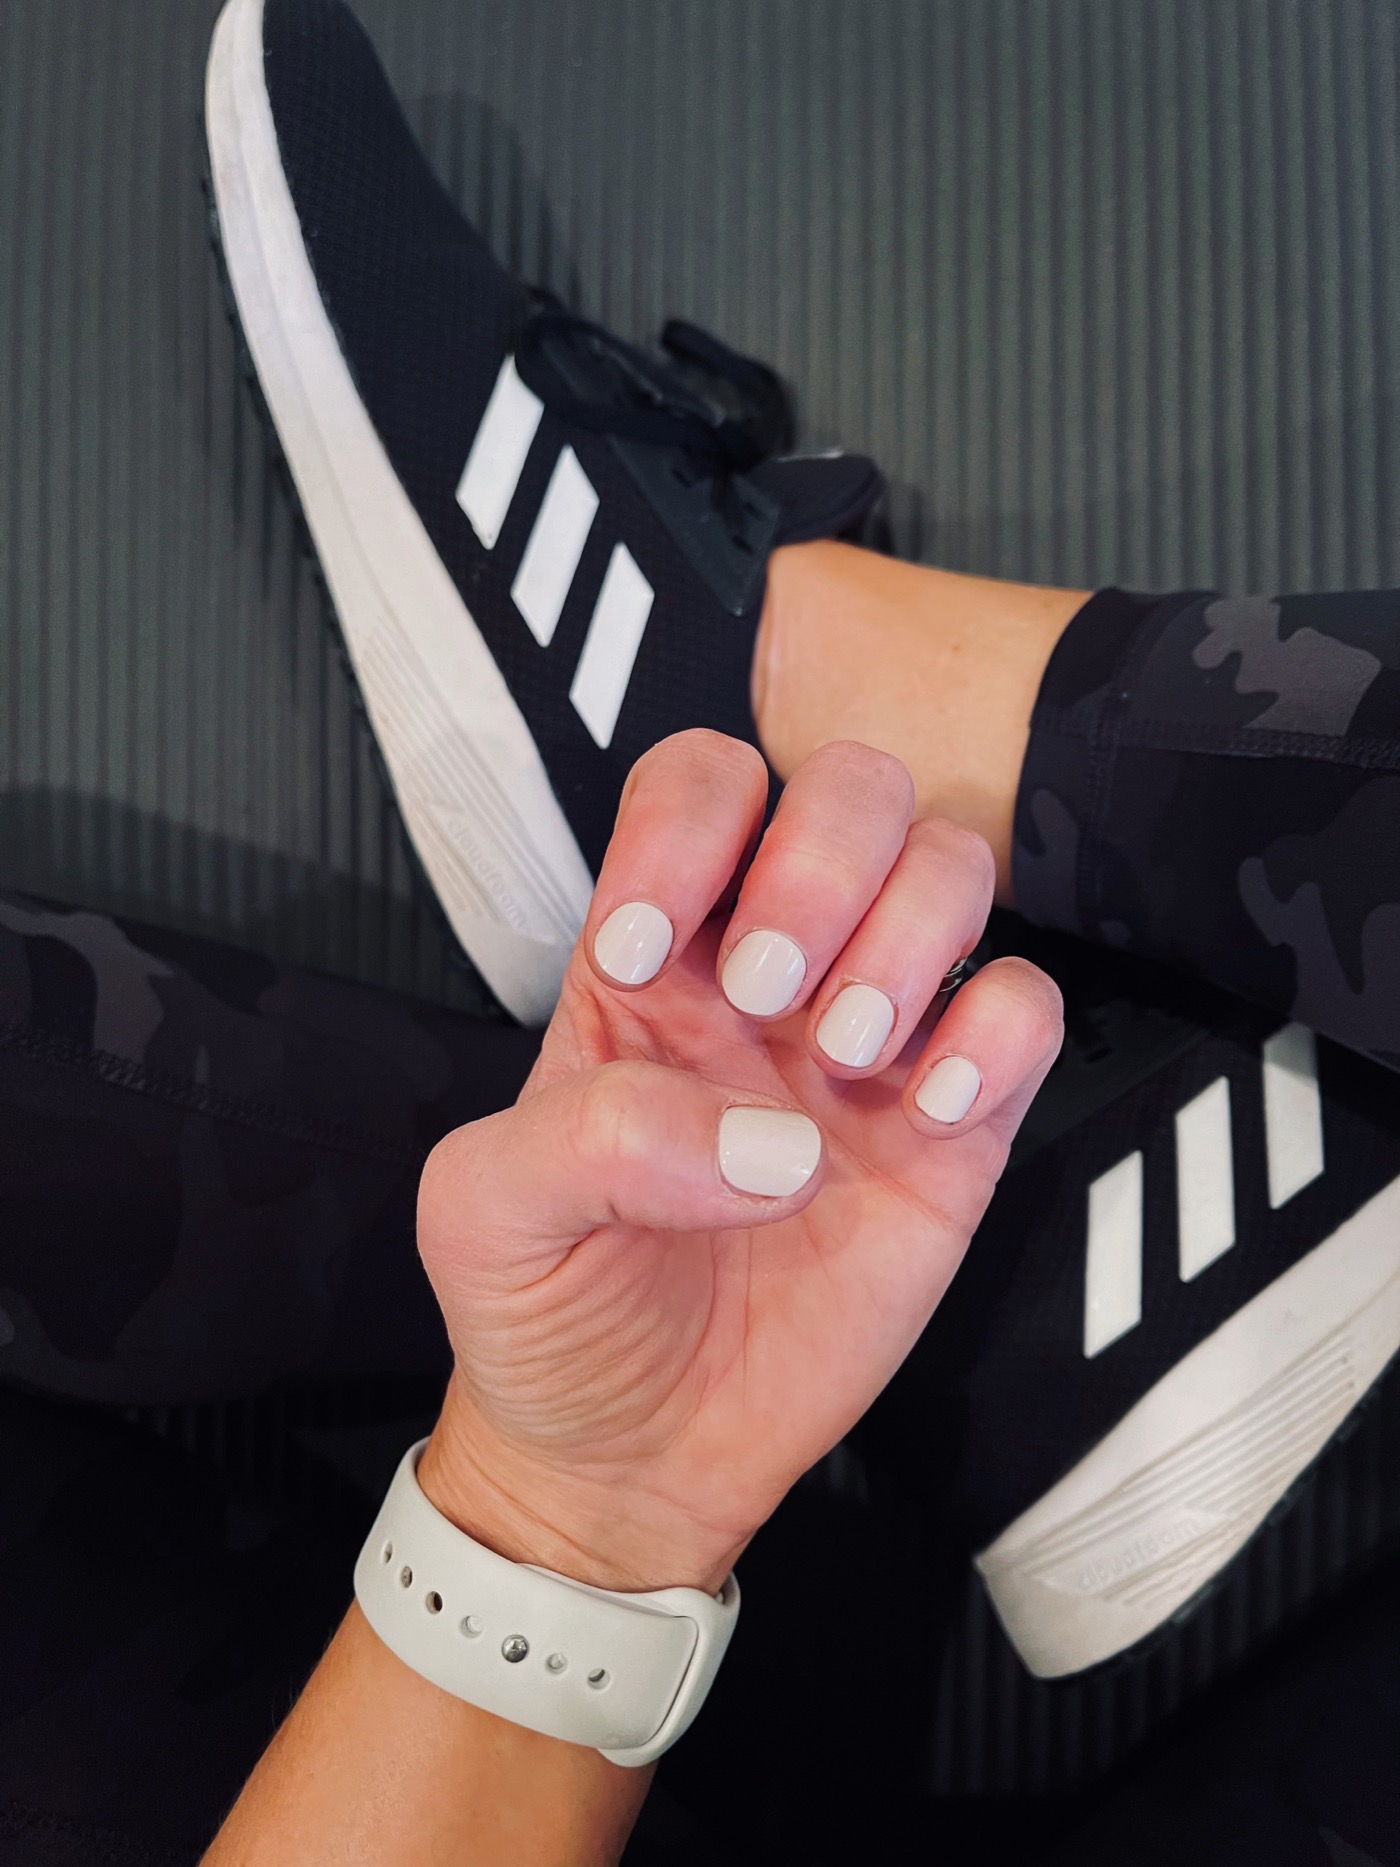
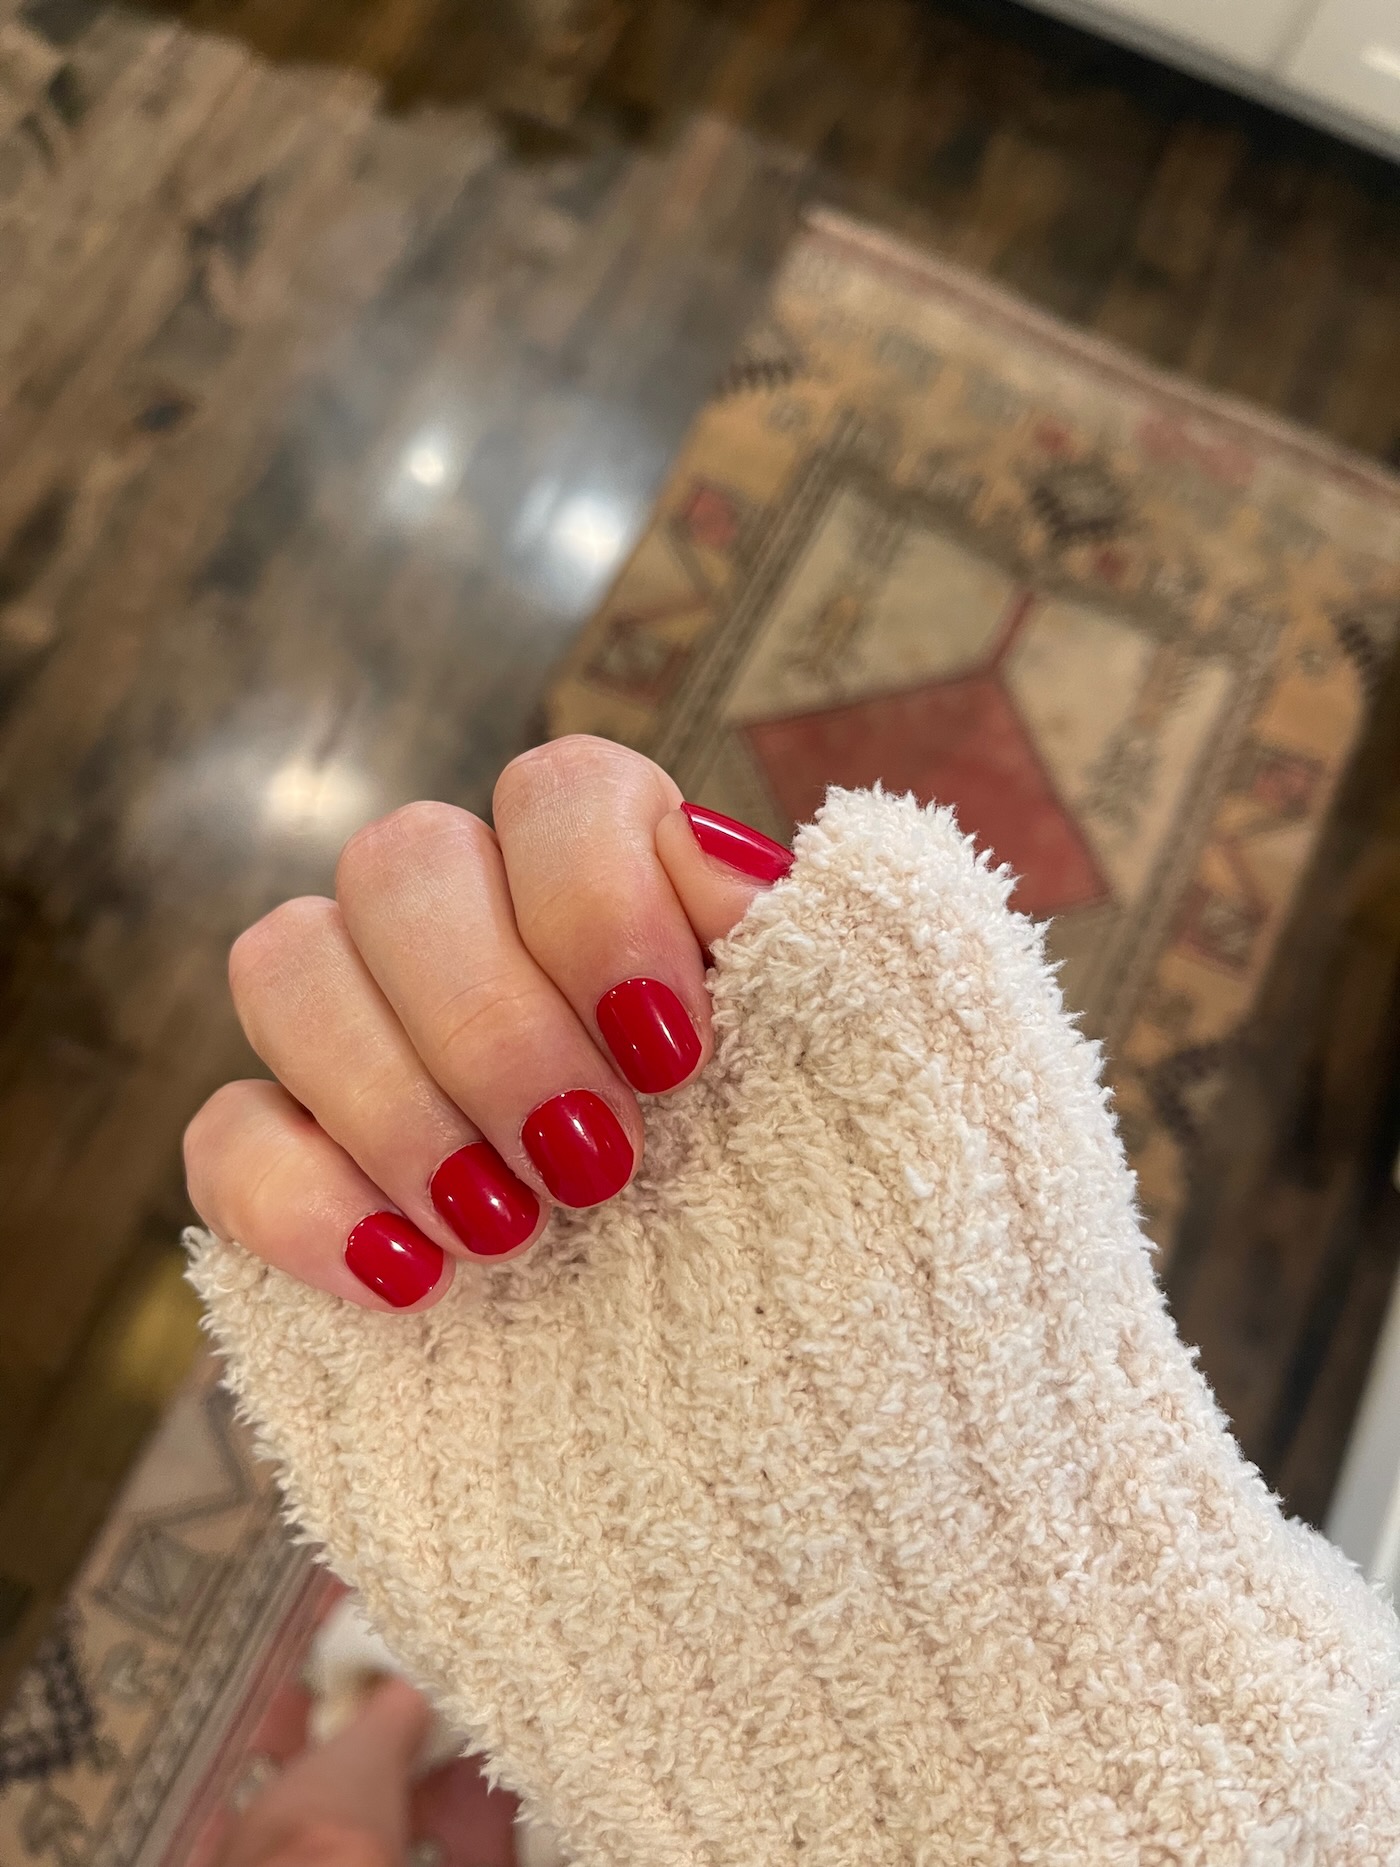
- COLORS: Lots of color choices. I think I’ve tried them all at this point! You can also mix and match if you want one nail to be a different color. The kit comes with 30 nails of different sizes, so you can always save the leftovers and mix and match!
- THEY LAST: These last on me for about 5-7 days. I have friends tell me they can get 2 weeks out of them! I shower in them, vacation, swim, do yard work, wash dishes, and all the things and they last. As my nails start to grow out, I can start to feel my hair getting caught underneath them, so I remove and start over.
- INEXPENSIVE: It doesn’t pain me to spend $6 a week on my nails. Of course, I don’t have them on 24/7, but after I take them off I want to put more on!
- NO GLUE: These press-on nails have a sticky back, but not glue is required.
- CUT TO SIZE: Keep the nails long or cut them short.
I hope this helps explain why I love Impress Press-On Nails. Let me know if you use these or try them out. I’m so happy my bestie told me about these. Just don’t go buying them all up so I can still get my hands on them! Ha! XO