This might by the simplest DIY I have ever shared, but I wanted to put it in a blog post for easy reference! This DIY hat wall we added to our primary bedroom is not only eye catching, it’s functional. I love the boho vibes and casual feel it brings to this space. Here’s how to create a DIY hat wall of your own.
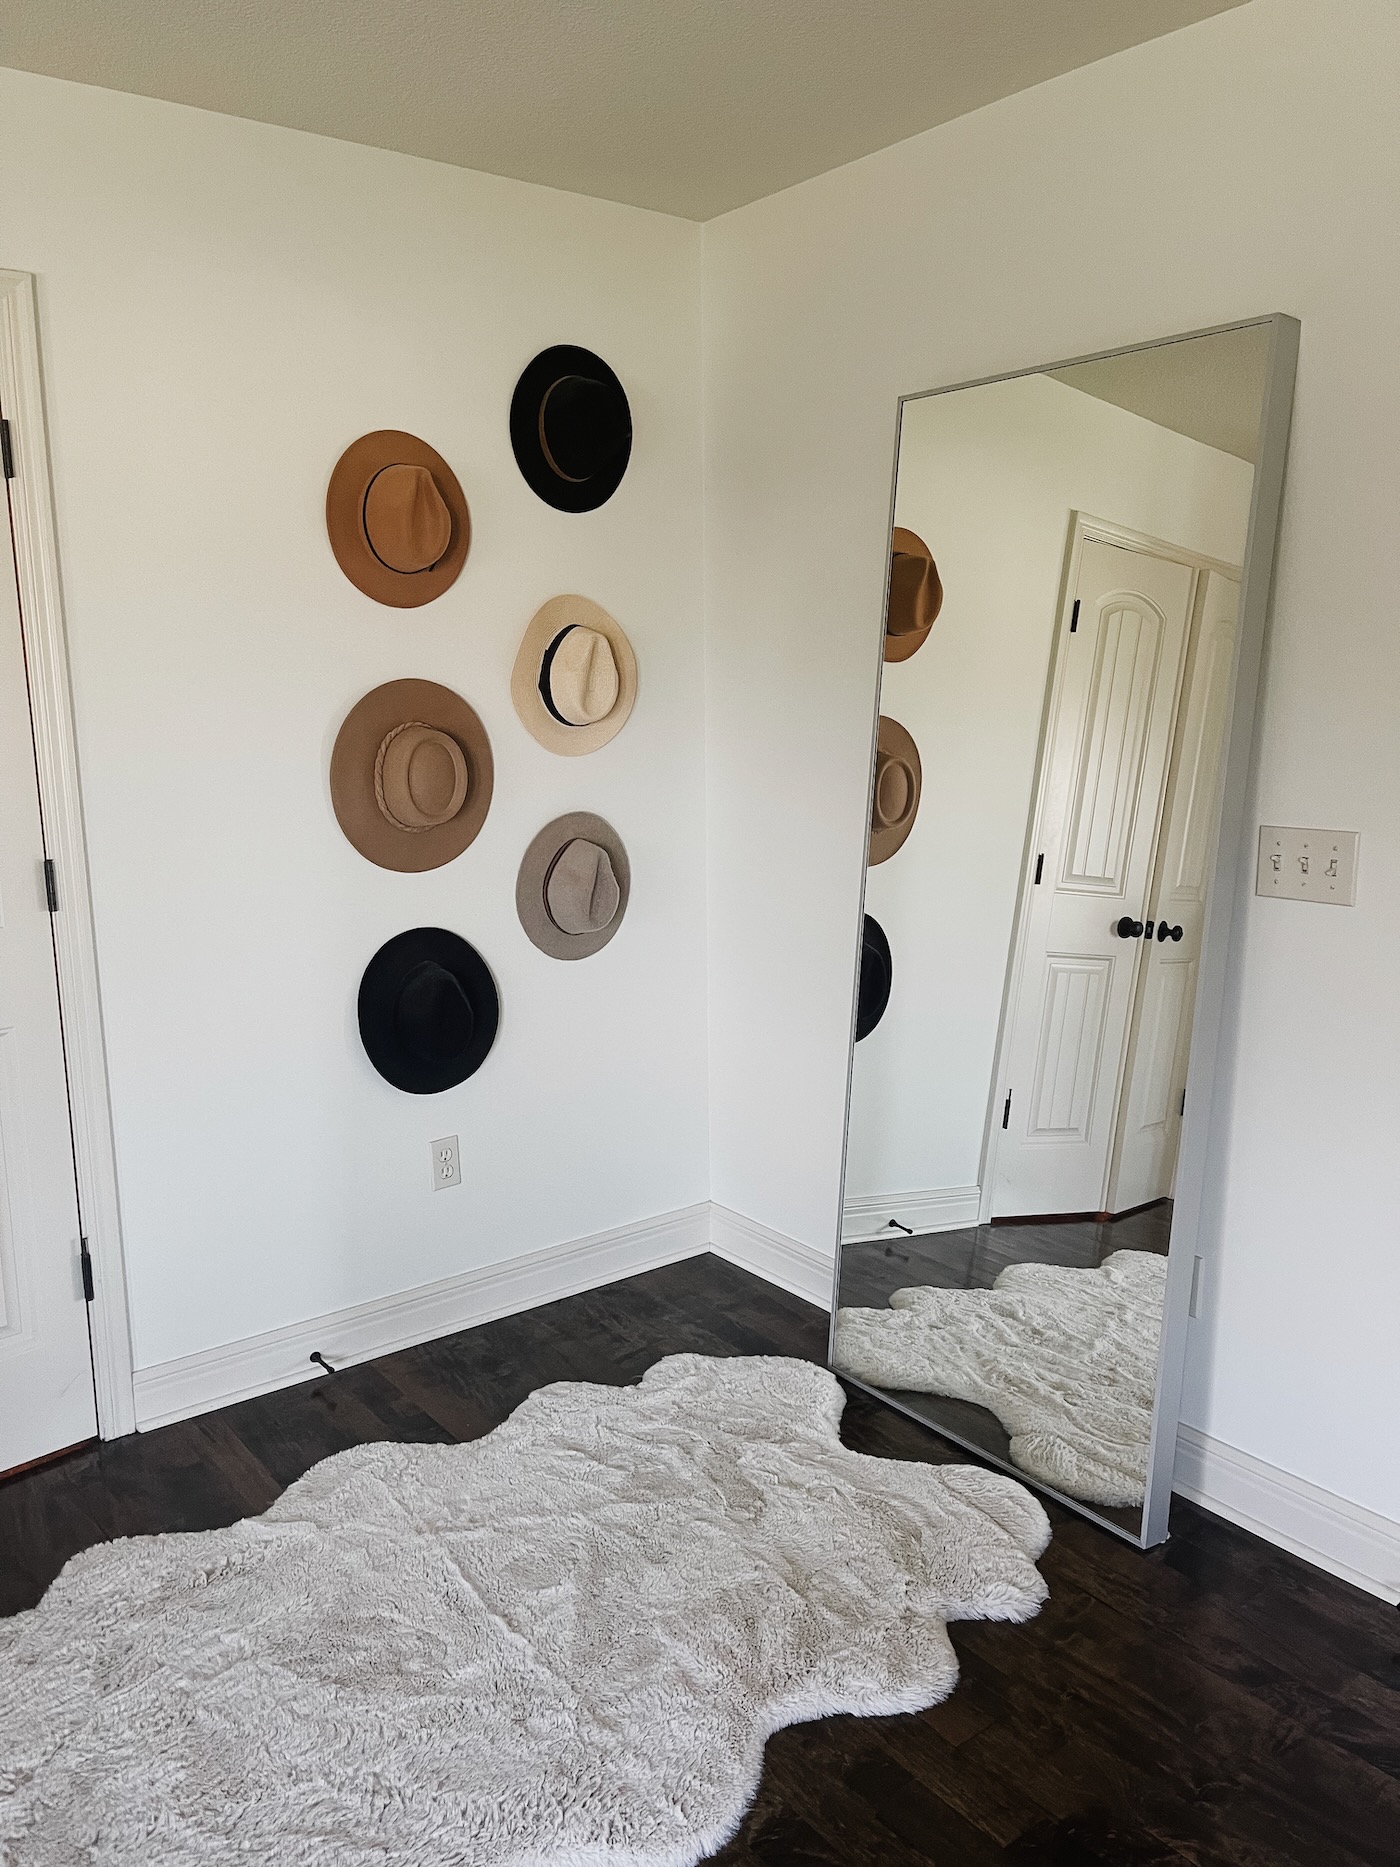
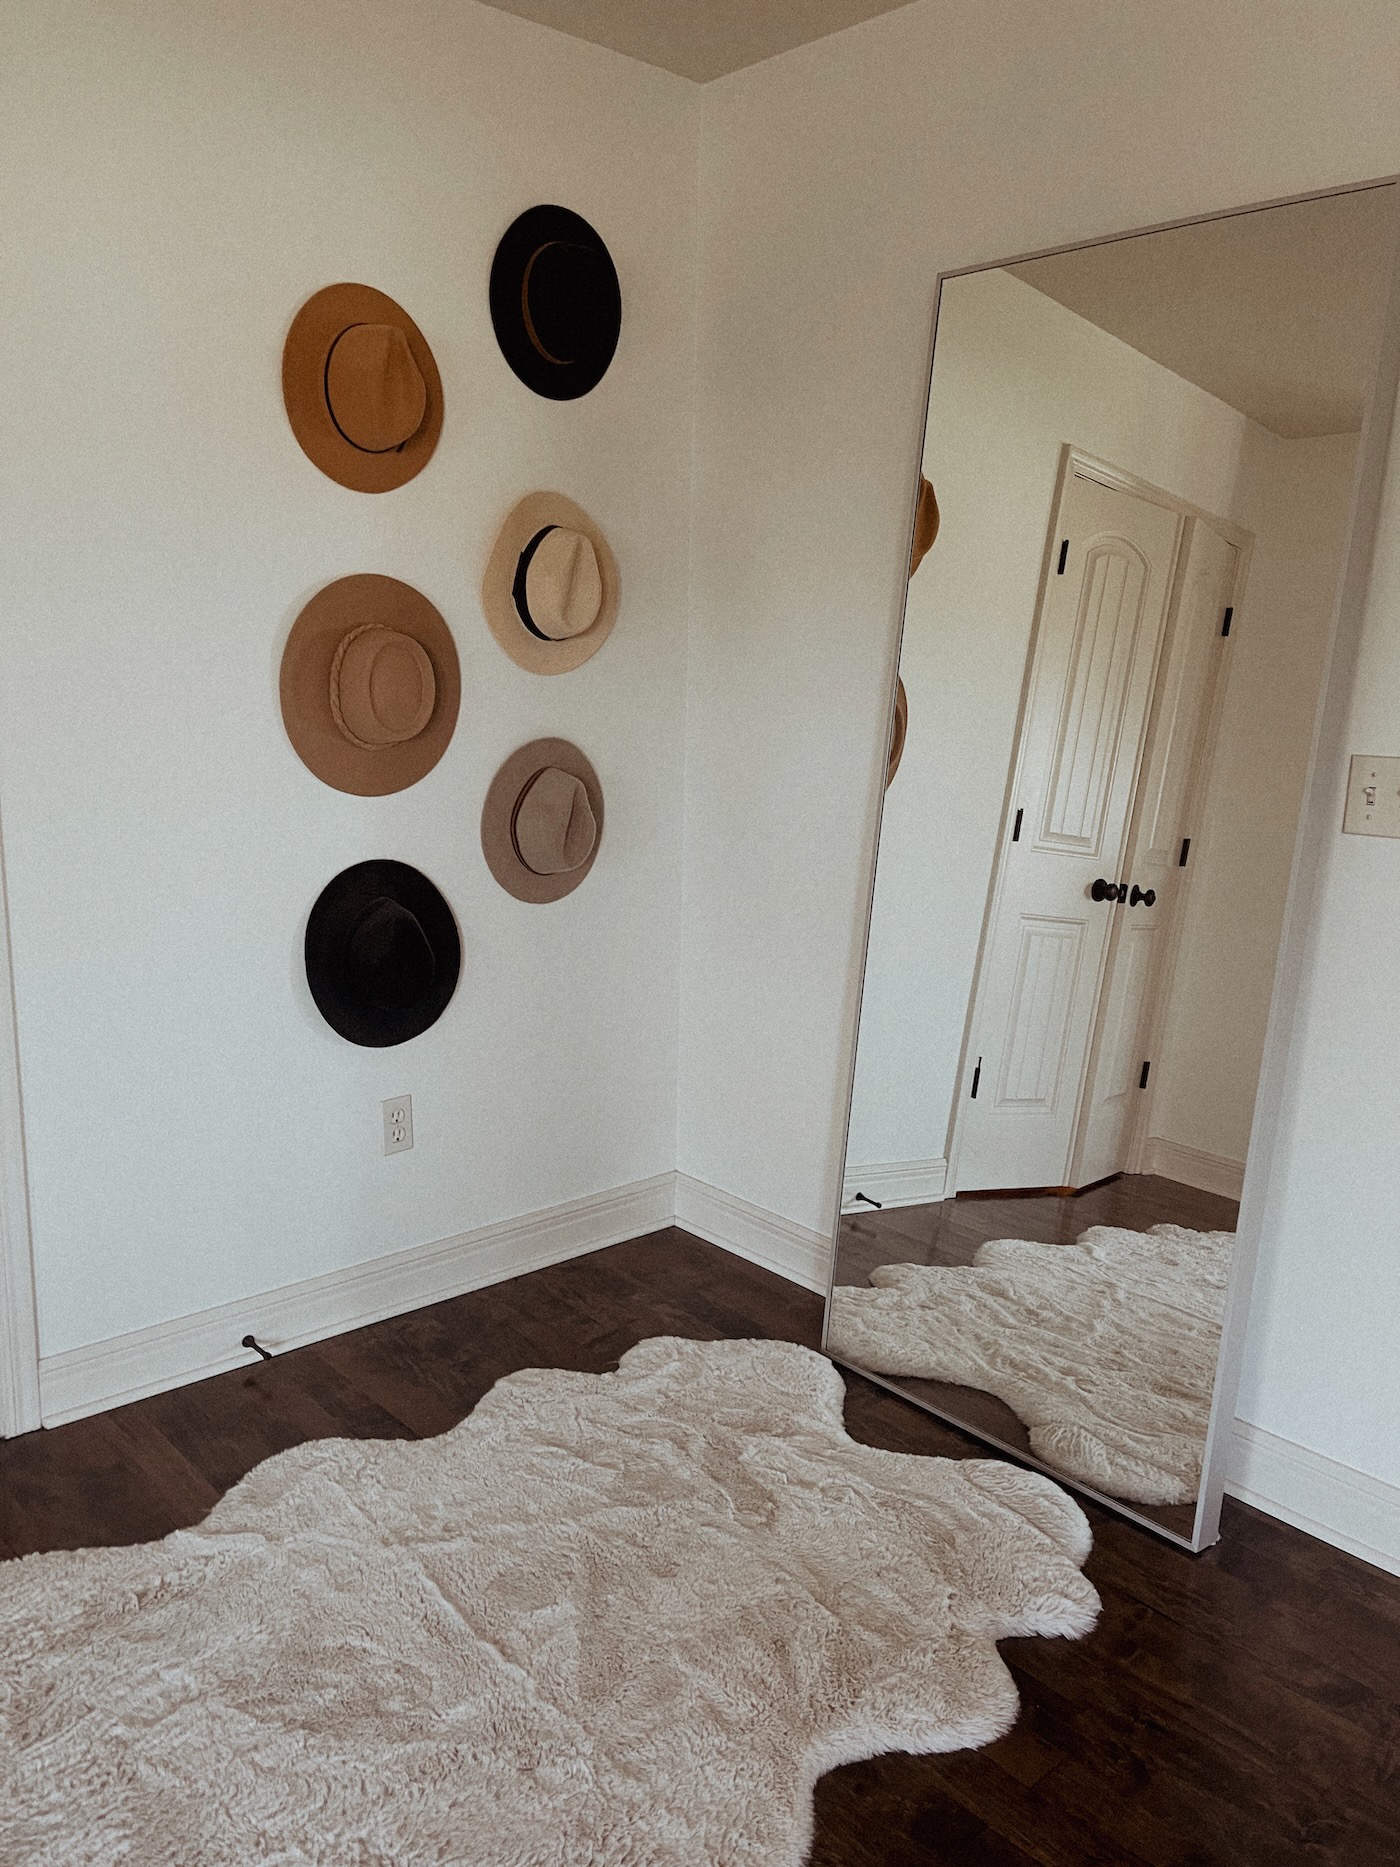
We have a large primary bedroom with lots of wall space. This corner holds a large mirror from Ikea that we just lean against the wall. The small patch of wall next to the mirror seems like a good spot to go vertical with my hats.
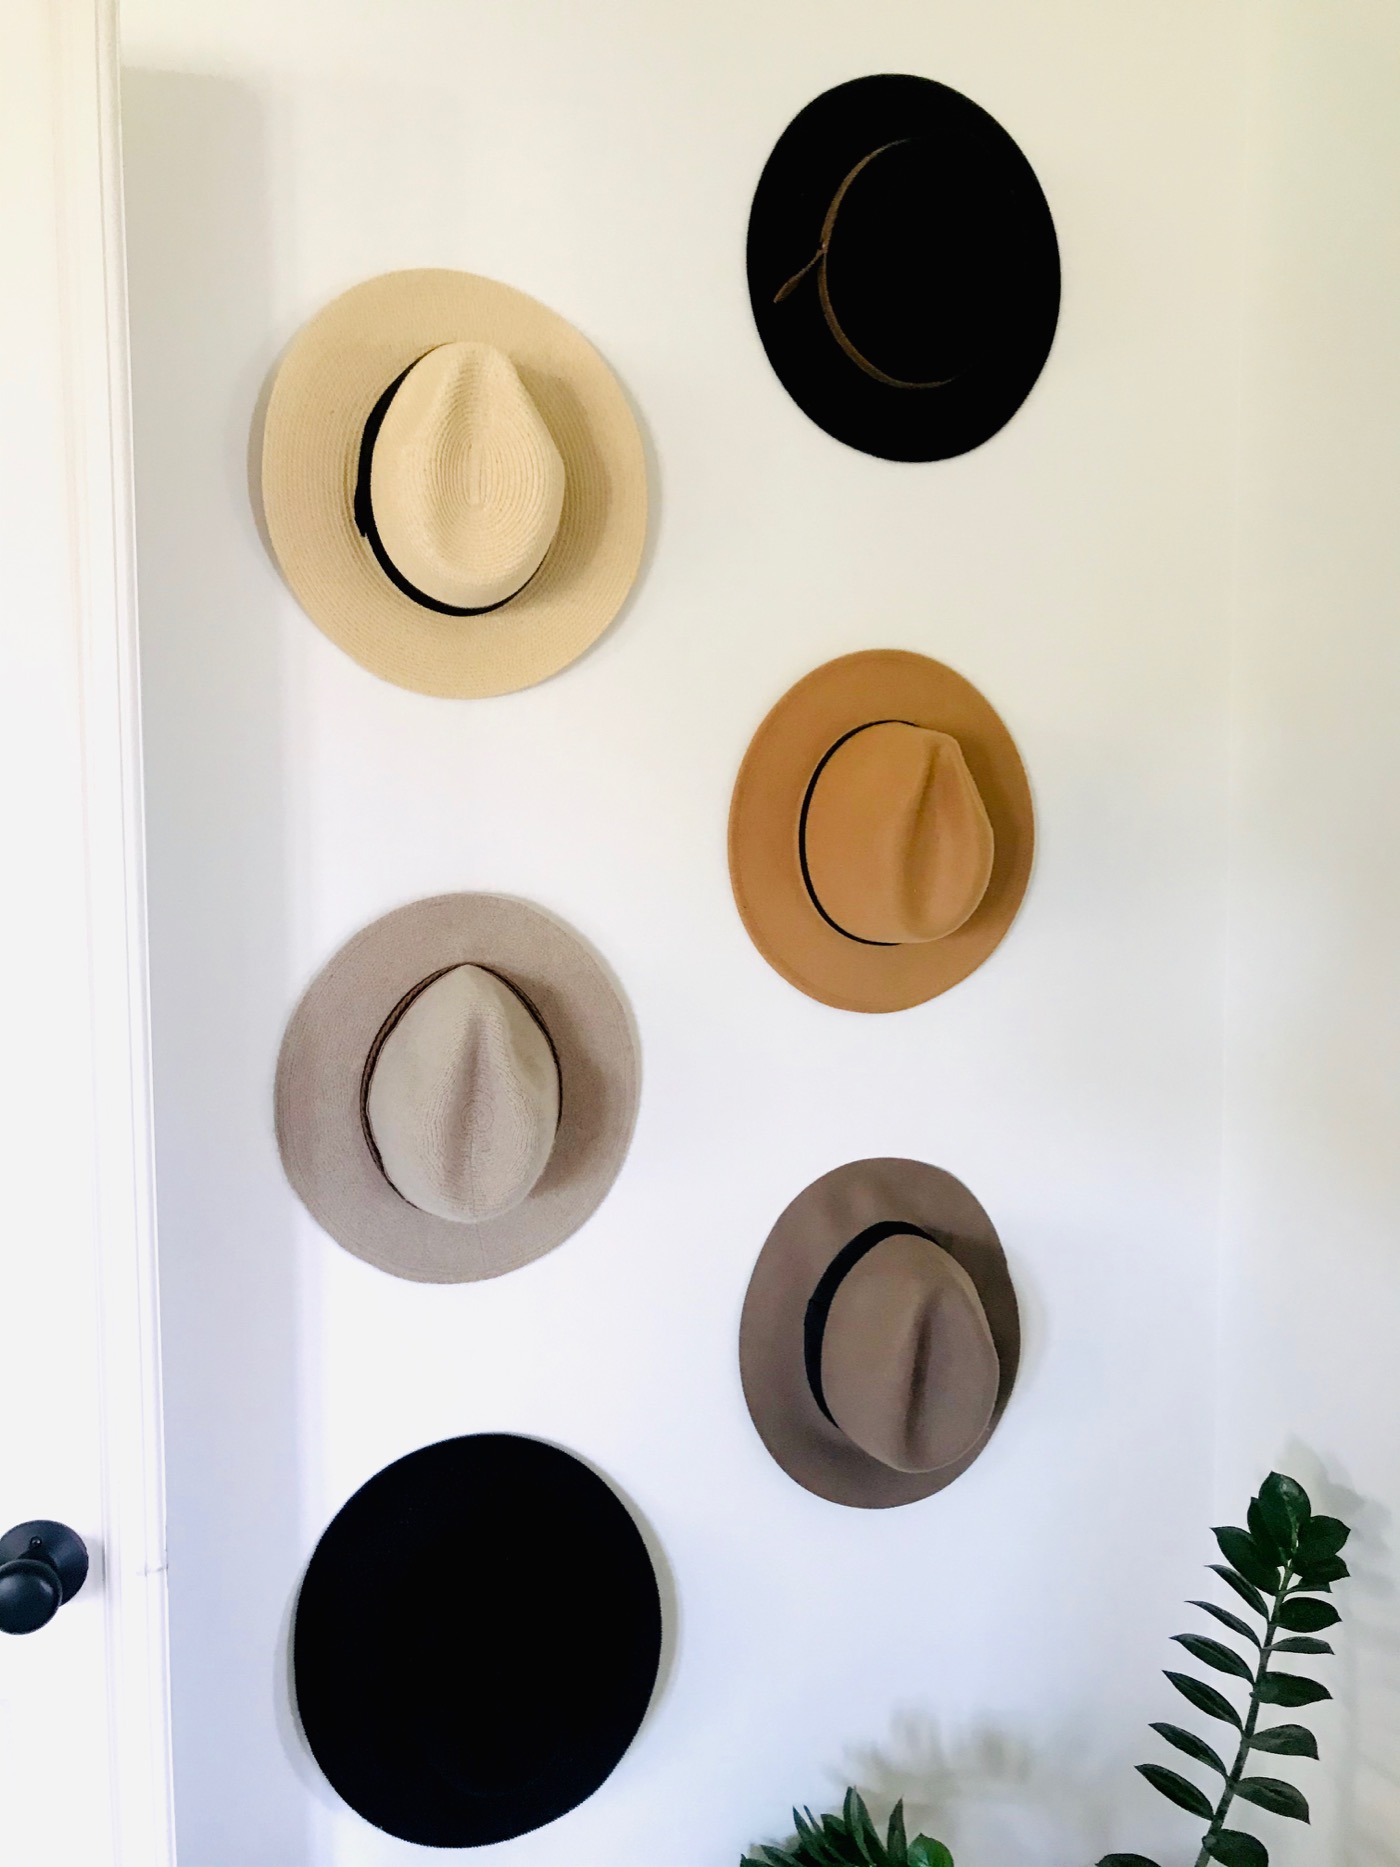
This DIY took about 3 minutes to complete. No joke! I bought plastic Command Hooks to adhere to the wall (obviously they are hidden), and we just eyeballed where we wanted the hats. I would suggest using two people for this job…one to hold the hats, one to stand back and decide if the placement looks good!
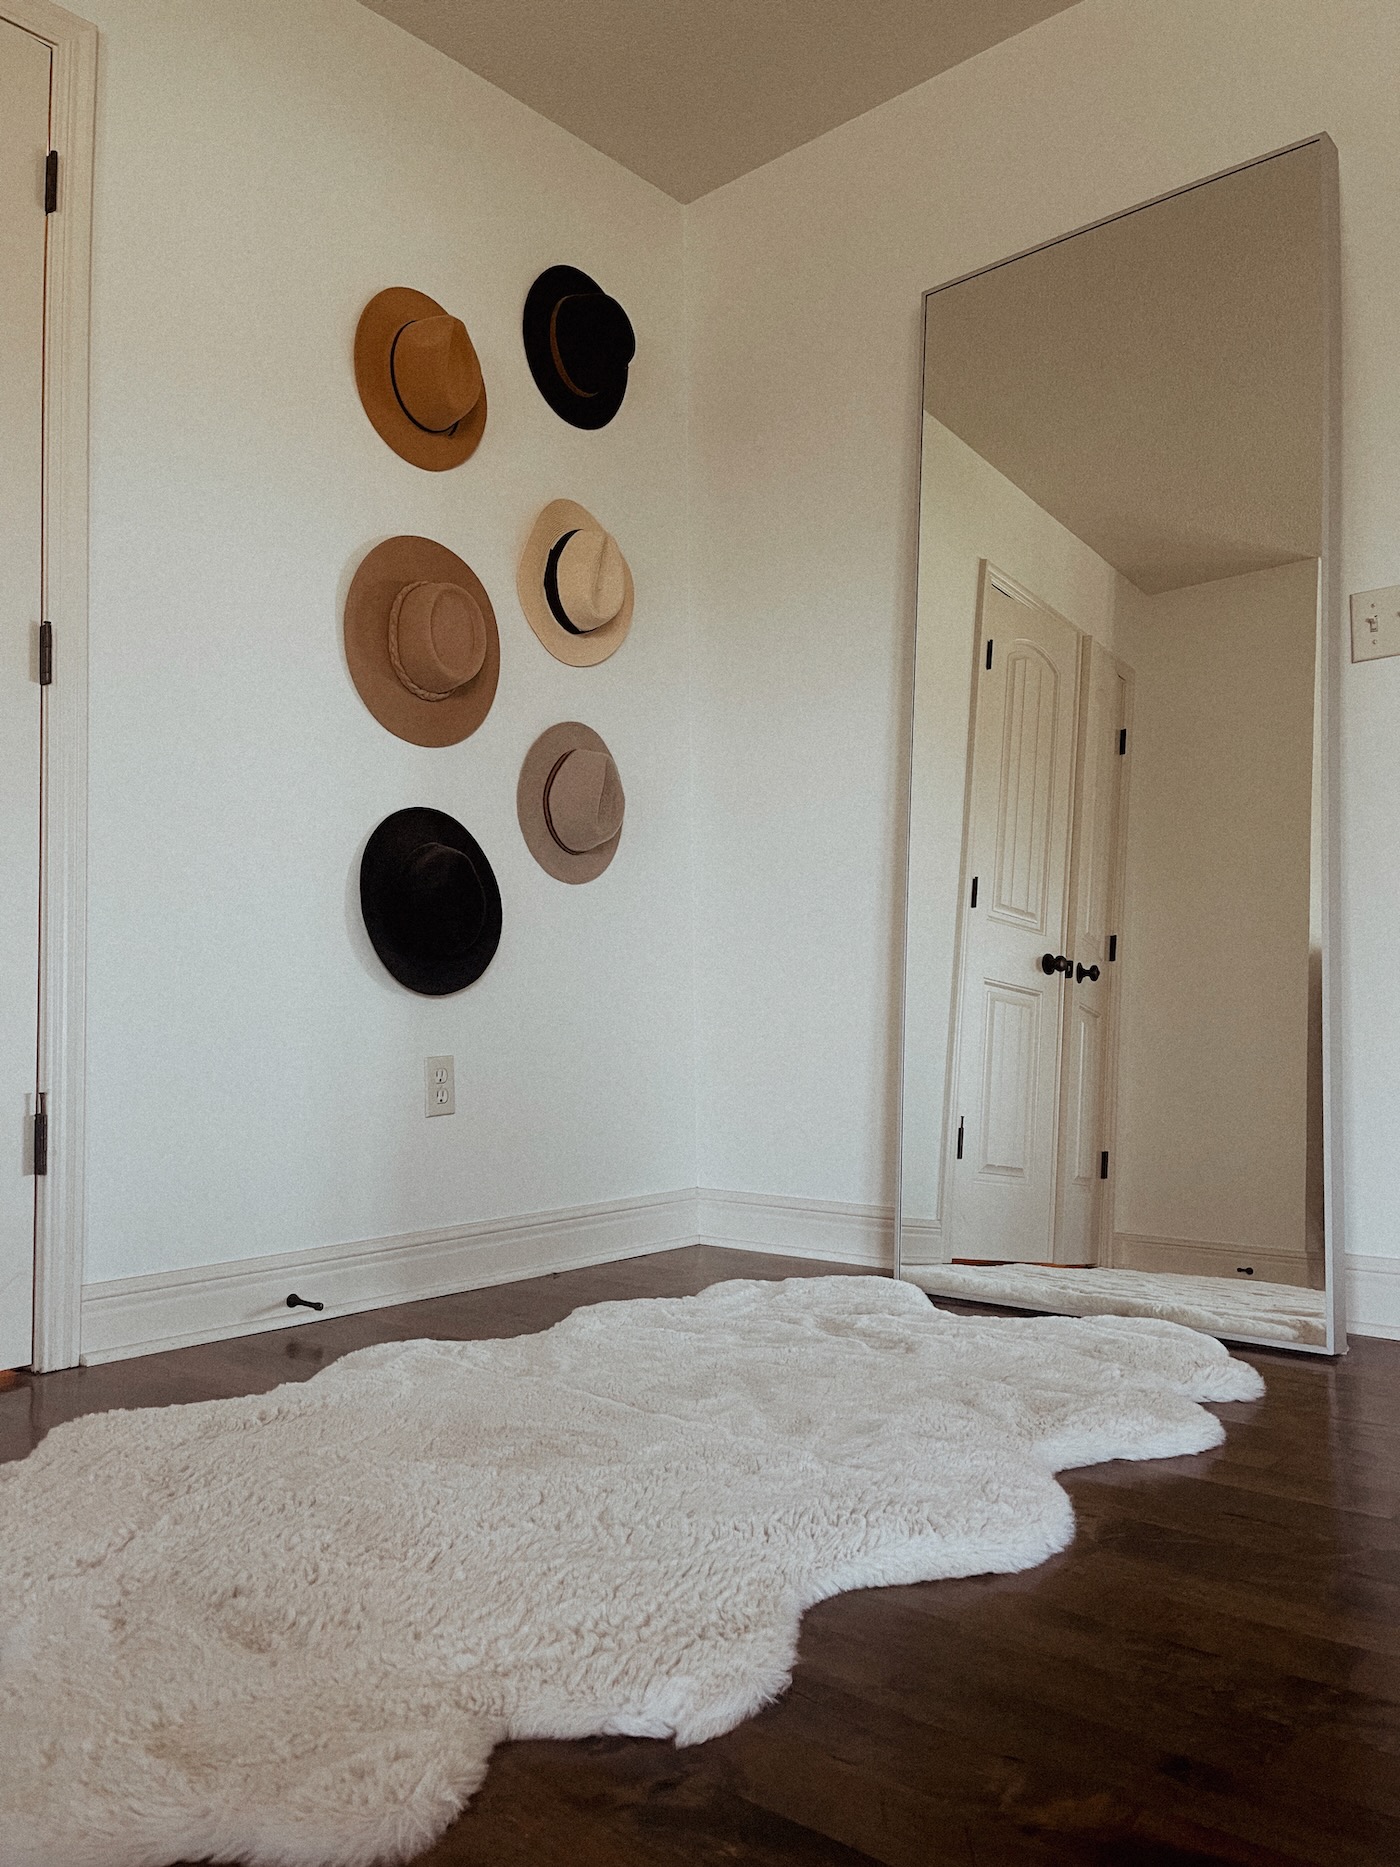
The only items needed for the DIY hat wall are hats, Command Hooks, and a small patch of wall! I added a soft rug from Costco to stand on. I’m loving the added texture and subtle color this little corner adds to our master!
I’m still seeing room for two more hats next to the mirror if I find some I can’t live without. I hope this was helpful in learning how to create a DIY hat wall for yourself! You can read about our hardwood floors here. You can read about the wall/trim color here. XO