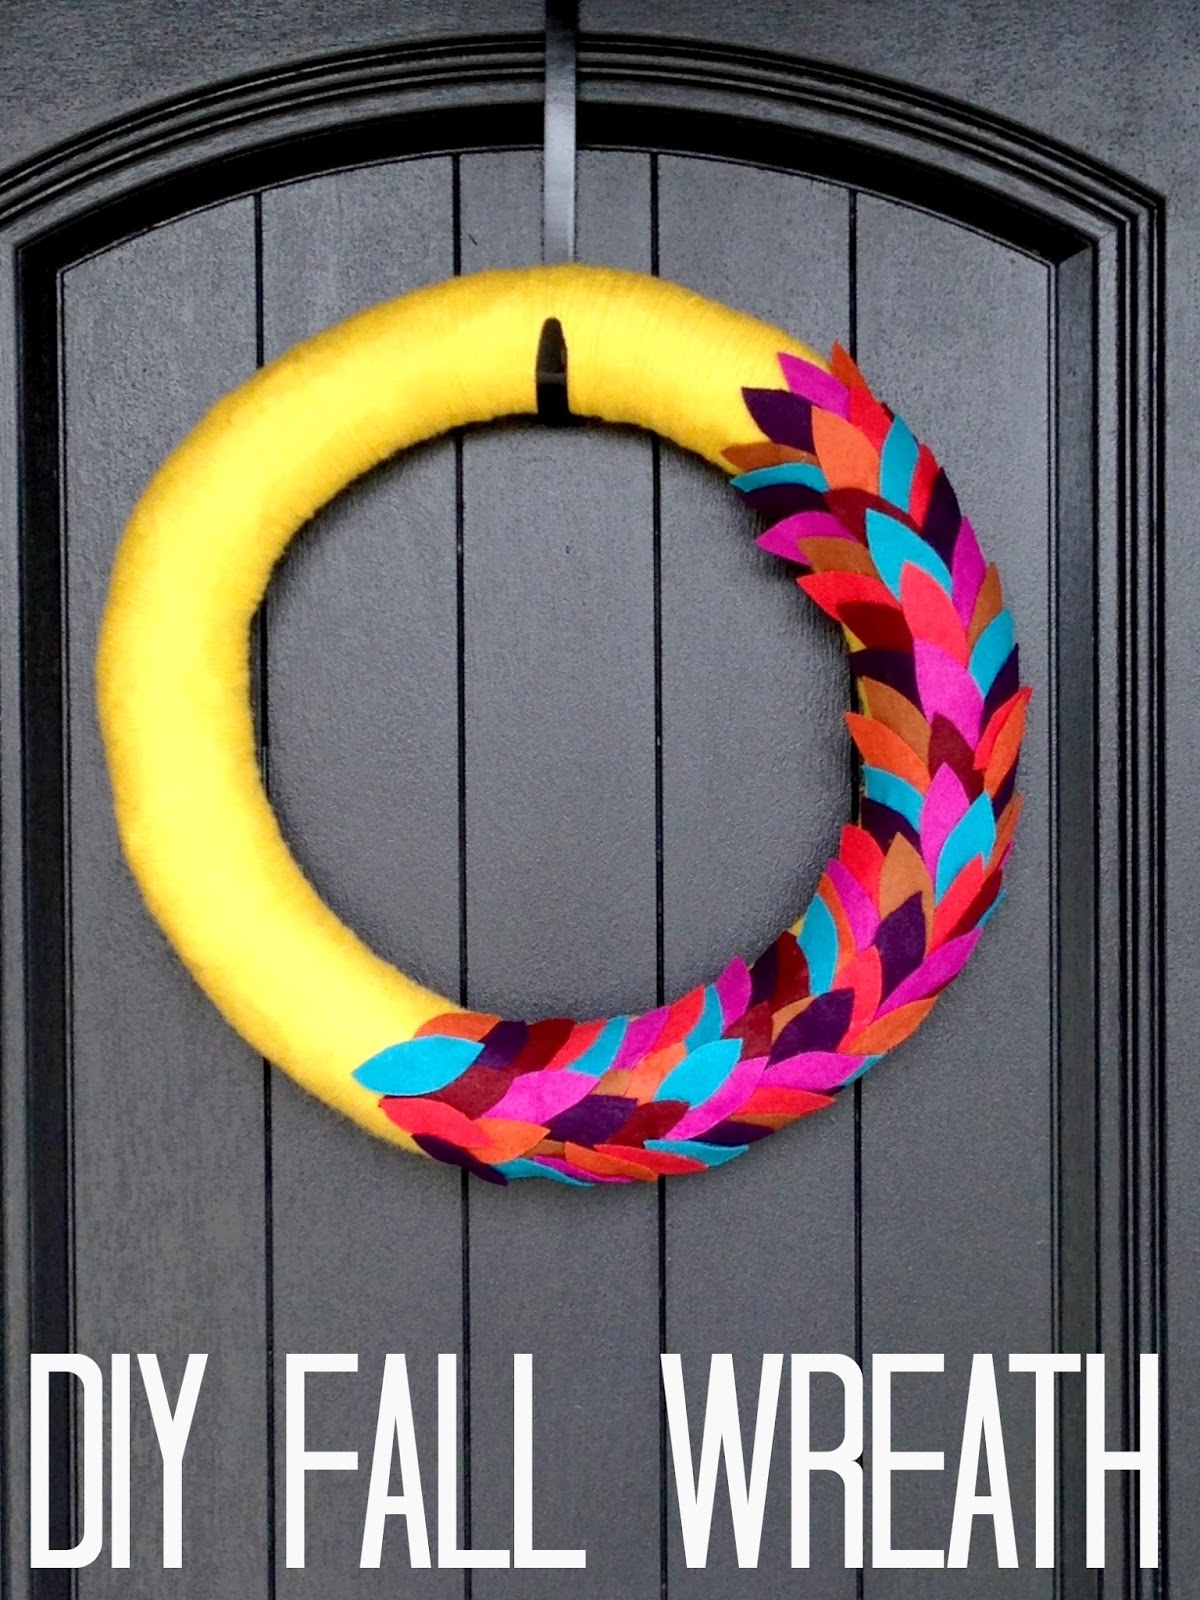
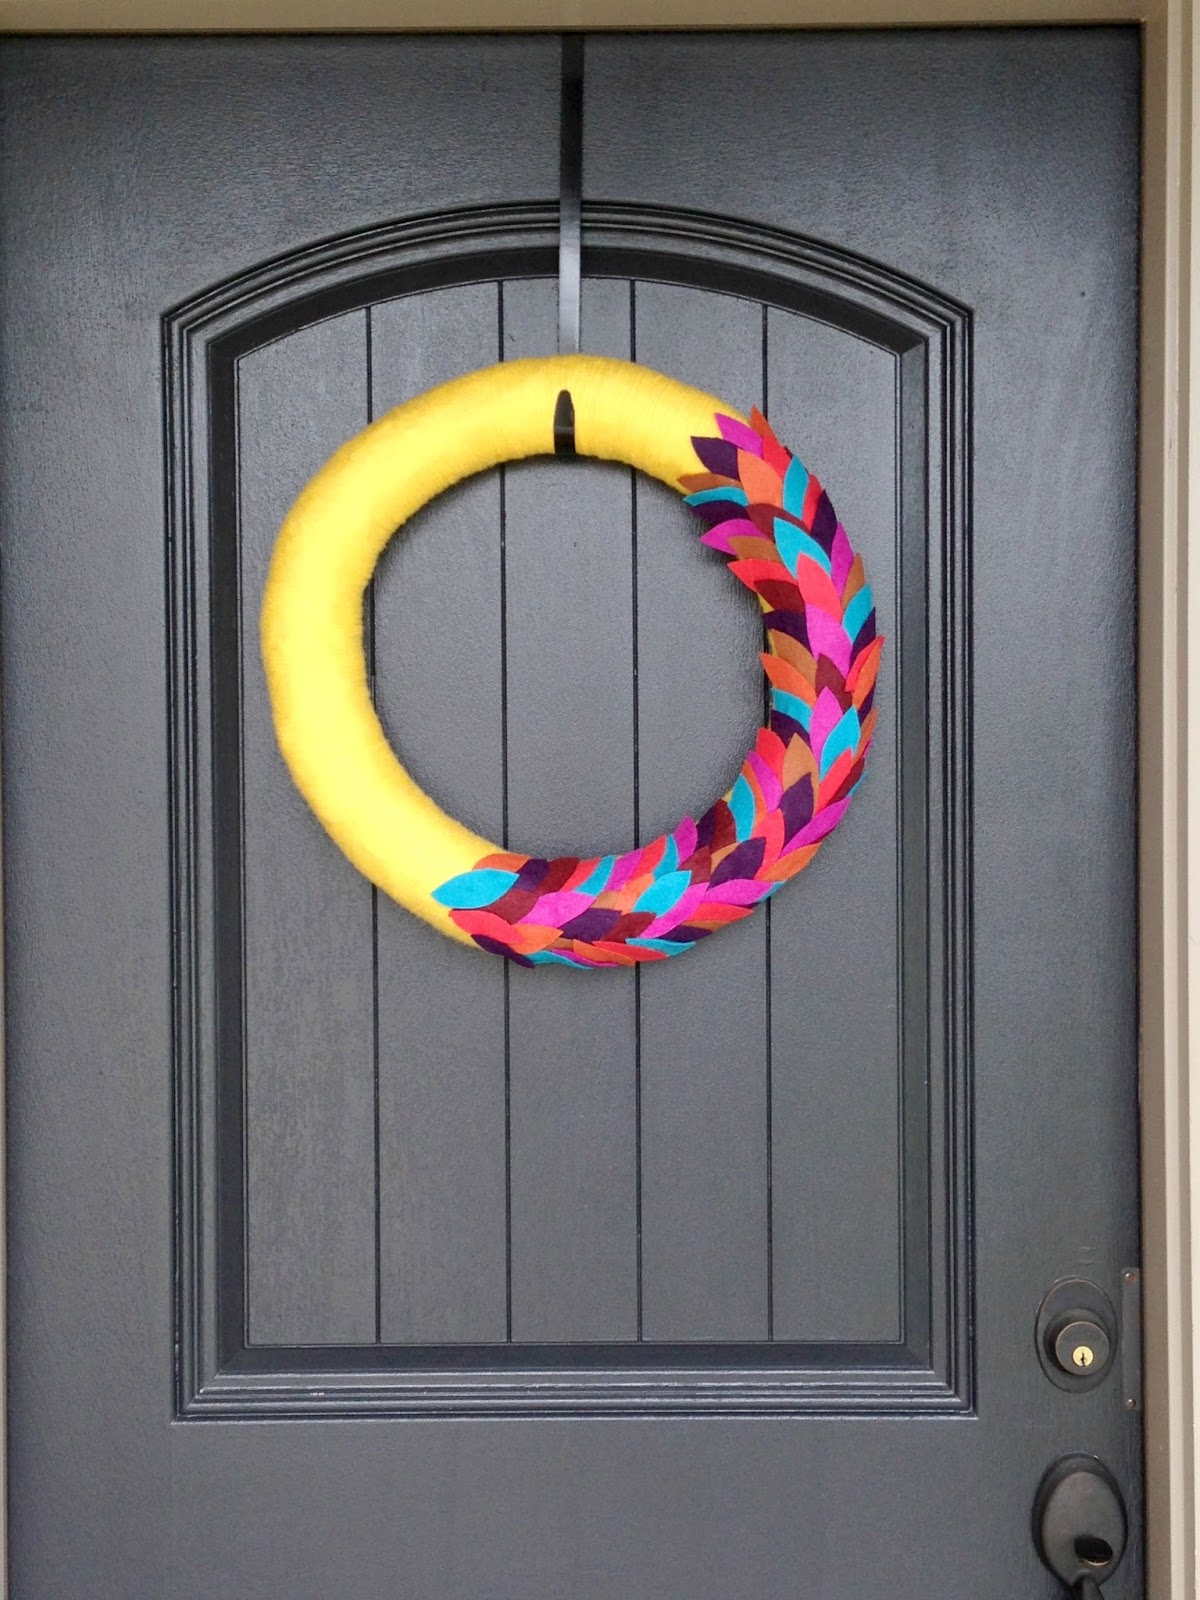
I felt like getting a little crafty last weekend, and wreaths are usually my go-to project. After browsing online, I found this yellow yarn wreath online that I thought looked really pretty against a black door (our blue door has been painted black). Bright and bold for fall this year! Here’s how to make a DIY fall yarn wreath.
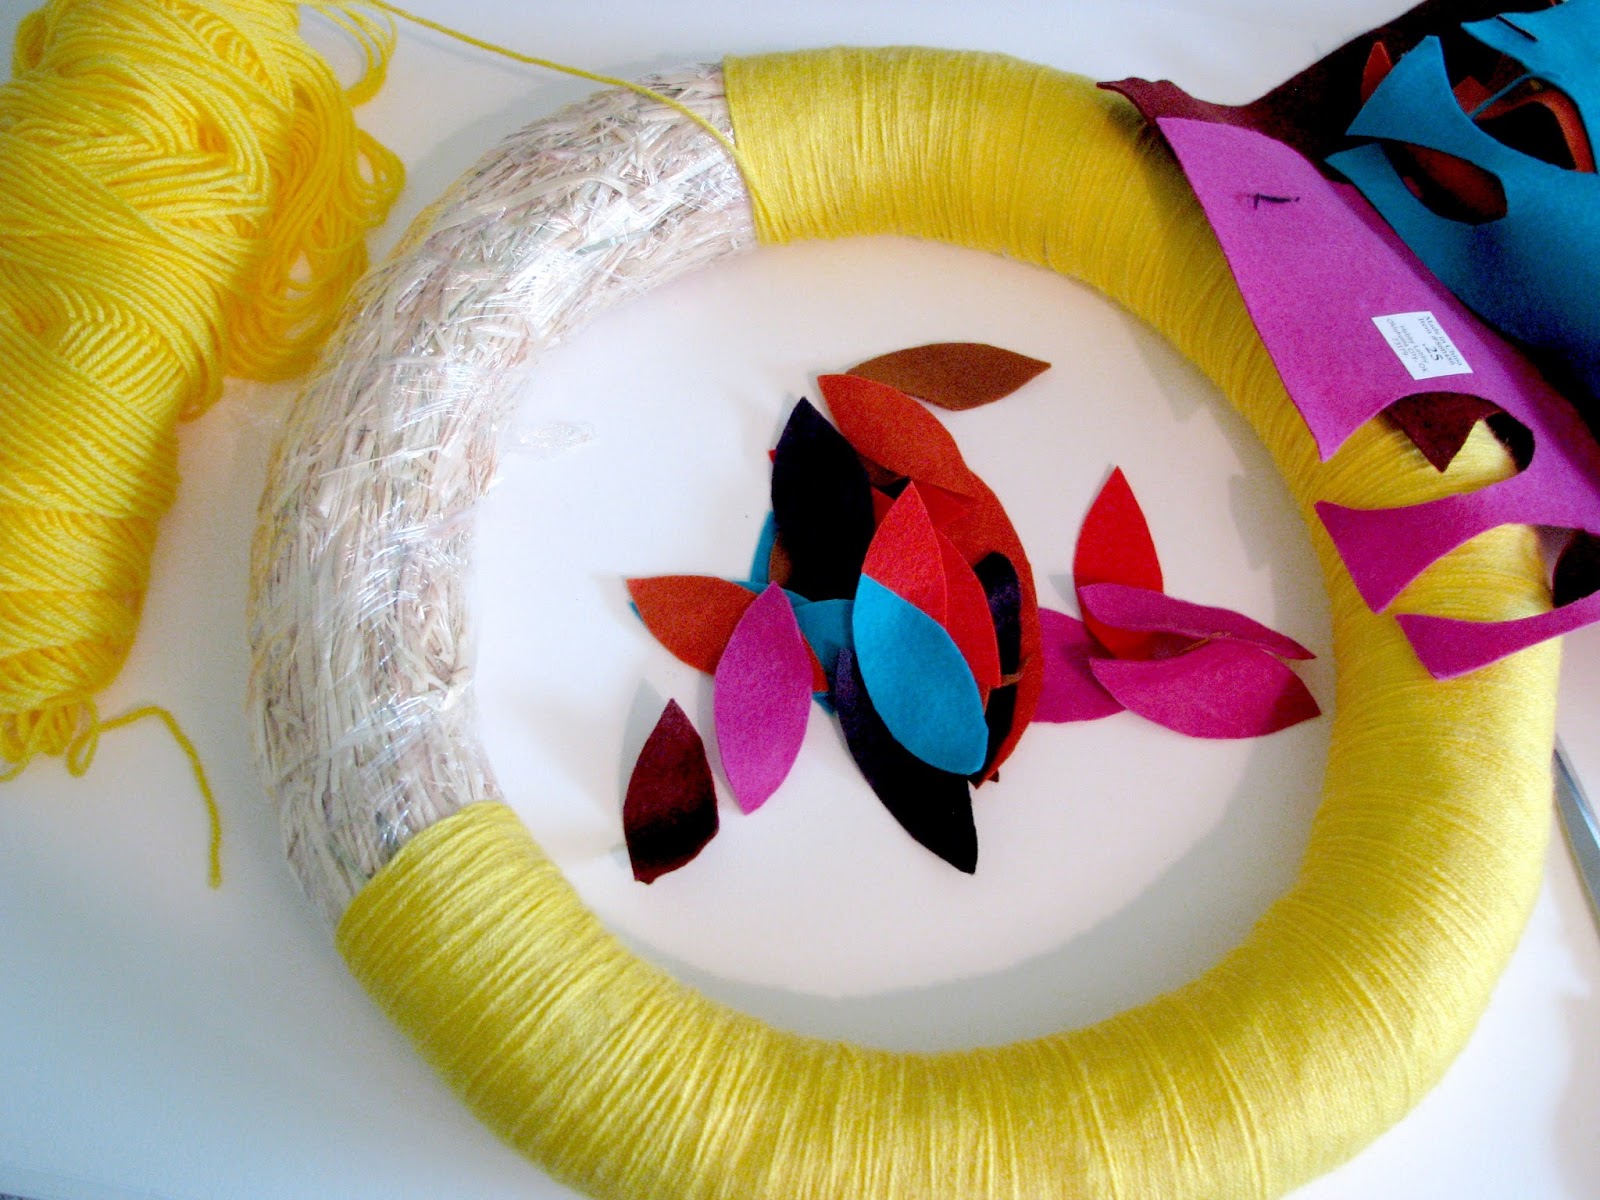
Supplies Needed
- Wreath form
- Felt
- Hot glue
- Yarn
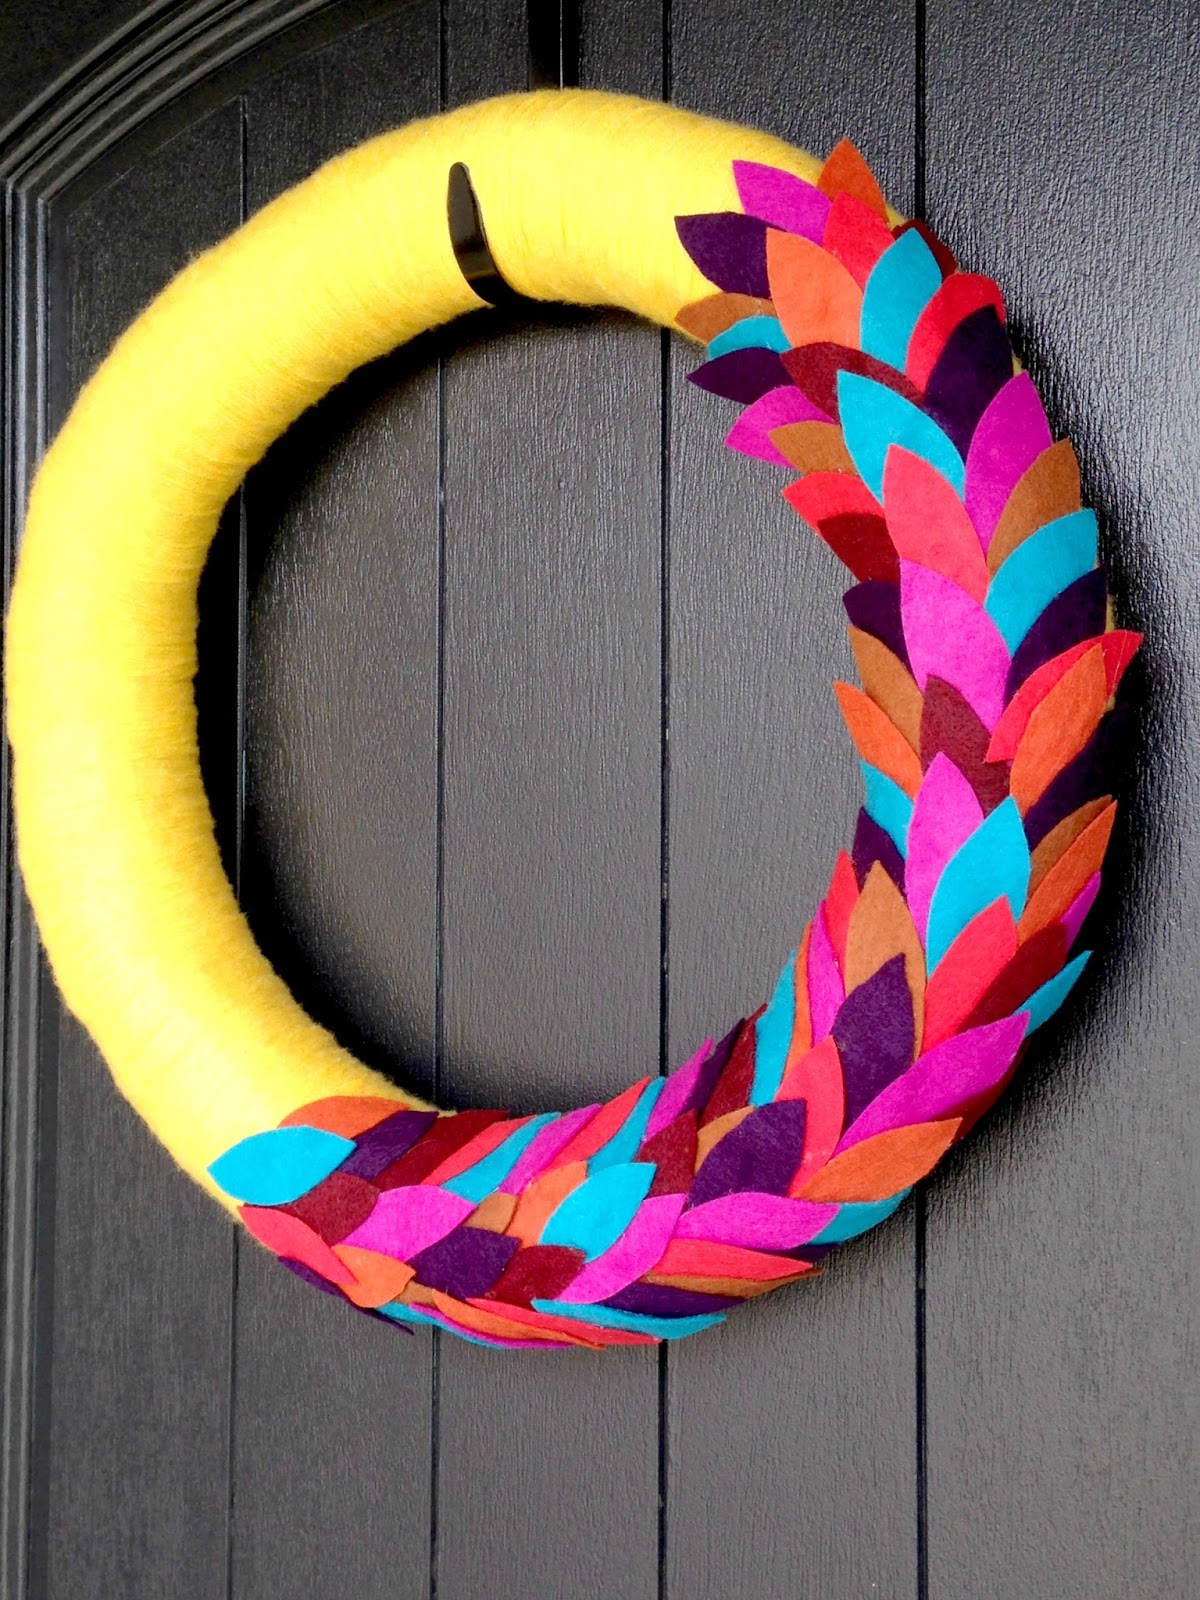
I chose the yellow yarn to pop off the black door and jewel tones for the felt to add some depth and color.
How to Create a Fall Yarn Wreath
The yarn wreath is super simple to make, but takes a a lot of patience! Simply start wrapping yarn all the way around the wreath (mine is an 18″) and secure the end with a dab of hot glue. Be sure to leave the plastic around the wreath so you don’t get poked. I think the texture of the yarn adds a nice fall touch. This is a good mindless activity to do while you’re watching tv!
After the wreath form was covered in yarn, I got started on the leaves. I cut little leaf shapes out of different colored felt (free hand). I moved them around and placed them where I wanted them. Once I knew where I wanted them to go, I lifted them up and hot glued them onto the yarn wreath.
The total cost for the wreath came in right at $10. I love when I can make things with my own hands for our home!
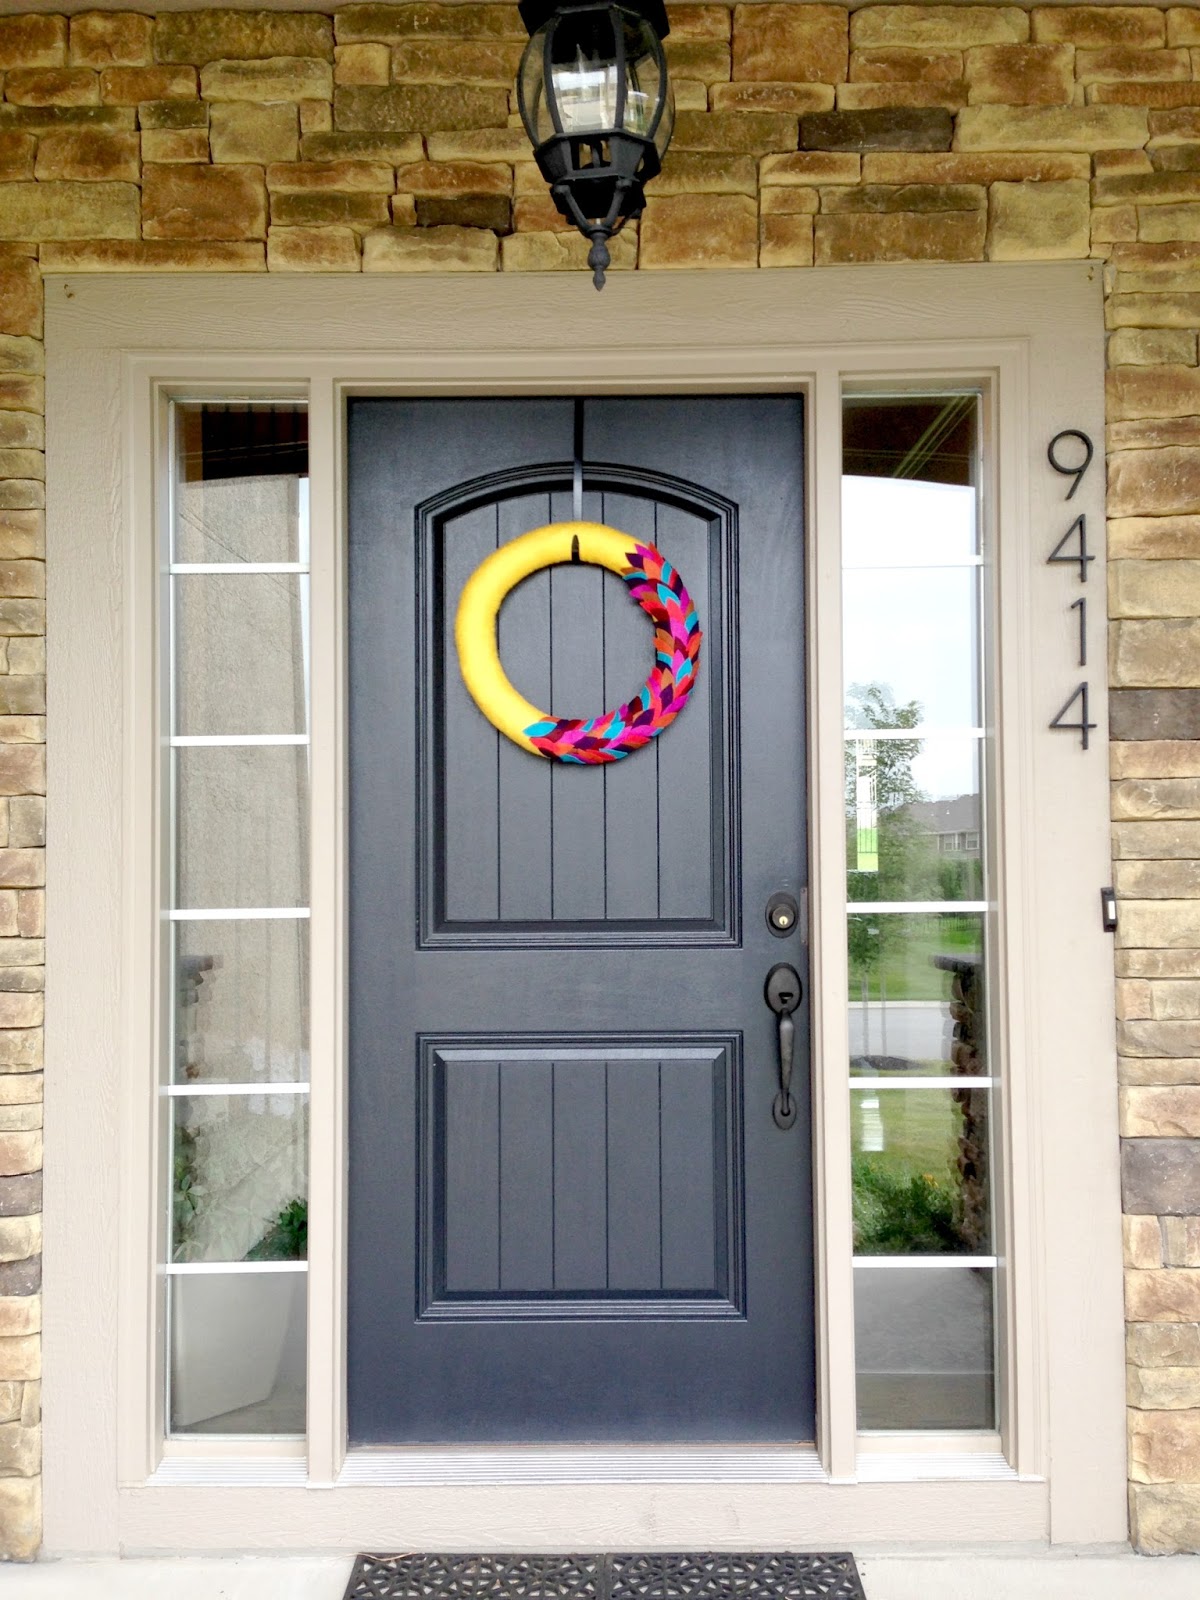
This DIY fall yarn wreath feels a little like late summer and early fall all rolled into one. The pillows on my rockers are also jewel tones and it ties in well. I still have to purchase some fall flowers for the porch to really finish it off. I’m loving the pop of color you can see from the street!
I hope you were inspired on how to make a DIY yarn wreath! Have you started decorating for fall? Record breaking low temps for us in KC this weekend! If you need me, I can be found on the soccer fields this weekend…2 kids and 5 games!! Have a great weekend! XO

This is super cute, I always have yarn around 😉
Thanks for stopping by!! xo
Visiting from Skip to my Lou link up.
Love the fun bright colors! So fun to use something that isn't your typical 'fall colors'
🙂 Liberti
http://www.loaly.com
Thanks Liberty! It's fun to switch it up from the traditional!
I love this! So bright and cheerful, yet perfect for fall (and for spring)! Great job!
Thanks Julia!!
Love the colors on this! Love bright colors in the Fall. Thanks for sharing with us at The Makers. 🙂
Thanks Alexis!!