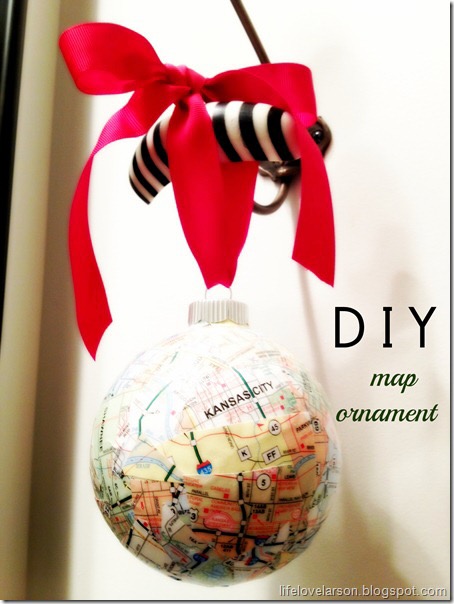
I hosted a little neighborhood get-together in December and we decided to do an ornament exchange. Of course, I wanted to make a DIY ornament to put into the exchange! I saw an image on Pinterest of a map ornament, and decided I would try to make one myself. Here’s how to make a DIY map ornament.
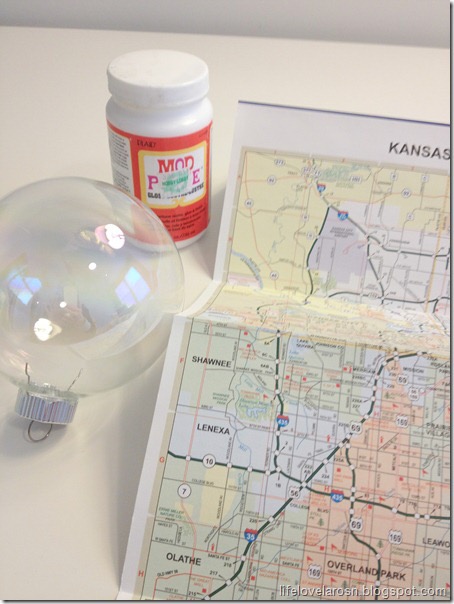
Supplies Need to Make a Map Ornament
- Clear glass ornament for your base (I purchased a 4-pack at Hobby Lobby for $4)
- Map of the place you want to showcase (found this Kansas City map at a local grocery store for $2)
- Mod Podge
- Small paint brush
- Ribbon of choice
Prepare the Ornament and Map
- First, remove the silver hanging piece from the ornament. The little hold is the perfect spot to hold the ornament while you are adhering the map.
- Next, cut your map into small pieces in random order. I made sure to keep the surrounding city names in one piece so they would be visible on the ornament. There is no right or wrong to this step.
Adhere the Map
Using a small paint brush, start adding layers of Mod Podge and pieces of map on top of each other in random order. I tried to mix up the colors and made sure not to cover up any of the city names.
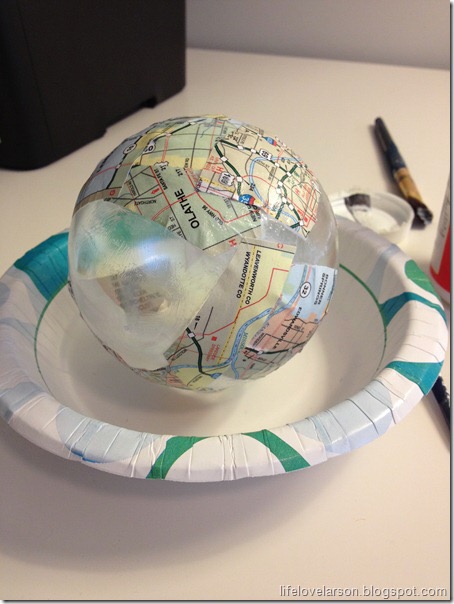
Because you are working with a sphere, you will need to use your finger to gently flatten out certain spots that are bubbling. Press lightly until flat, and it will not ruin your map. Once all of the ornament is covered with pieces of the map, make sure you seal the top of the map with another layer of Mod Podge. A quick note: You don’t want to get the surface too wet or the paper will start to tear. Once completely covered, let the ornament dry over night (set upside down).
Finish off the Map Ornament
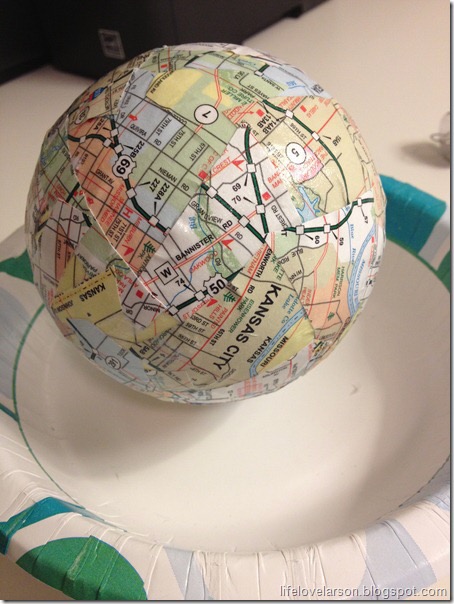
After the ornament is completely dry, reinsert the silver hanging piece and add a festive ribbon. Now you have a custom ornament!
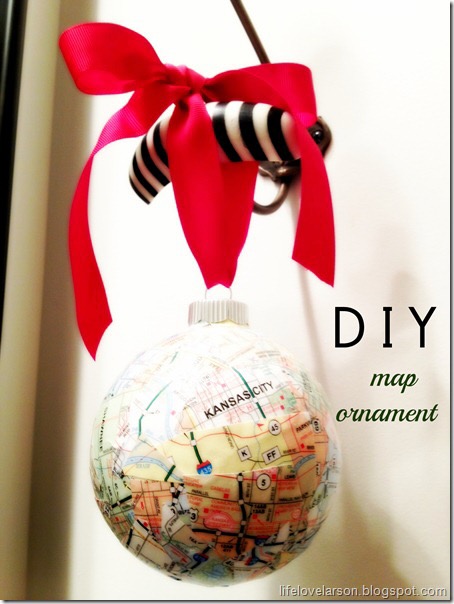
I decided to use up the other three ornaments I had left and make more for the kid’s preschool teacher gifts. One of the teachers asked me where I purchased the ornament so she could tell her friends! She couldn’t believe it was homemade (and don’t tell her it cost me $3 to make). I also took my own advice and dressed up some plain bags with some DIY tissue paper poms.
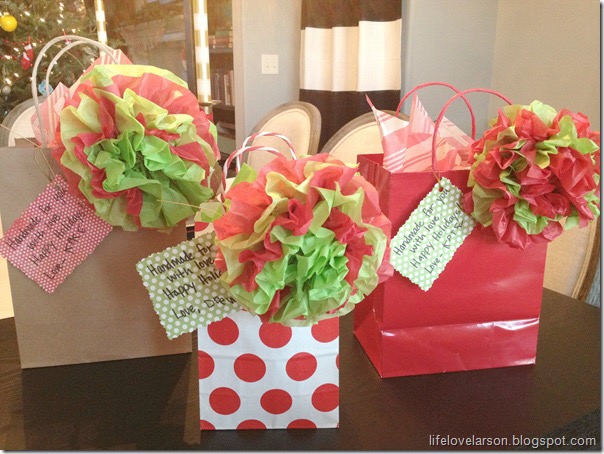
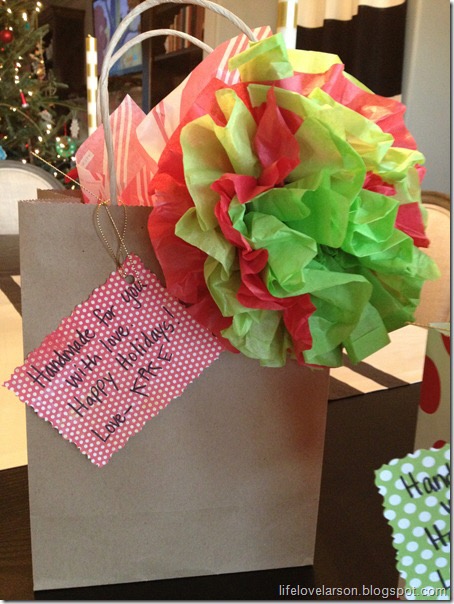
I love the idea of a map ornament because it is personalized! But it’s also the perfect gift for absolutely anyone. I wish I had one of these for every state we have lived in. I hope you enjoyed learning how to make a DIY map ornament! Please give it a try! XO

Luv it!!
I love this! Such a cute idea!I'd love for you to share this at my link party!
These are so cool! What a great gift idea! Thanks for linking up to the "Get Your DIY On" link up party! Bring your handmade project on Sunday! 🙂
I love this idea, Andrea! This would be great too to make with loved one's birthplaces! I'll be featuring this at tomorrow night's Get Your DIY on party. 🙂