We had a cottonwood tree randomly growing in our backyard that kept getting larger and larger by the week. I was told by a neighbor that cottonwood trees can be messy and get very large and are a lot of maintenance over time. We decided to go ahead and pull up the cottonwood tree, even though trees are a hot commodity out here in the suburbs! Ha! Here’s how to plant a tree for beginners (we were beginners too)!
The Thought Process:
We only have one other maple tree planted in the right side of the backyard, and felt we needed to replace the cottonwood with another tree. After doing some shopping around to different tree nurseries and hardware stores, we decided to wait until one particular nursery (close to our house) had their trees half-off. We were told in late July all trees would be going on sale so we ended up getting a decent sized King Crimson Maple for $80! It was confirmed to us that is okay to plant a tree in 100 degree weather in the middle of the summer. We were assured that trees are planted all summer long, but they require a little extra TLC with the watering.
Things to Consider:
In order to save even more money on this project, we opted to plant the tree ourselves, which we have never done before (it costs about another $100 per tree to have the nursery plant) . They nursery employees were very helpful in giving us good information about planting and maintenance. And because the hole was already existing from the cottonwood tree, we decided to try to plant the tree ourselves. I am happy to report that the tree is still surviving and doing well amongst the drought we are experiencing!
If you are going to try and plant a tree yourself, make sure you are aware of the warranty policy of the place you purchase your tree. Some nurseries will only warranty the tree for a year if they plant it. This particular nursery places a warranty on the tree for a year regardless of who plants it. This was the extra reassurance we needed to go ahead and try it ourselves!
Type of Tree Planted:
In choosing a tree, we did a little research online to see what does well in our area and talked to the experts at the tree nursery. We ended up going with the purple colored maple. We were told they are an 8 out of 10 as far as hardiness, and ease to maintain. Some of the other maple trees were 10 out of 10, but we liked the break up of color with the purple.
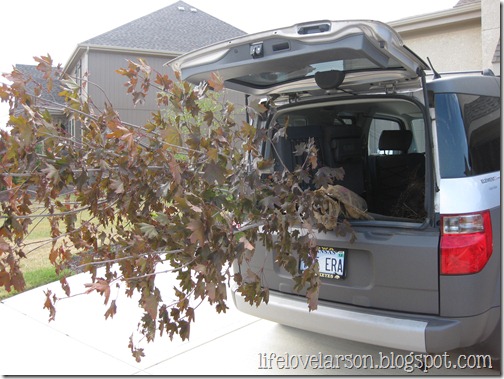
Because we opted to plant the tree ourselves, this also meant we had to get the tree home ourselves. Because of this, we could not get anything too large, or we wouldn’t have been able to get it home! The tree did end up fitting in my Element with the help of the guys at the nursery. Thankfully, we were about 2 miles away from our house, so the drive was not bad.
Checking the Drainage:
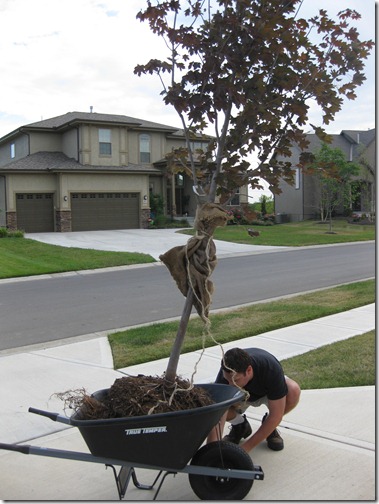
Before starting to plant the tree, we were advised to do a drainage test in our dirt. We were told to dig a hole where the tree would be planted, fill it up with a lot of water, and see how long it took for the water to drain out. If the water drains quickly, you can water your tree every day, because you have good drainage. If the water sits for a while and takes hours to drain from the hole, you should not water as often, or the tree will get too much water. We did the test and the water drained out in minutes, so we knew we were good to water the tree every day. The best way to get it out of the car is to pull the root ball to the edge of the car and roll it into the wheelbarrow.
Digging the Hole:
Steve (and Drew) started digging out the hole. The hole you dig should be twice as wide as the root ball, but not super deep. The hole should only be as deep the root ball.
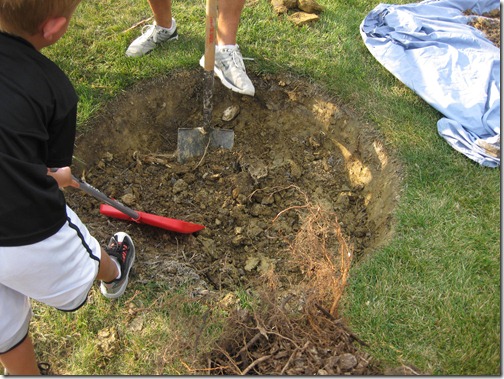
Do not discard this dirt you dig up! You will need this to go back over the root ball once it is in place. Save it in your wheelbarrow.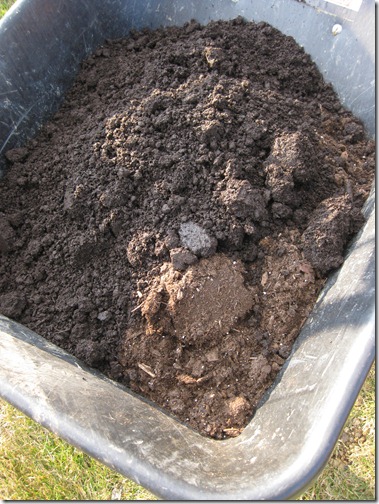
Planting the Tree:
In prepping the tree to go into the hole, leave the metal cage that the tree comes in. You should cut off all of the twine and string, and pull the burlap back off the trunk 6 inches. When placing the tree in the hole, make sure it is level in the hole and the trunk is straight. It is better for the tree to sit up too high as opposed to too low into the ground. I think this is the one thing we really learned about planting…don’t set your stuff in too deep!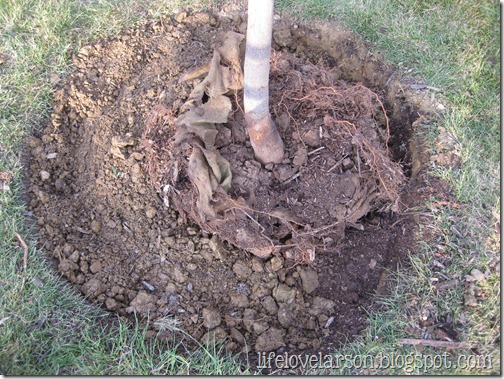
We then combined the dirt from the wheelbarrow with compost and soil (from Lowe’s). We then layered this combination over the root ball. 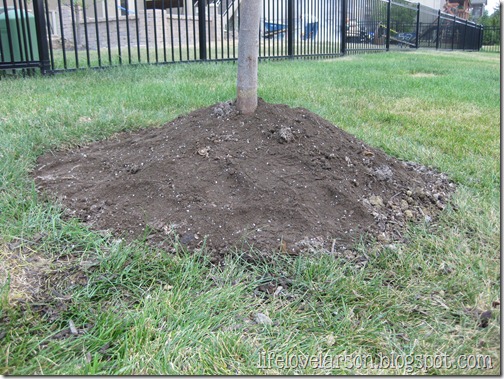
Make sure the soil gets pressed down, gently but firmly ( a good job for a 40 lb. child)!
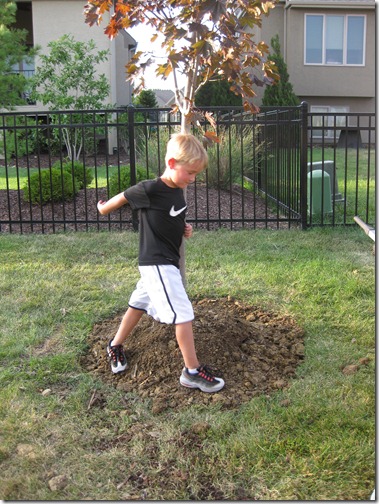
Next, comes the mulch. Be sure to leave a few inches between the mulch and the trunk, so the trunk doesn’t rot.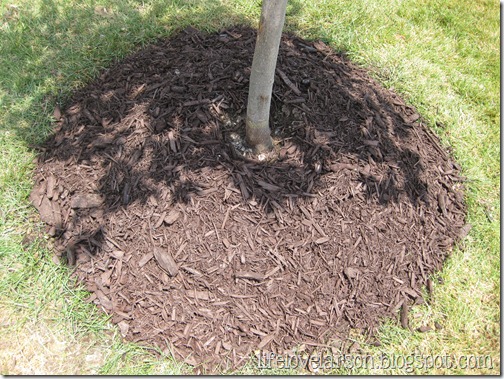
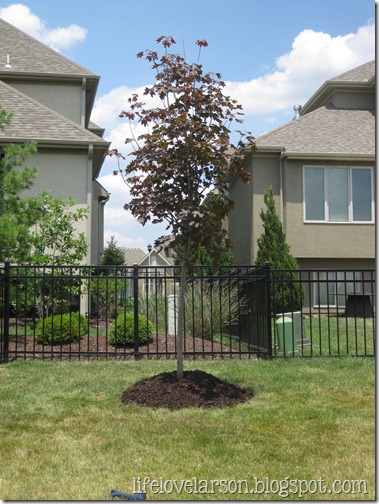
Here is a shot after the tree was planted and mulched.
Stake the Tree:
We decided not to take any chances with a new tree and Kansas winds, so we borrowed some stakes that a neighbor had in his garage, and staked the tree in place. All of these supplies can be purchased cheaply at any hardware store.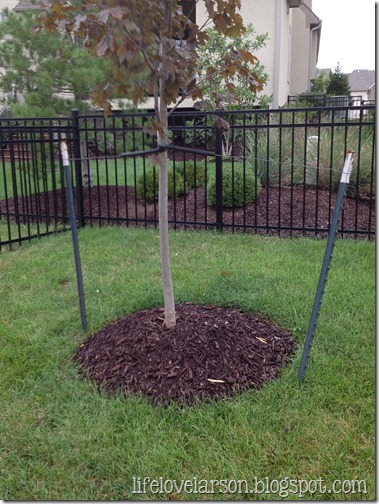
Because we have adequate drainage, the kids and I water the tree every day. We were told the tree will grow quite a bit by the third year. It was fun to try something new, learn a few things, and save money! I hope this was helping if you are thinking of planting a tree on your own! xo

Hey, I enjoyed reading your post. I love planting trees aswell. It´s a nice activity to do with the whole family. Best regards from Mexico.