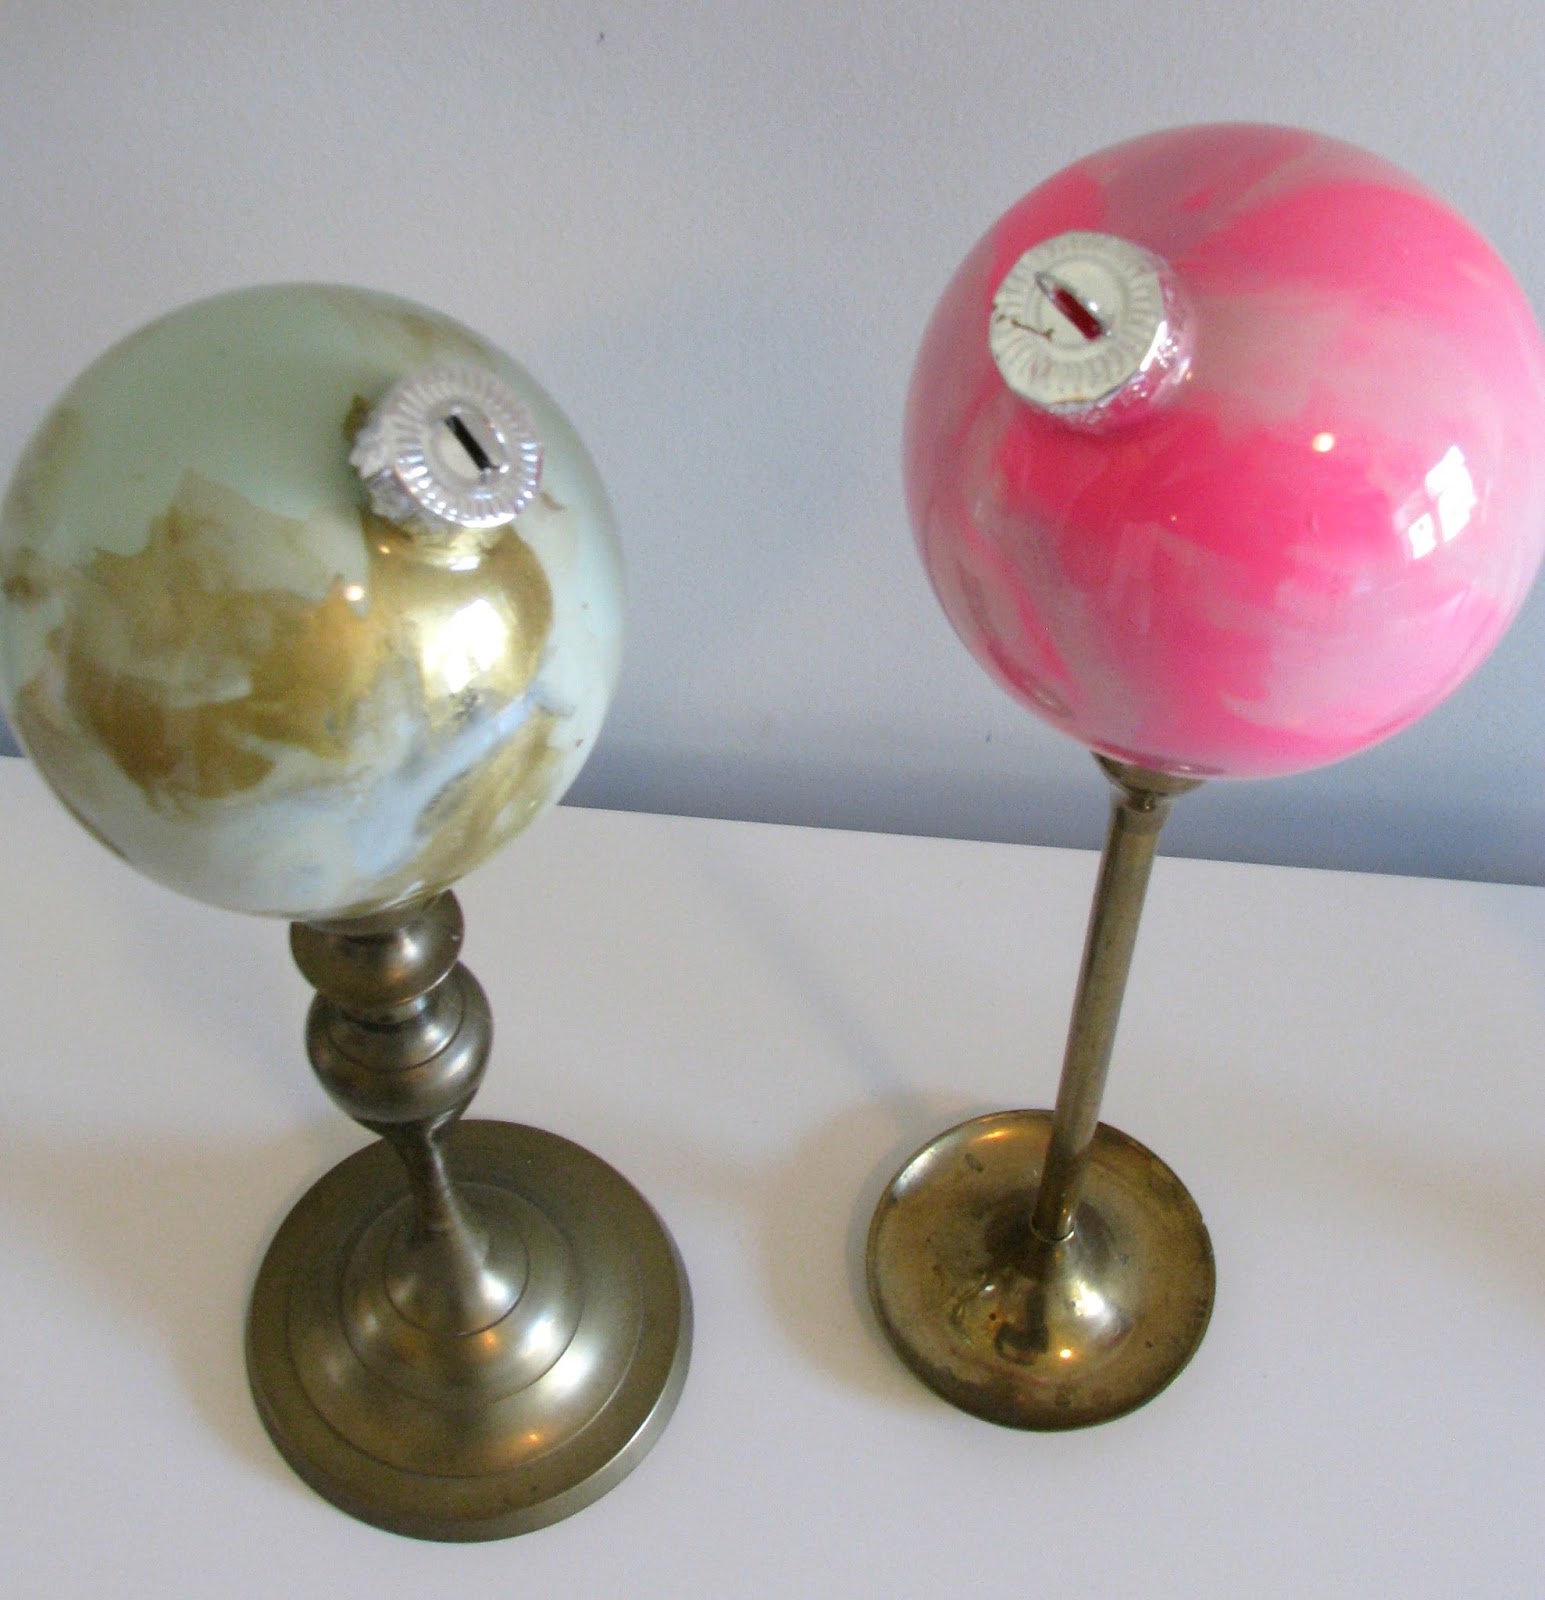
Kate was recently invited to a lunch and ornament exchange with the girls in her pre-k class. I thought this was a great opportunity to get a little crafty with her and DIY a few ornaments. We looked online and decided to make DIY marbleized ornaments (found via Hi Sugarplum). With just a few supplies, you can make these homemade ornaments with even a small child. Here is how to create DIY marbleized ornaments.

Materials Needed
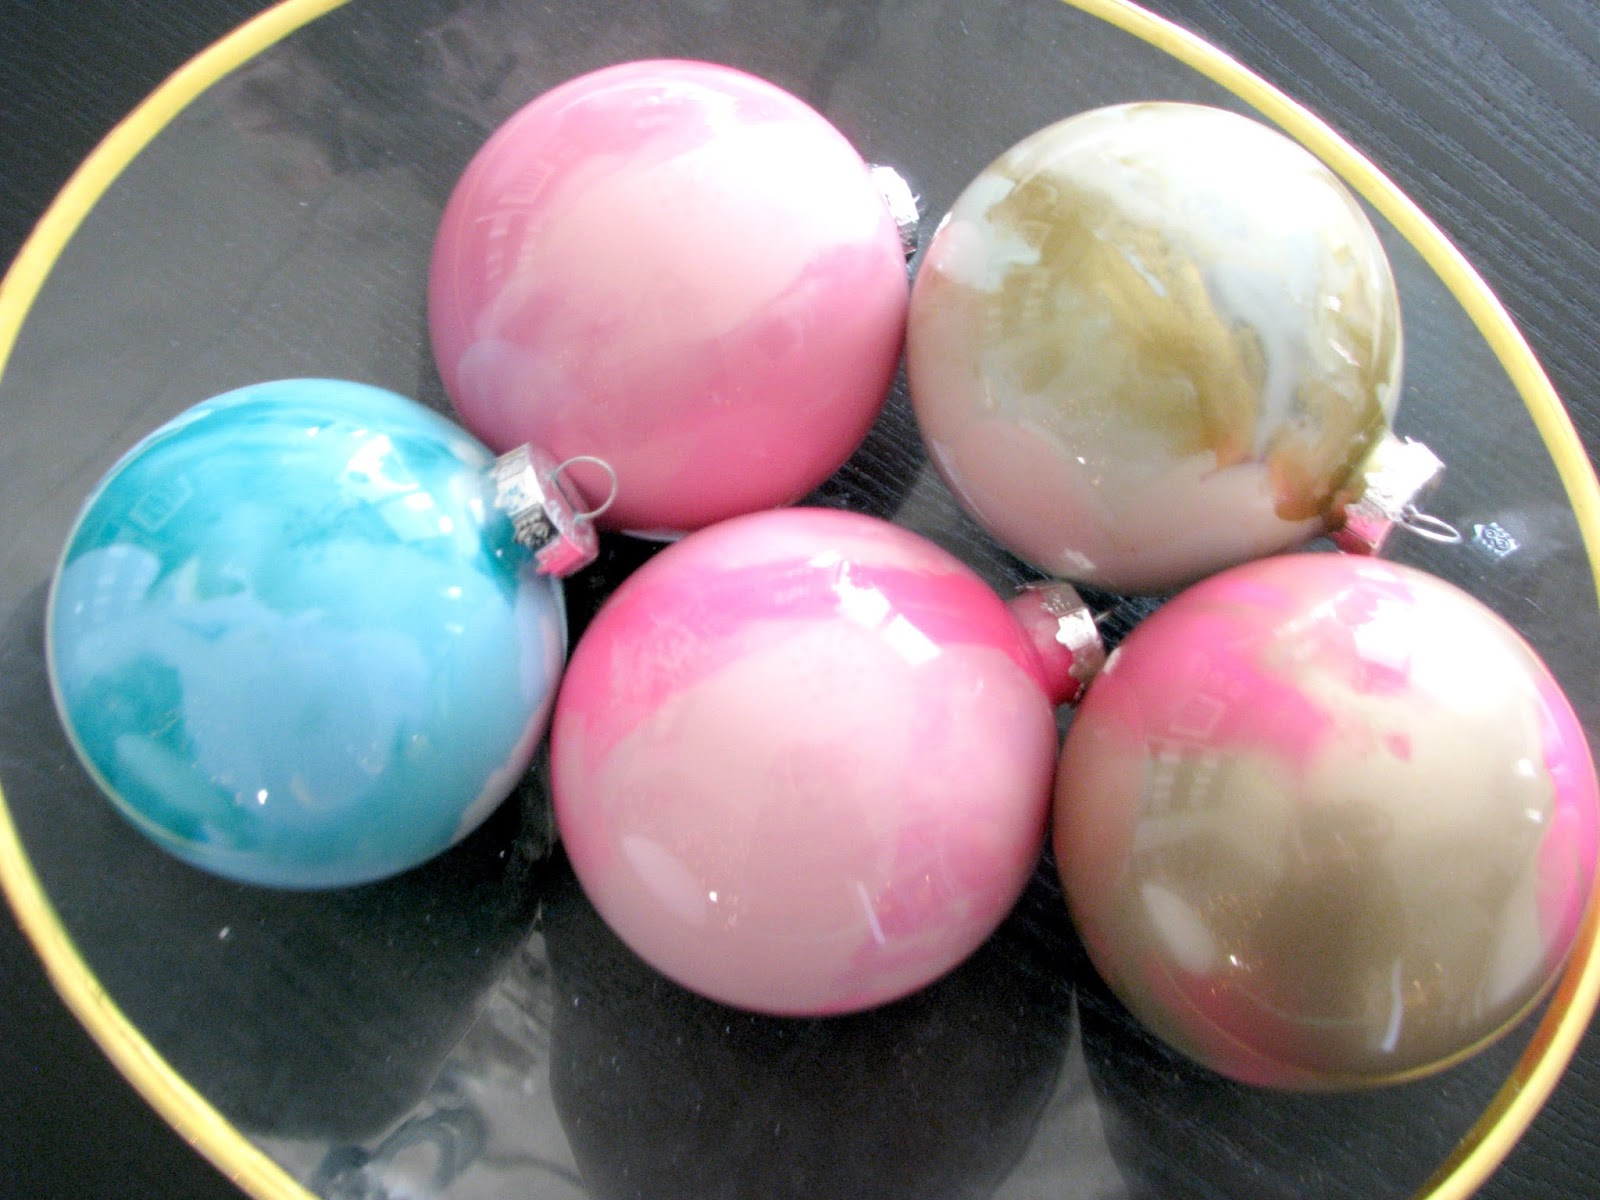
These were super easy and fun to make, and actually turned out better than we expected! You simply need craft paint and clear ornaments. That’s it! The tutorial said to use paints in the same color family. We also mixed in a little gold and some neon pink to see what would happen. The punch of the neon pink was especially good!

How to Create Marbleized Ornaments
After removing the top piece of the ornament, squeeze a tiny bit of paint inside. This is where using the same color family comes into play. Start twisting and swirling until the ornament is coated with color. You can always add more paint if needed. Once it is swirled, make sure to empty out an excess paint, or it will take FOREVER to dry and will become heavy. When the paints start to mix, you will start to see a marbleized effect.

We used several shades of light/dark/neon pink, shades of light blue/mint/teal, and threw some gold in the mix on two of them. The possibilities are endless, and we want to make more! We tied a little pink/gold bow on the top for the ornament exchange. I know Kate felt special giving a friend an ornament she made herself! I hope you enjoyed this tutorial on how to create DIY marbleized ornaments. XO

Those turned out gorgeous! Love the neon pink and gold!
These are so pretty! Love them!
Visiting from the Feathered Nest Friday link party 🙂