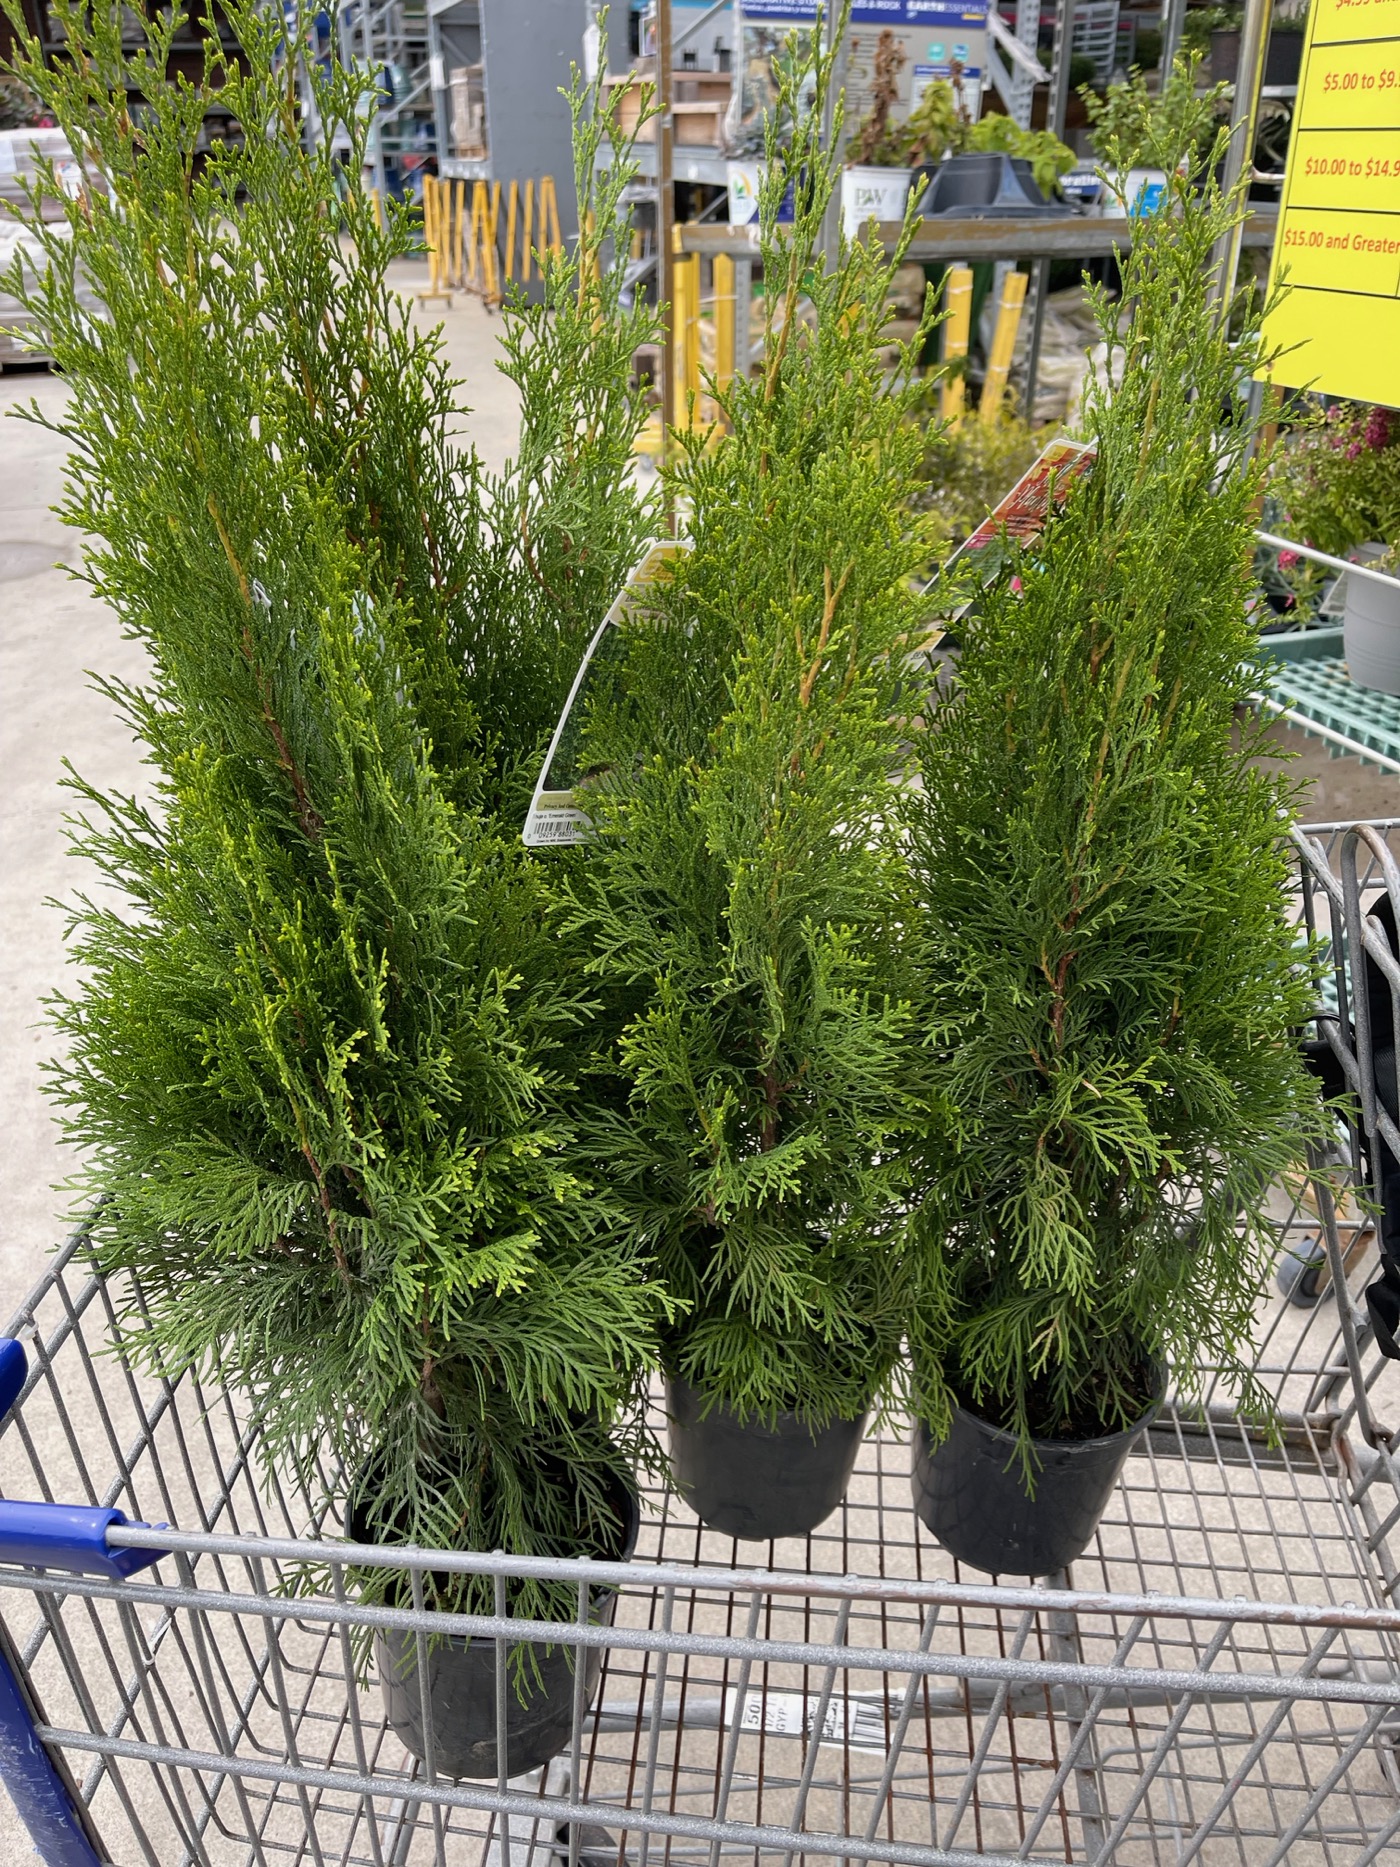
This landscaping project wasn’t really on my mind until I came across some plants on sale at Lowe’s recently. I spotted some small Emerald Green Arborvitae on sale for $6 each, so I purchased four of them. These are fast growing trees, and I figured they would be easy to plant on my own, so I got to work! We have a pea gravel patio space that needed some softening, so I thought planting these at the edge would be perfect. Here’s how to create a small landscaping bed on your own!
Why Arborvitae?
Many of our neighbors have these trees in their yards, so I have to assume they do well. They are inexpensive, fast growing, and can create a privacy screen when planted near each other in a row. I went back to Lowe’s to get two more thinking I’d use six, but ultimately ended up using four for this space. We don’t really need privacy here, but I think they will eventually look stinking when they grow some more. Also, I’m all about trees that look evergreen (even in the winter months)!
Choosing Where to Put Them
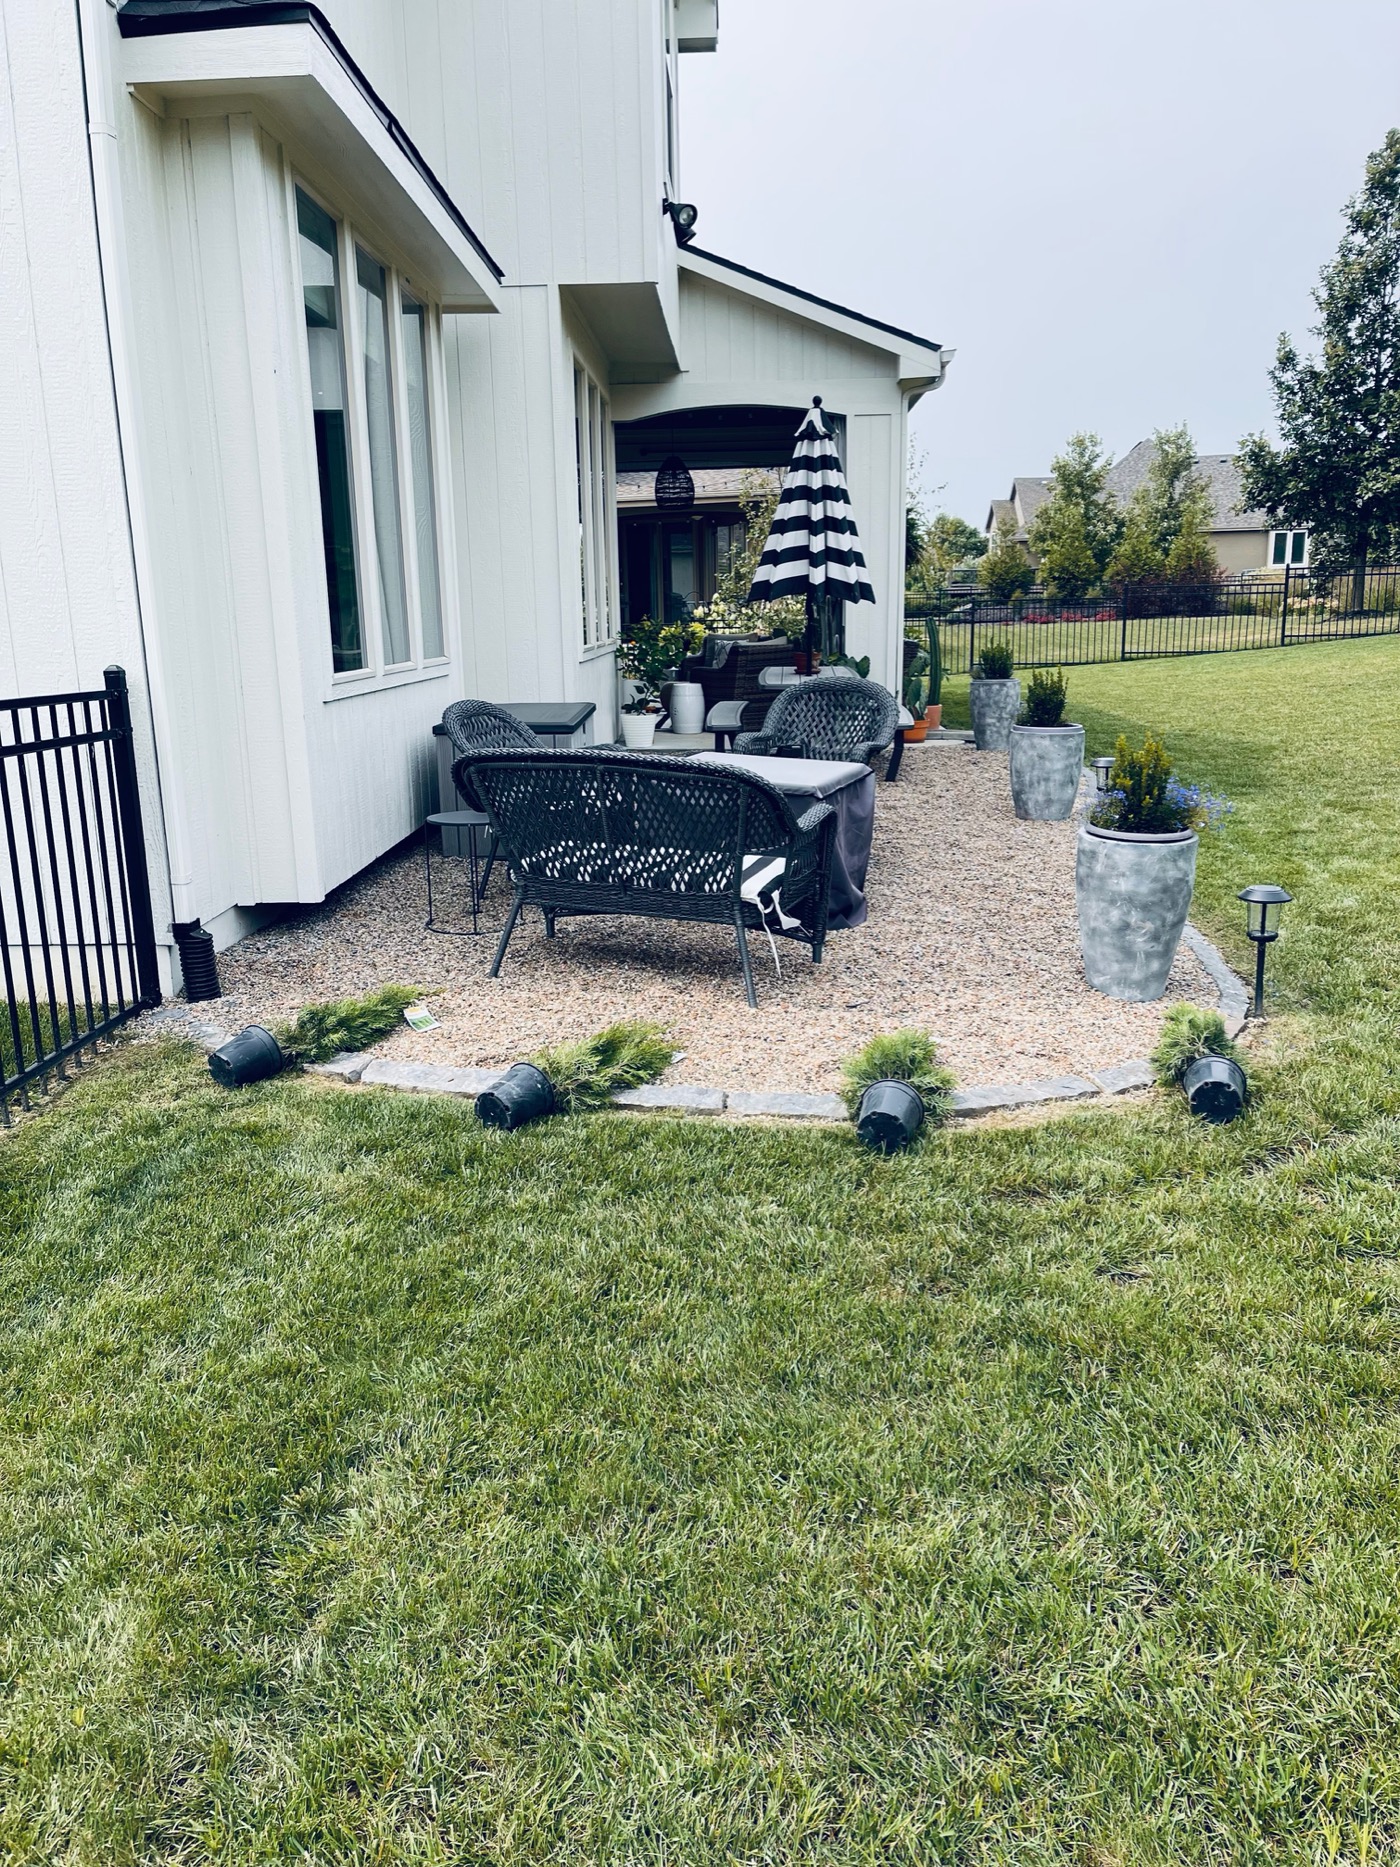
We have some water/drainage issues in our back yard near this area. I decided to just add them around the curve of the pea gravel to avoid soggy areas of the back yard. The berm would have to be built up a little bit to make sure water doesn’t sit on them. This area gets hit with our sprinklers, so I knew it would be a good space for low maintenance watering. Also, these trees like full sun and they will get it in this spot!
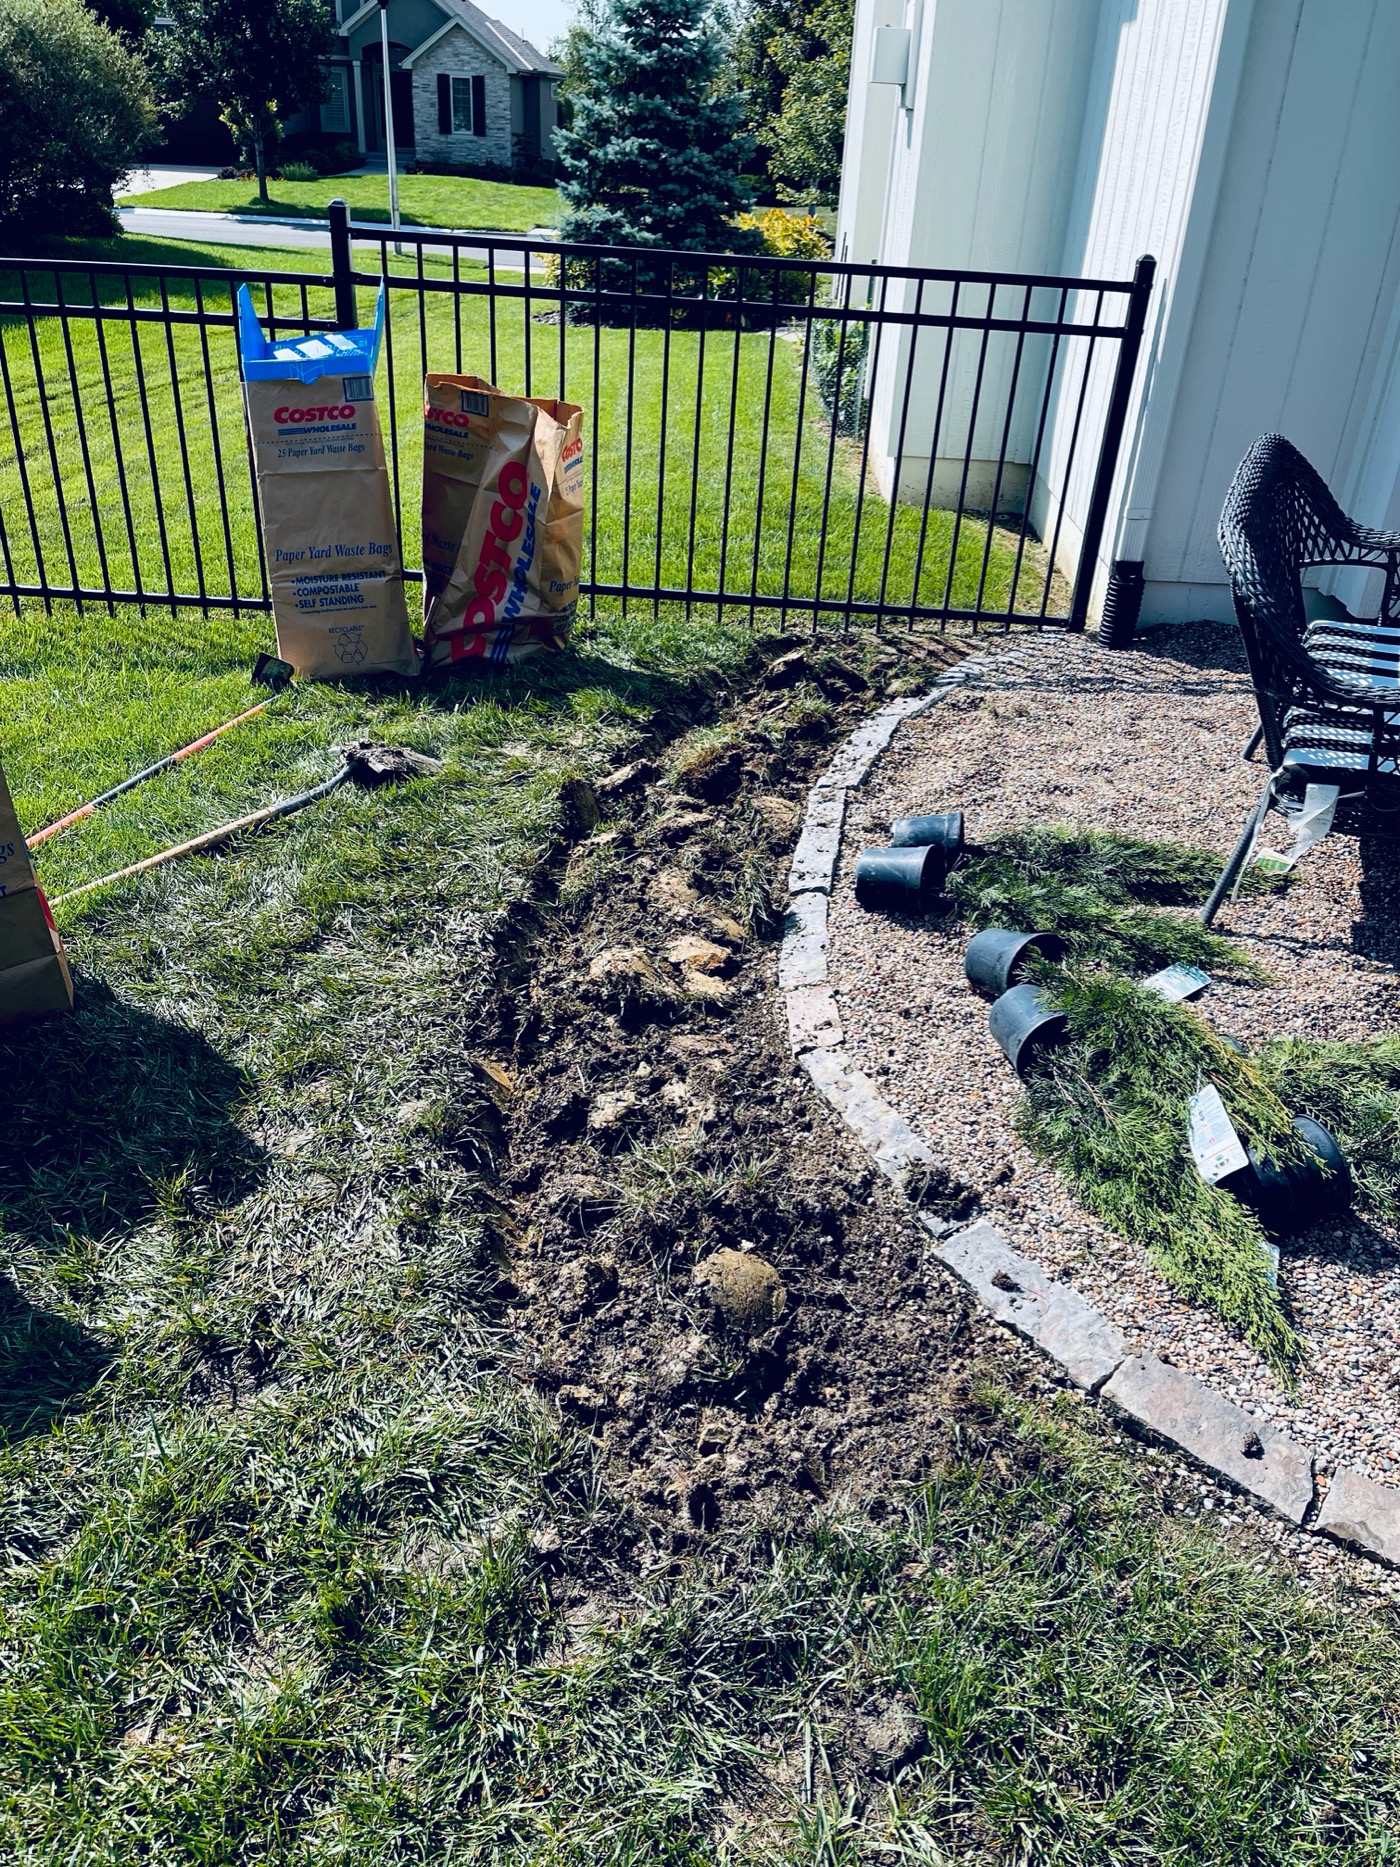
Prepping the Landscaping Bed
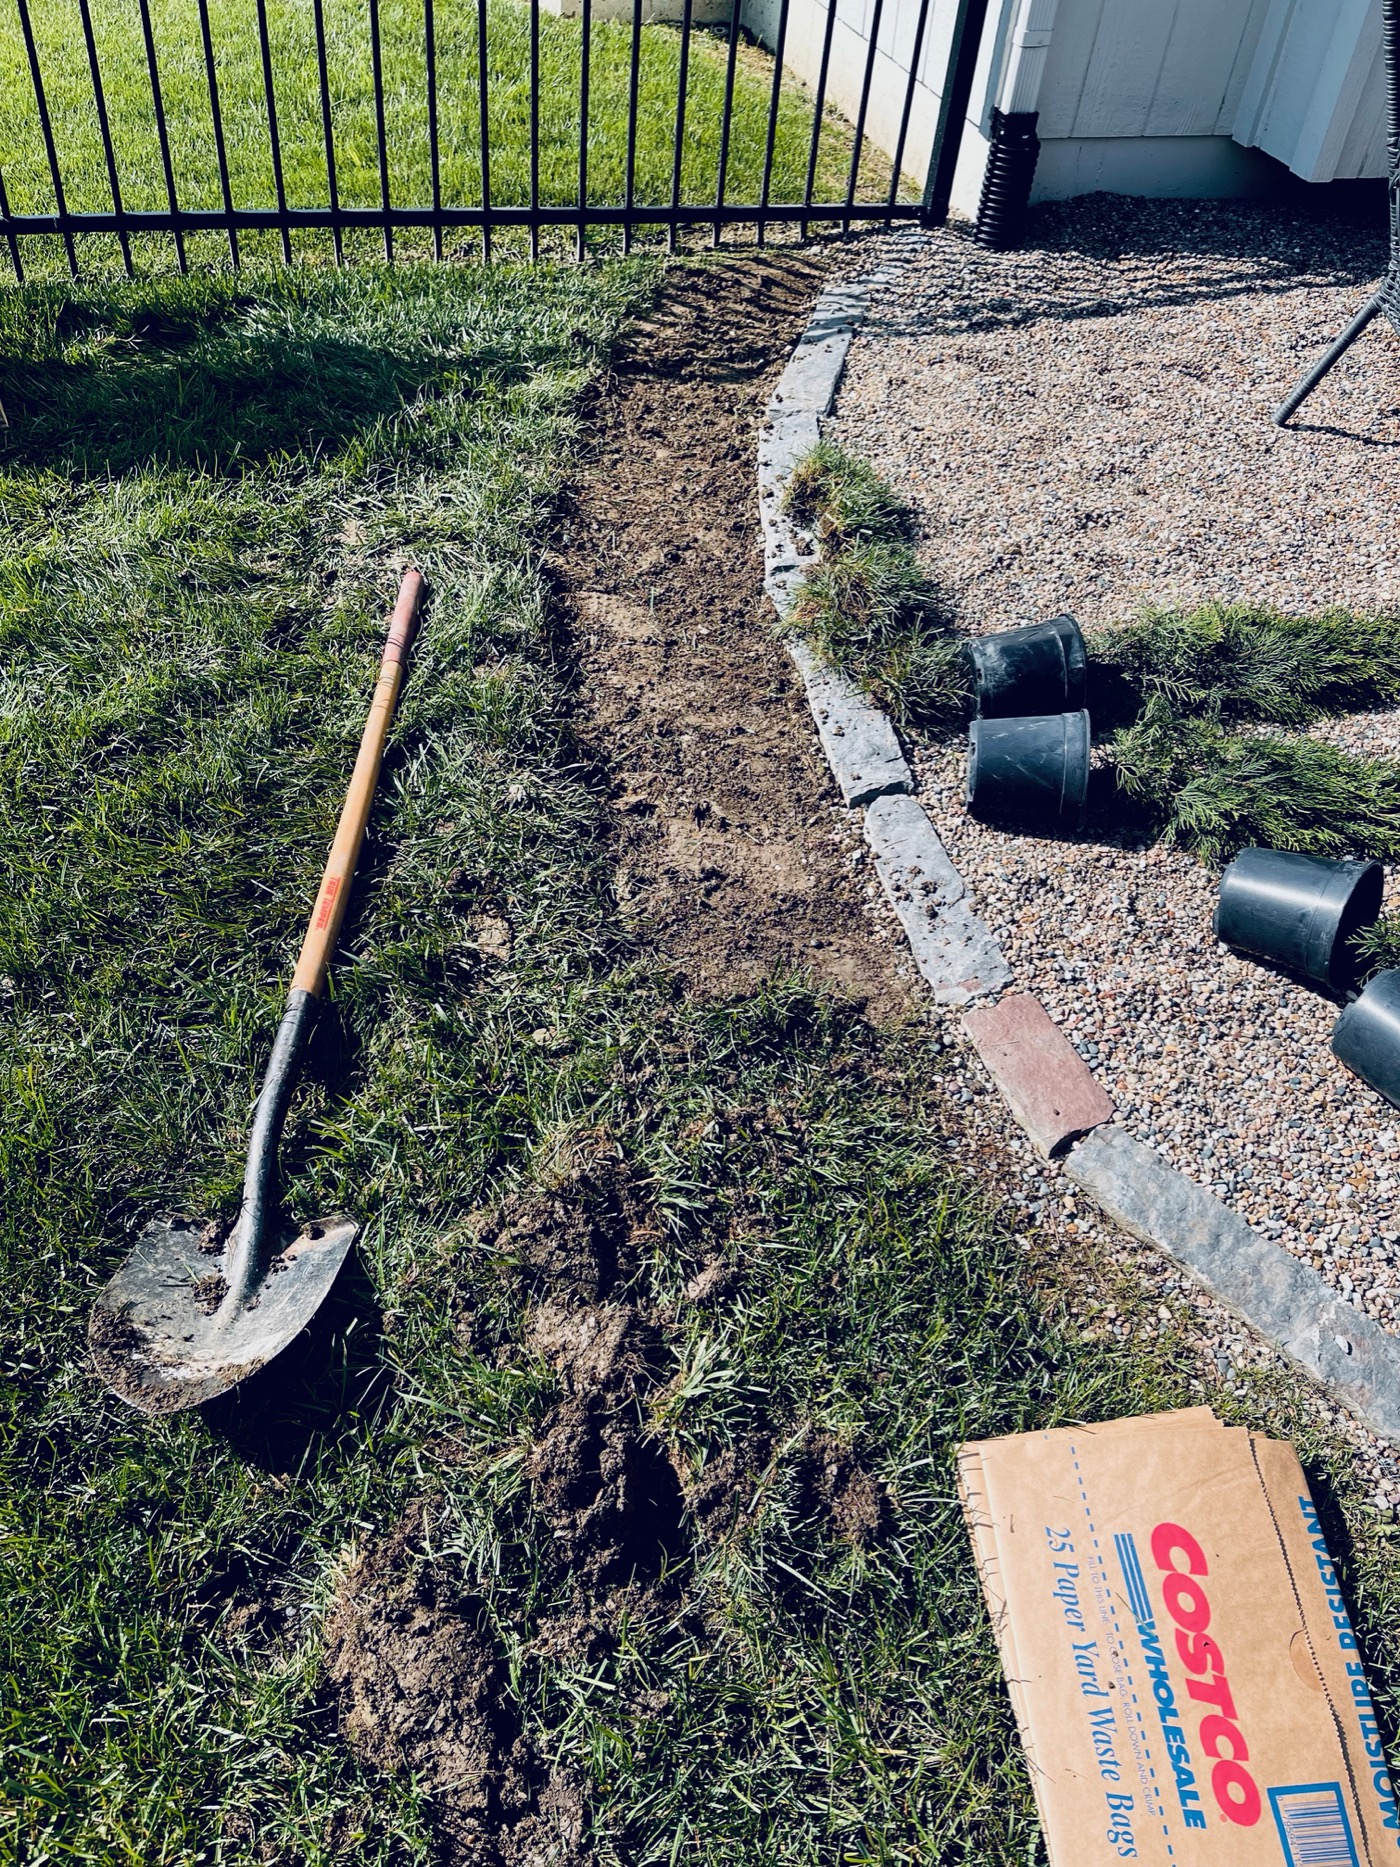
First, make sure you don’t have any sprinkler heads in your way! Next, I just eyeballed how far out from the pea gravel I wanted the bed. It ended up being about two feet off after having to add more and more as I went. Using the curve of the pea gravel helped with eyeballing! This is where the sweat comes in! I used a spade to create an edge and then skimmed the top of the sod to remove all of grass. These chunks are heavy!
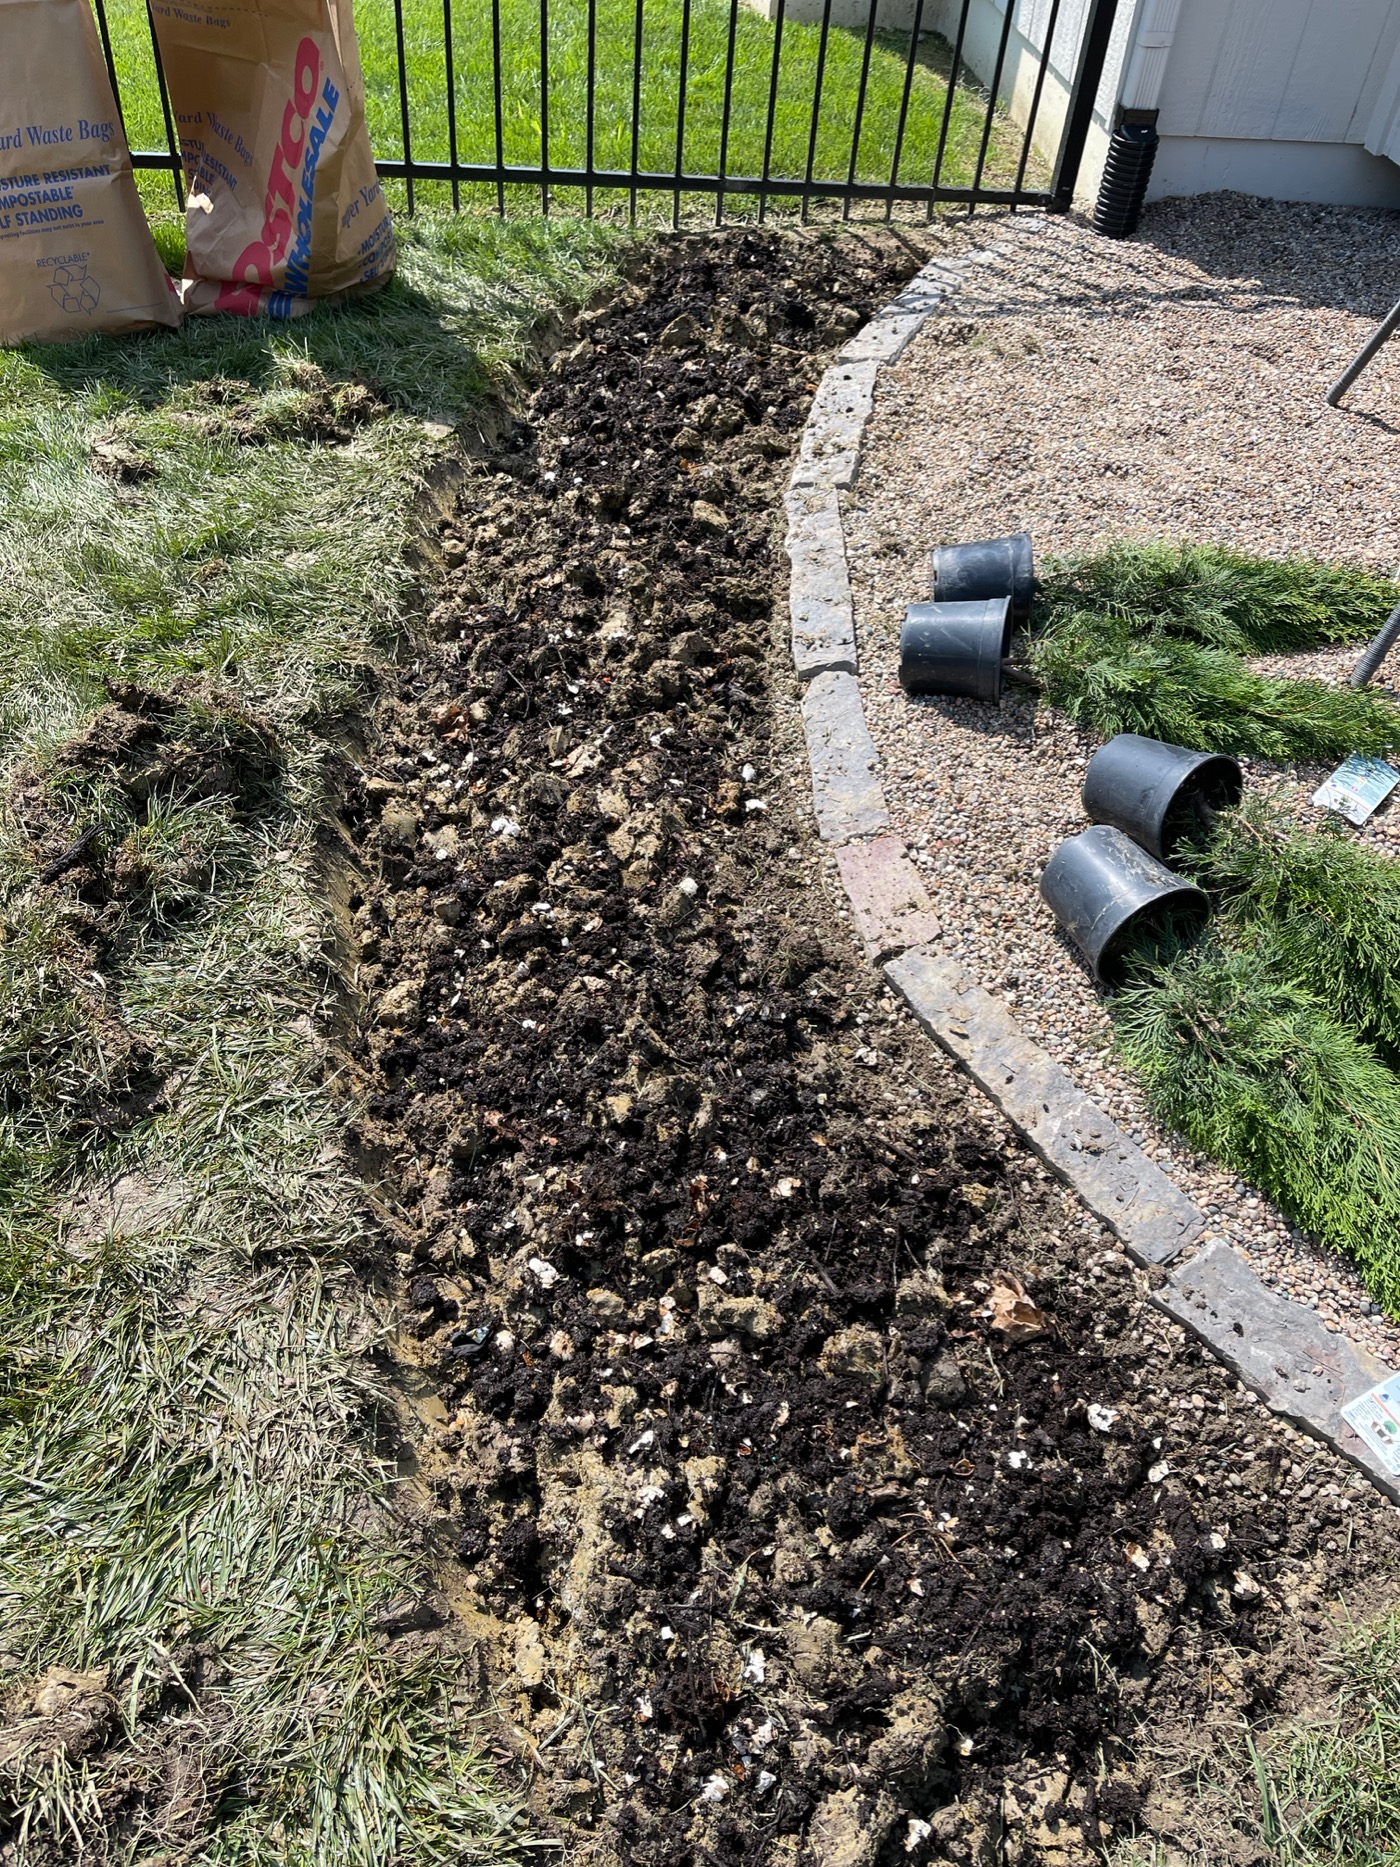
After the sod was removed, I used the spade to really break up the soil. We have clay-like soil here that is chunky and hard.
Because our soil isn’t great, I added a layer of my compost soil on top, sort of mixing it in. This rich soil is so useful for projects like this! I also used rain barrel water to soak the soil! Love helping the earth this way…such a win/win! Also, peep my tennis shoes. When your son’s old shoes become your mowing/yard work shoes. Ha!

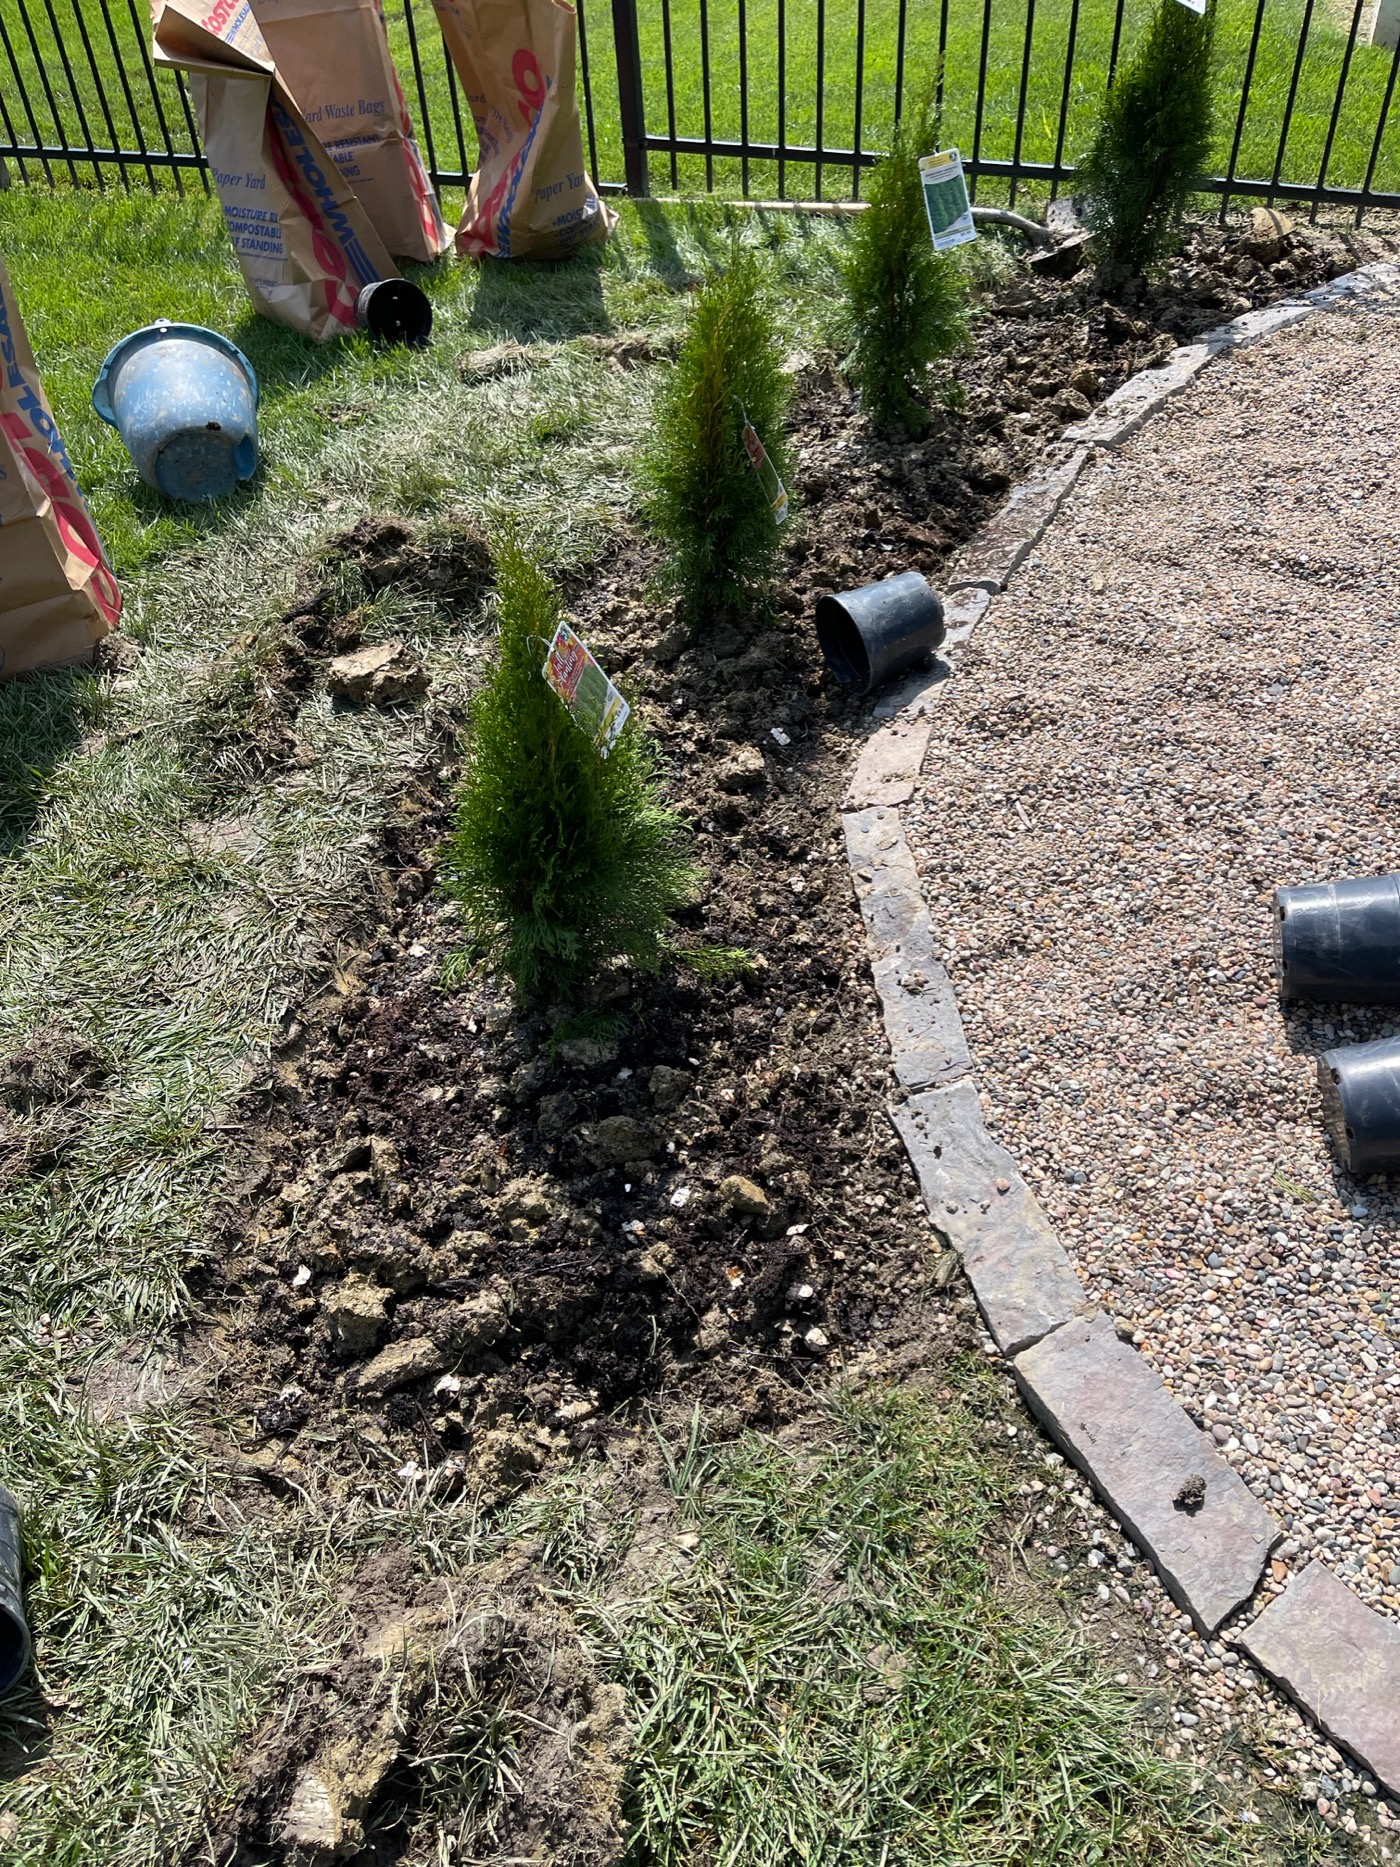
Planting the Arborvitae
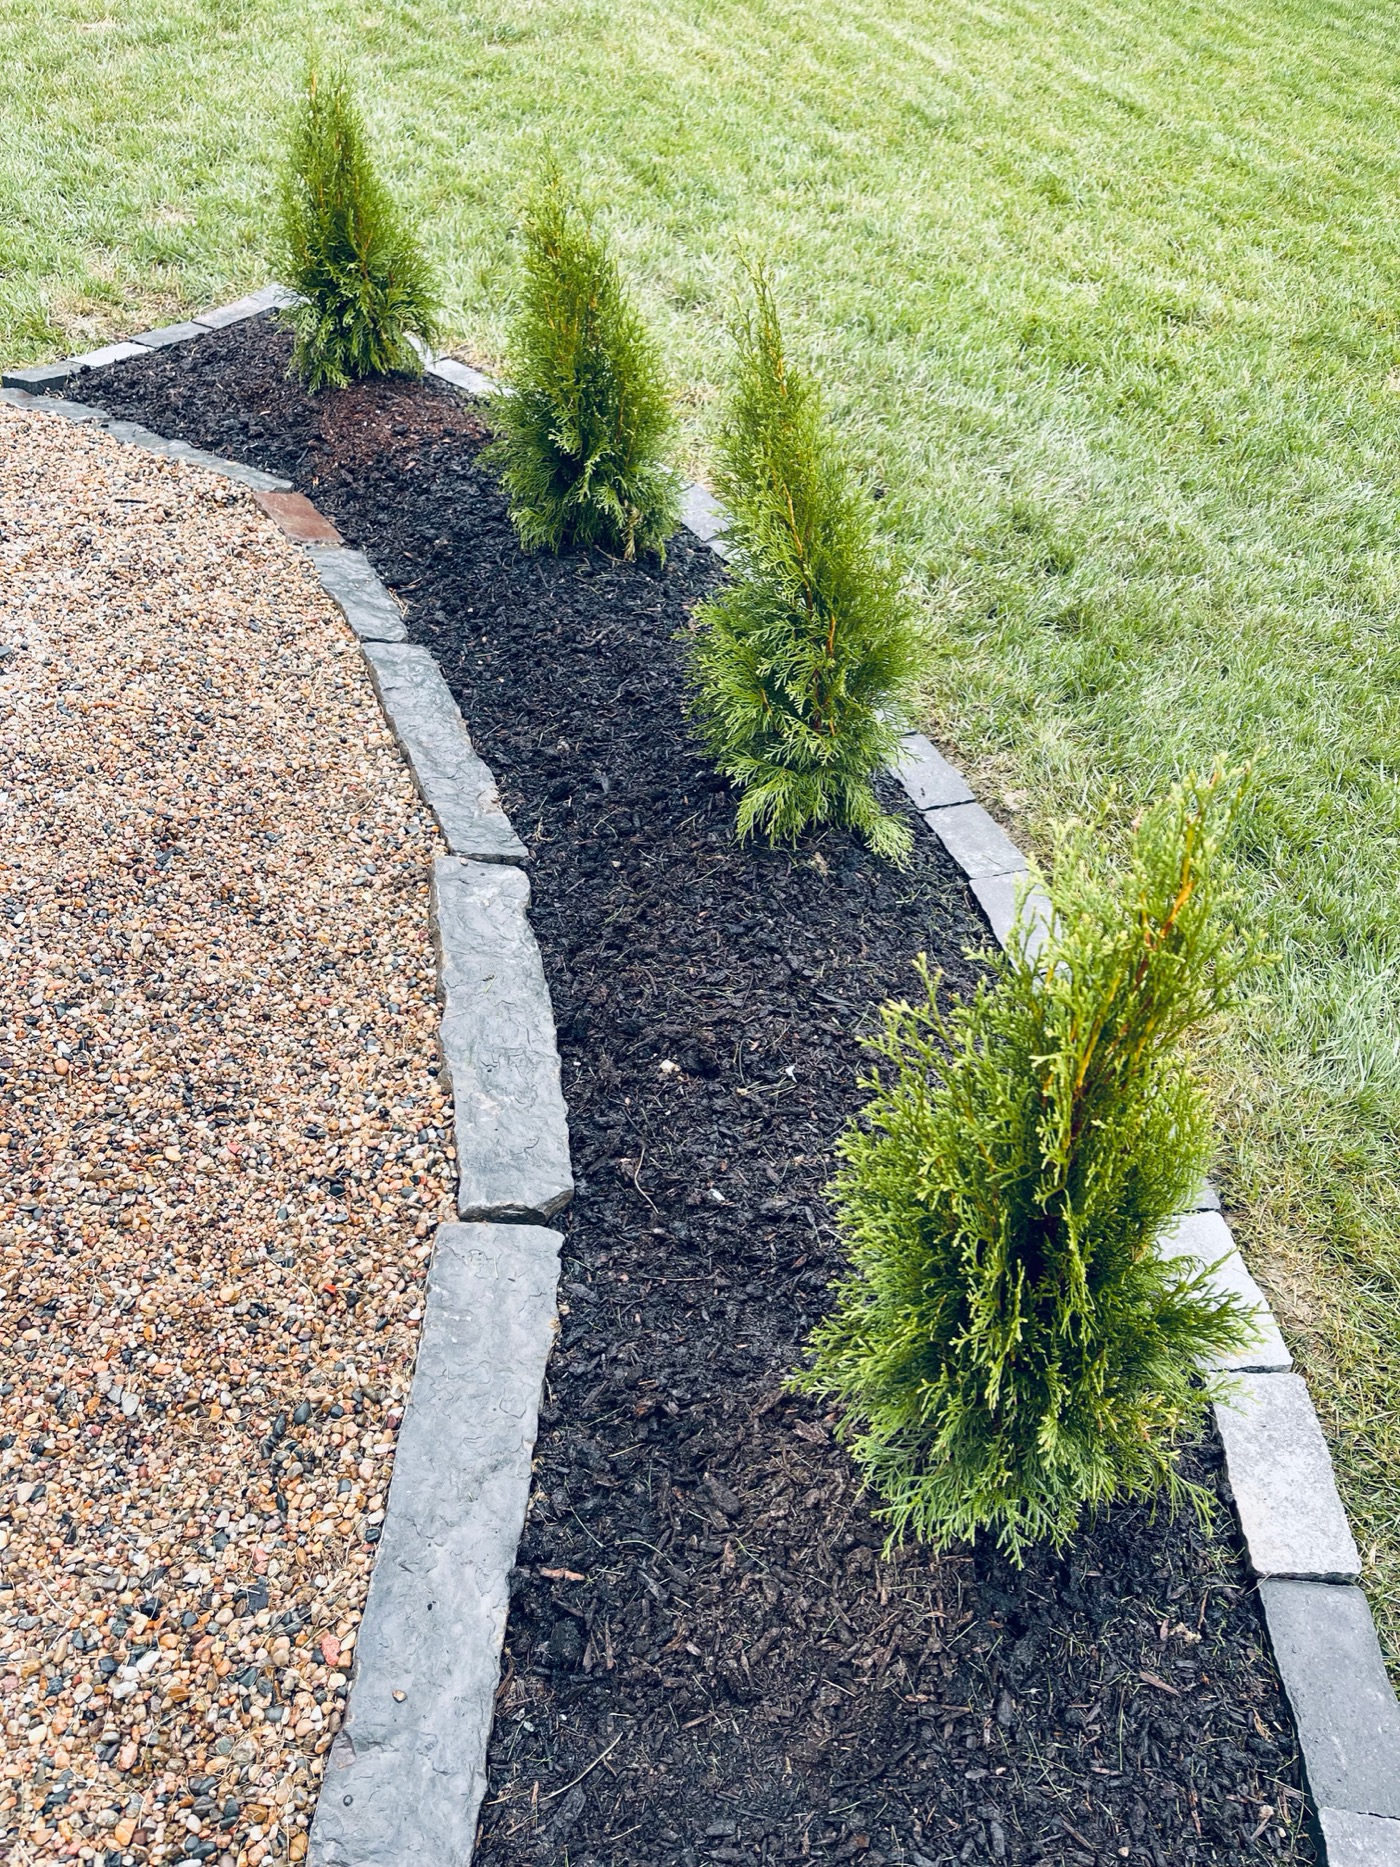
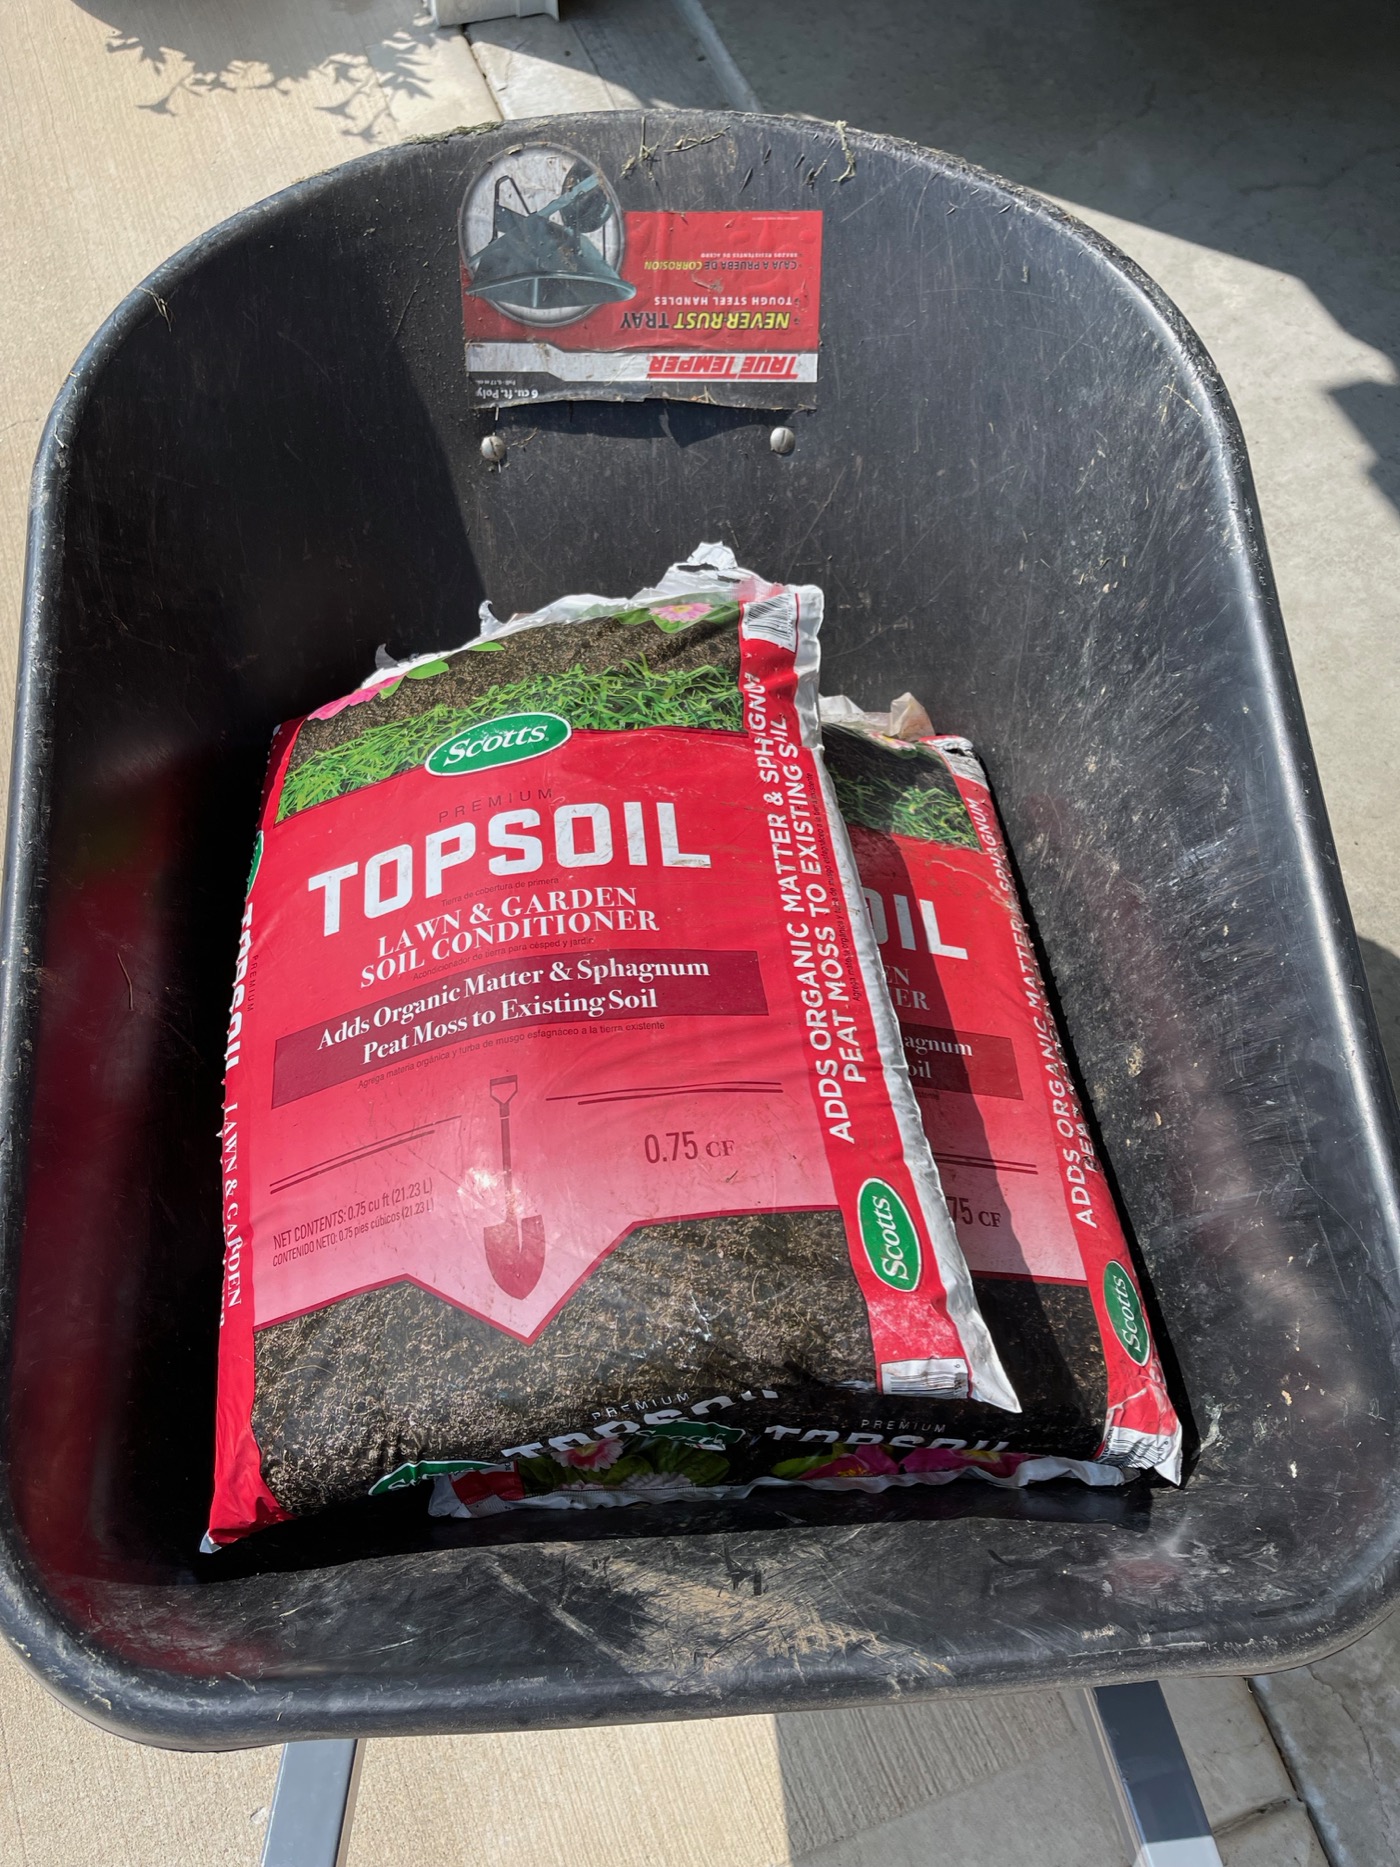
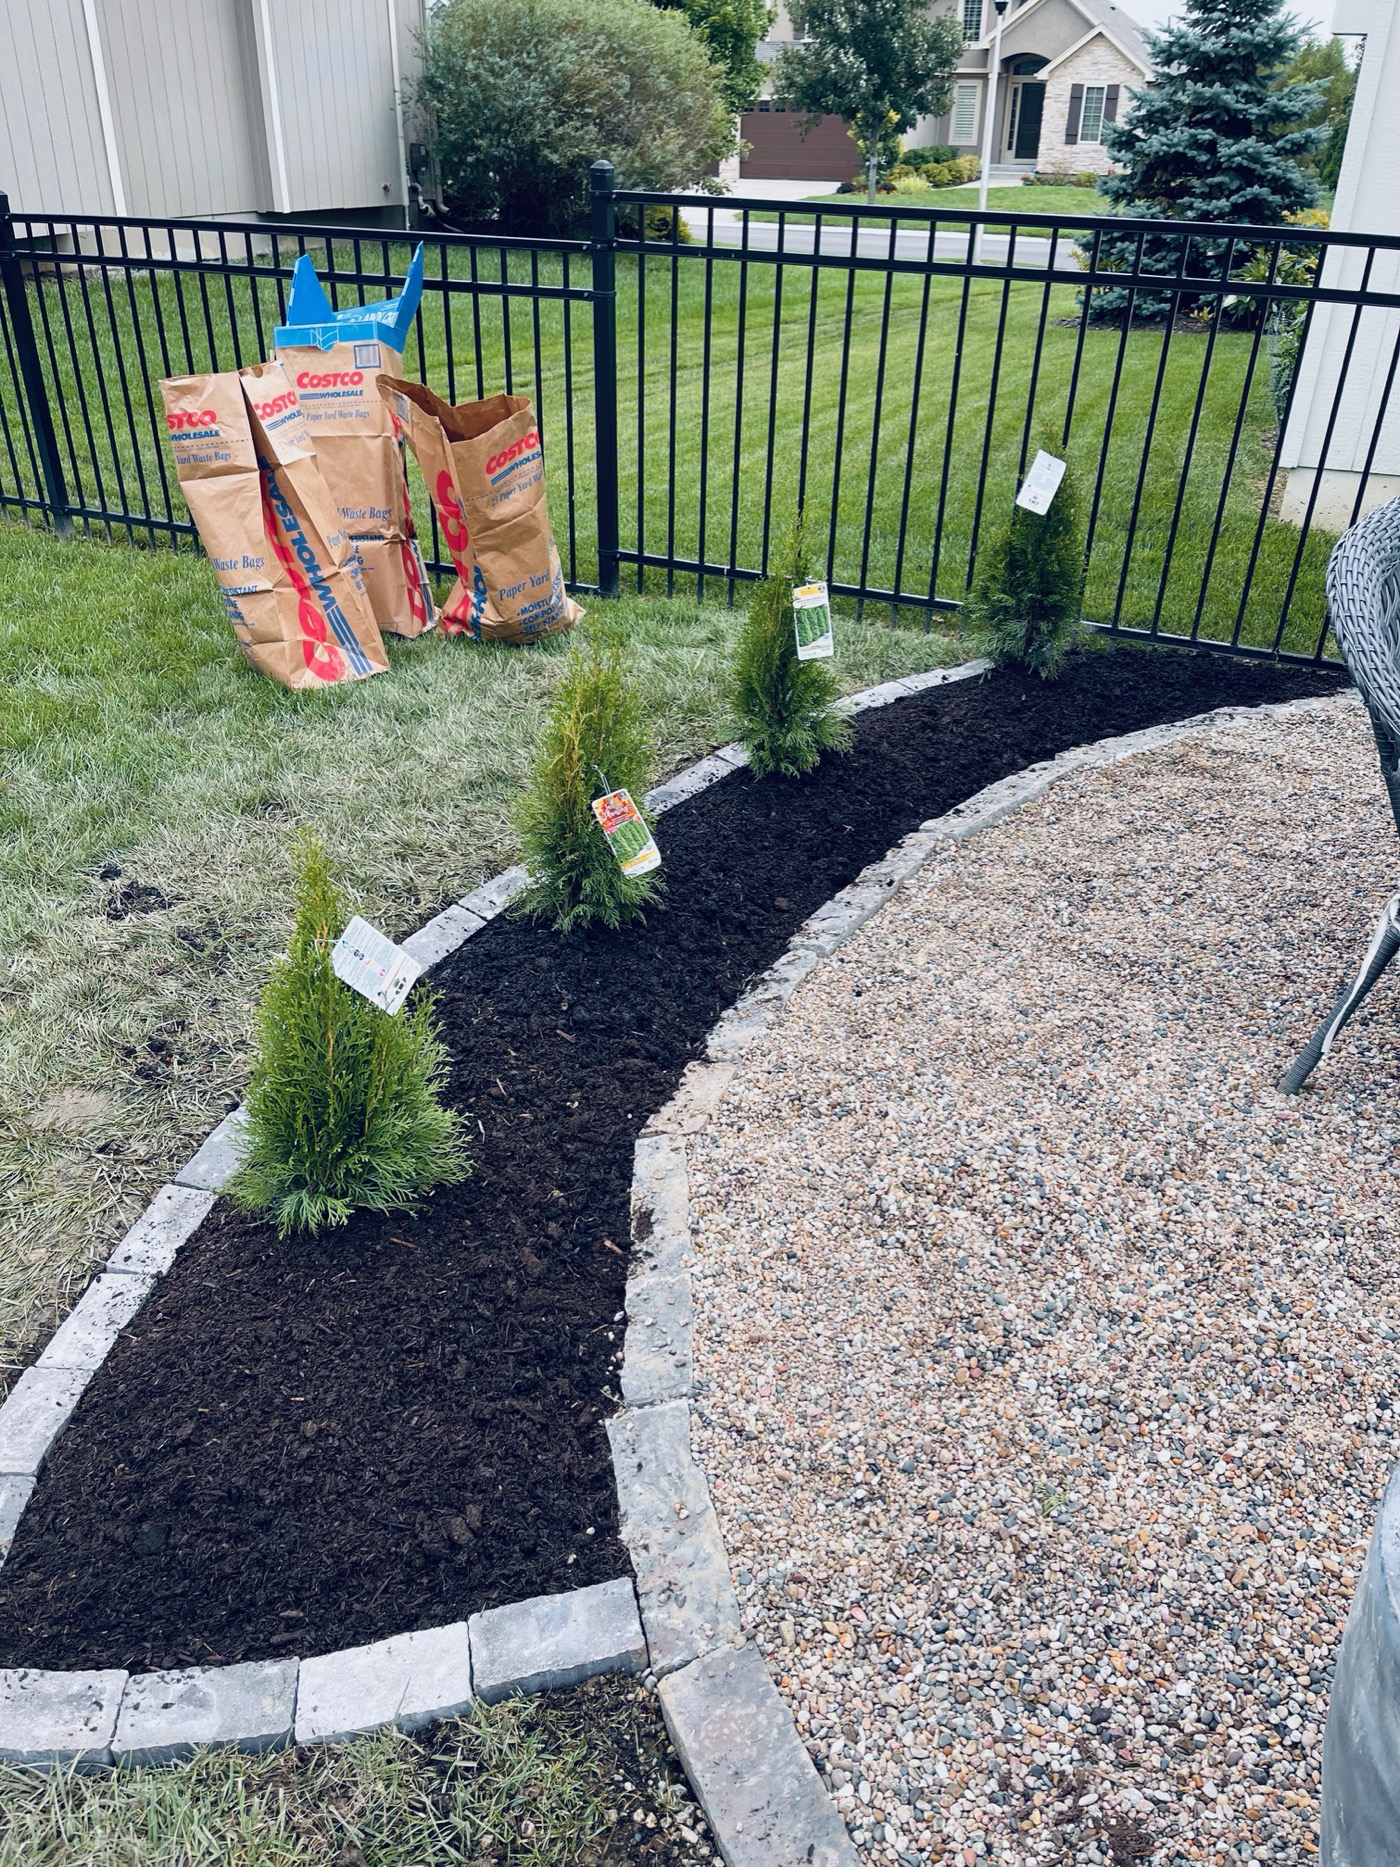
I’ve never had any experience with arborvitae before, so I used the instructions on the card that comes with them. The spacing suggests four feet apart. I just eyeballed the distance and starting creating holes to plant them in. Compost soil + topsoil was used around them and to build up the berm a little. I used a total of 8 bags of topsoil for this small area.
Edging Around the Landscape Bed
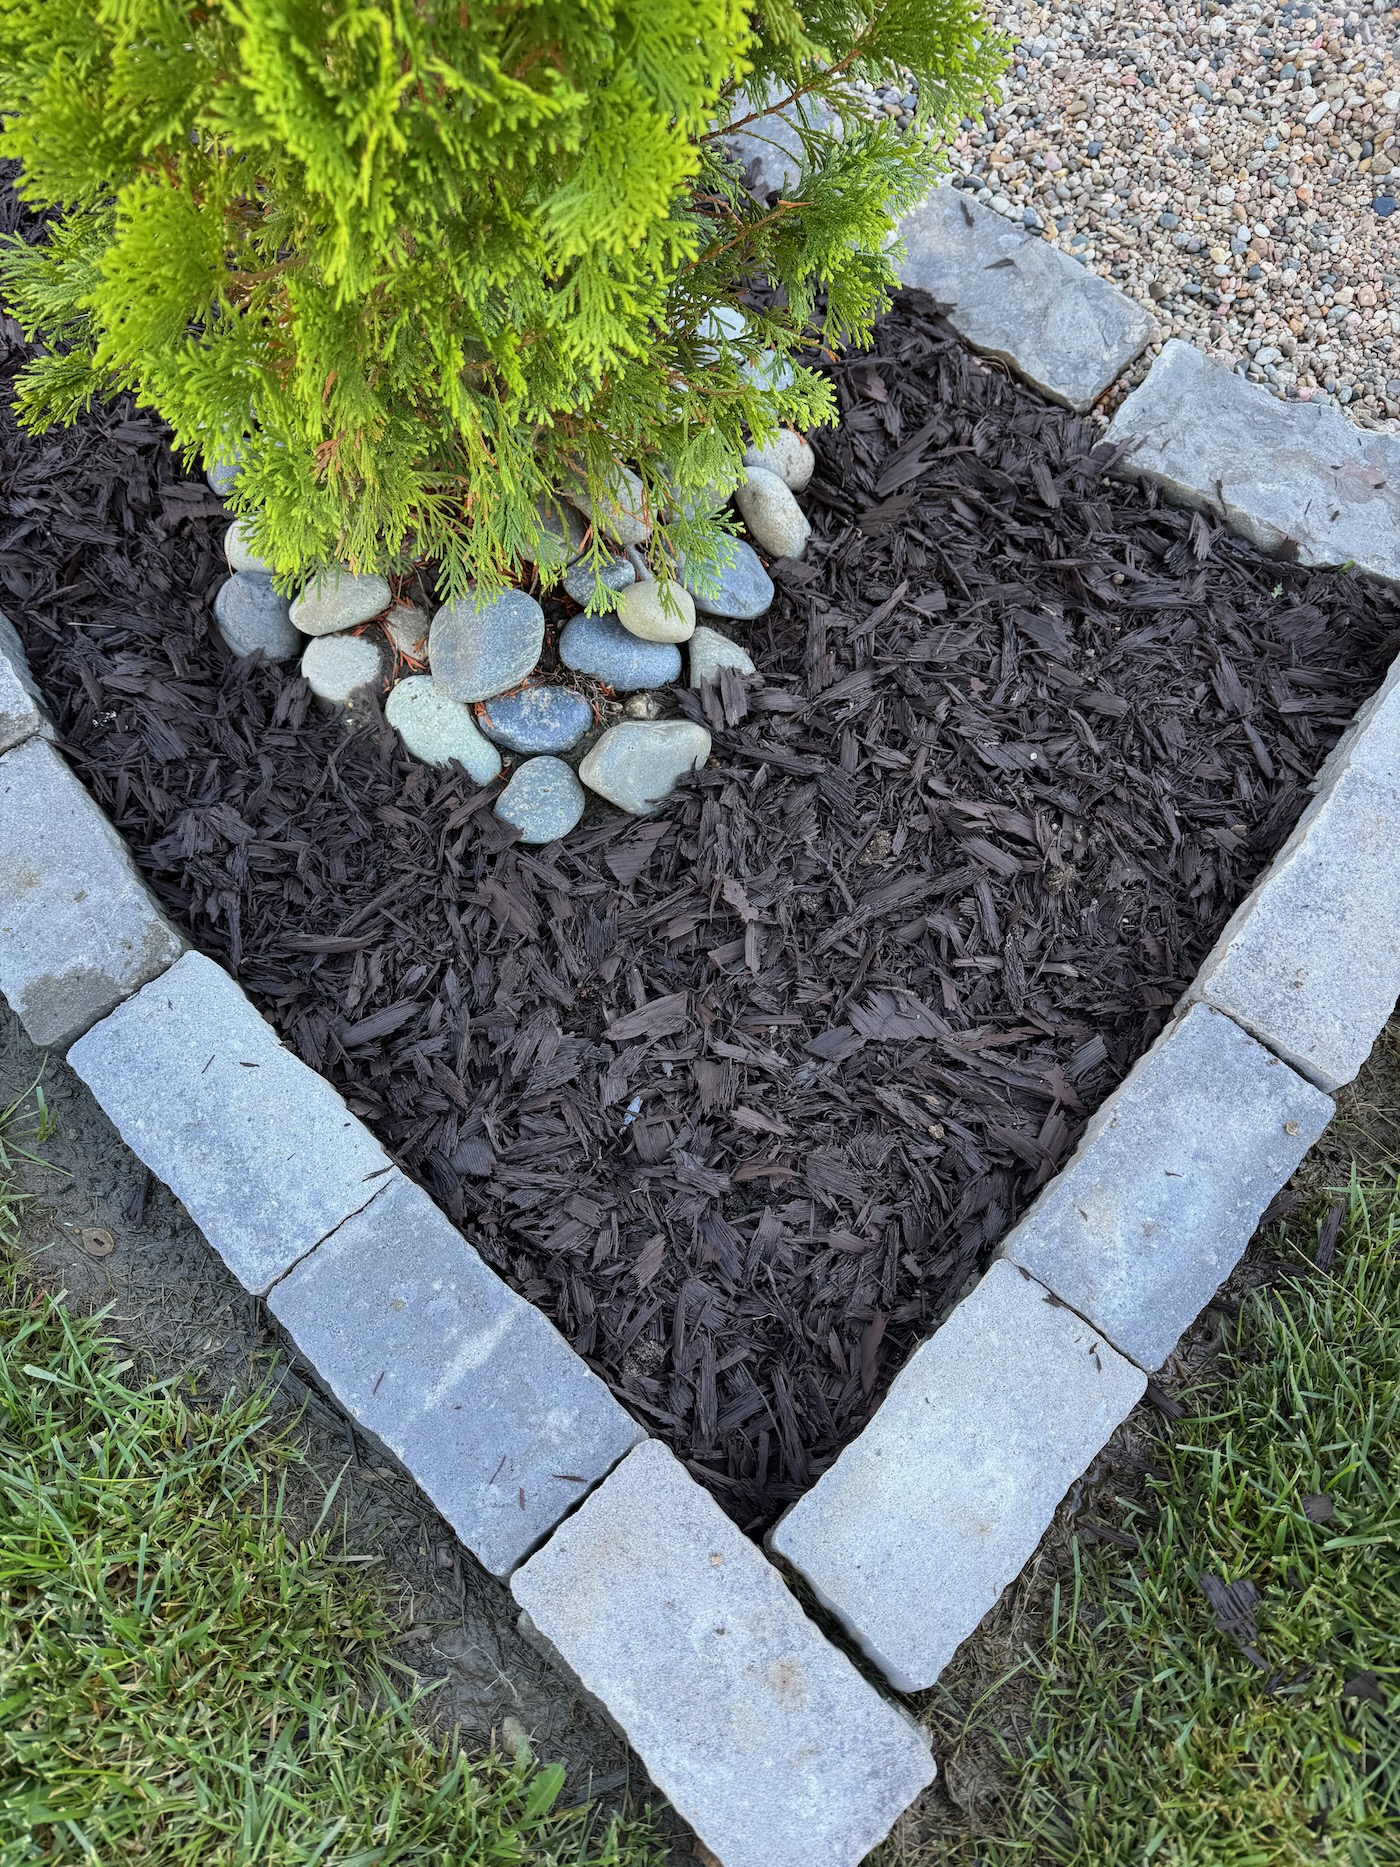
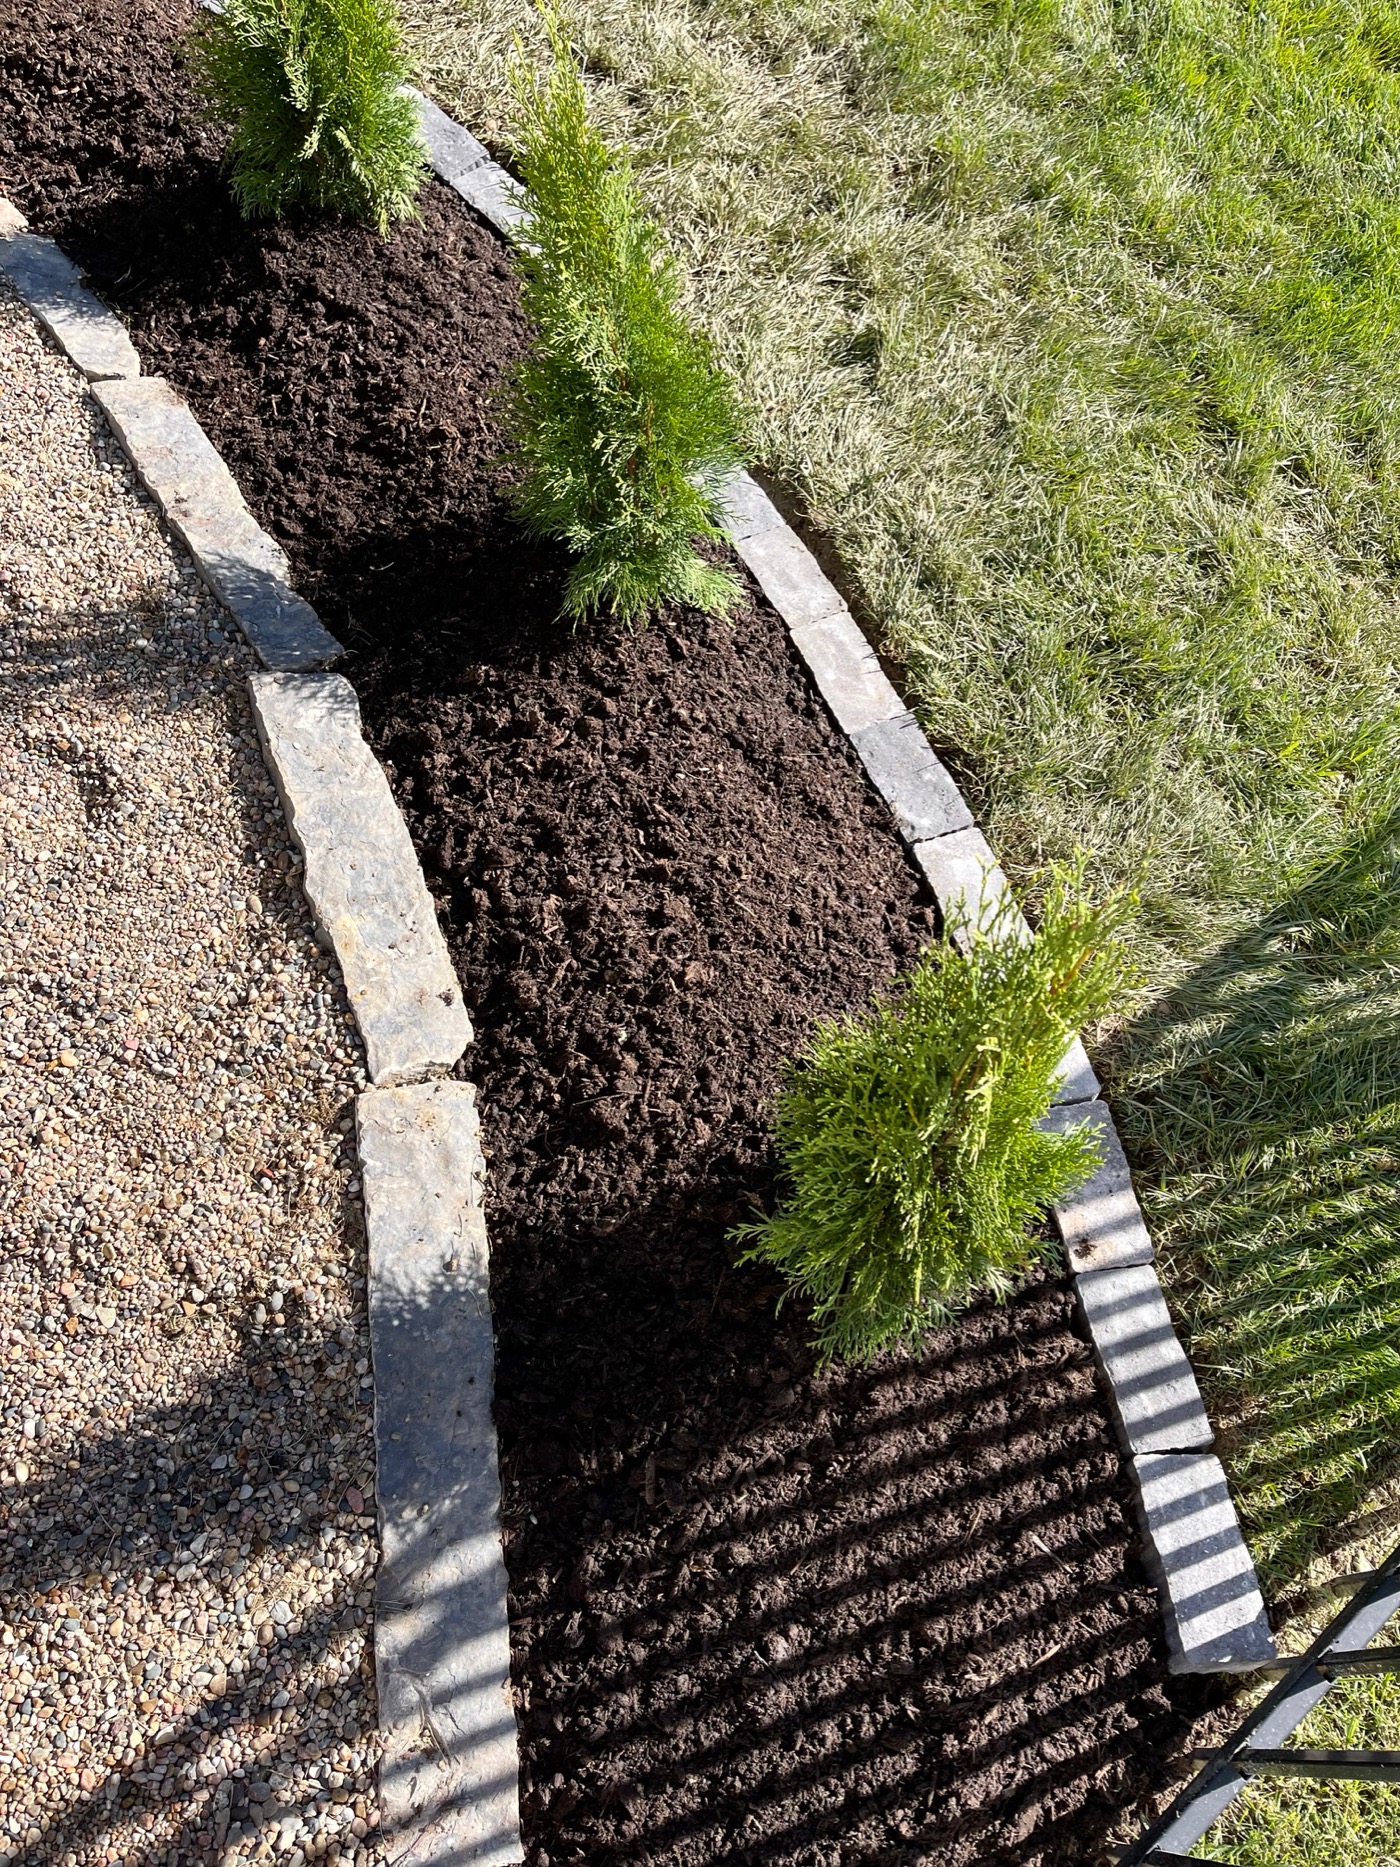
Because I mow and edge back here, I wanted to make sure this space wouldn’t be a pain to get around. After a quick trip to Home Depot, I spotted this concrete looking bricks for .48 each. Lo and behold, I purchased the EXACT number I needed. Someone was looking out for me that day, ha! The edge had already been created with the spade, so I just needed to place them around and get them level.
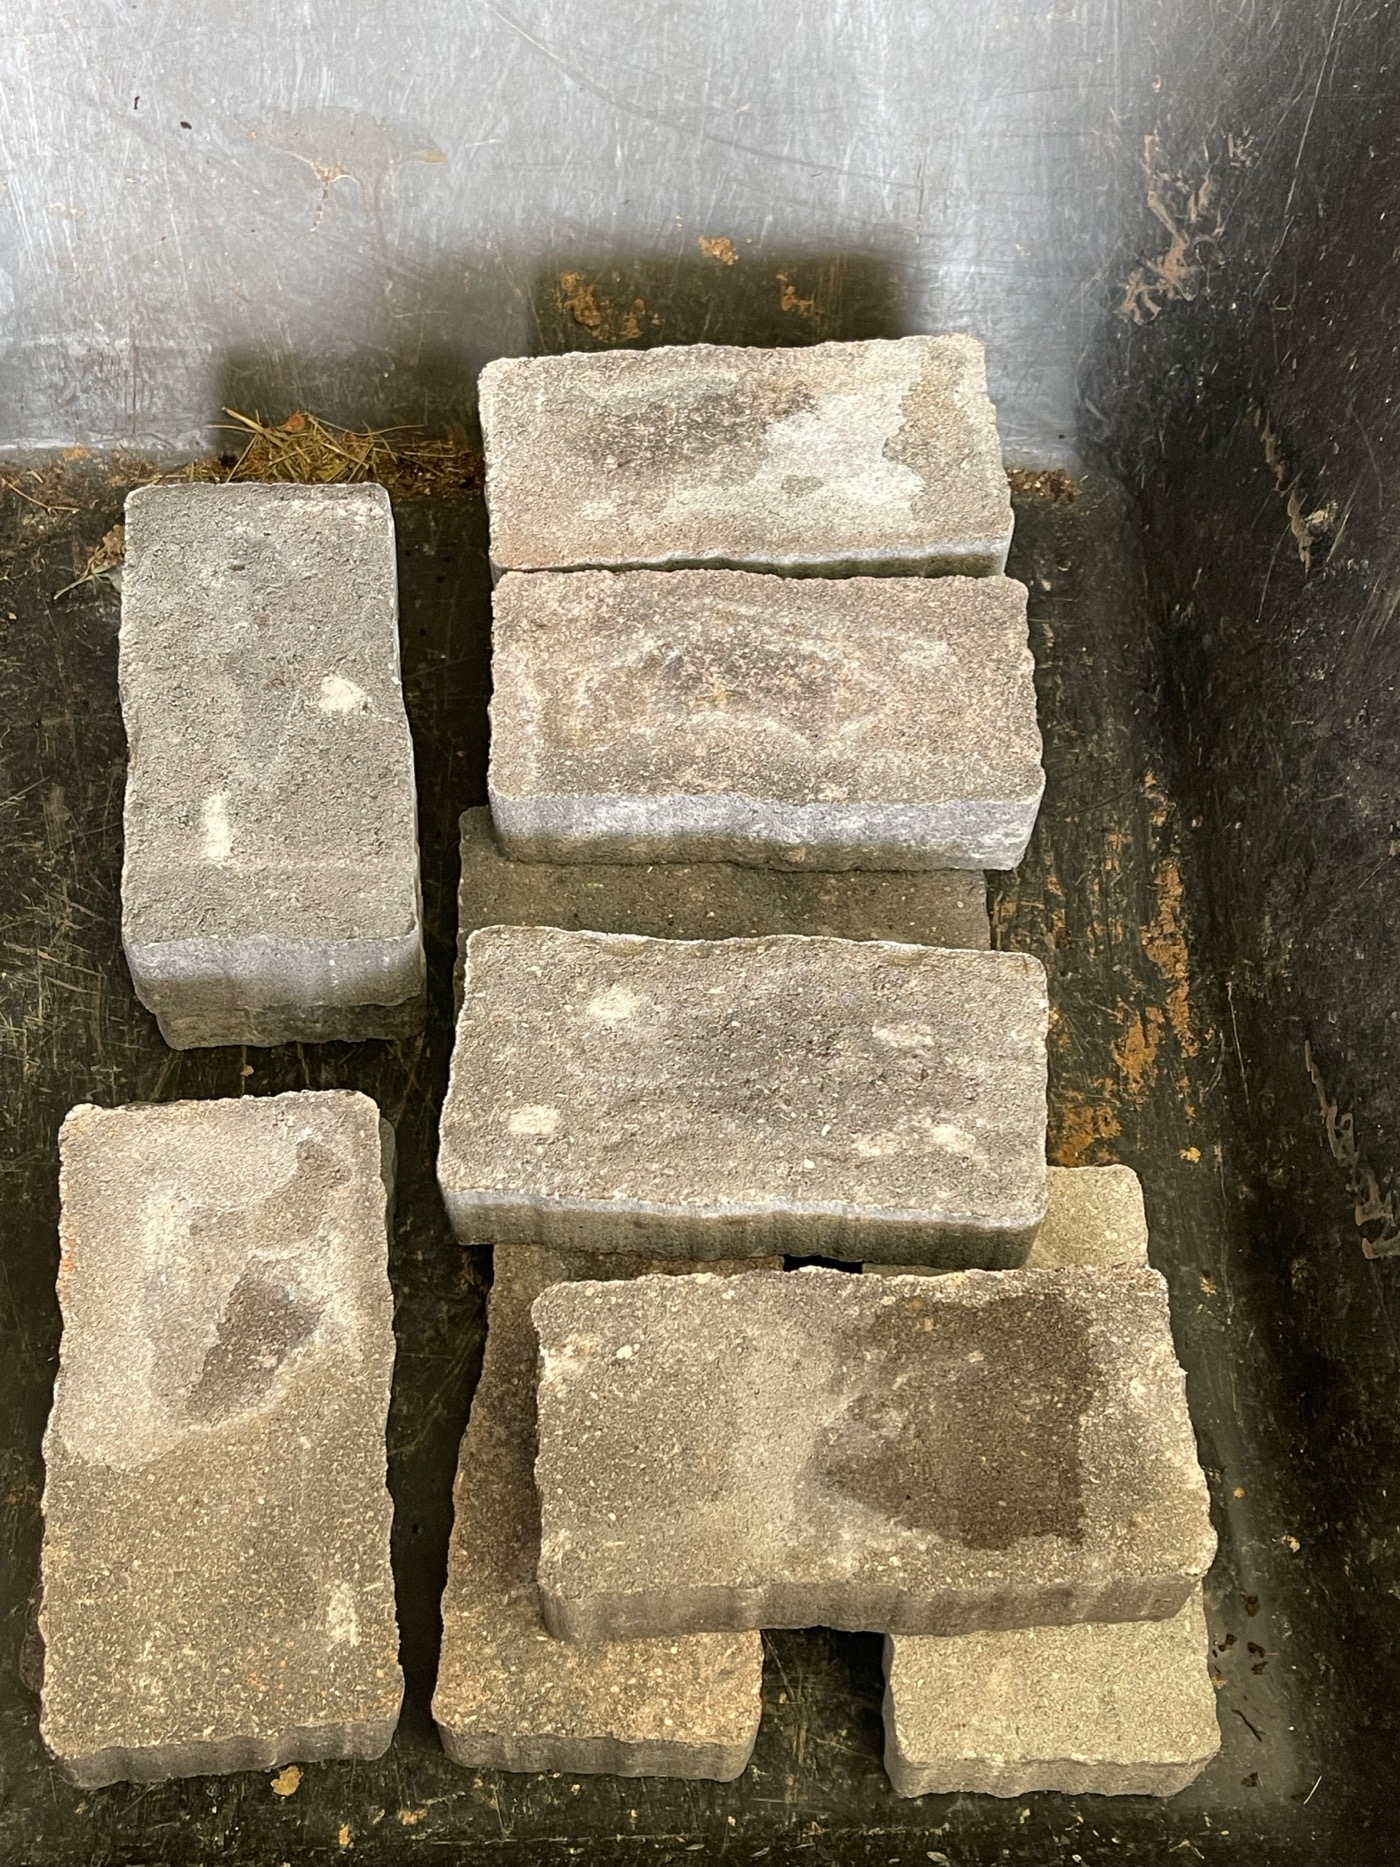
The wheelbarrow was my friend for this project! We don’t have a fence on this side of the yard, so it was a lot of back and forth. Hence the sweating! The concrete looking bricks so or mimic the trim around the pea gravel area. It looks cohesive and like it was meant to be there!
Final Details + Cost of Landscaping Bed
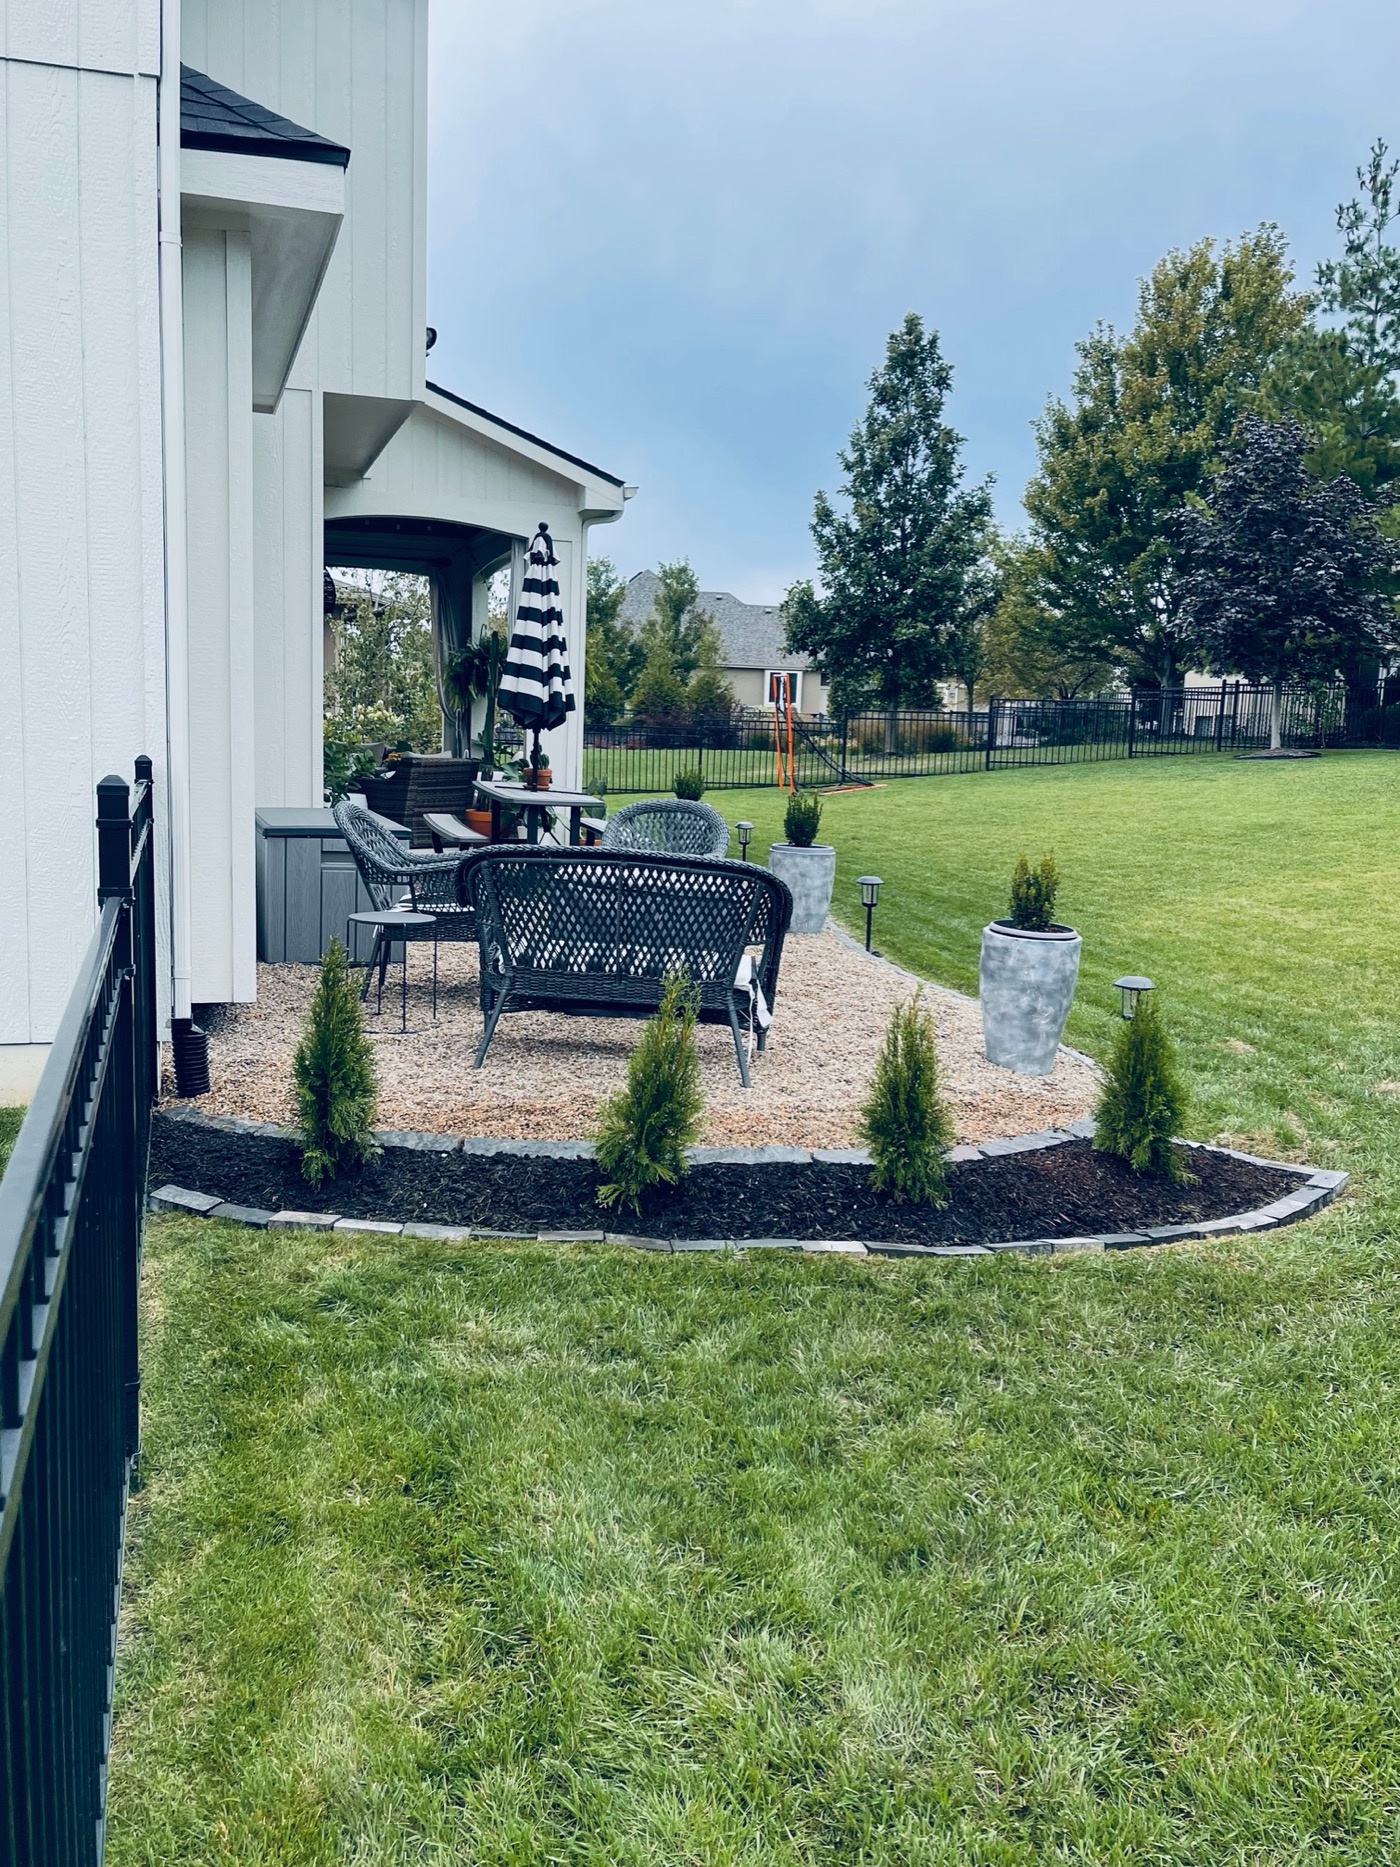
I didn’t end up mulching the bed. It’s still not out of the question, but it’s one more obstacle to deal with it getting into the yard. I’m loving how this softens the hard edge of the patio and provides some greenery to look at. Hopefully they are fast growing since they look pretty small right now!
Total Cost:
- Arborvitae Trees: $6 each x 4
- Top Soil: $2.67 per bag x 8 bags
- Brick edging: .48 per brick x 26 bricks
- TOTAL: Just under $58!
Hopefully this gives you a little inspiration to create a small landscaping bed of your own! I love putting sweat equity into our home. Doing things myself helps save money and gives a sense of pride and ownership over the project. Getting my hands dirty feels good to me! Grateful to have the time to do the things I love! Gardening and yard work is my therapy!
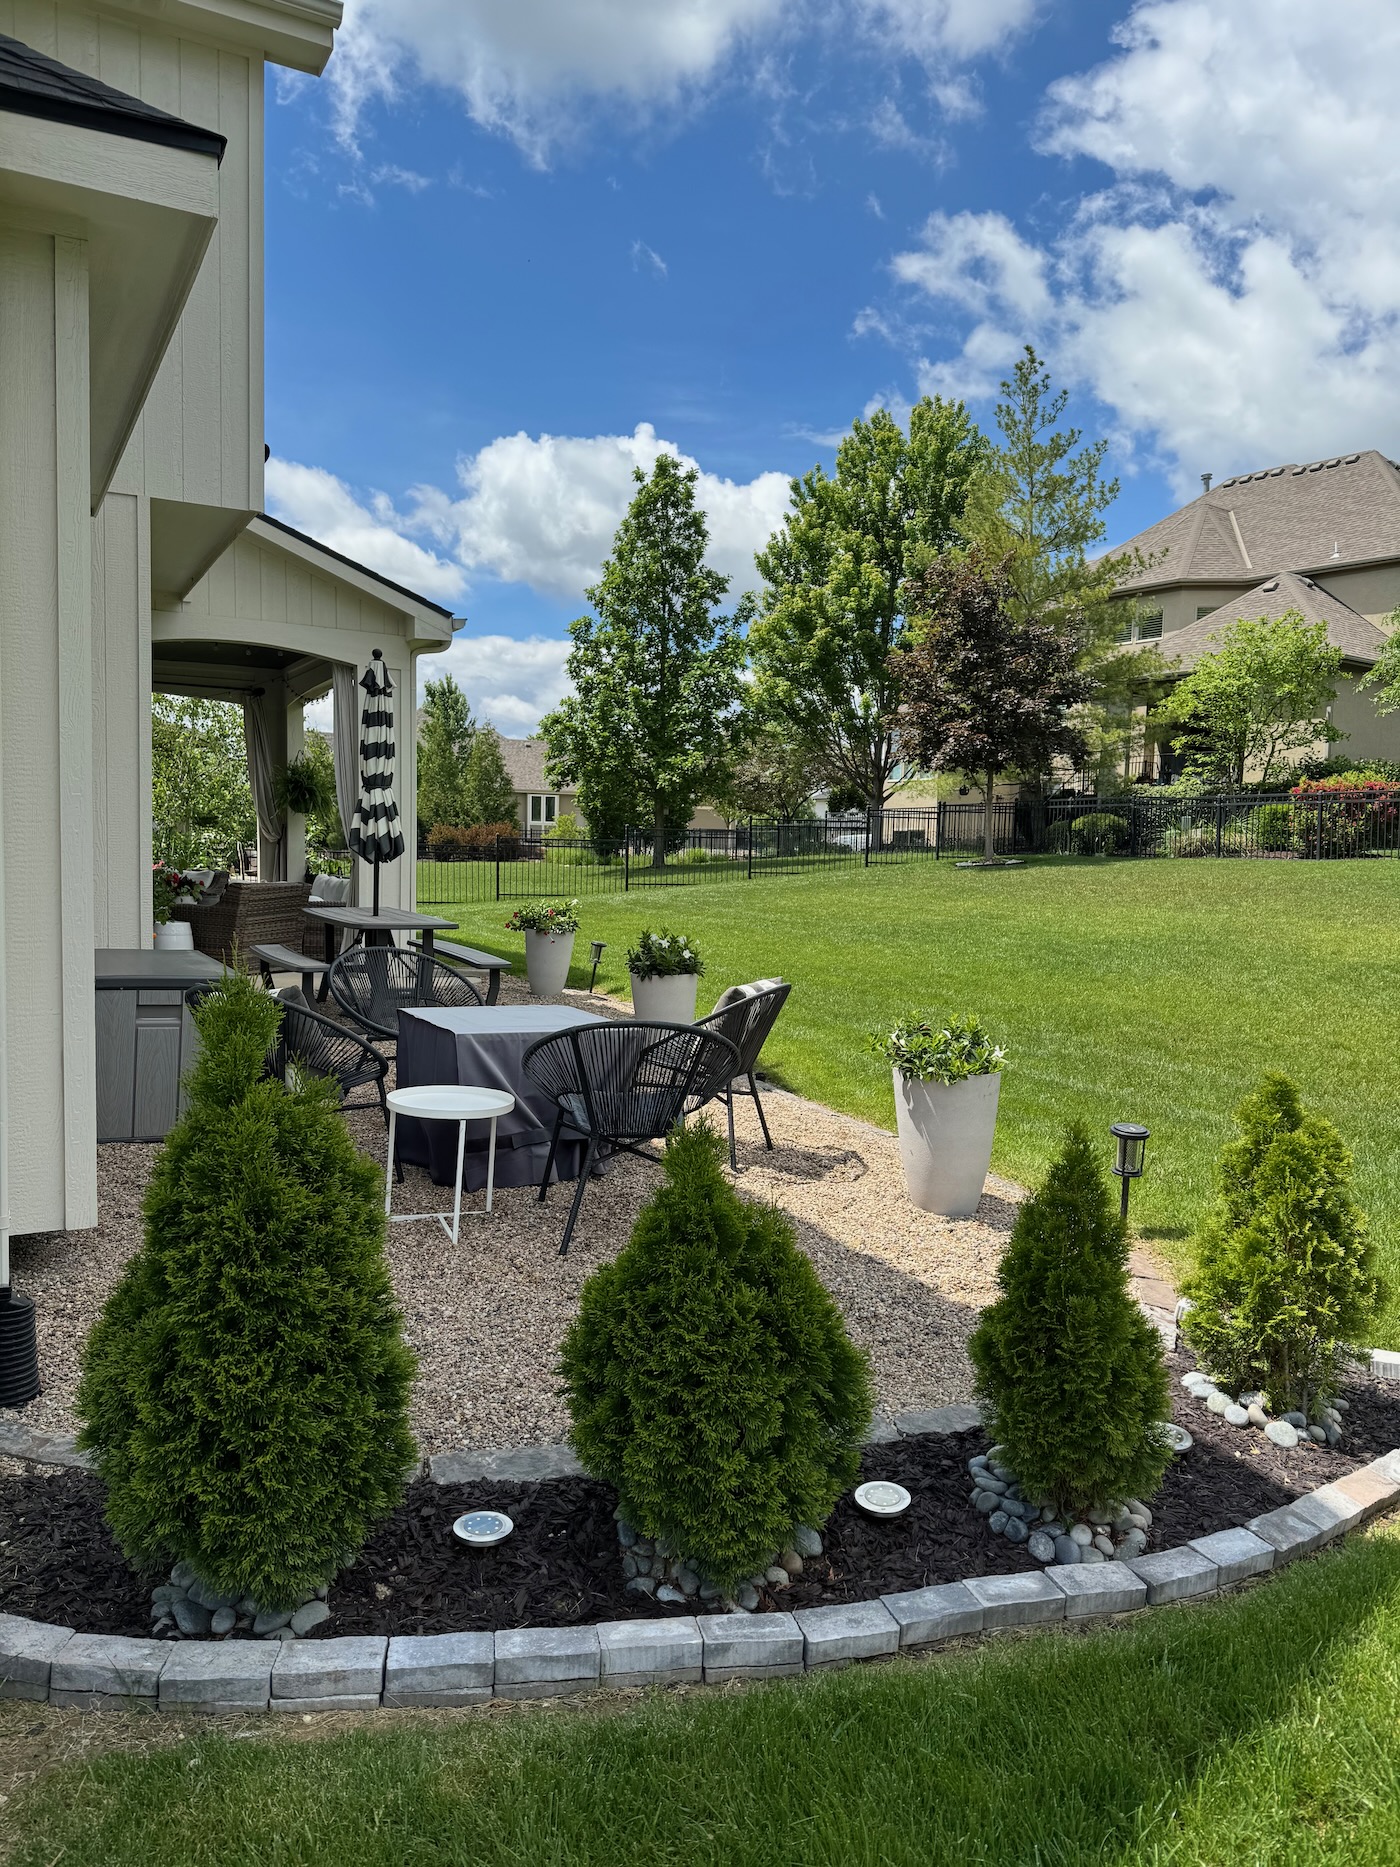
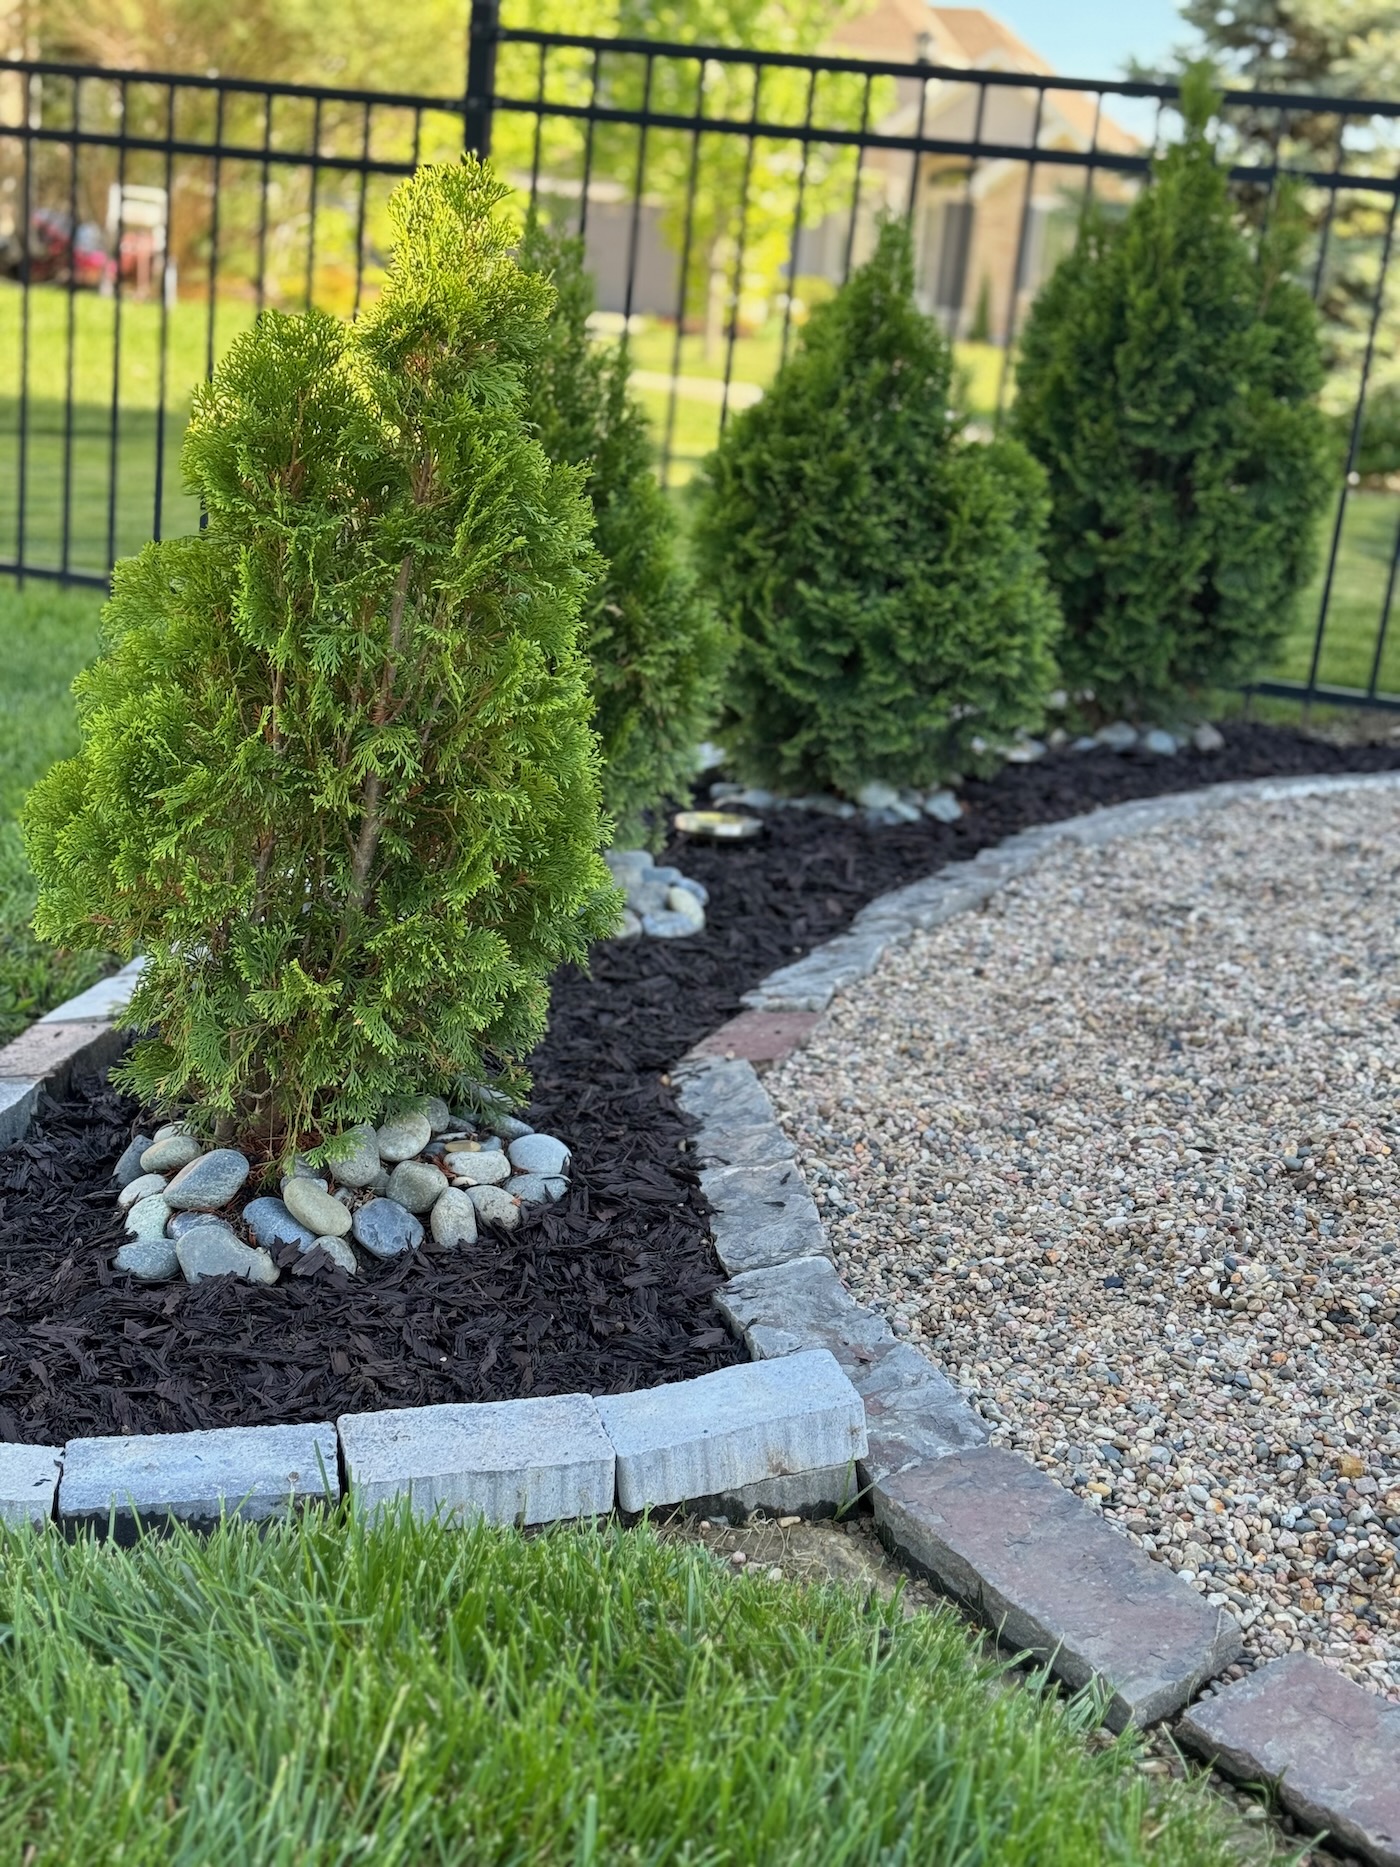
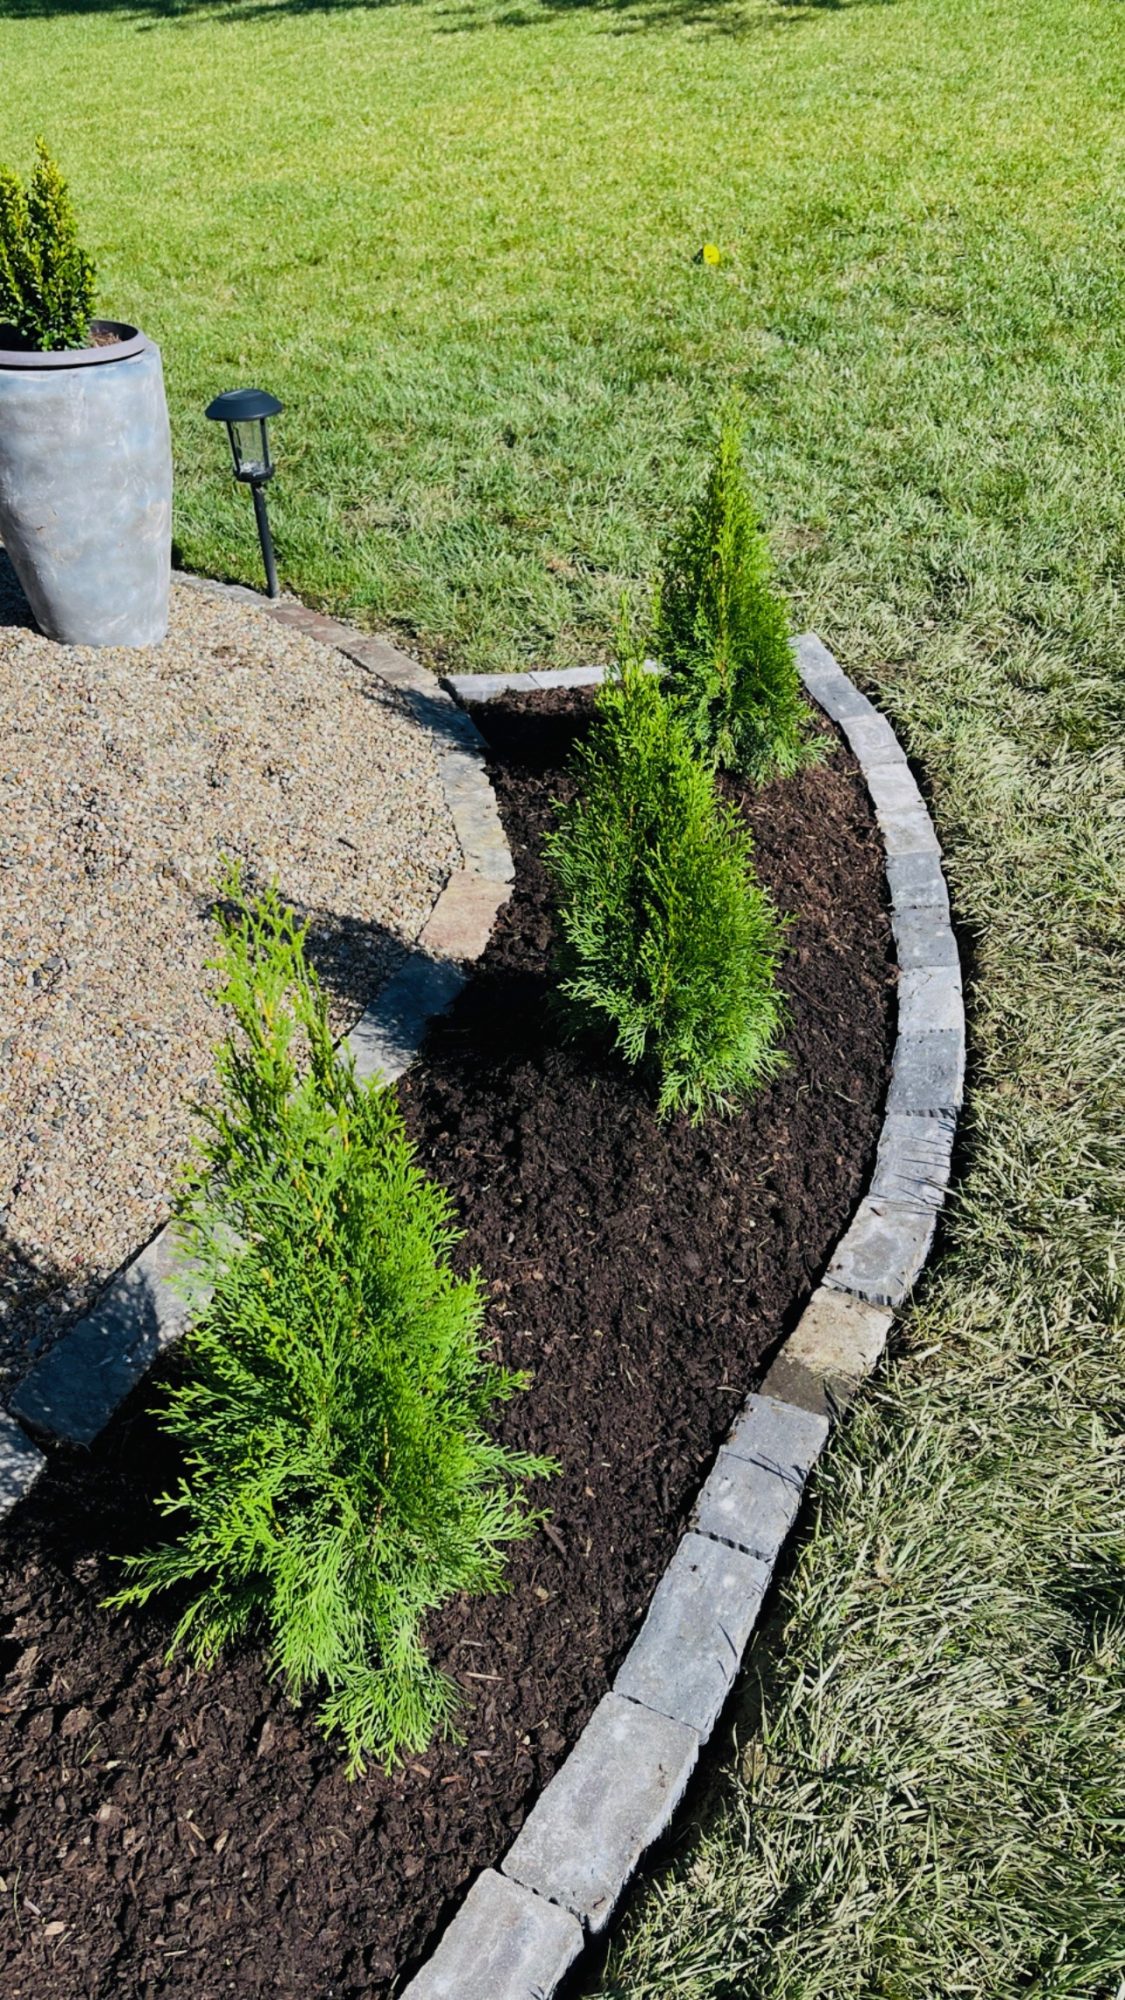
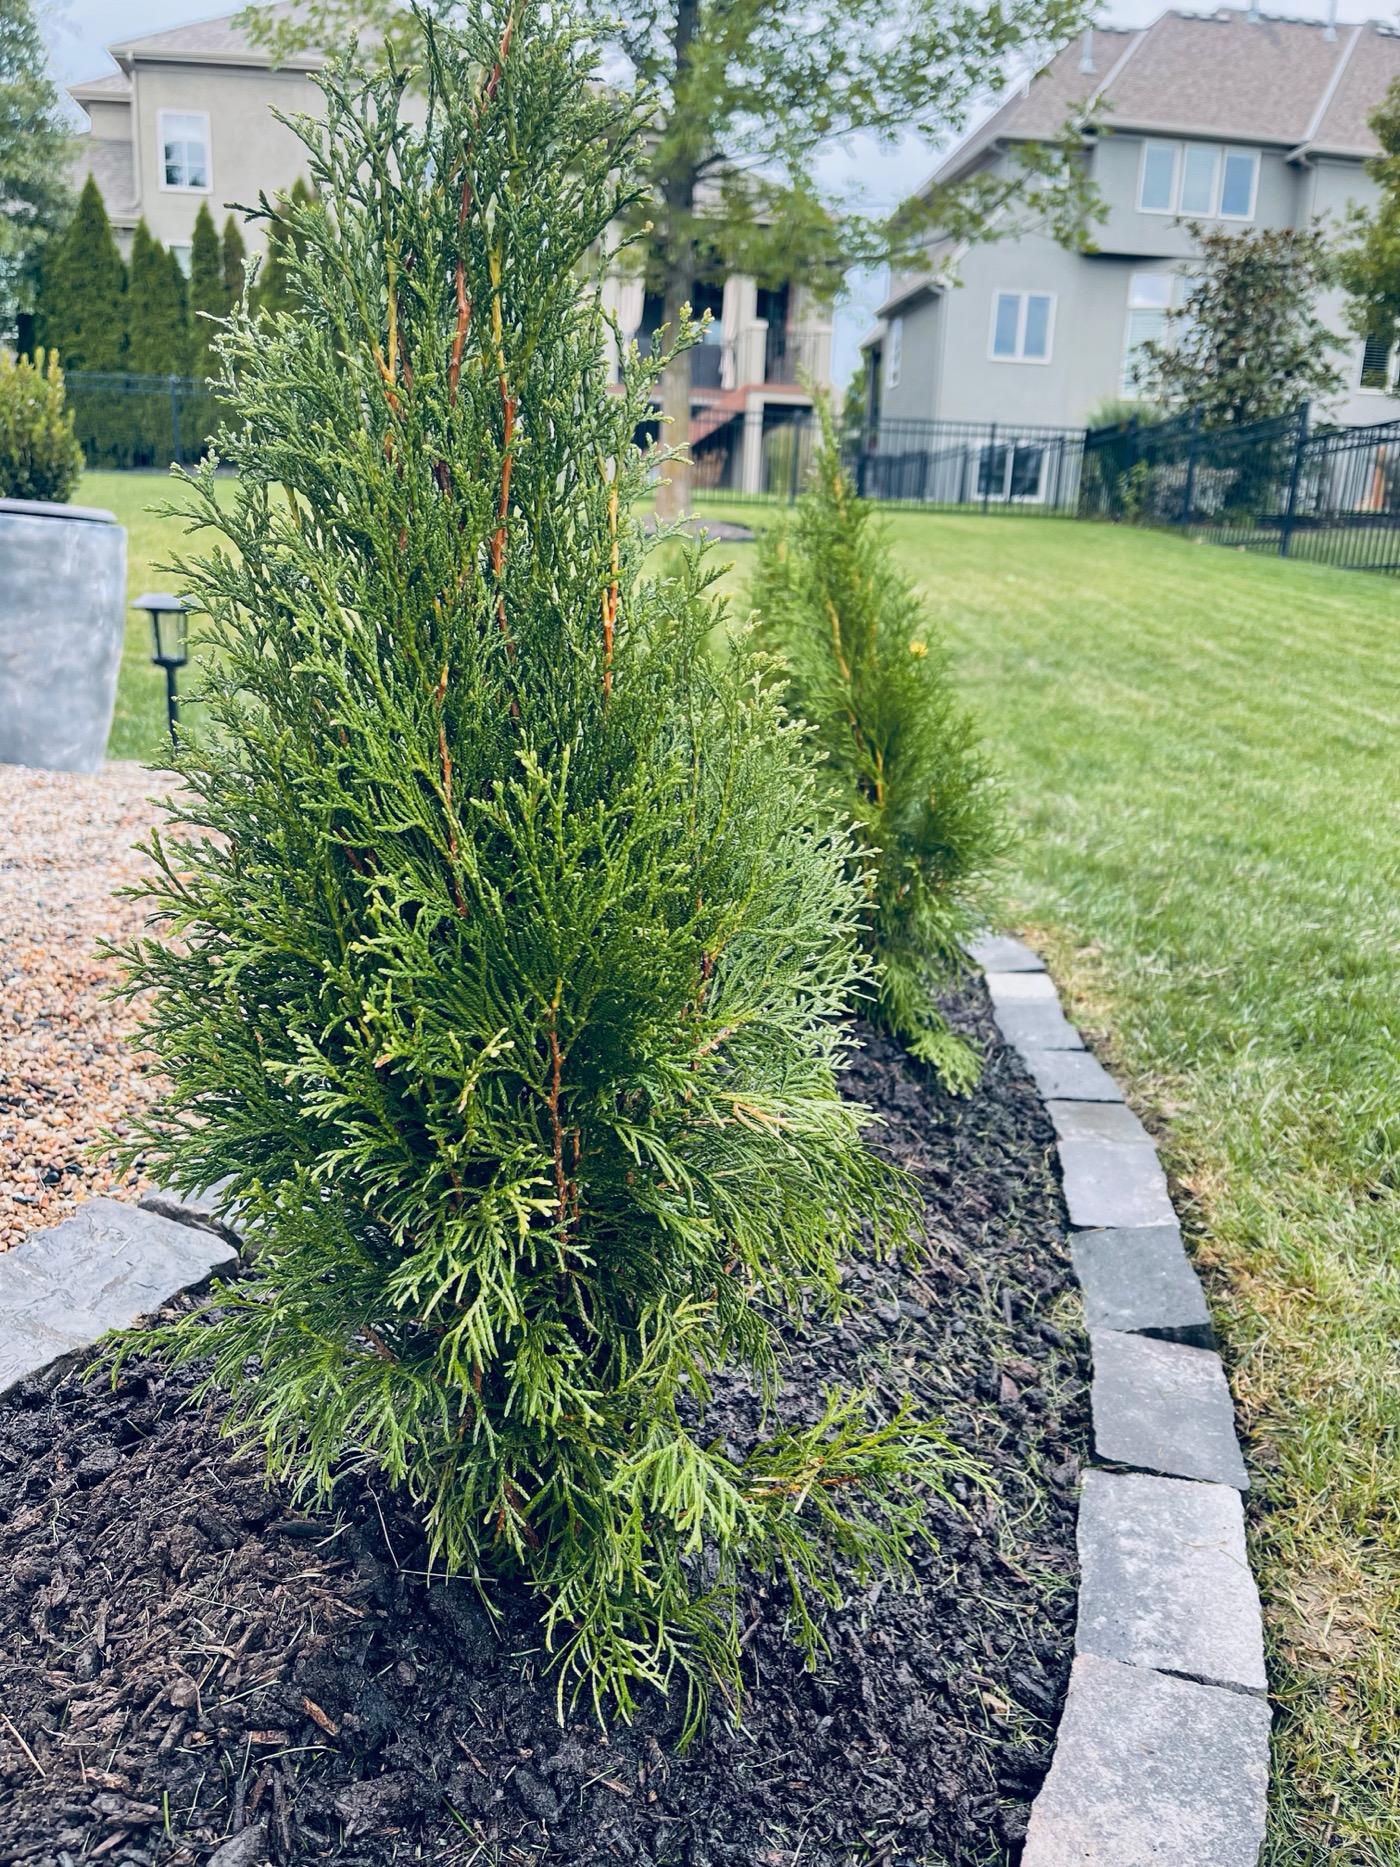
Update 2024
Here are some photos of what the landscaping bed looks like in June 2024. The trees have definitely grown and I added some solar lights. It’s easier for me to mow and edge around here after I added another layer of the concrete bricks. I recently put rubber mulch down on the rest of our landscaping and added some here too. In a few more years, I “think” we will have some real privacy trees!