Last summer, I created a DIY succulent and cactus planter in a low, round planter I had sitting around. I loved the look and it thrived outside in the summer months! Some of the plants didn’t survive inside over the winter, so I recently decided to give it some new life to bring outside again this summer! Here’s how to create a DIY succulent and cactus planter of your own!
Living in Kansas, we have to bring all house plants inside in the cold months. After being inside for the winter, some of the succulents didn’t survive, but all of the cacti did. Honestly, I think succulents are HARD! Even for this plant lady. Easy outside, hard inside. I much prefer cacti because they pretty much go dormant inside in the winter, and they are super low maintenance.
Succulents inside always seem to look less than great for me. I still love the look of combining succulents and cacti, and I only had to purchase one extra succulent this year, so I call this a win! I’m going to keep it on our outdoor coffee table again this year! It’s low profile and easy to move if needed.

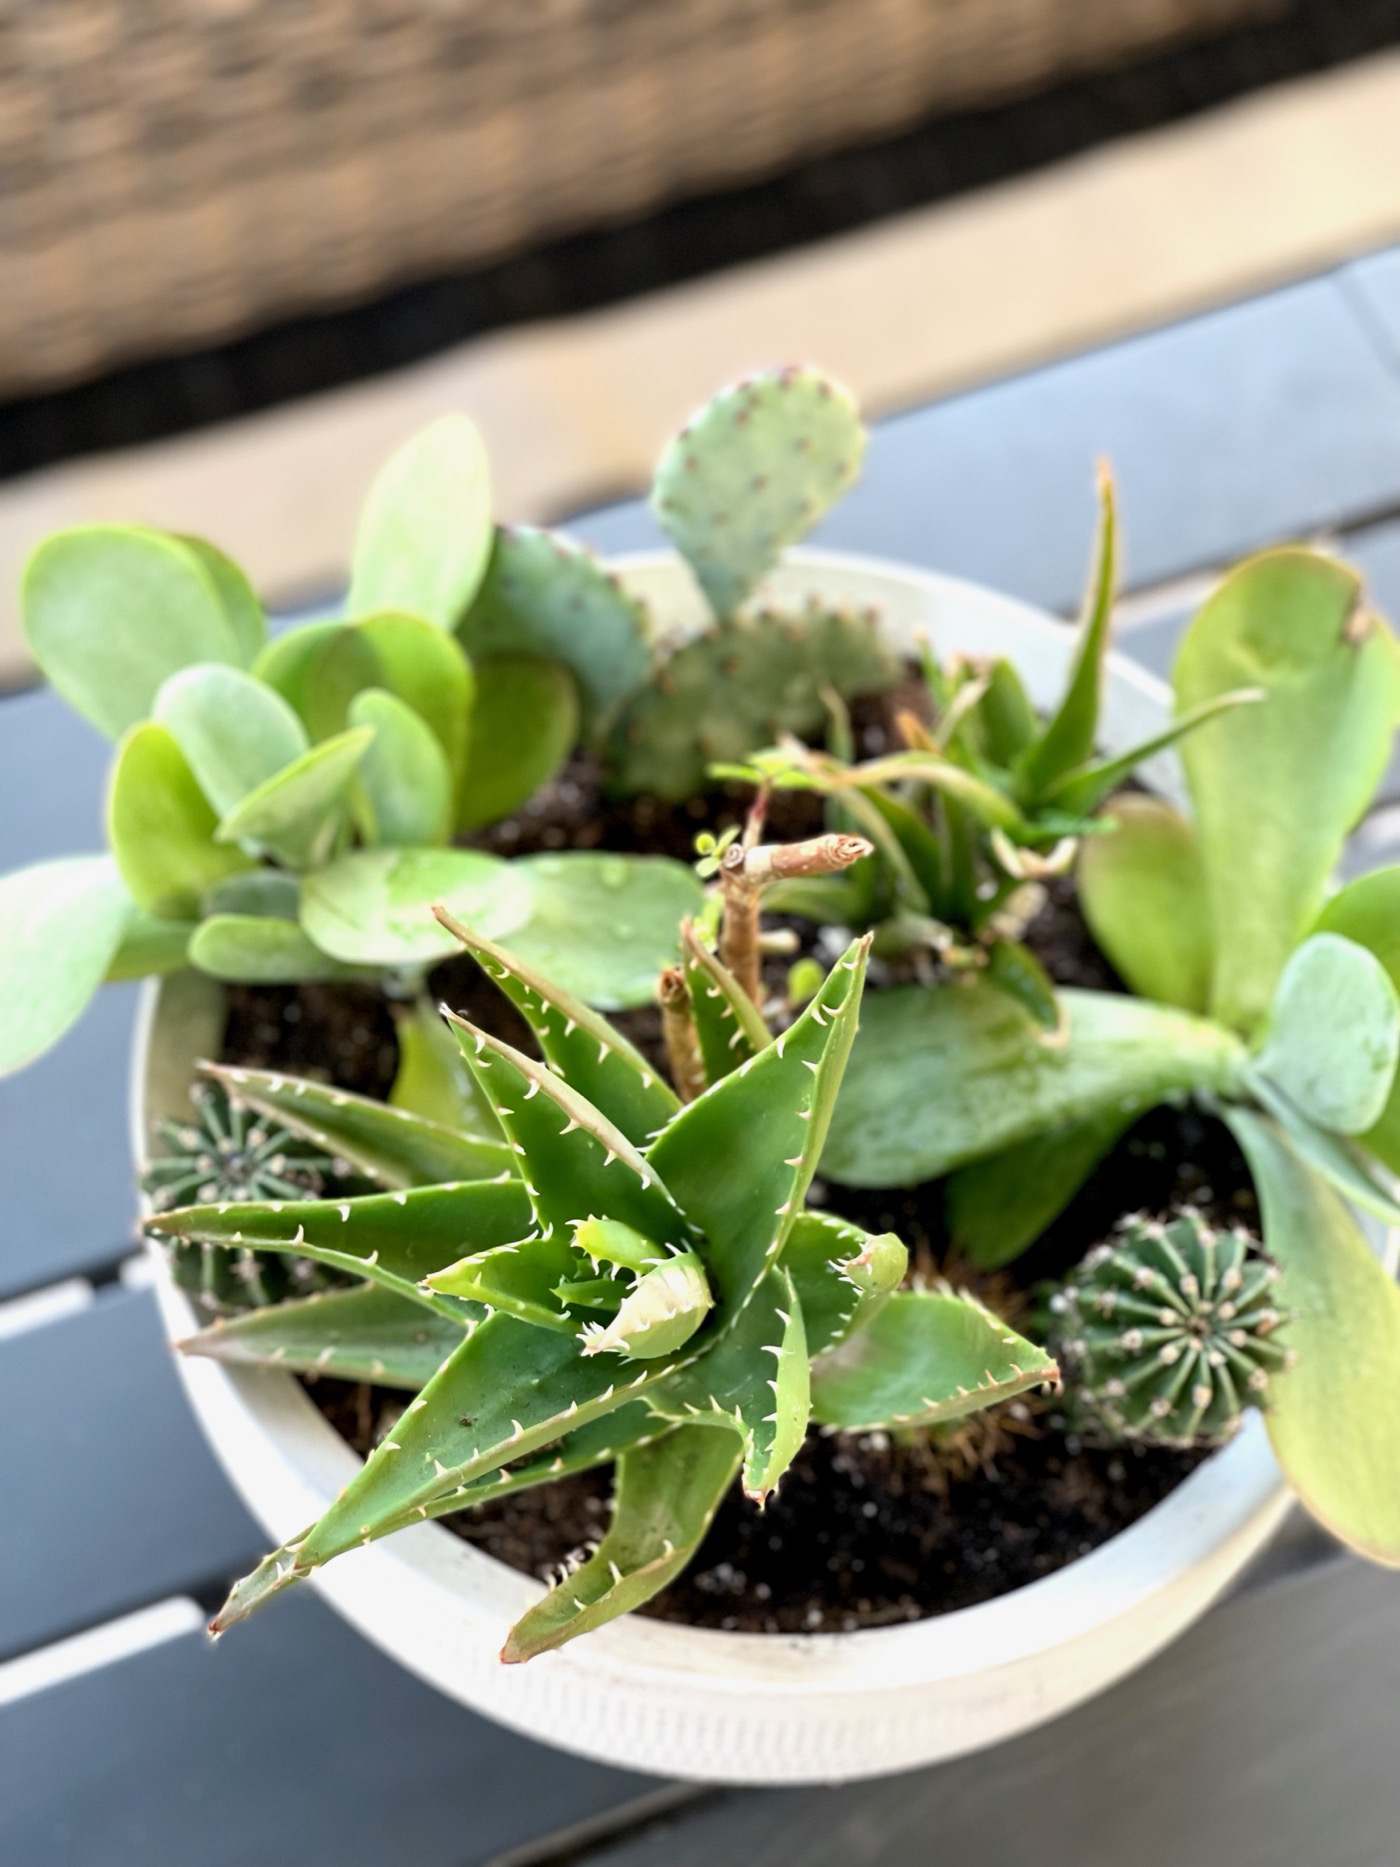
Here is a photo of last year’s planter, when I first created it. You can’t really go wrong here! Just choose your favorite succulents and cacti and fill in! You can get these small ones at any garden, hardware, nursery, or even Walmart. I love that they look different without changing too much! You can find options for low bowl planters here!
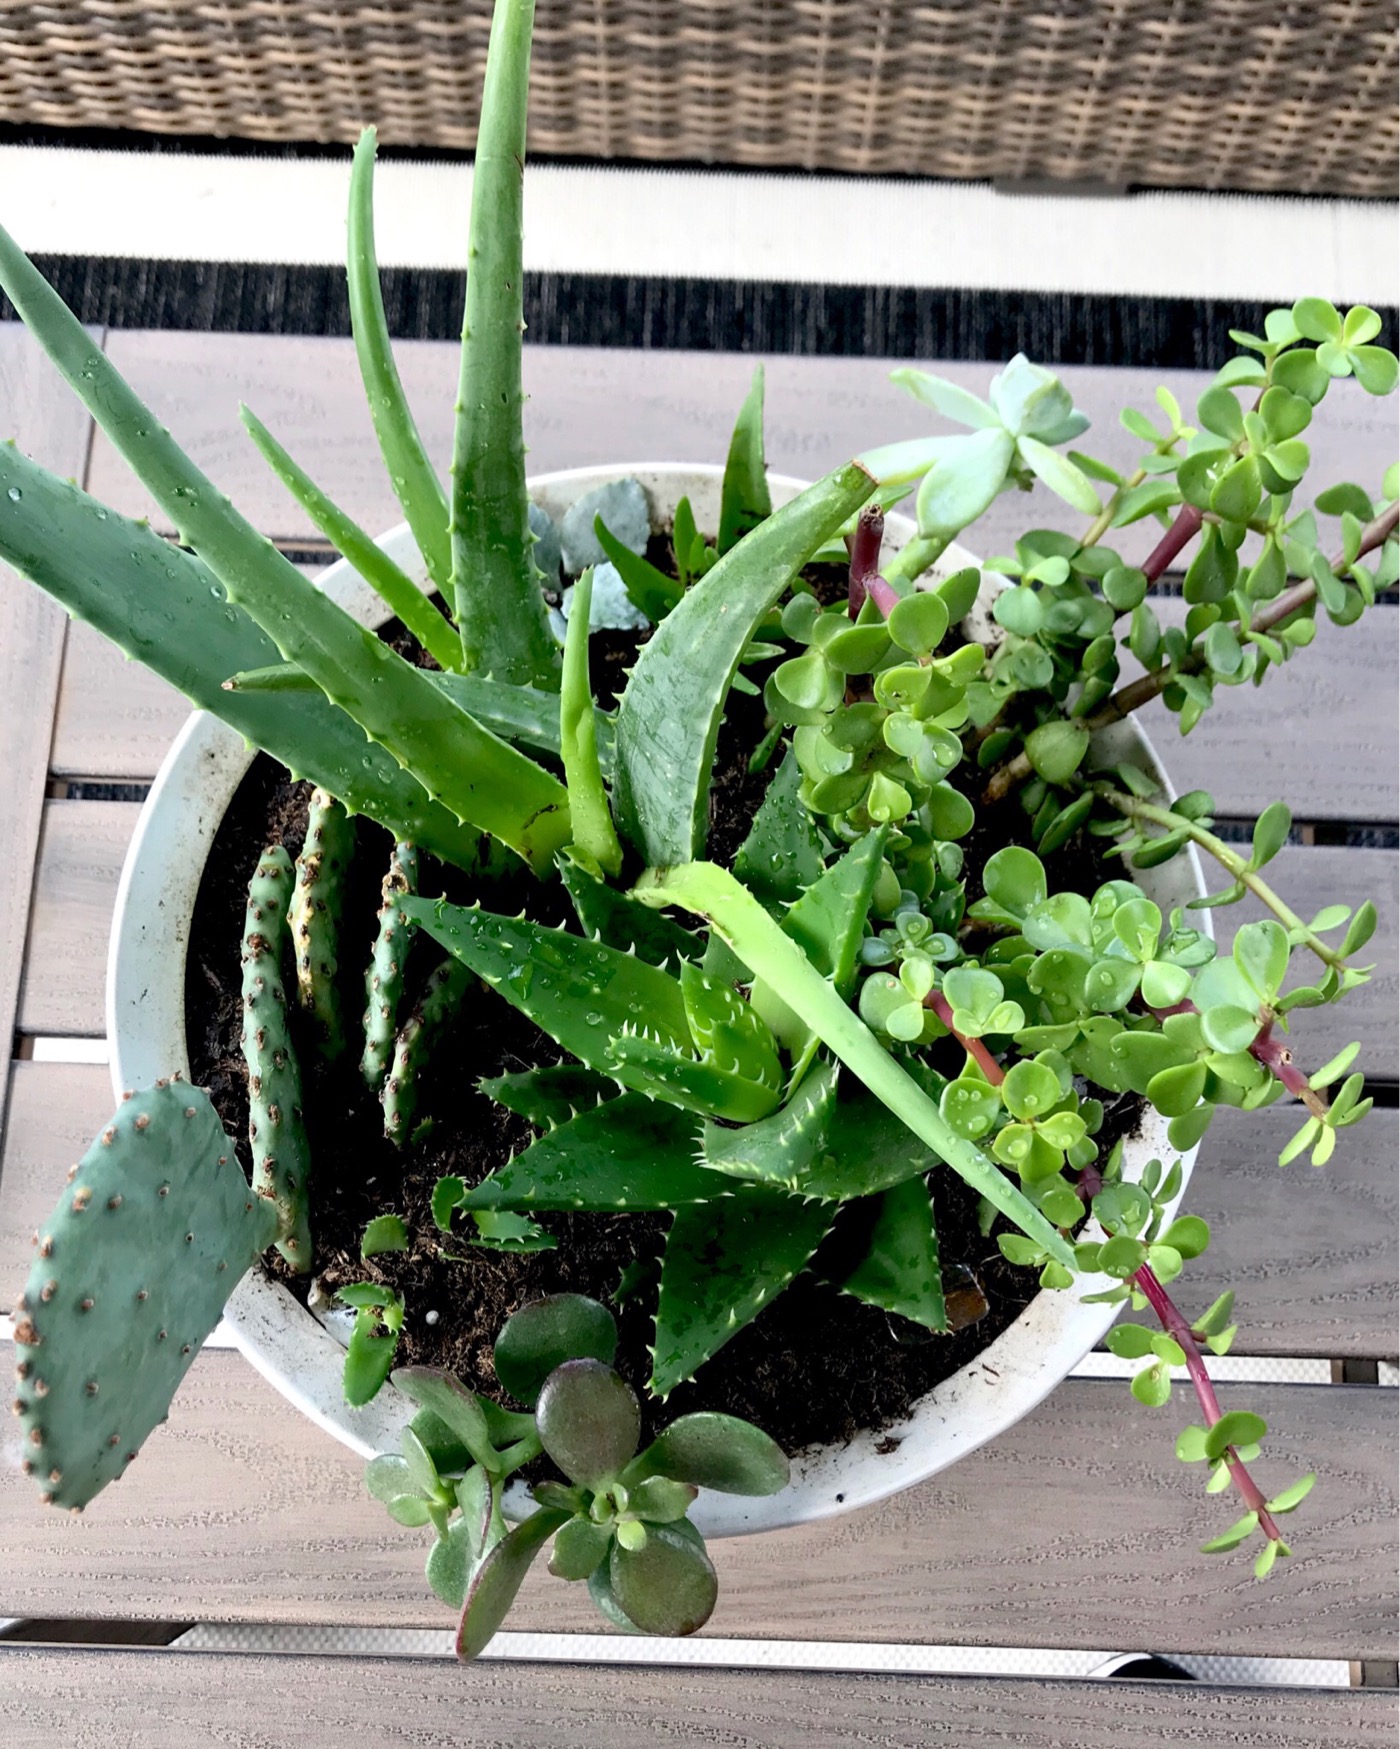
Here is a photo after having it inside over the winter. I just decided to reuse the current plants, add one additional succulent (that I actually split into two), and repot with fresh soil. I used special soil for cactus. You can also grab this at most hardware or garden stores.
Carefully Remove Old Plants
First, I carefully pulled all the plants out of the planter. Be careful not to lose your roots! Then I roughed up the soil with my hands and pulled out any clumps to discard.
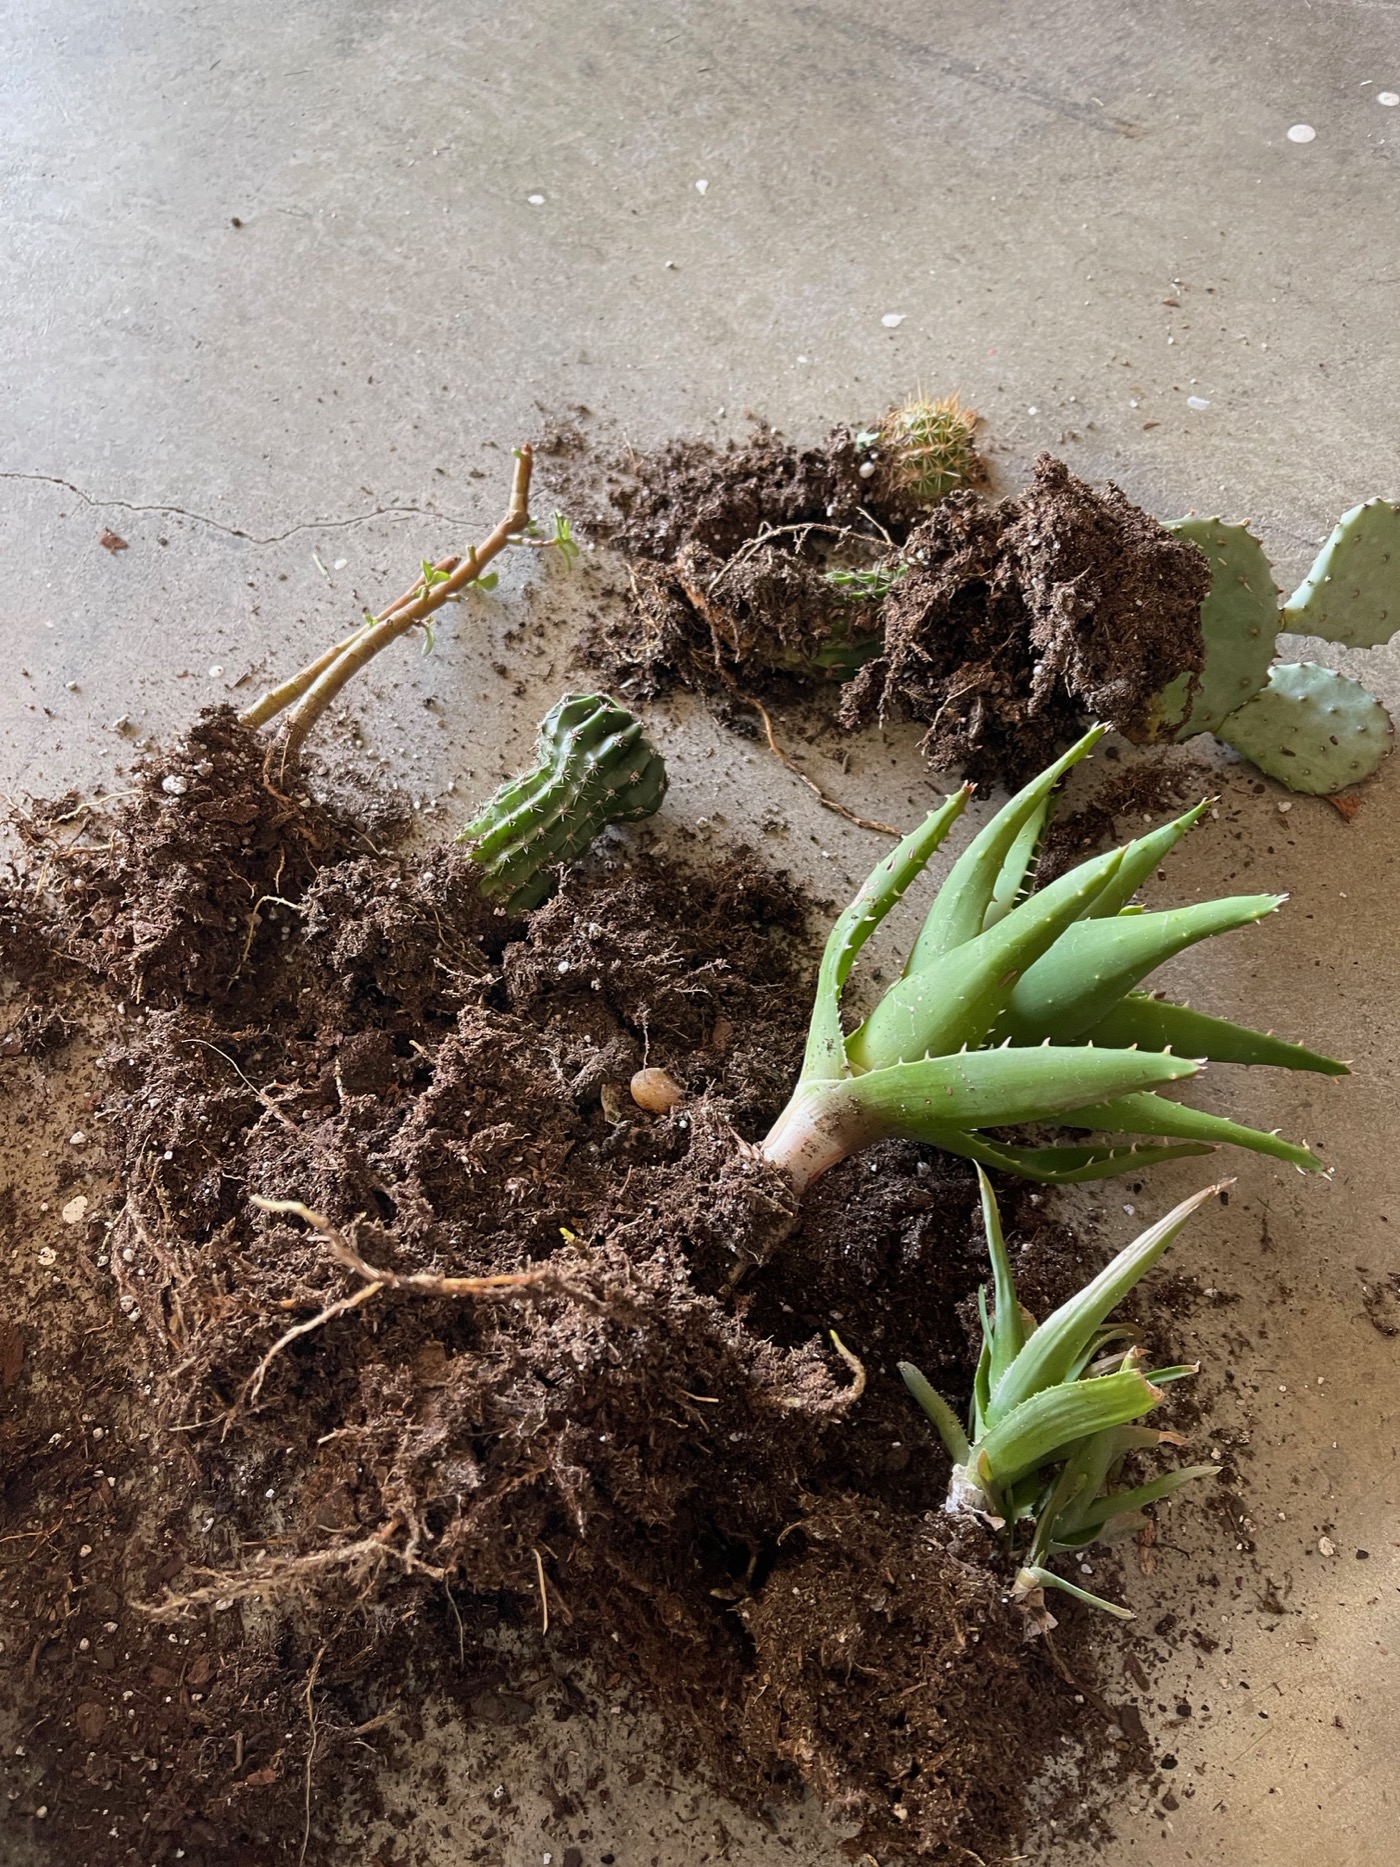

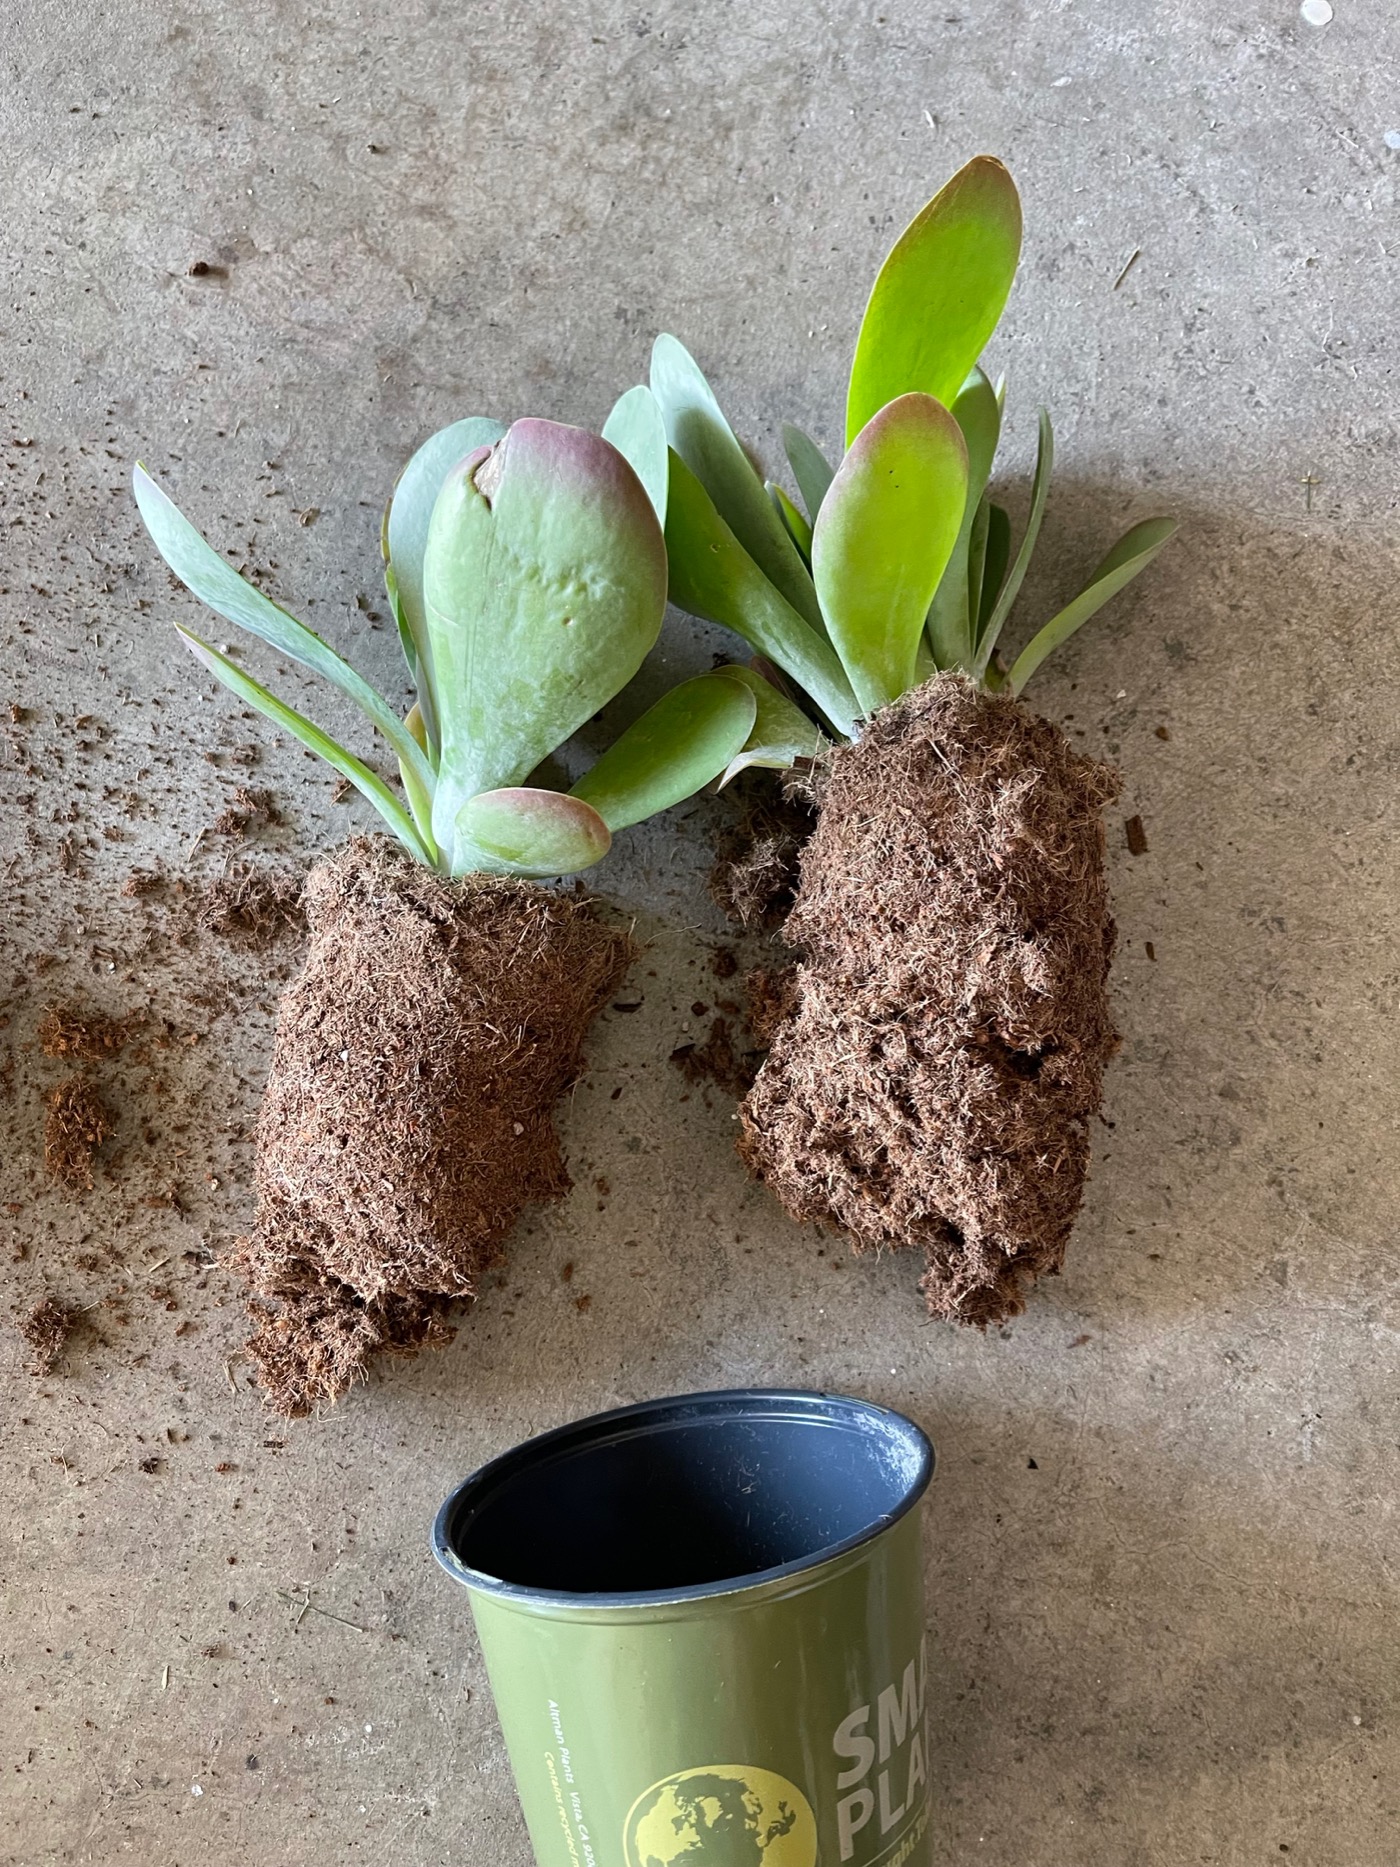
Choose New Plants to Add
Next, I split the new succulent I purchased to fill in the bare spots. I paid $6 for this one, but saw that I was going to be able to split it into two pieces easily! A great money saving tip!
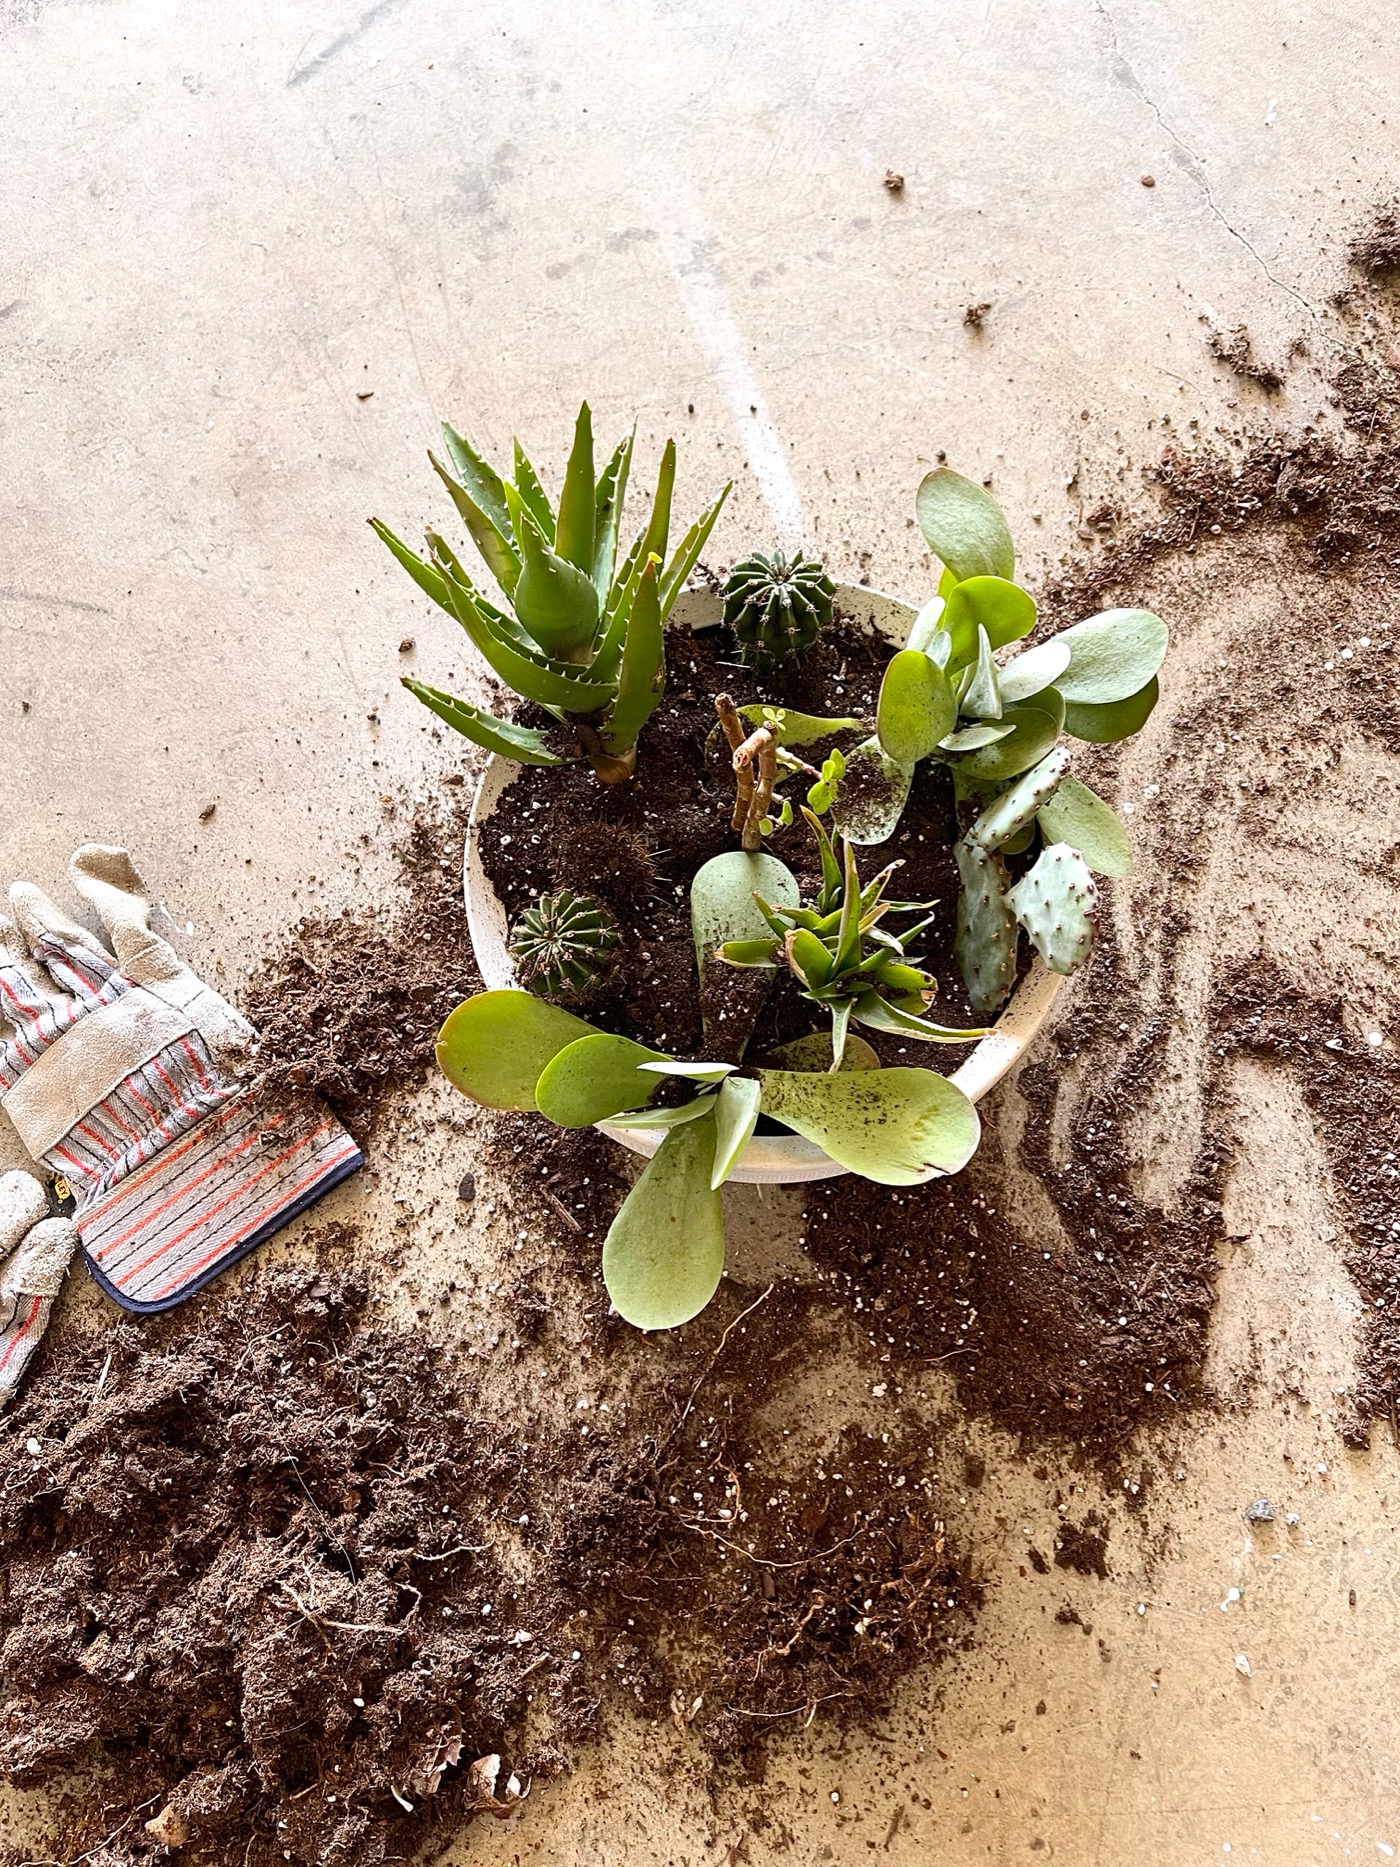
Start Adding Succulents and Cactus to Planter
The next step is to start placing your plants where you want them. There is no right or wrong here, just try to evenly space them so there are no gaps in space. I used gloves because I was working with spikey cacti! After you have them where you want them, start to add soil on top to secure the roots in the planter. I used soil specific for succulents, cacti, and palms (you can find this at any garden center or even Walmart). This messy scene is how I work! I’m never afraid to get my hands (or my garage) dirty!
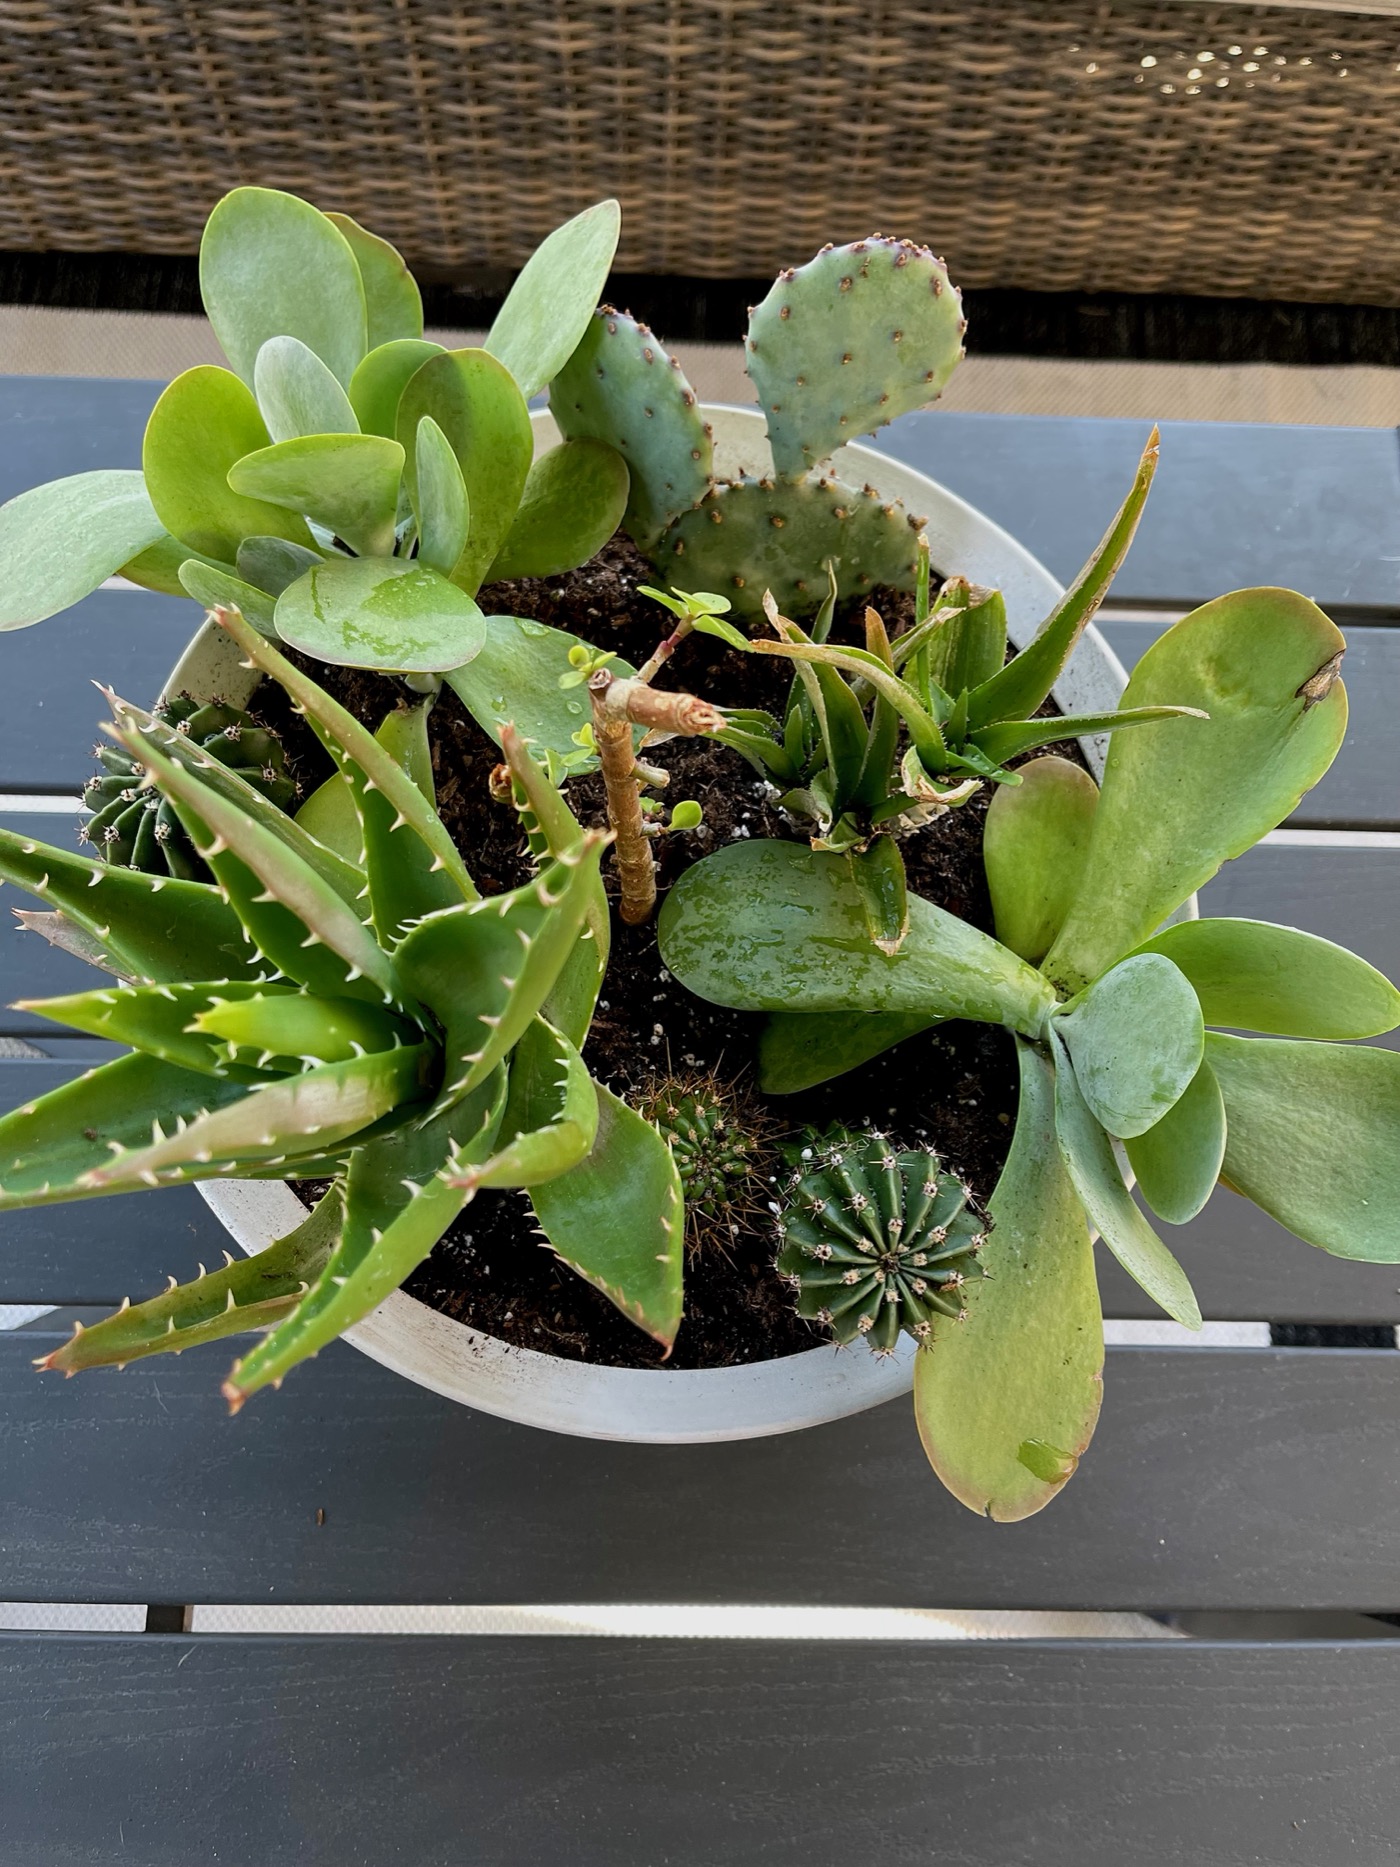
The final step is to clean up the soil around the plants. You are working in a tight space here, so soil will get everywhere! It’s okay, just use a soft paint brush to clean up the leaves around the base of the planter. This is the best trick to get around delicate plants and spikey cacti!

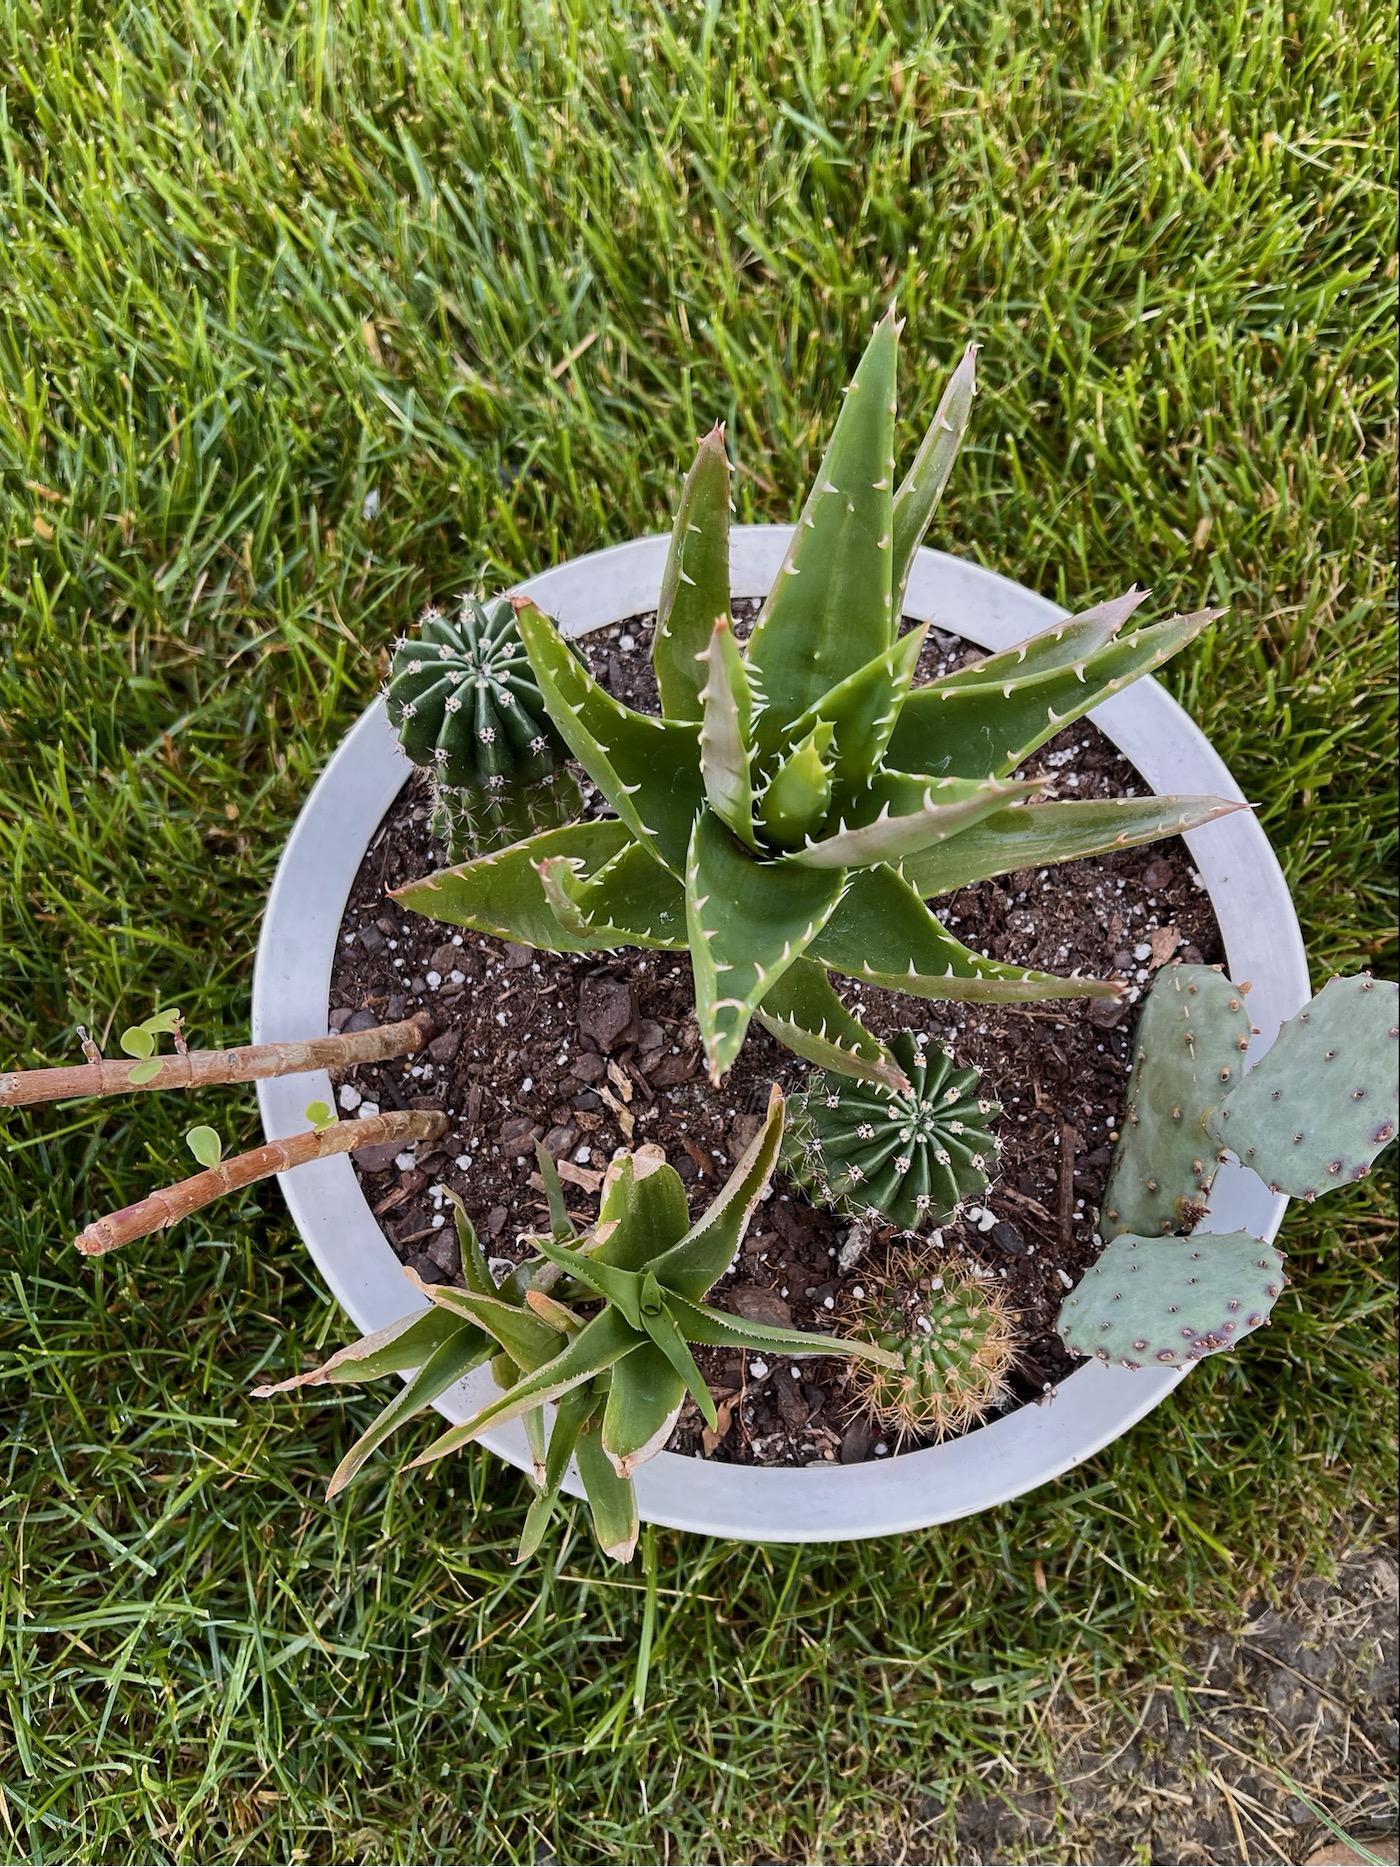
Take Succulent and Cactus Planter Outside
Clean up your mess, give your new DIY succulent and cactus planter a drink, and place it outside! I bring so many indoor plants outside in the summer, which creates the feel of an outdoor living room. This little planter makes me happy, especially because I created it with my hands versus buying from the store! Plants keep my creative juices flowing!
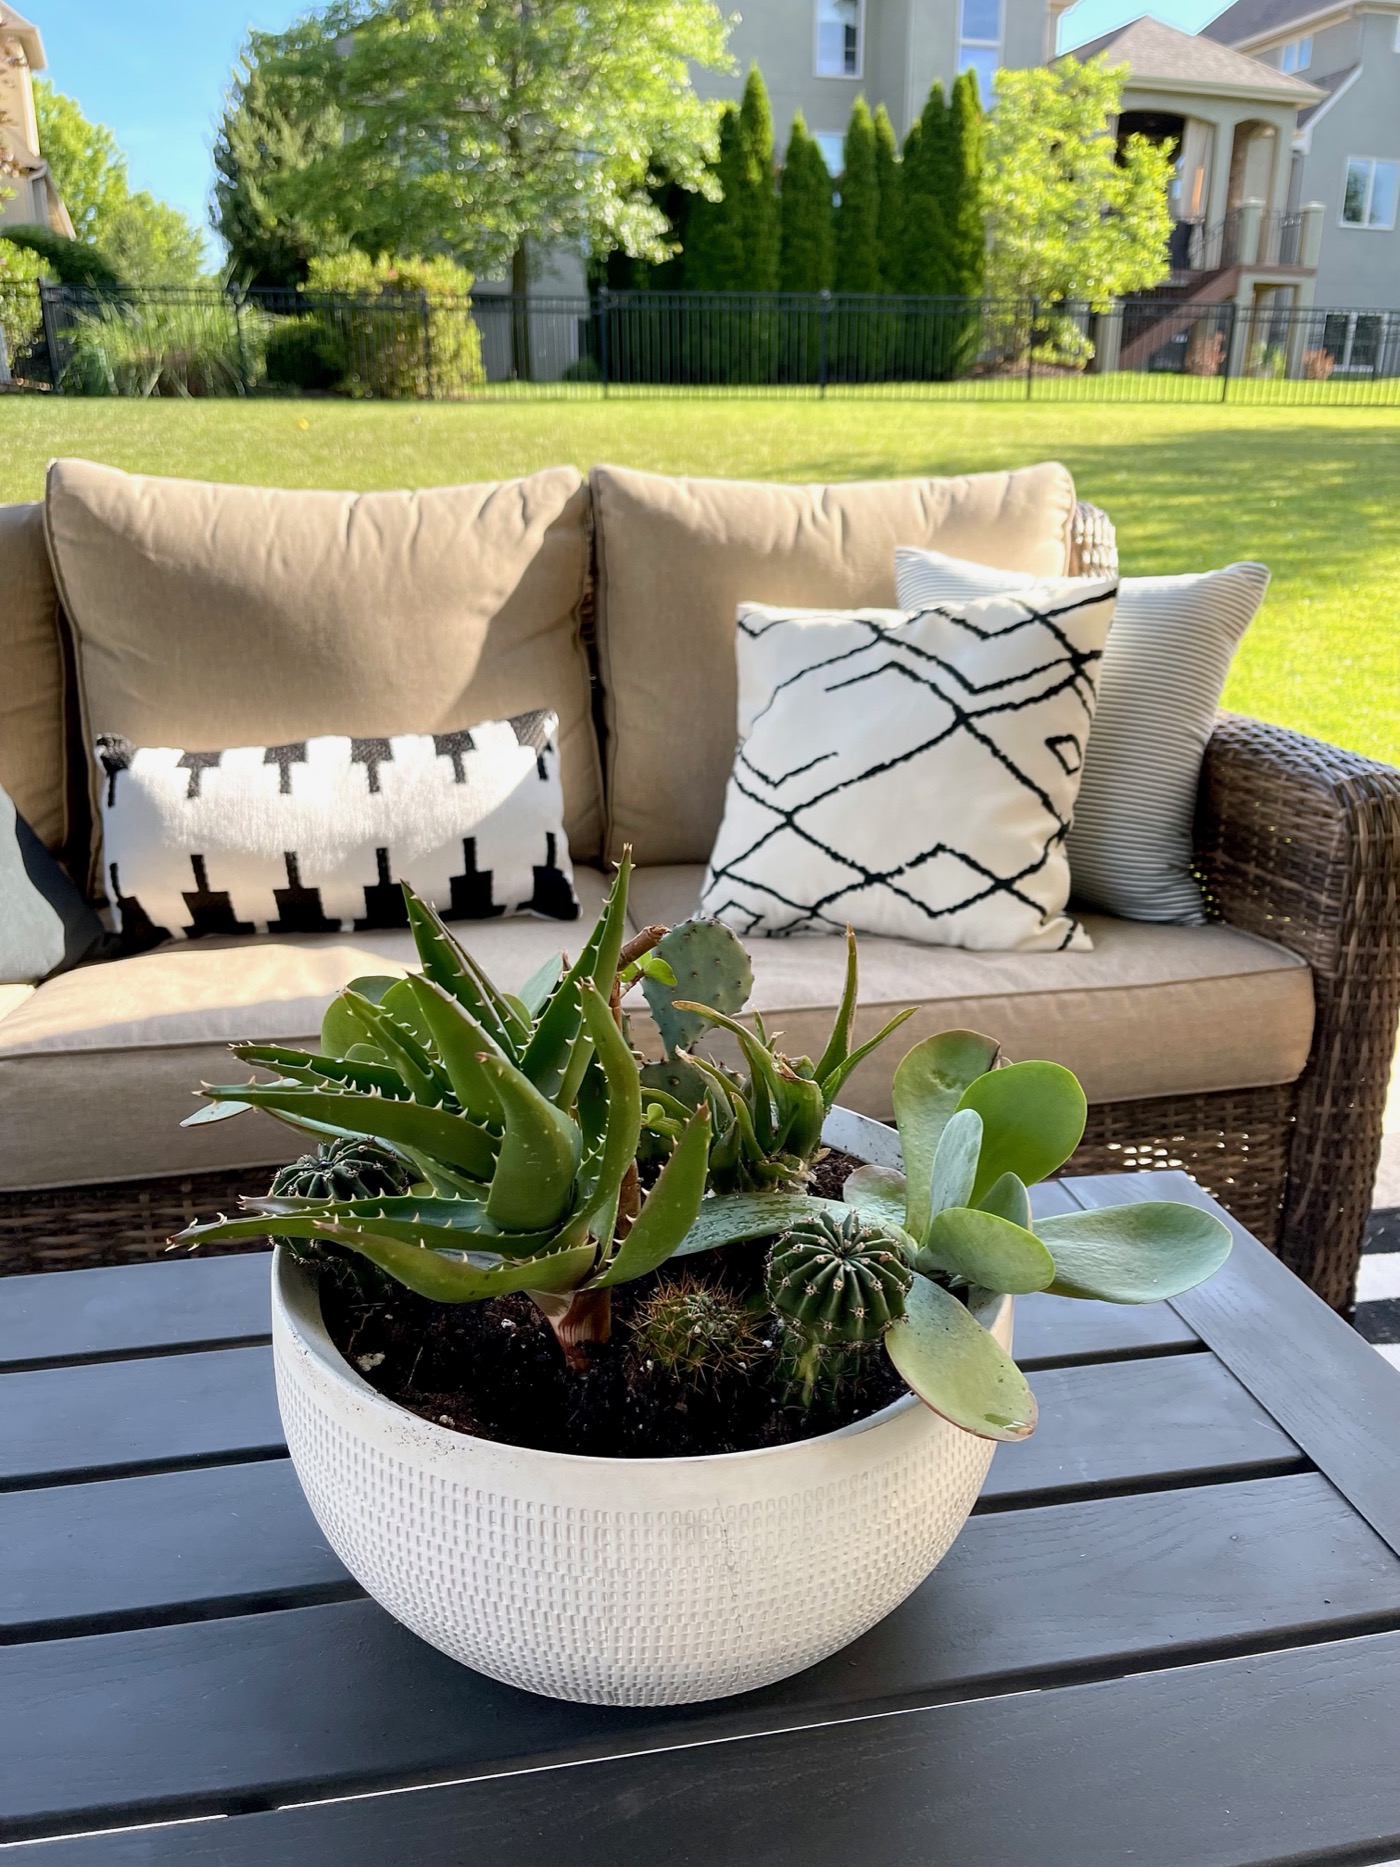
Our patio space is covered, so this gets both sun and shade, which is perfect so the leaves won’t burn. I will water this daily as I do all of my other plants in the hot summer months. You really can’t go wrong here, just be creative! Will you try a DIY succulent and cactus planter? Link to succulent planters. XO
It looks great and it’s nice to know that I’m not the only one that has problems keeping succulents happy inside! Tbh, it’s hard for me to keep any plants happy! Ha!!
Succulents claim to be “easy”! Ha! I think otherwise and I’m experienced!