As I mentioned on Instagram stories, the doors in our home (on the first floor) that lead outside have all been painted black. I did this early on after we moved in to give dimension to the inside of the house. After living here for 8.5 years now, and after getting our exterior paint refreshed recently, I decided to give the back door a fresh coat of paint. In addition to repainting the door, I also painted the trim around the door, which is a trick to make the door appear larger. Here is how to paint an interior door and trim black. I’m loving it so much!
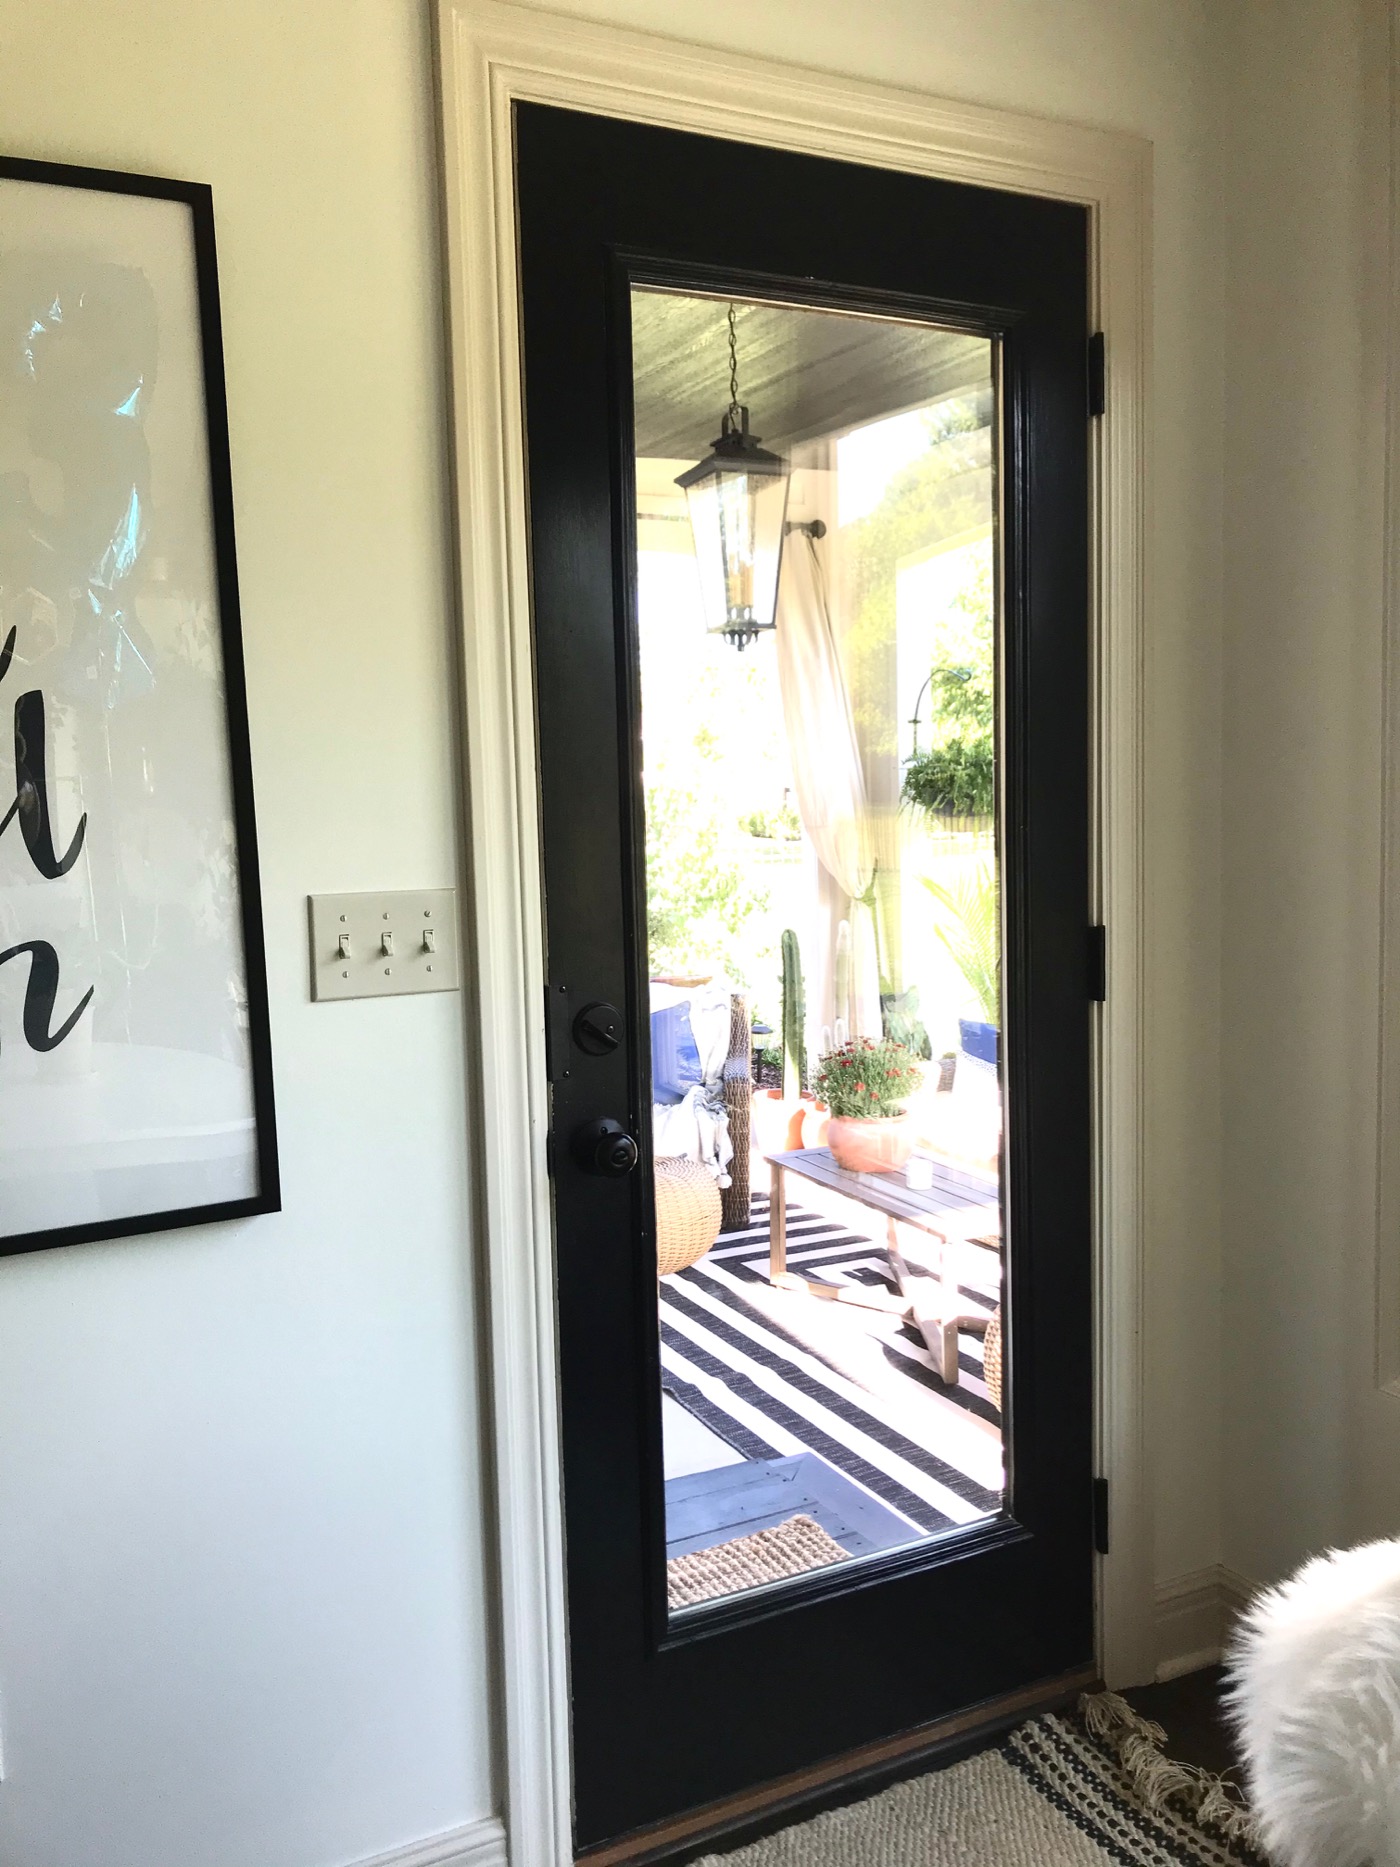
The Door Before
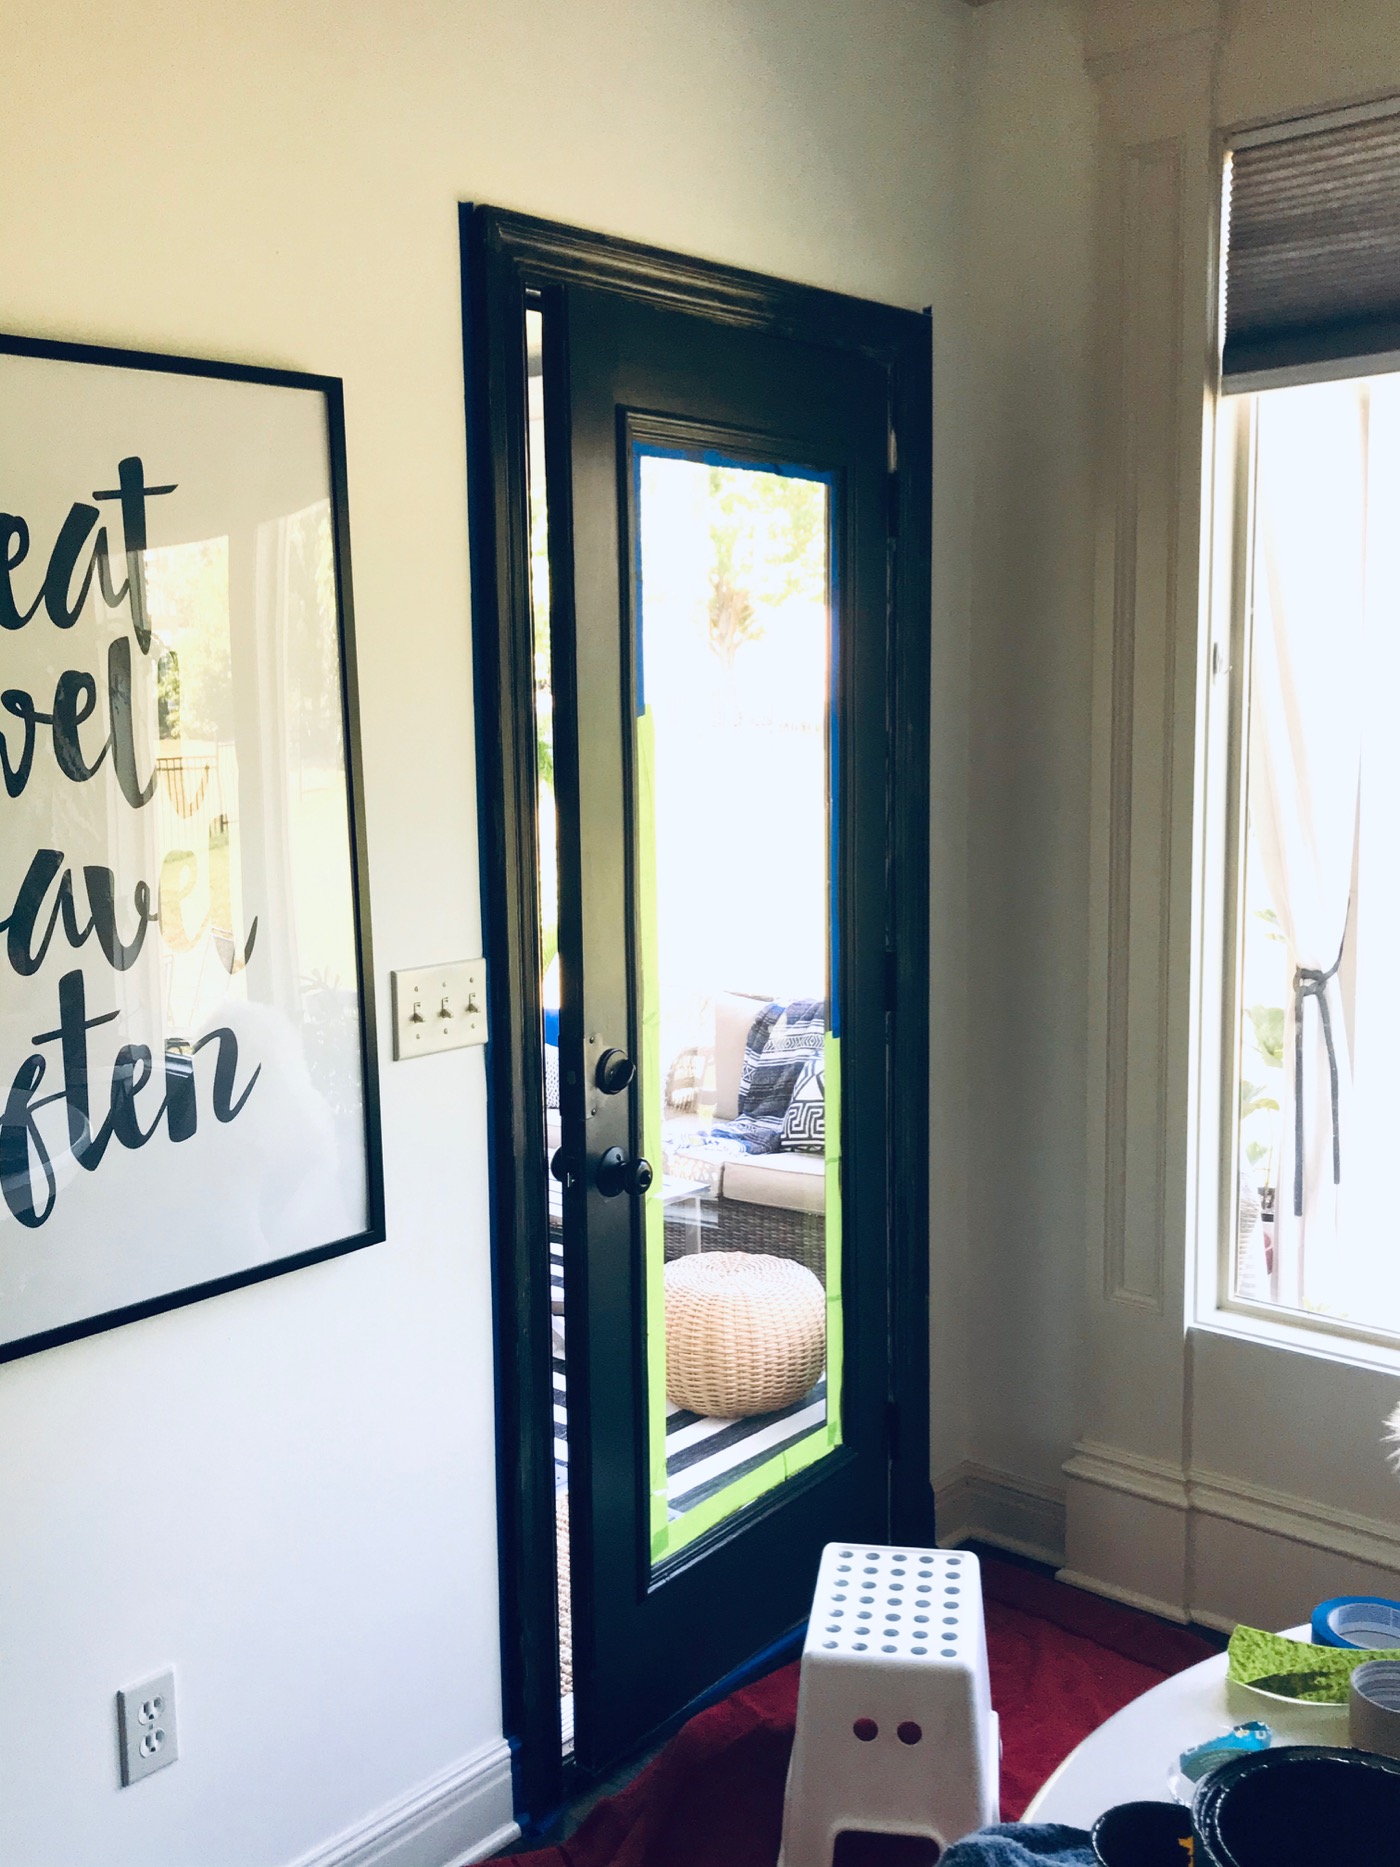
You can see the door before I got started. I think the original color I painted it was called Black Fox. Because this door is mostly glass, the black was just a small punch. Painting the trim makes such a bigger impact in this space!
Supplies Needed
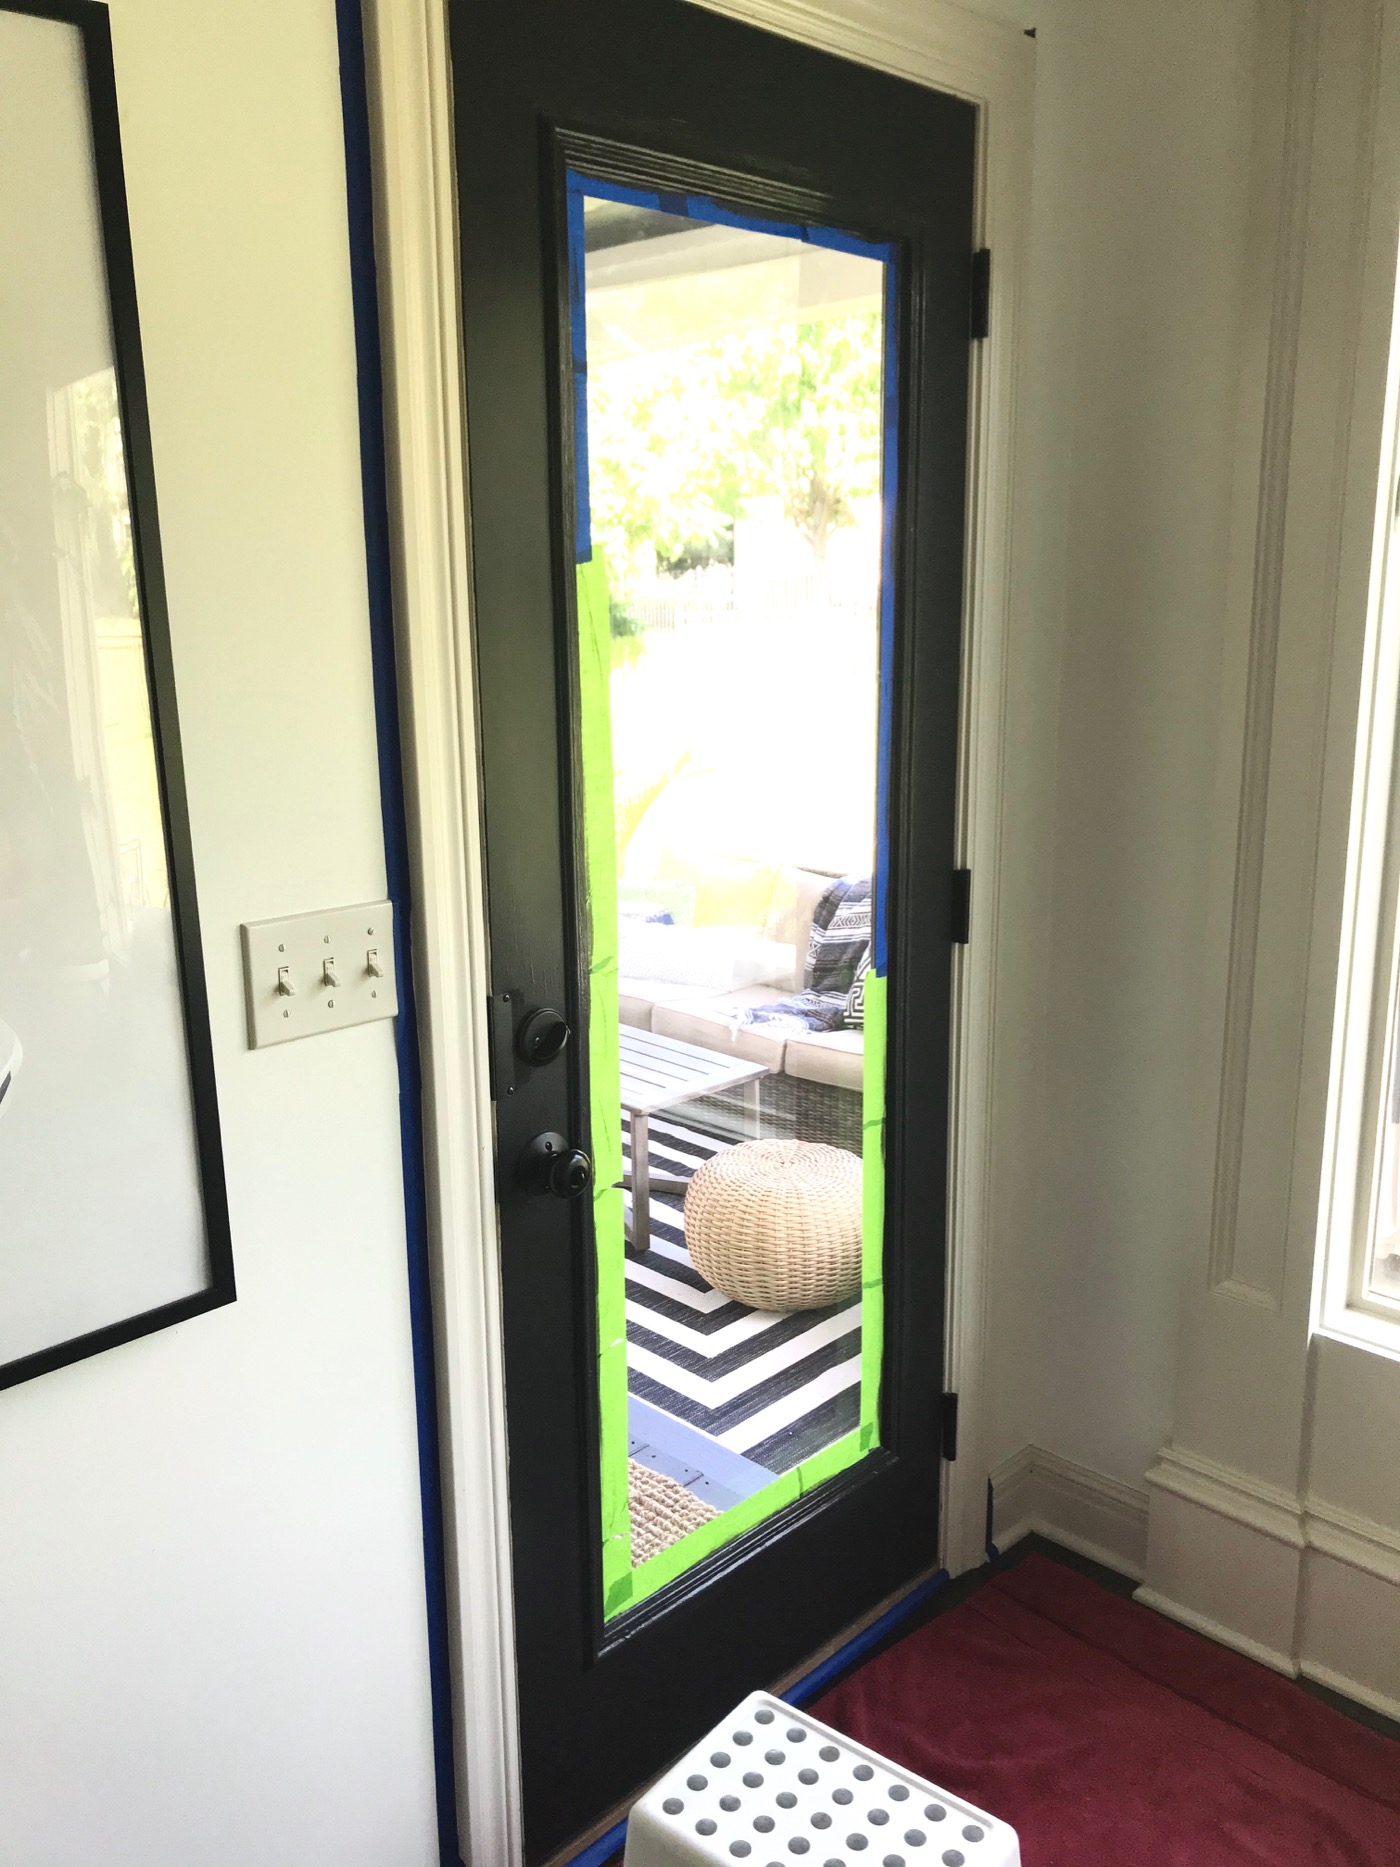
Let’s get started! First, I wiped down the door and the trim with a wet rag and a little Dawn dish soap. Next, I gathered my supplies which included a step stool, paint, brushes, a towel, and painter’s tape. Using painter’s tape helped so much in this instance because I was painting around glass and painting in small spaces near that corner. This step is worth it to me! I already had all the supplies and the paint, so I’m counting this project as a FREE one!
Paint Color
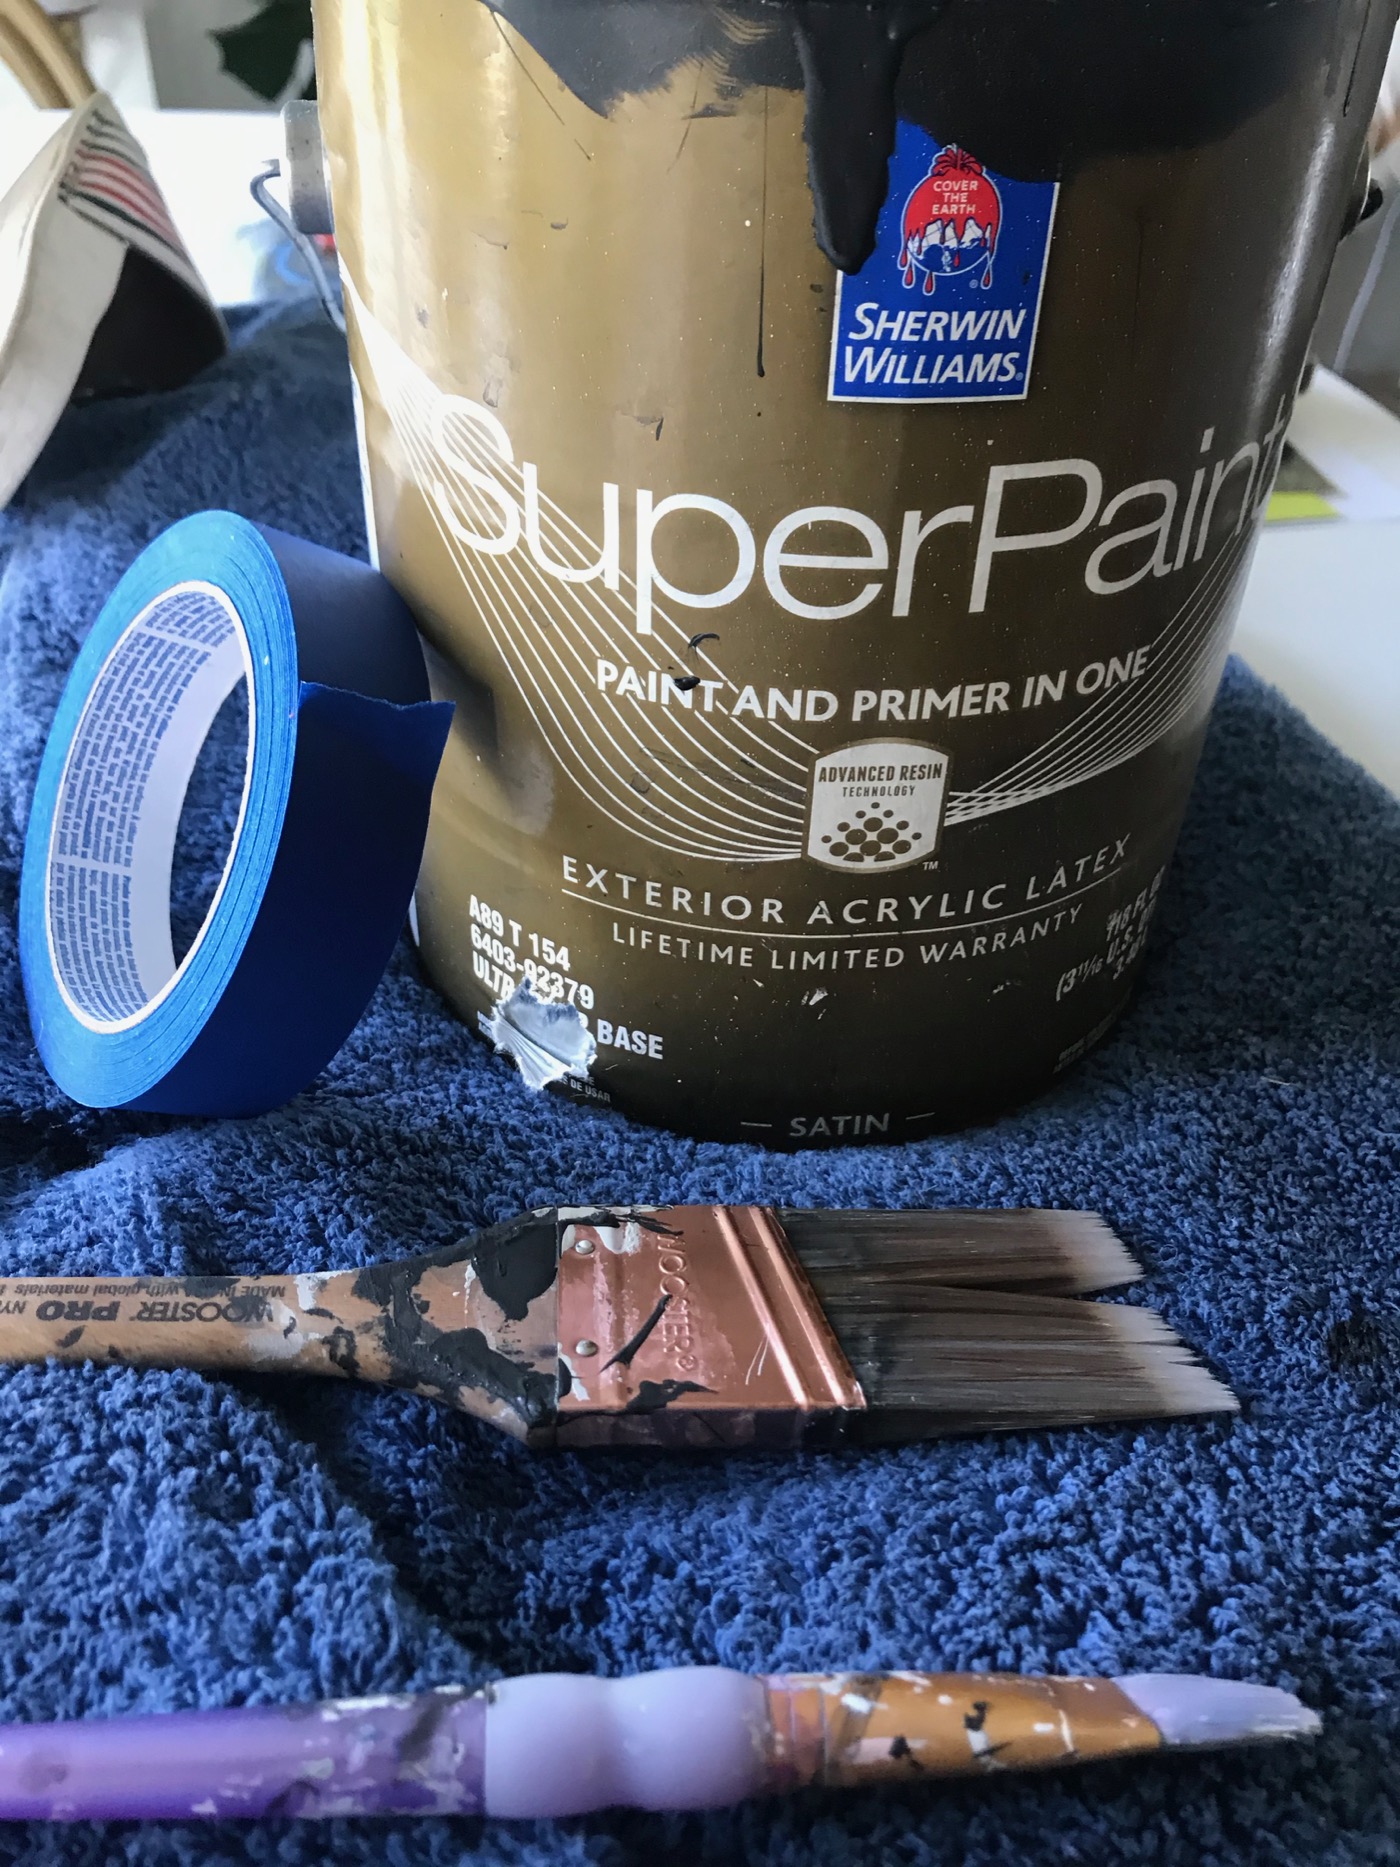
We recently had the exterior of our home repainted. The accent color we used was Benjamin Moore Graphite (tinted and purchased at Sherwin Williams). This is a very deep and rich dark charcoal. It looks “almost black” but doesn’t appear harsh, which I why I love it so much. We had a lot of leftover paint from the exterior, so I decided to just use it on the inside door too! I DID NOT prime the door or the trim. Because this door is mostly glass, I decided to just use brushes to paint everything. I used a medium sized brush for the larger parts of the door and trim, and a small art brush to get inside all the small nooks and crannies.
Painting the Door and Trim
I kept the door ajar during the painting process, but this paint dries very quickly! This whole project, including two coats of paint, only took a few hours, including dry time. Using the door as my guide, I painted up and down on the long sides, and side to side on the short side. This paint blends well and doesn’t show a lot of paint strokes. Maybe this has something to do with it being made for exteriors? I’m not sure but I love the coverage! I did the same thing with the trim and even though the trim was white, it still only took two coats to cover it.
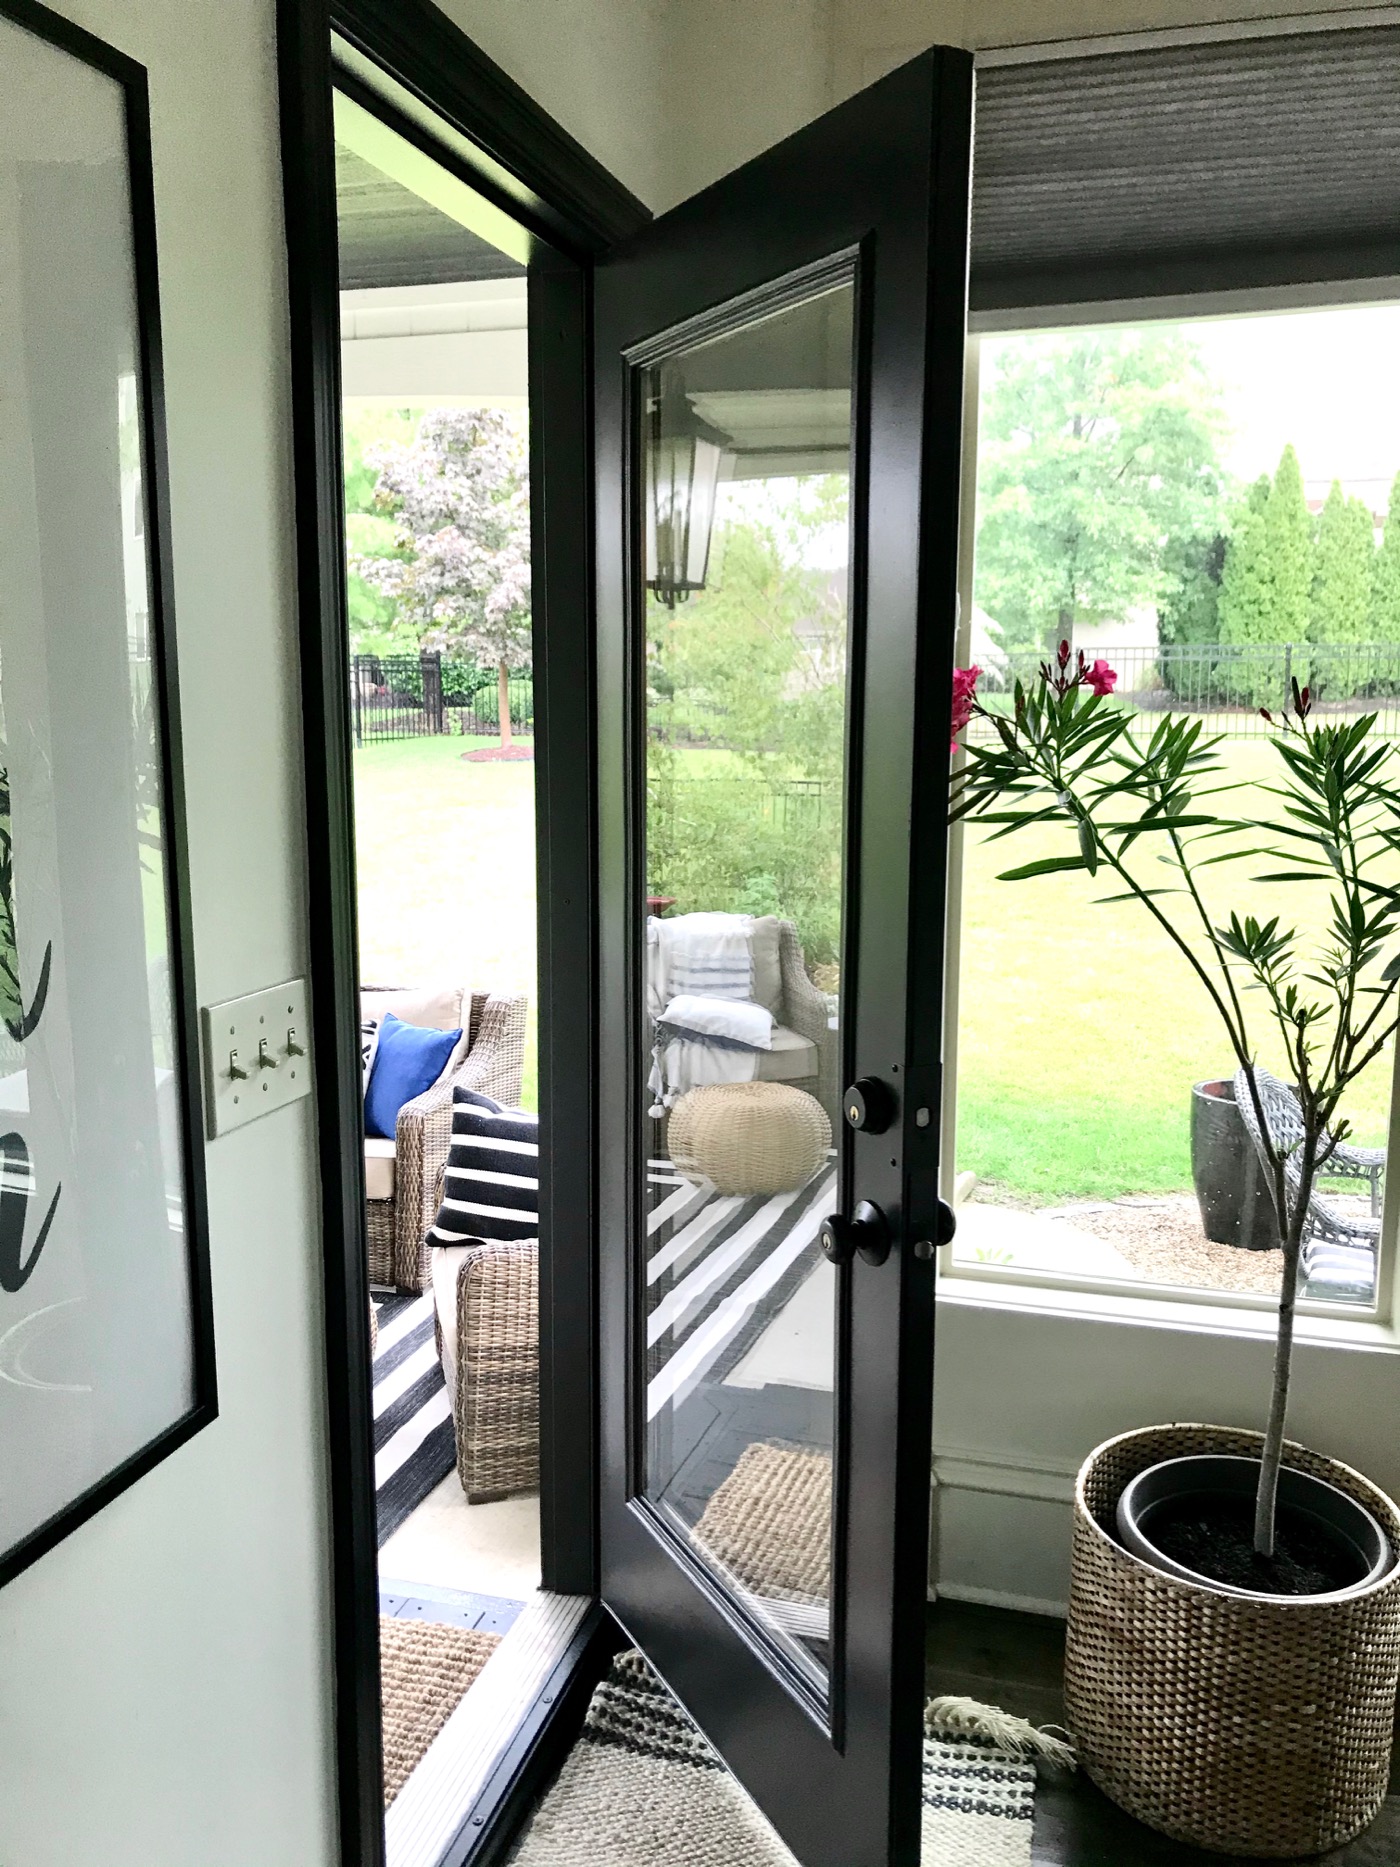
After the two coats were applied, I went back through and touched up the whole door as needed and removed the painter’s tape. Painting the trim made such a difference! It’s so much more bold and custom looking now. And the glass door looks so much larger!
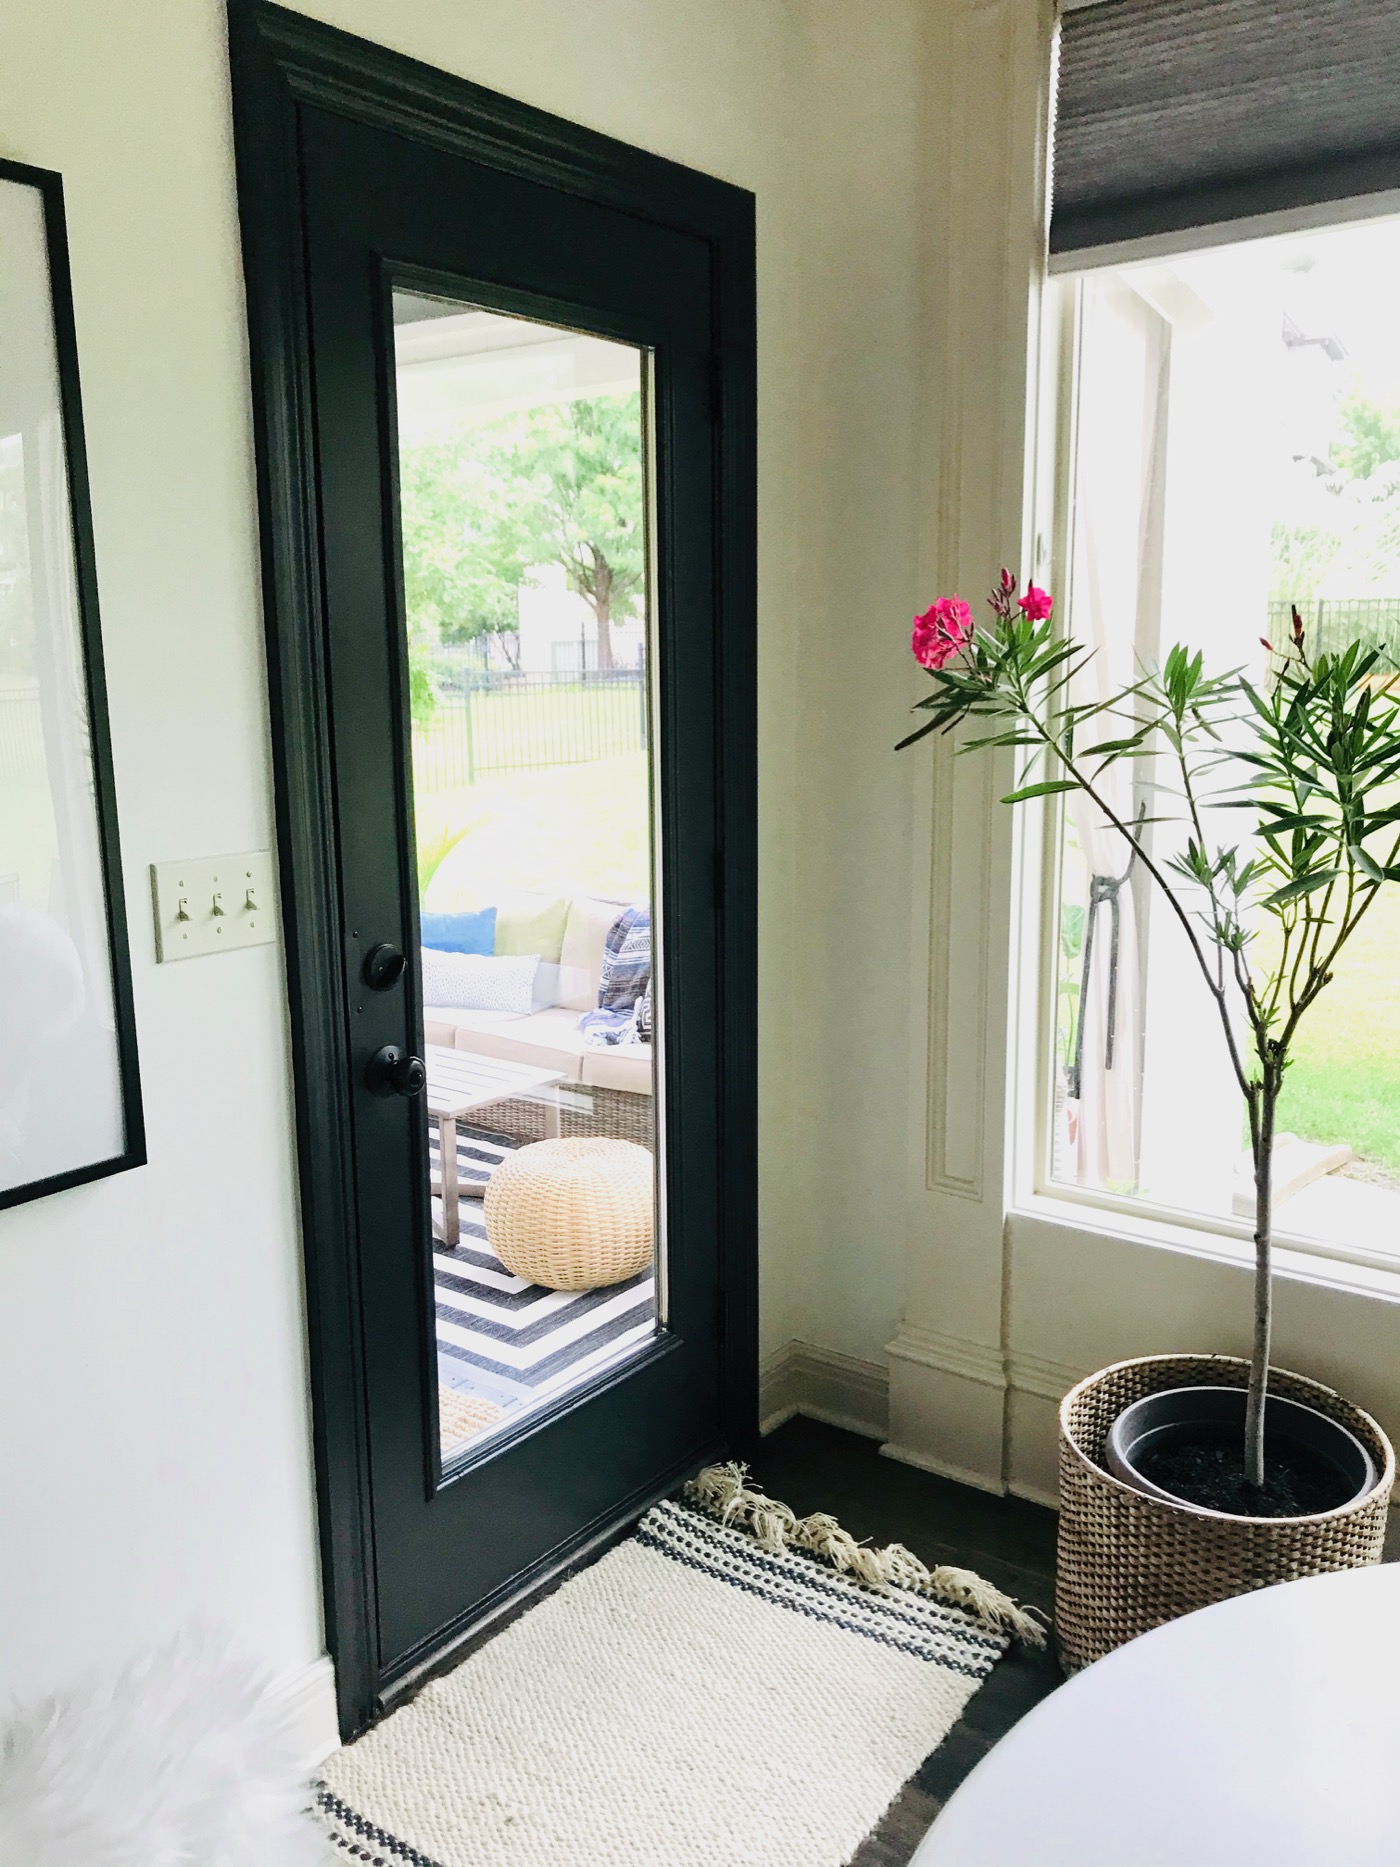
The painter’s actually painted right over the door hardware in the back to make it look seamless. I used the small brush to get around the door handle on the inside and just left the original finish. I hope you found this post on how to paint an interior door and trim black helpful. The POWER OF PAINT is so amazing to me! XO