Here is a DIY tutorial on how to update your fireplace! This one required very little effort to get maximum impact. I love when that happens! We recently painted our entire first floor white. During that process I also started thinking about how I could change up our fireplace a little. We have lived in our home for 7 years and I’m having the urge to switch things up! It’s done and we LOVE it! Here’s how to paint tile around a fireplace to give it an updated look.
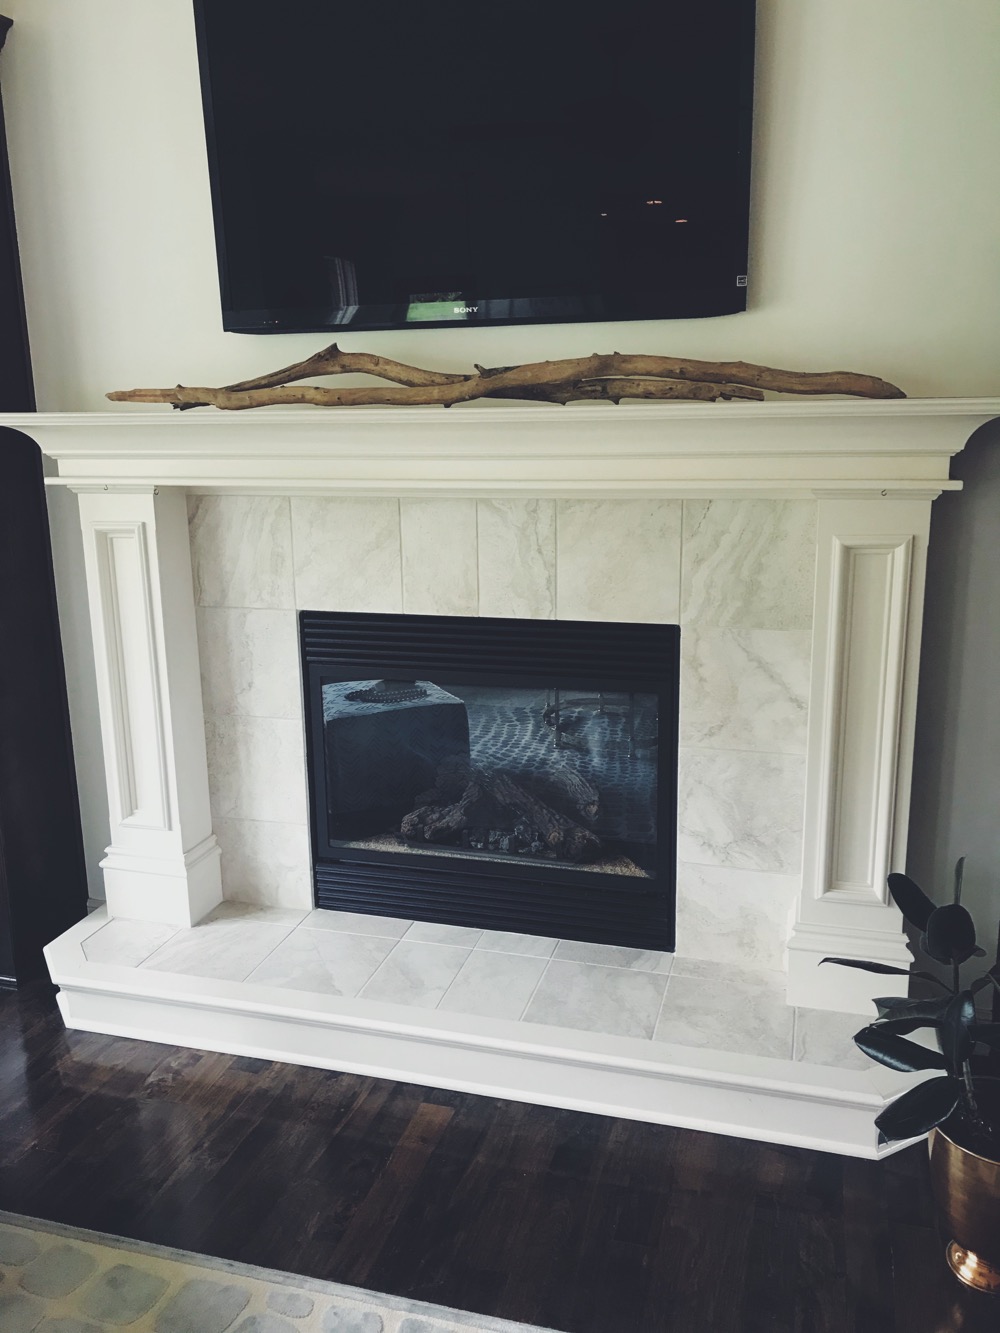
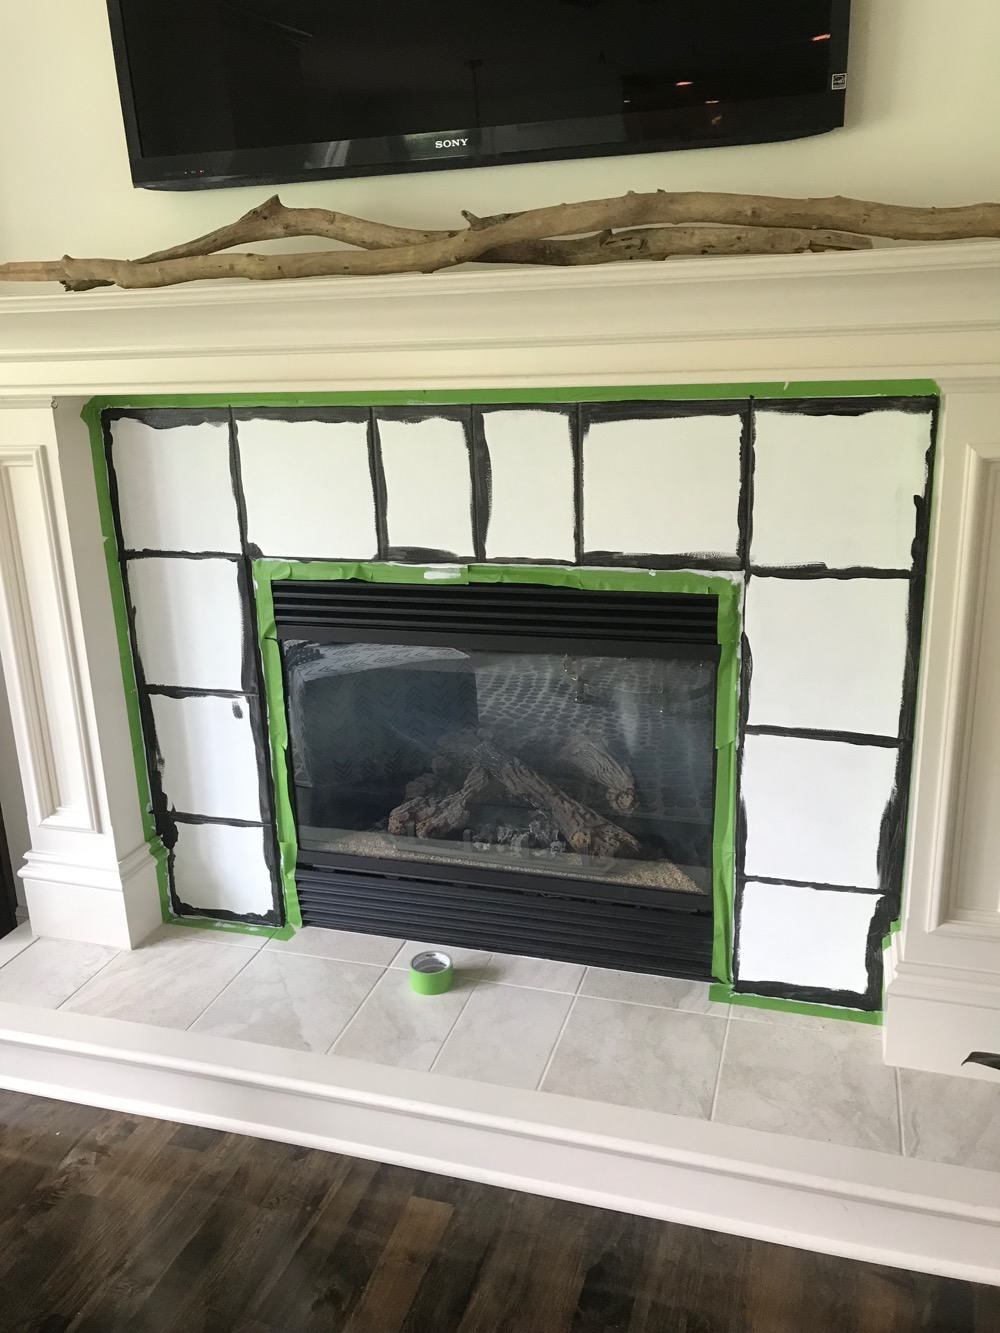
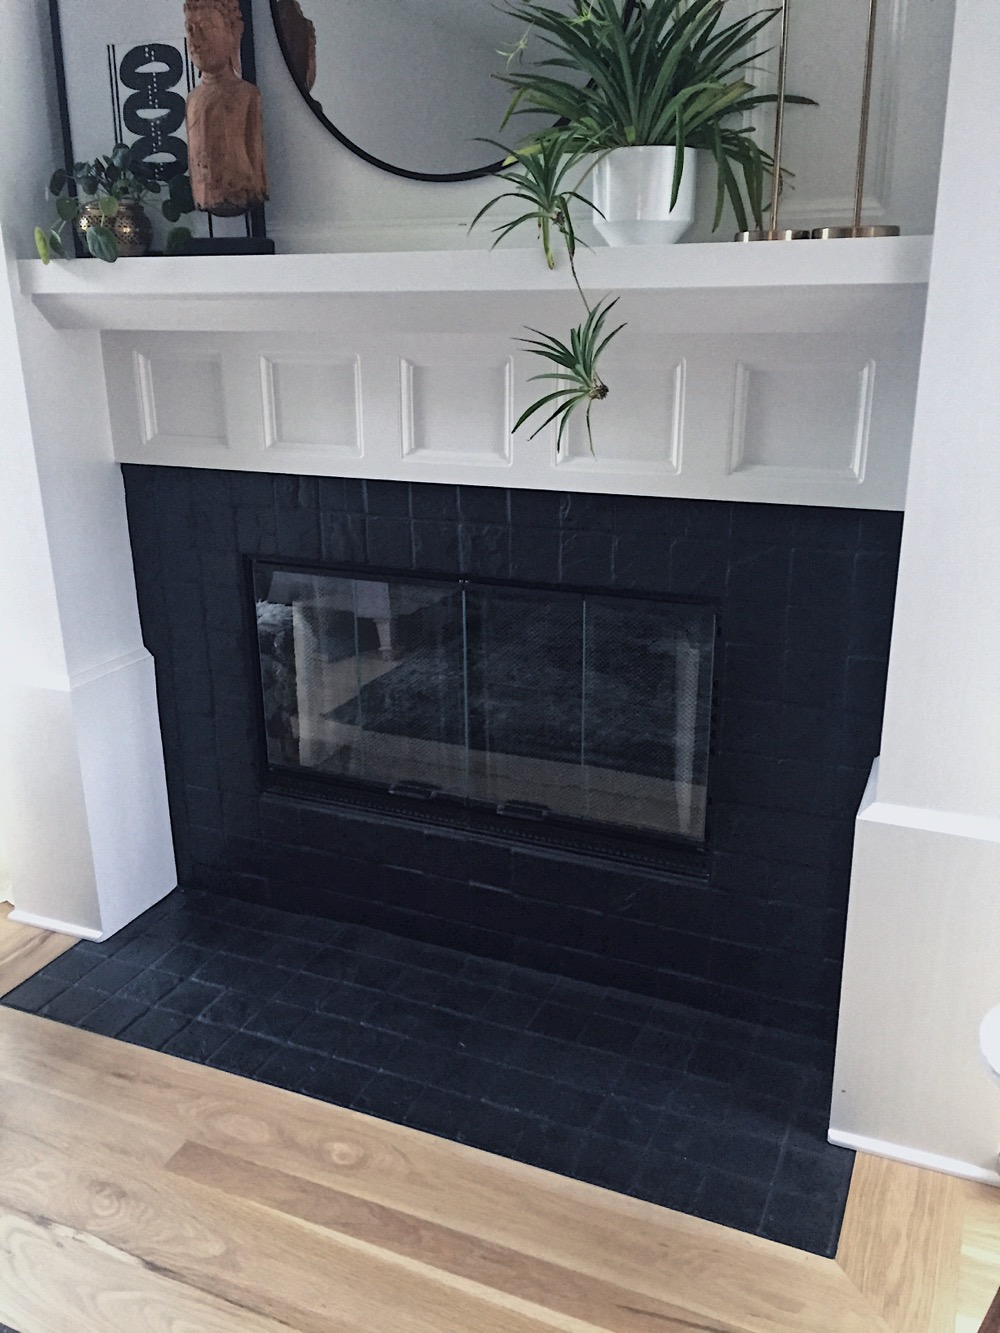
Here is the before pic. It’s not terrible at all. The fireplace and mantel is large scale which I love, but the tile surround is sort of cheap and builder grade, nothing fantastic. Our fireplace is a flip-the-switch gas fireplace that we do use often in the winter. My sister thought that painting the tile around the fireplace would make that part actually look bigger if it was all the same color. In this case, black. Also my favorite color.
Items Needed to Paint Tile
When my sister had her house repainted recently, her painters painted right over her existing tile so I knew it could be done!
Here’s what I used for this project:
- painters tape (I use Frog Tape)
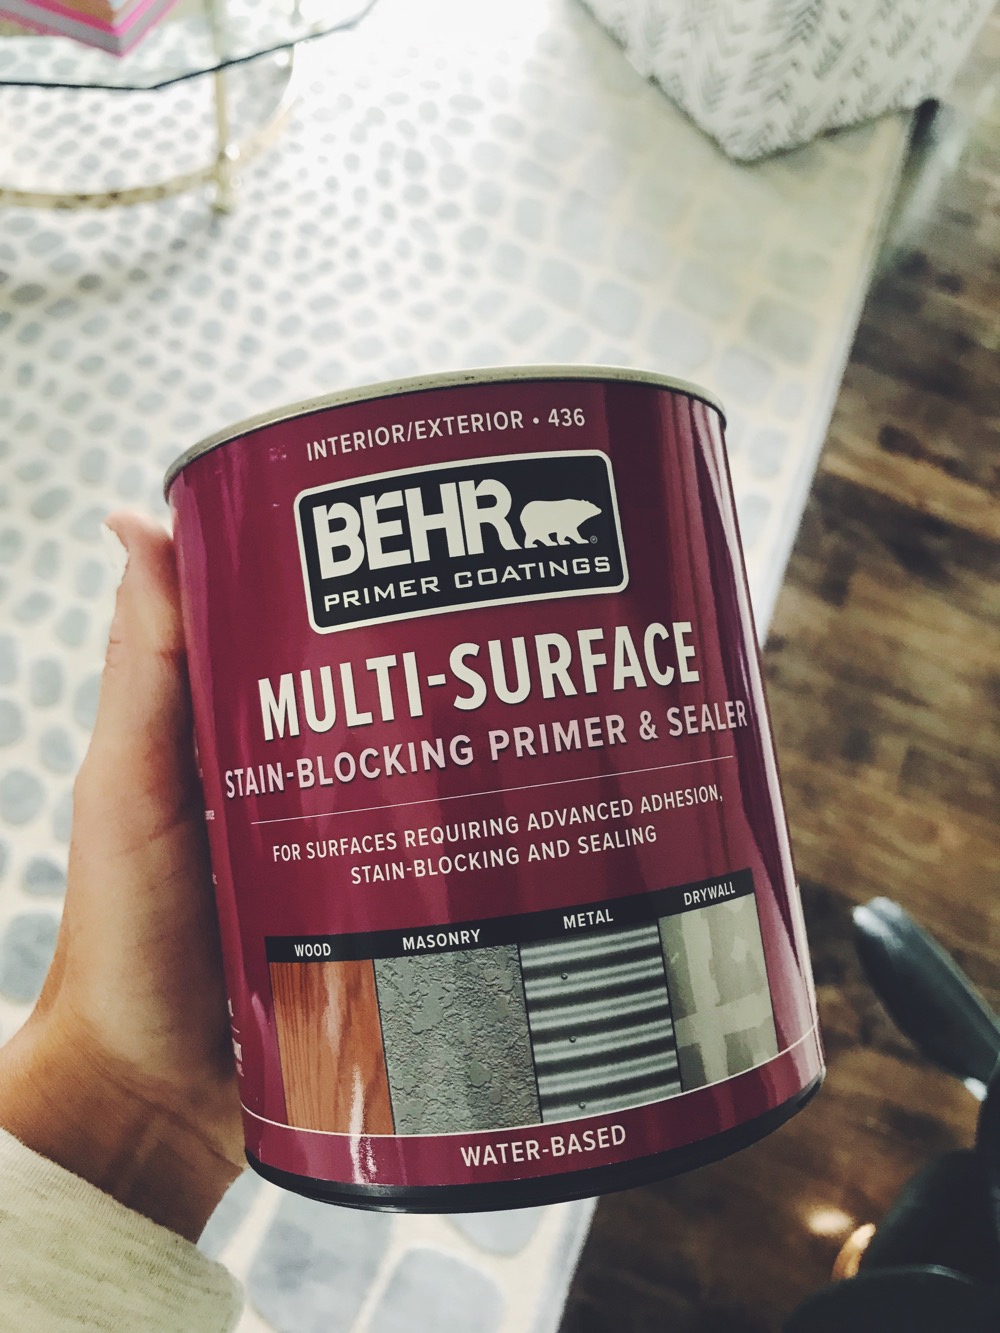
- primer
- paint
- paintbrush and roller
Prepping the Tile for Paint
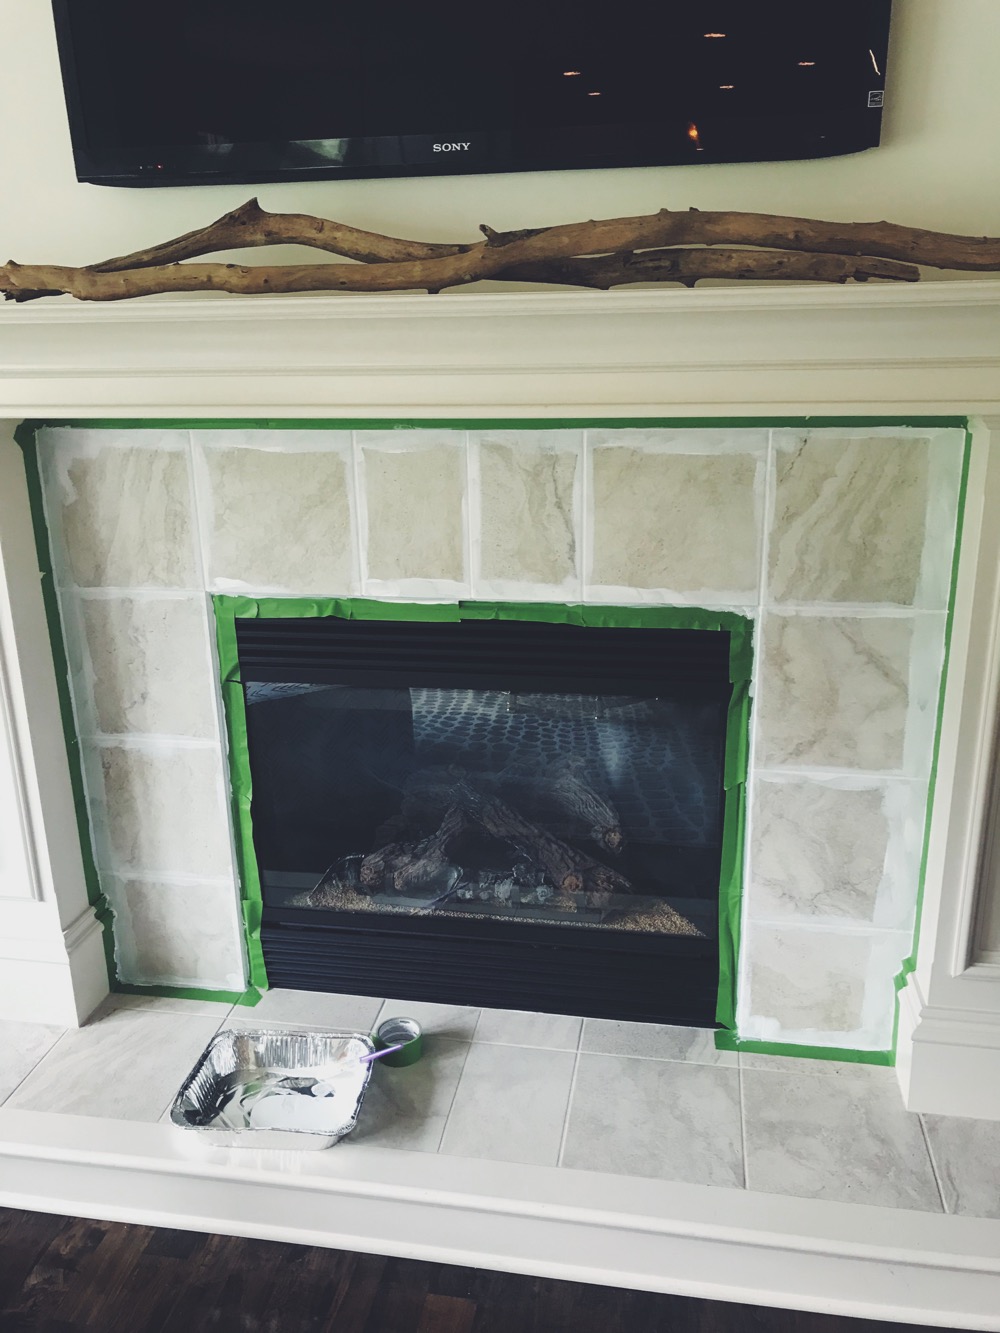
First up, I cleaned the tile with soap and water and let it dry. Then I started taping. I decided to leave the tile on the step unpainted and only paint the fireplace surround. Taping is an extra step, but I really wanted to protect the trim and fireplace surround.
Adding the Primer
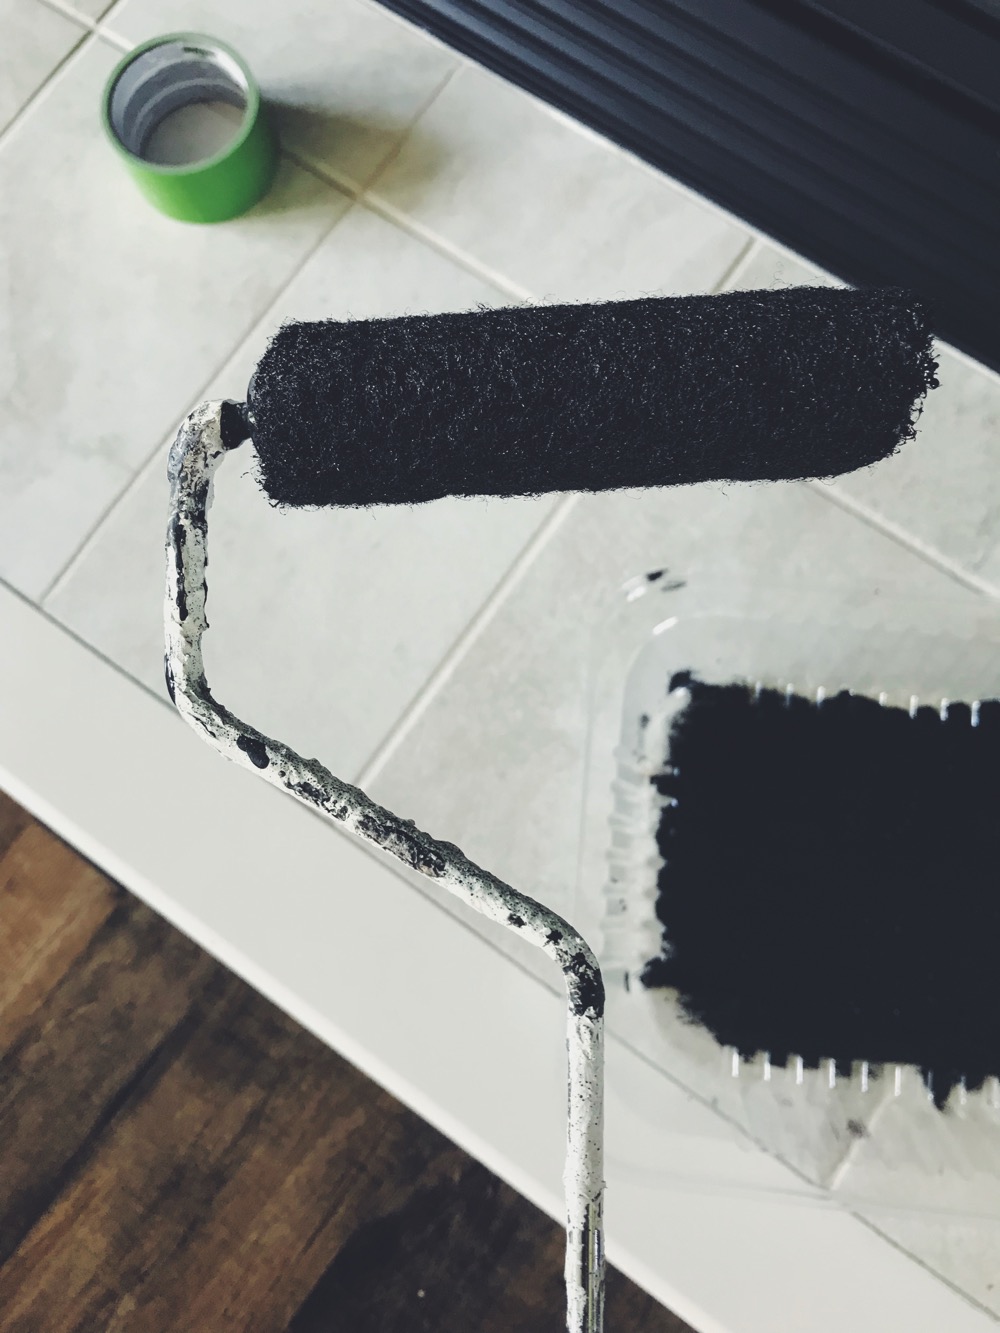
I started with two coats of primer, allowing drying time in between. I used a small brush to make sure the grout and the edges were covered with primer. Then I rolled the primer on the rest of the tiles.
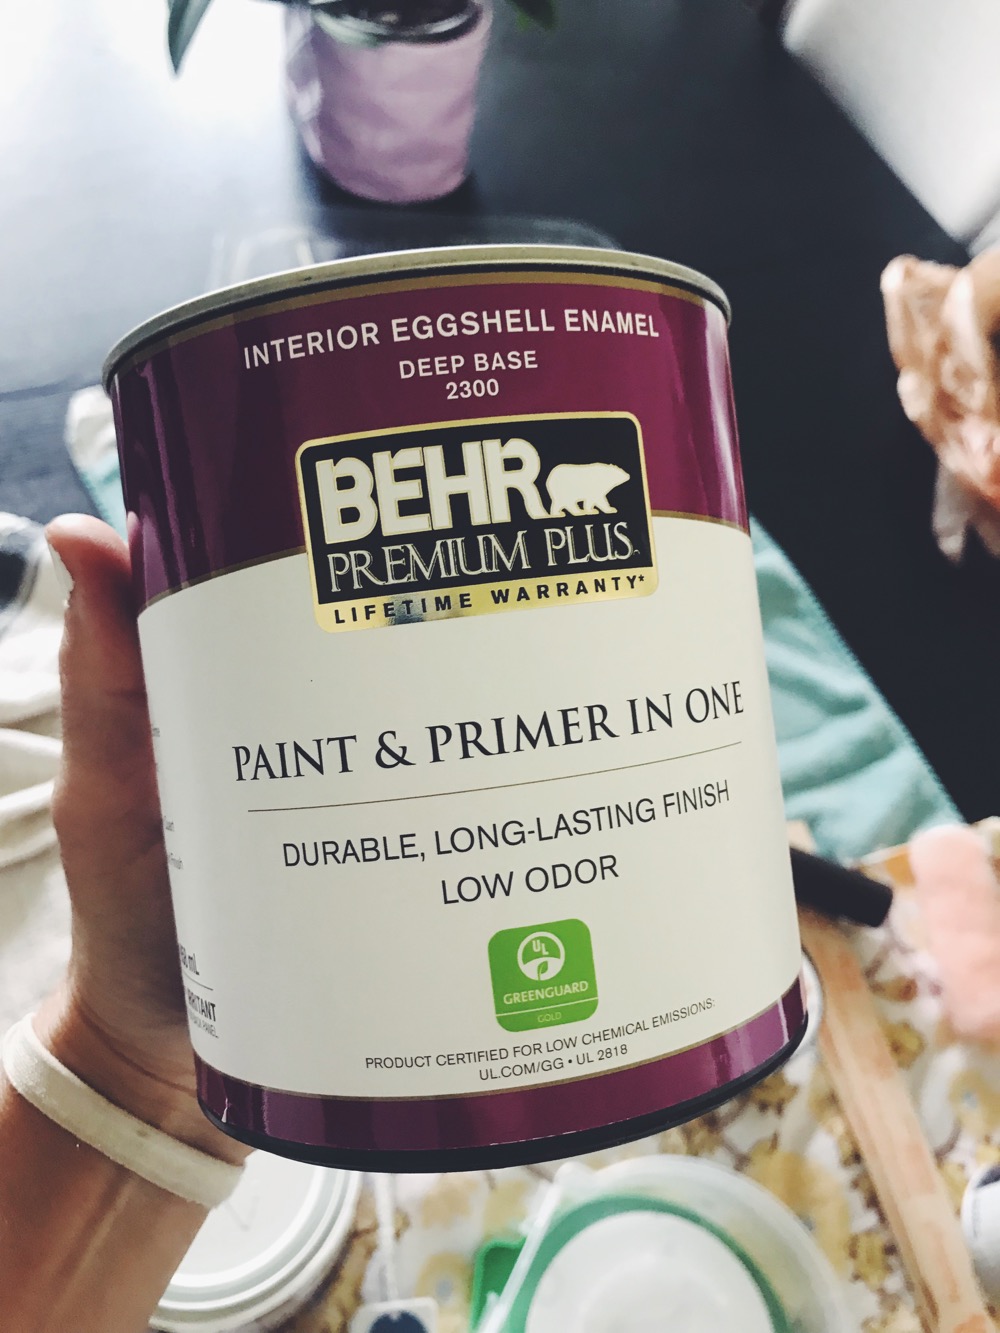
I used Behr primer from Home Depot. The primer stuck to the tile with no problems. In doing some research on painting tile, I read that a lot of people sanded the tile before added primer and paint. I decided to skip that step and have no regrets!
Paint the Tile
After the primer was dry, I added two coats of paint, letting each coat dry in between. I used the color Tricorn Black (Sherwin Williams), but had it mixed in Behr paint. The finish of the paint was eggshell. I used a small brush for the grout and edges again and then rolled the rest.
Remove the Tape and Touch Ups
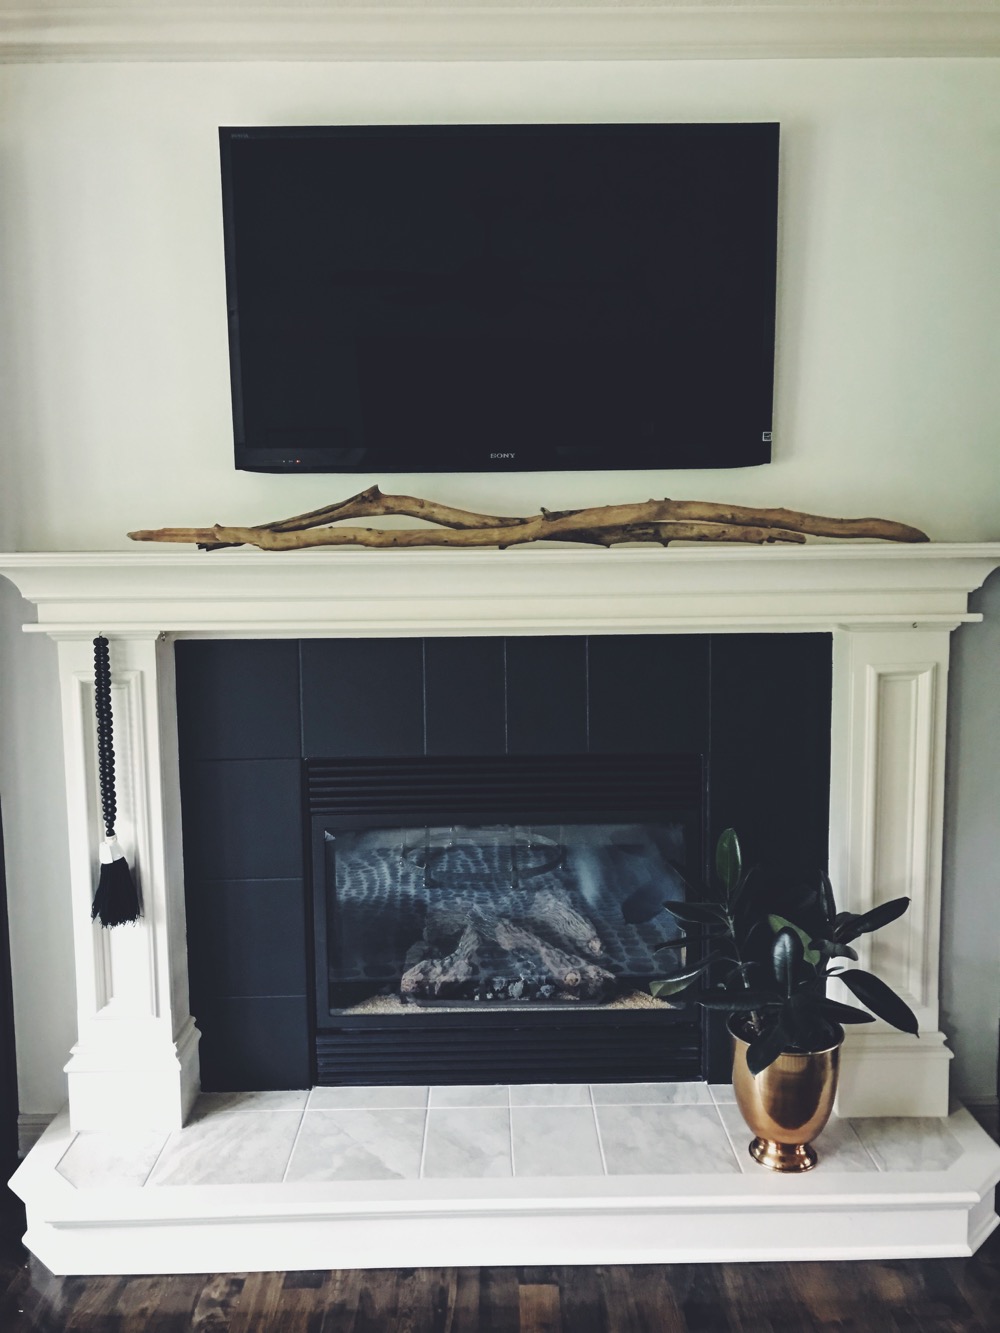
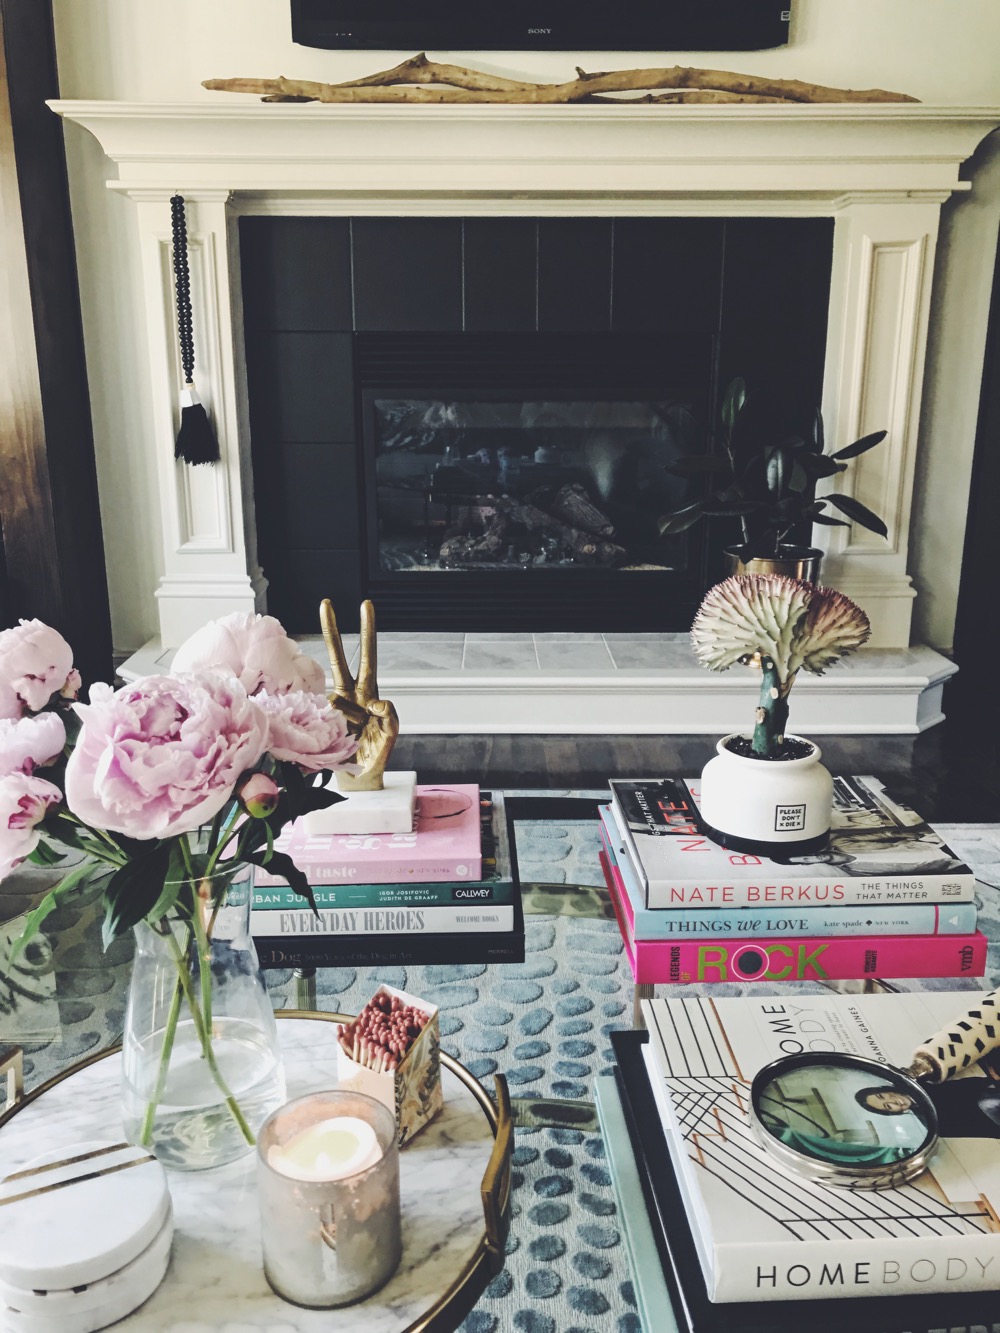
After the two coats of black was painted, I started to carefully remove the painters tape. For the most part, the tape worked great! I did have to use the brush to do a few touch ups. The fireplace is SO MUCH MORE DRAMATIC now! I just love it! Even my 11 year old son told me how much he loved it and he doesn’t care about any of this stuff! Ha!
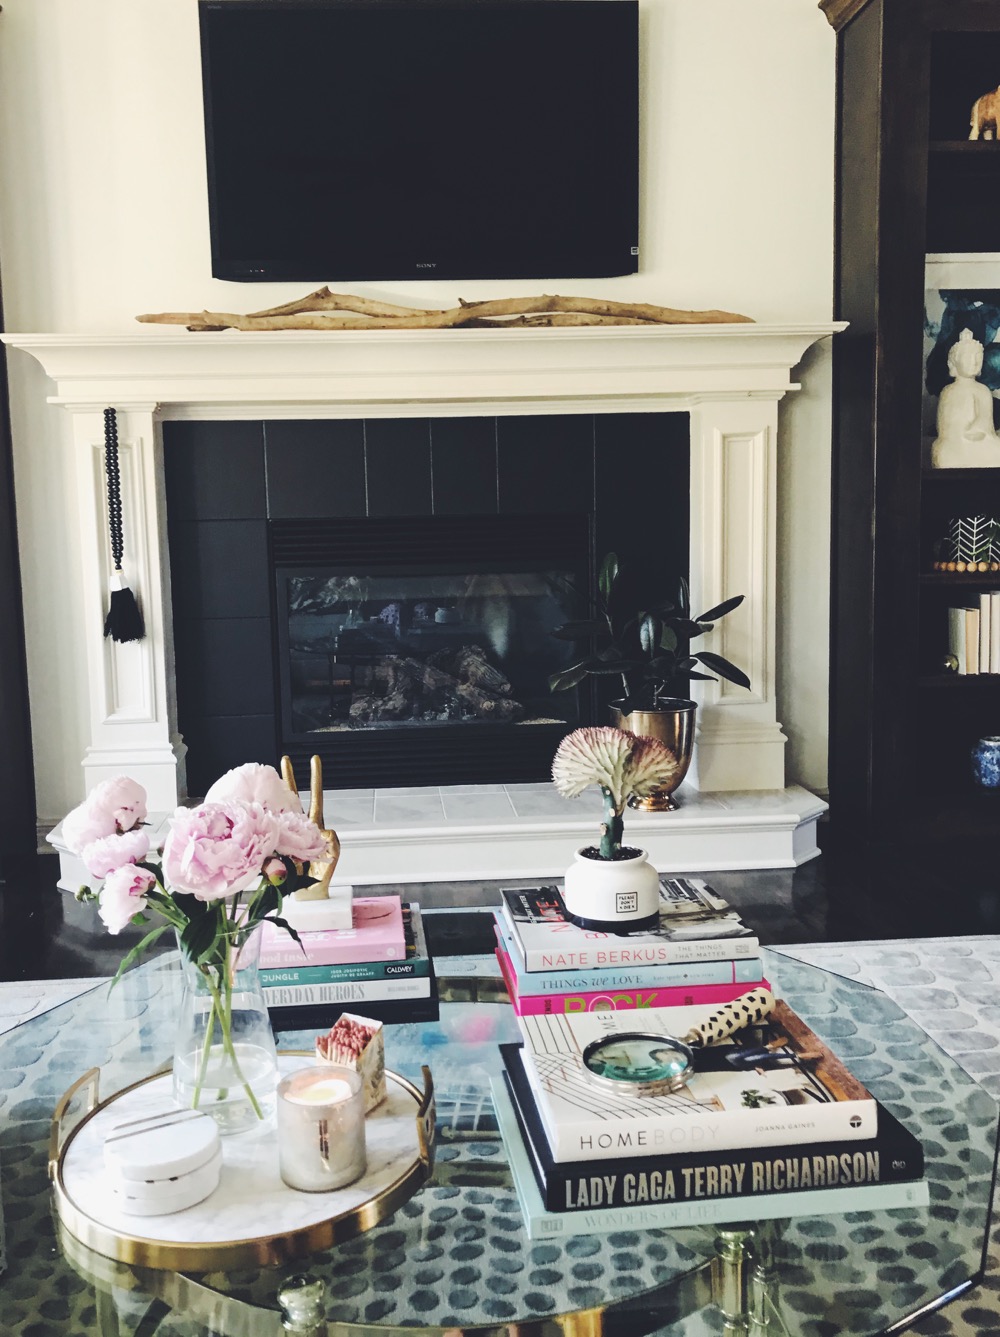
I love the contrast of black and white and how well black can ground a space. It keeps everything from being too sweet. This project took absolutely no time at all. Minimal effort, maximum impact!
In case you are curious, I wanted to show you my sister’s before and after to show you the impact a little paint can have on a space! This was a photo from the house when they bought it.
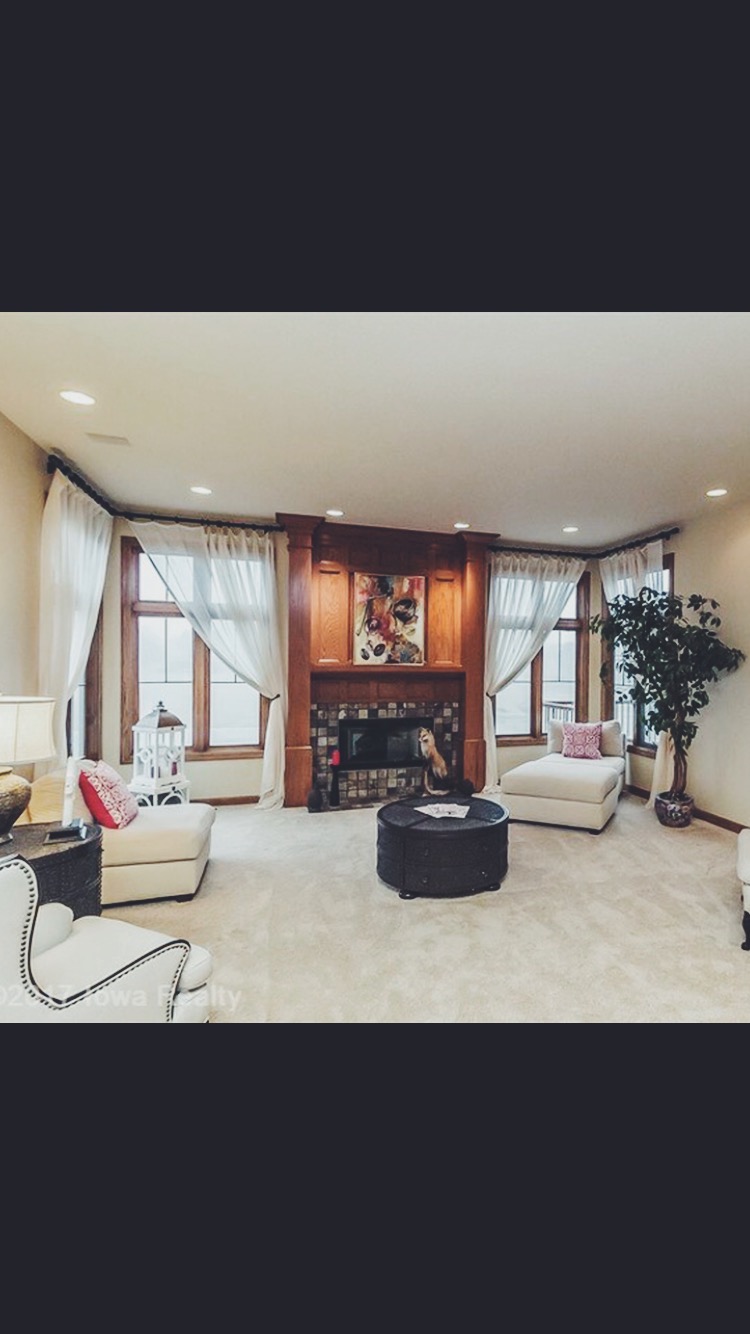
And this is what her fireplace area looks like after a little paint. Crazy, right!
I had a hard time finding a lot of inspiration pics and blog posts for this project. So, I hope this helps with how to paint tile around a fireplace. I’m so glad we just went for it. XO