Well, it’s only taken me five years to blog about these drop cloth curtains. I still have people ask me about these all the time, and I have seen several neighbors put these up at their own homes. I found this idea on Pinterest. I am well aware that there are a million tutorials in the blogosphere about these, but here is my shortened version. Just message me if you have additional questions! Here’s how to make DIY drop cloth curtains.
The Purpose of Curtains on the Patio
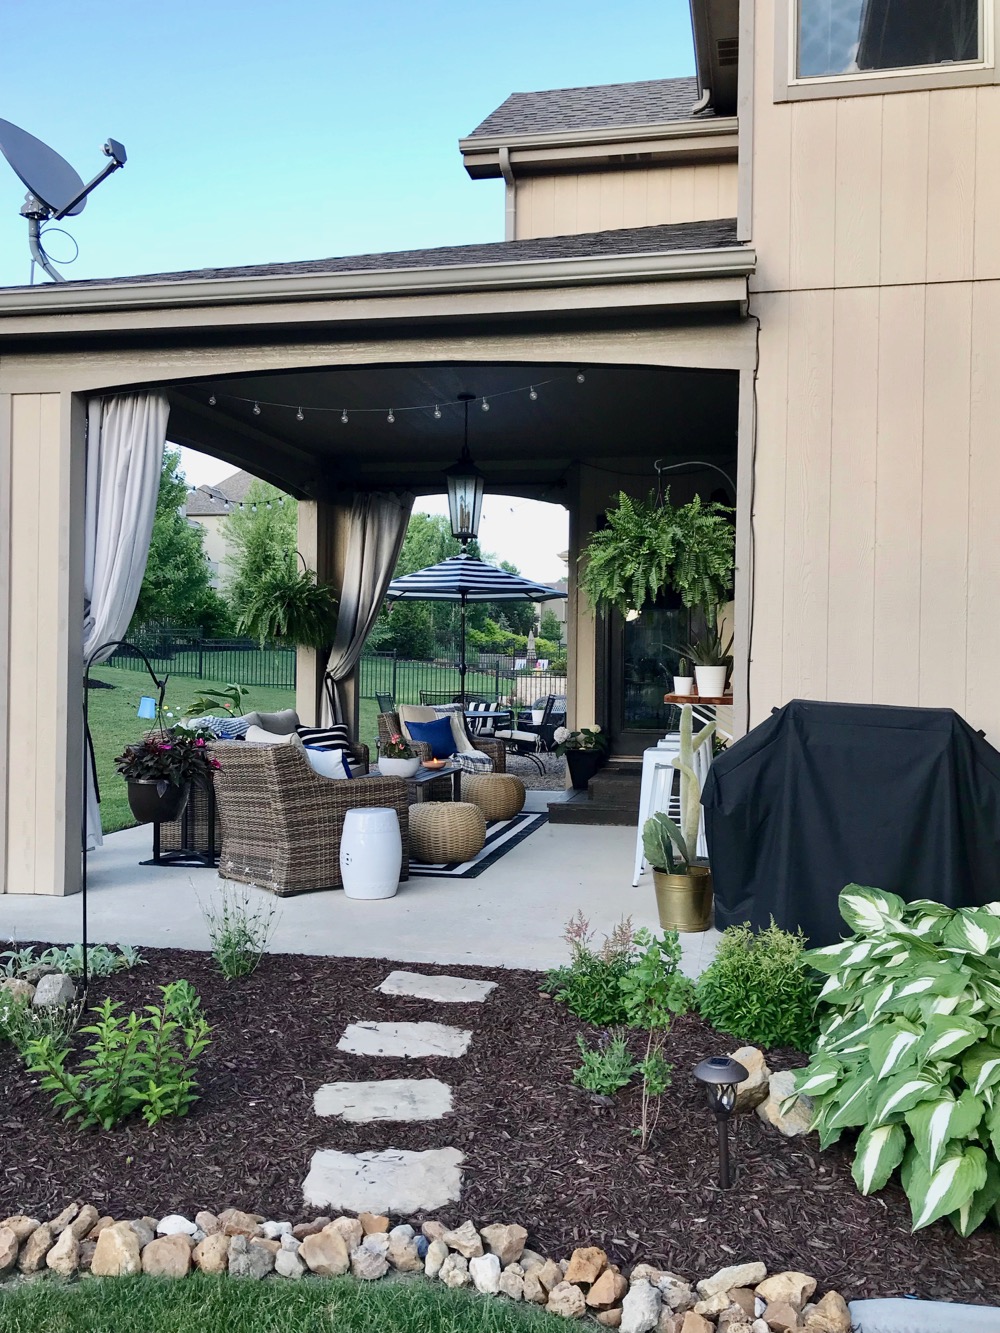
Not only did we want to add curtains to our covered patio space to make it aesthetically pleasing, we also really NEEDED them! Our home faces south, so when the sun begins to set, the sun is shining right on into our back patio. It was difficult to even be out there at the dinner hour and we never wanted to eat dinner outside. I also love to drink coffee out here in the morning when the sun is starting to come up, also causing glaring sun in my face on the opposite side of the patio. These curtains have absolutely done the trick to help combat the sun and heat! We pull these and use them all the time!
How to Hang the Curtains
We decided to just use two curtains, on the east and west sides of the covered space. To start, we needed something to hang the curtains from. We spent less than $50 for two long pipes that screw into corner connectors. We measured the space before purchasing, deciding how far we would like to be able to pull the curtains when in use. My husband drilled screws right into our covered space.
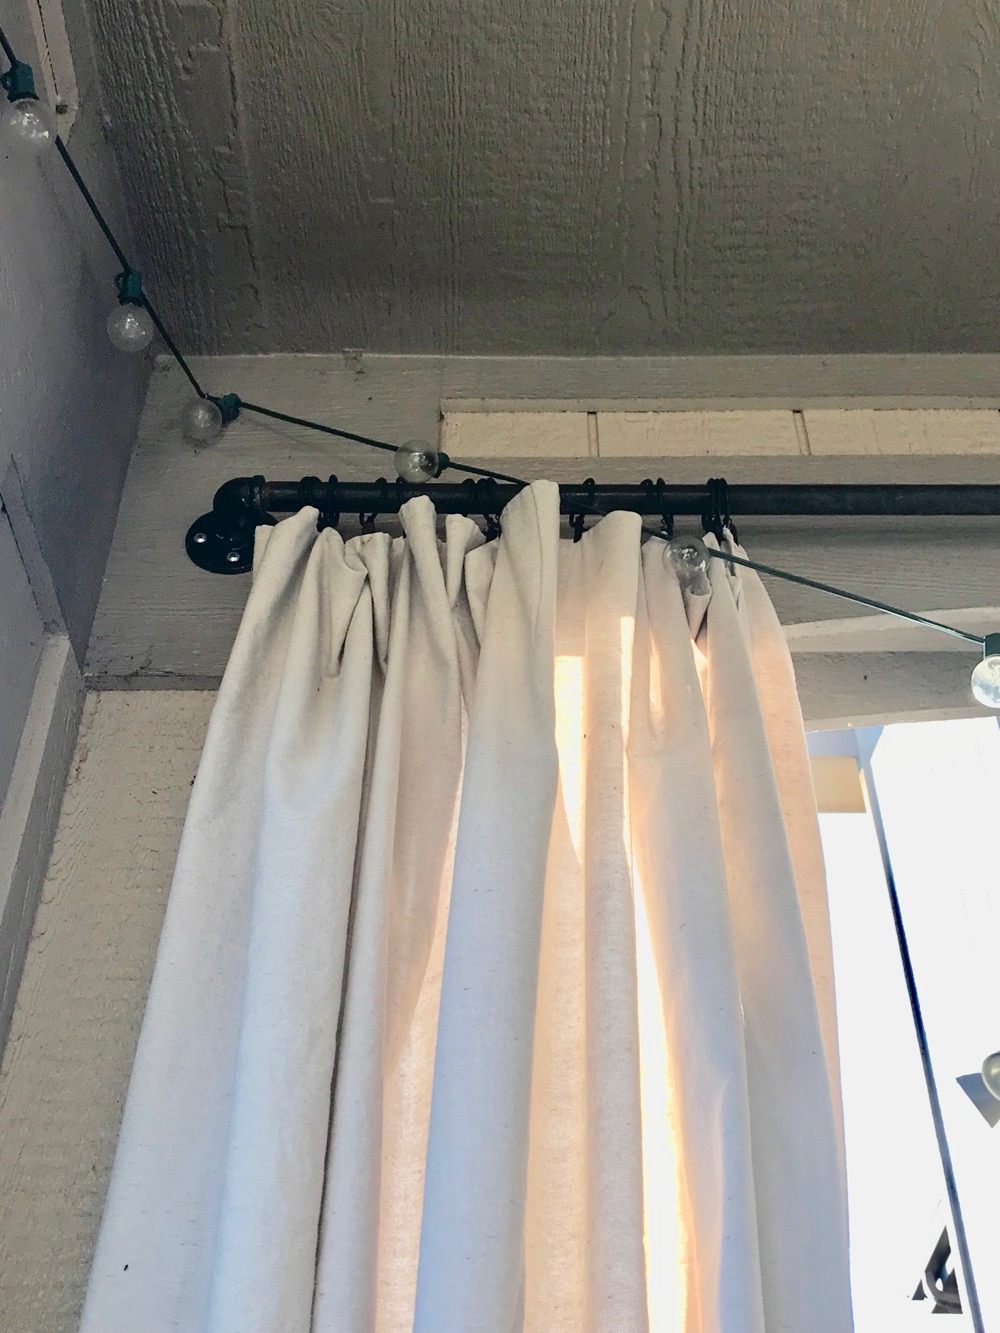
Curtain Clips
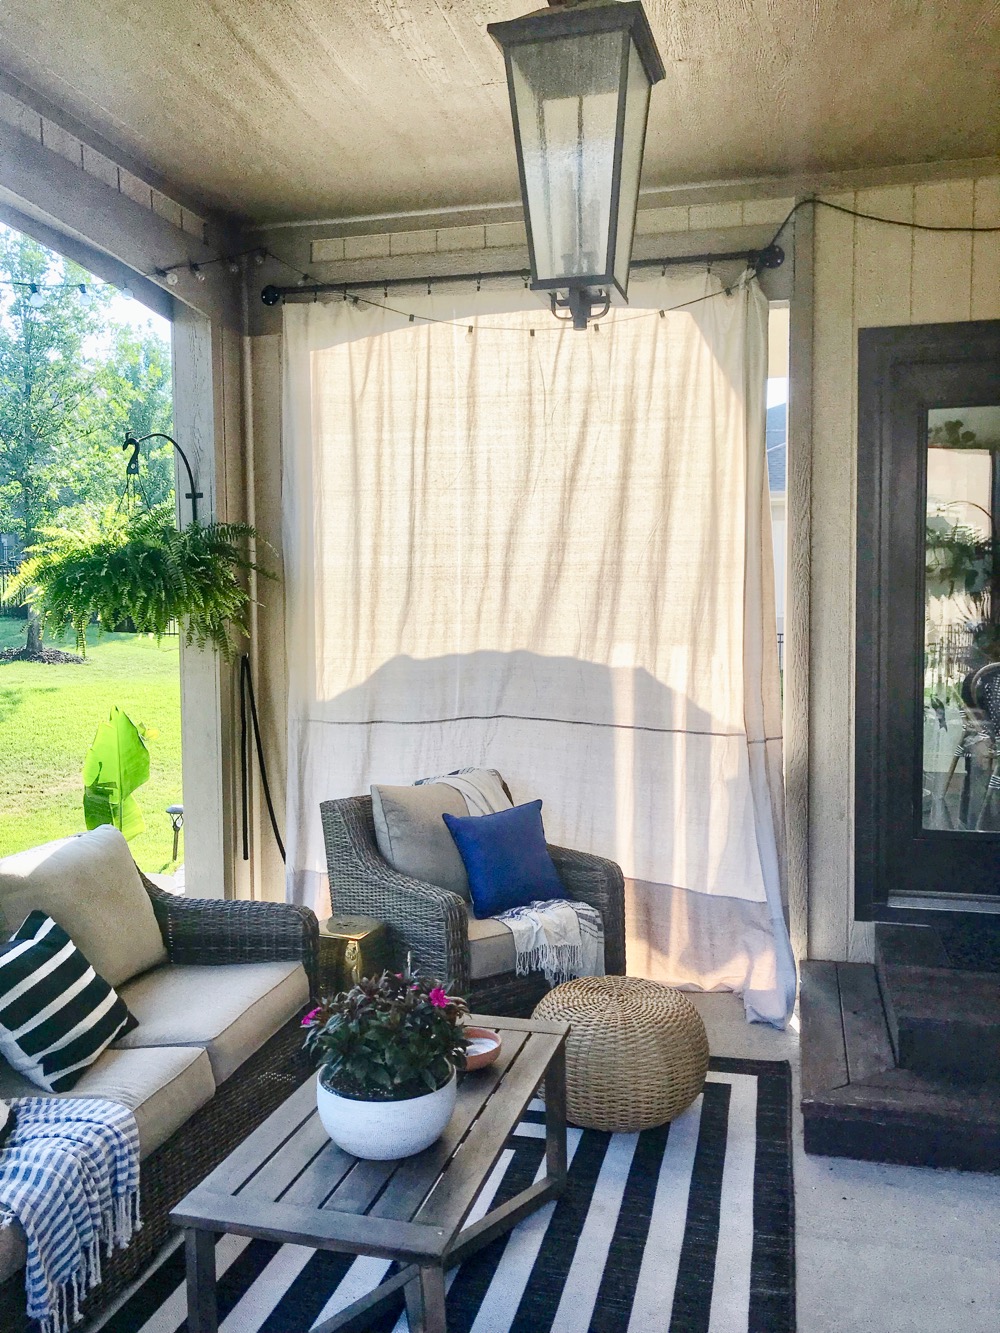
We slid curtain clips onto the pipe before finishing. Our curtains are around 8ft. wide, and we use around 14 clips per curtains to keep them secure. The pipes and the clips stay up all year long. We bring the curtains in for the winter and leave the clips. Here is a photo of the east facing side of the house, in the morning. You can see these curtain stretch all the way across the open space providing protection from the heat and sun. The kids and I read out here every morning too, and they work perfectly! Surprisingly the clips work great, never have issues with them.
DIY Drop Cloth Curtains
Once your pipes and your clips are ready, you can address the actual curtains. I purchased inexpensive drop cloths from Lowes. Again, we measured our specific space to see how wide and long we would need the curtains. To get the width we wanted, we had to get curtains that were too long for the space. I decided I would just no-sew hem the curtains to fit the space. I think some people are intimidated by this, but it’s so easy! Way easier than actually hemming something with a sewing machine! I spread out the curtain, pin and clip to the desired length, and then iron the no-sew tape on. This takes a little time, but is worth it!

Our curtains still brush the ground when they are not tied back. Keeping them a little longer allows us to add a rock to the bottom in case it’s windy and we need to keep them in place. Here is a shot of us putting them up in the spring. We eyeball how far apart to place the curtain clips. I also sprayed the curtains with some no-wet spray to help with mildew and mold, which is why they curtains look a little wet!

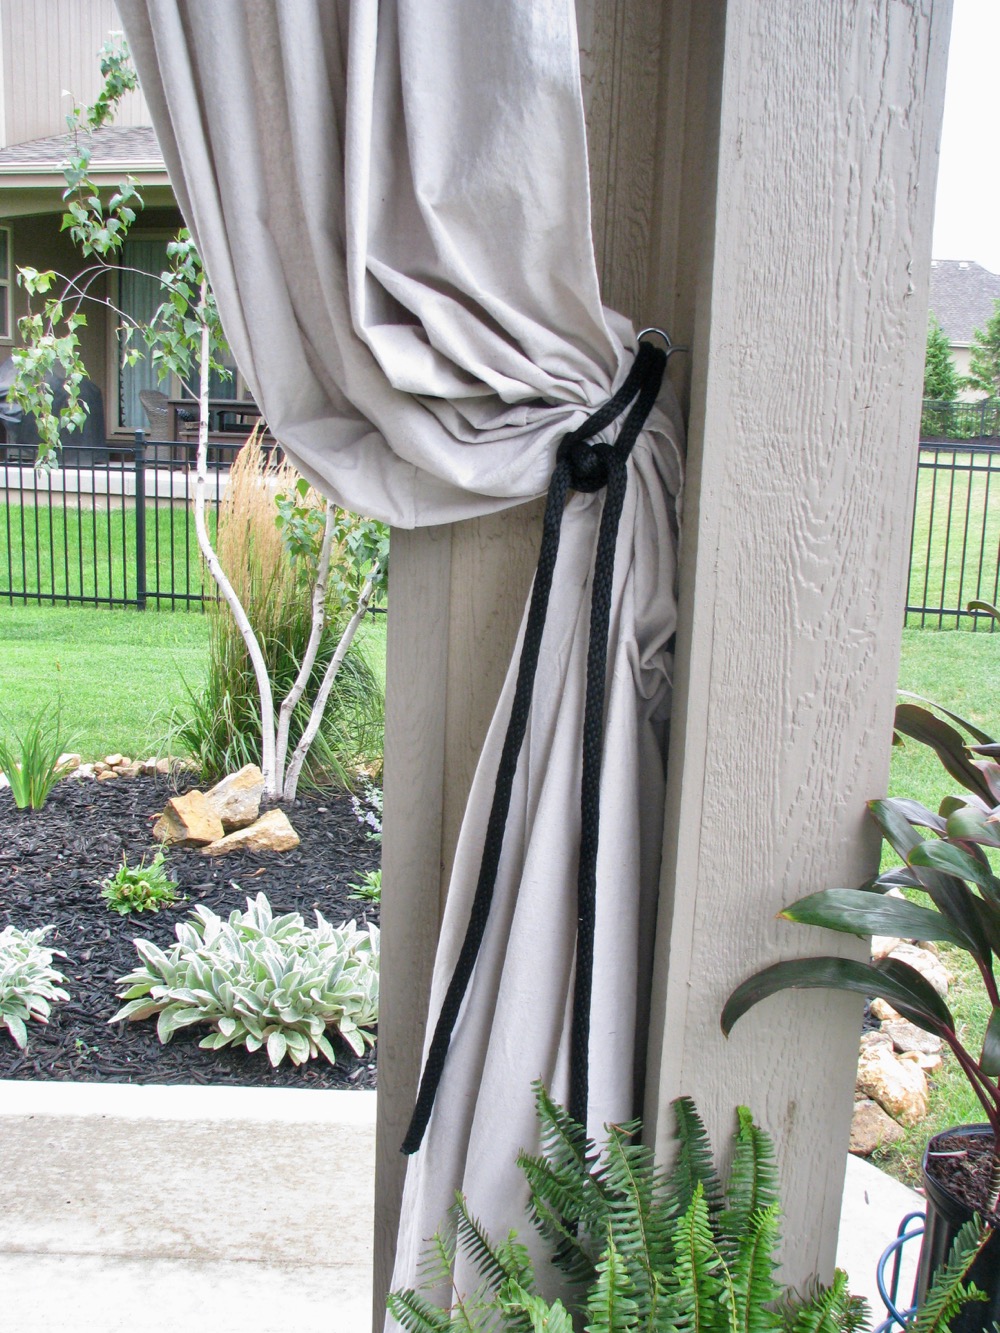
Tying the Curtains Back
When the curtains are not in use, we tie them back using a large eye hook and rope. We screwed the eye hook right into the column of our covered space. I purchased inexpensive black rope from Home Depot to tie them up. This keeps the curtains from sweeping the ground when not in use. After it rains, I try to remember untie them to dry out.
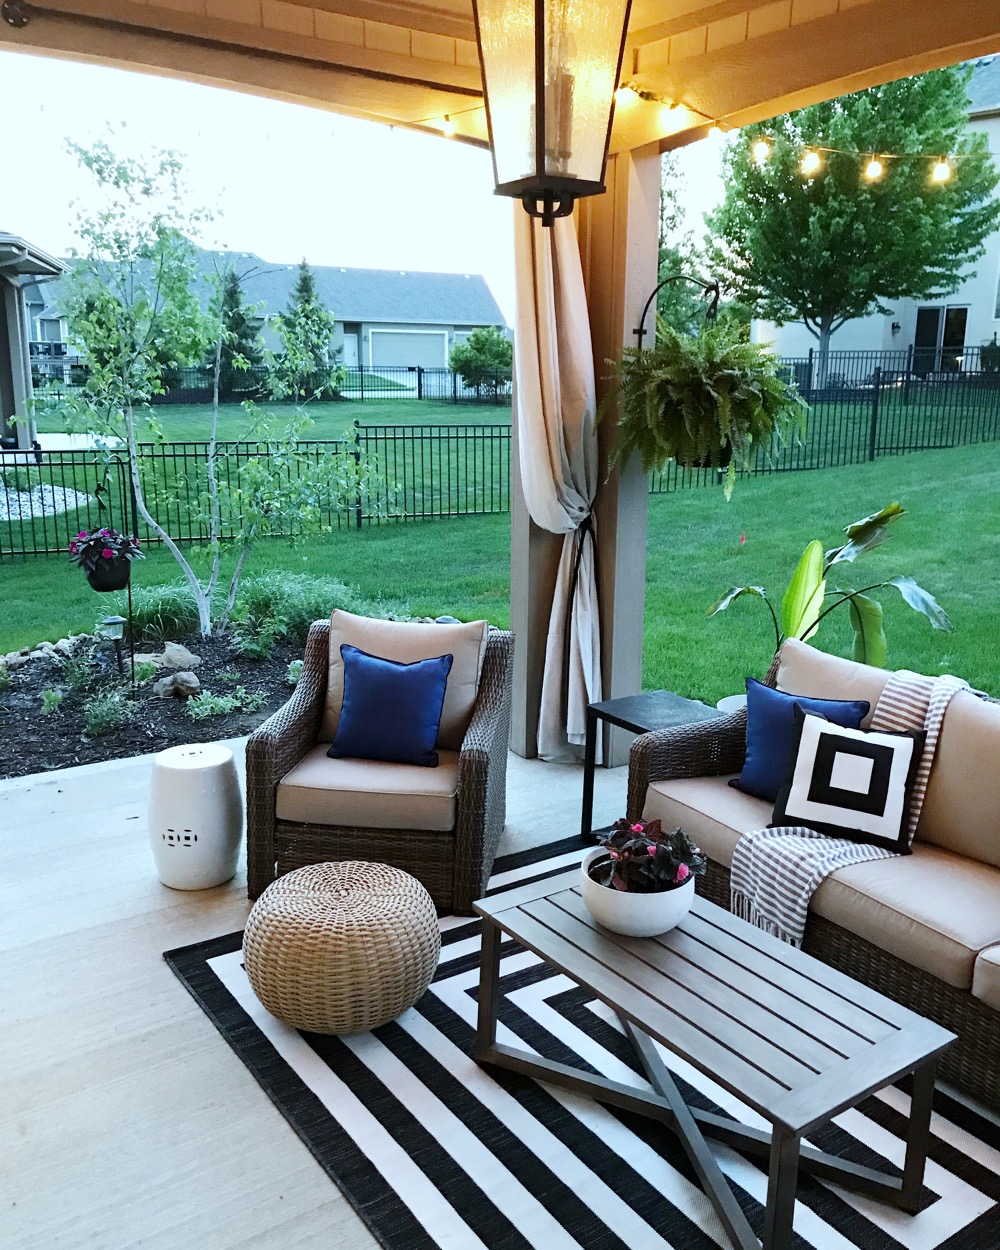
We have lived in this house for six summers and this is my second set of curtains. The first pair started to get some mold spots even after I washed them. I sprayed the second pair with no-wet spray and really try to be good about airing them out after they get wet. We do bring them in after the summer and I wash them and store them. I love how these curtains frame the space and bring lots of texture! It makes this space feel cozy.
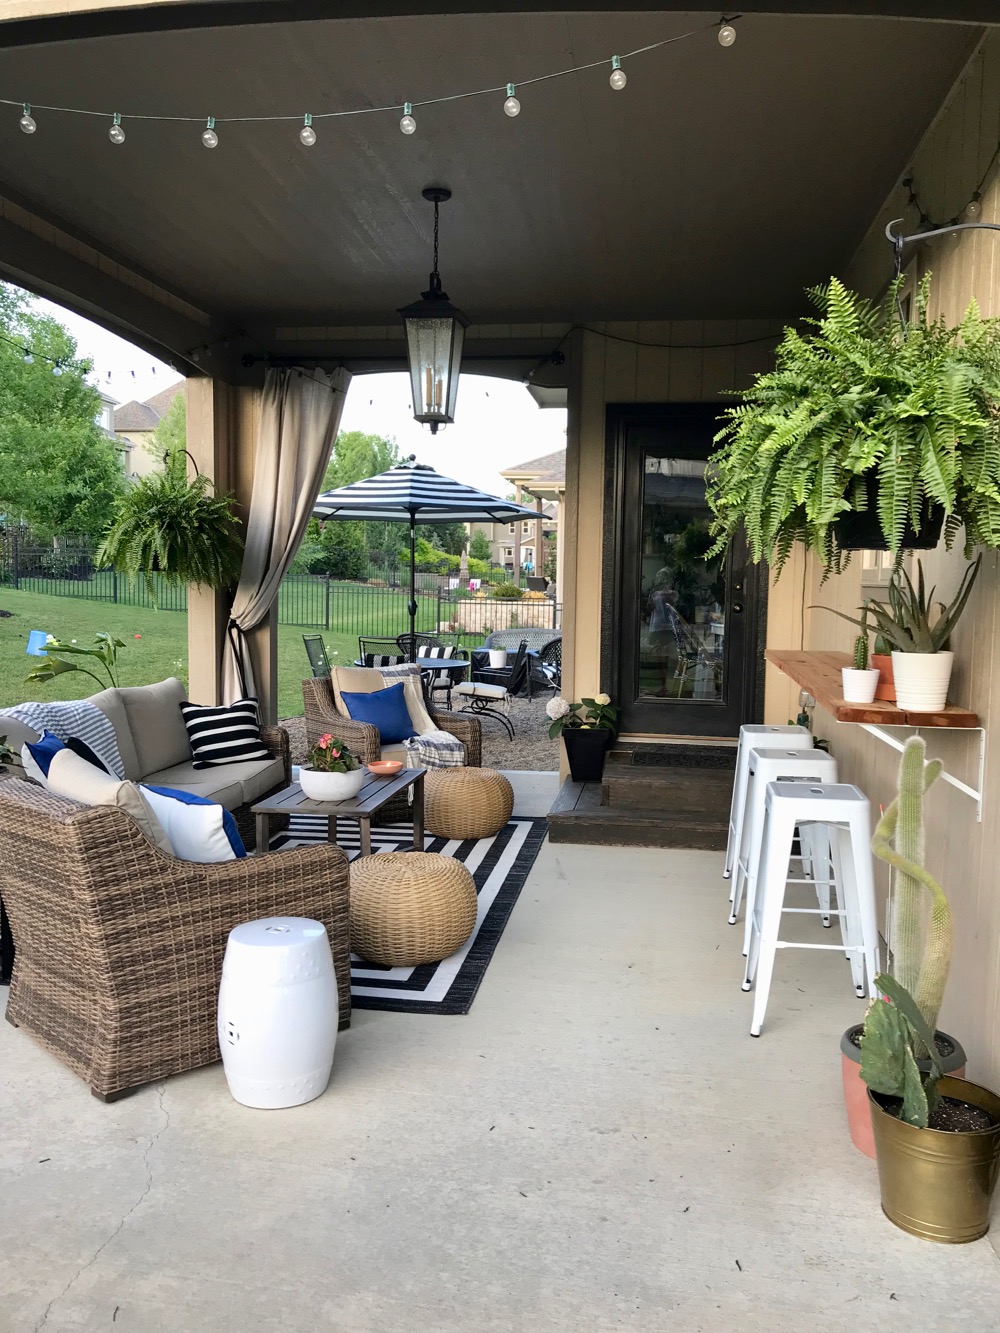
Overall, I would highly recommend these DIY drop cloth curtains! They require a little more work than just buying curtains, but outdoor curtains are so expensive! Drop cloths are inexpensive, washable, durable, and customizable. They are also THICK which allows for optimal functionality!
Update 2021
Since I first posted about these curtains, I have changed a few things! Instead of buying long curtains that I have to hem, I’ve started buying curtains that are shorter than what I like. Even though I don’t like the look as much, the bottom of the curtains don’t get dirty and the smaller curtains are inexpensive so I don’t have to worry about buying new ones each year. This eliminates more work. I’ve stopped caring about them getting moldy and washing and bleaching them and just started buying new ones each year. The old ones can be used as drop clothes for paint and other projects!
Update 2024
We still have our DIY drop cloth curtains hanging on our back patio! But now, they are mostly tied back to provide aesthetics. We installed a sun shade that we purchased at Costco a few years ago on the west side. Now we can crank this down instead of pull the curtains. We live in Kansas and the winds were starting to drive us crazy blowing the curtains around. On the east side, I still pull the drop cloth curtain in the morning to keep the sun out. The same rods and curtain clips are still in use! The drop cloths are still short, but it makes life easier when they don’t hit the ground and I don’t have to hem them!