Lately, Kate is wearing fewer and fewer bows (much to my dismay), and more and more headbands. I needed some storage for the growing collection! There are several tutorials and versions of this on Pinterest, and it really is such an easy project. Best part…this project cost me $0, because I already had everything on hand! Here is how to make DIY headband storage using simple supplies.
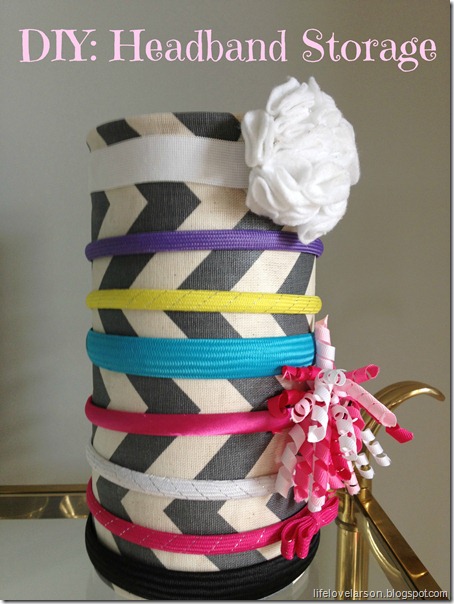
Supplies Needed
- Mod Podge
- Fabric of choice
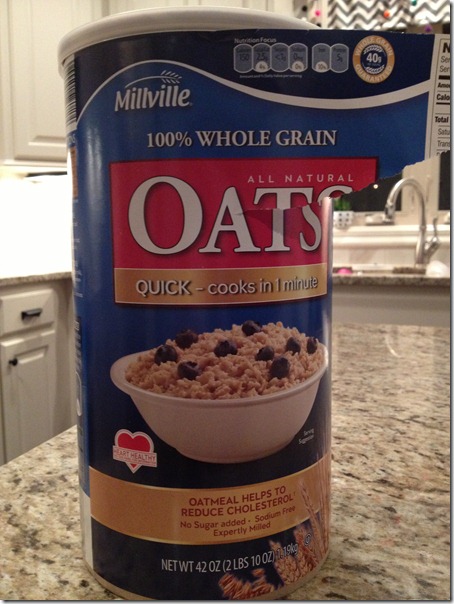
- Empty oatmeal container
- Hot Glue
- Spray paint (for the lid)
How to Make Headband Storage
- Remove oatmeal label and clean out the container and lid.
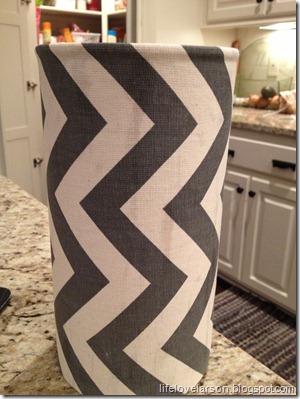
- Cut a piece of fabric to fit the cylinder shape. Leave a little extra on the top and bottom of the container to wrap the top.
- I used the Mod Podge as a glue. Put a thin layer on the container and smooth down the fabric until it starts to adhere. Work in small sections to make sure you fabric is even on both sides.
- When you get to the end, tuck the extra fabric under and add a dab of hot glue (sort of like wrapping a gift).
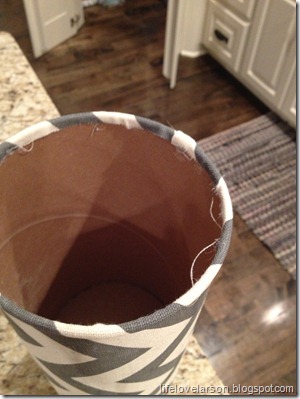
- Once the base is done, you will want to hot glue the extra fabric to the top and bottom of the container.
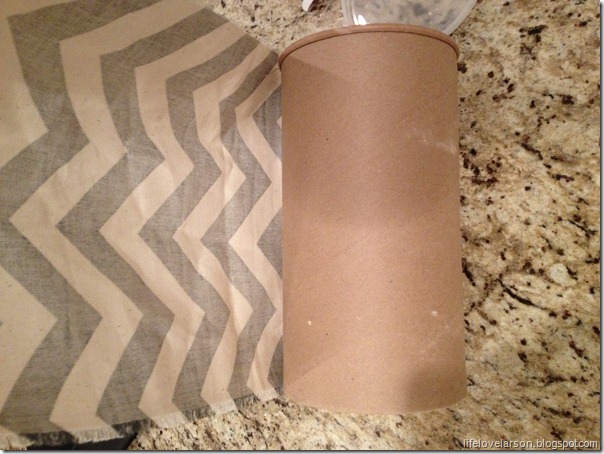
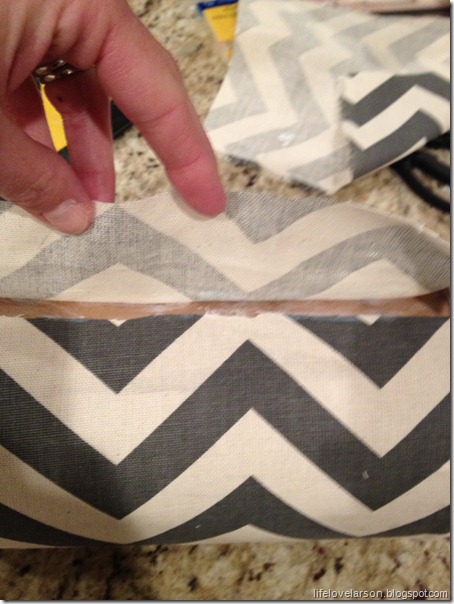
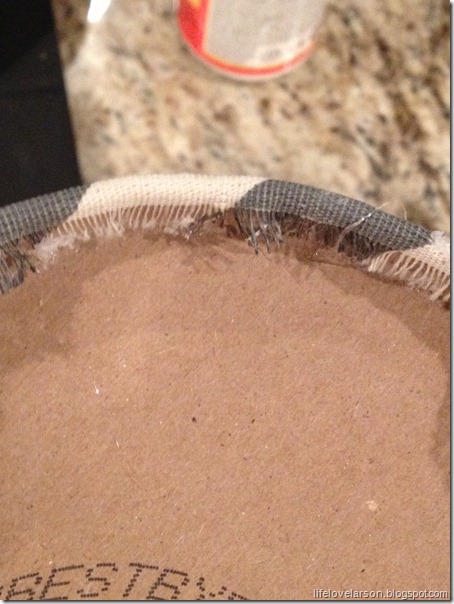
This is what it looks like once the fabric is adhered to the container.
Finishing Touches
Next, add a thin layer of Mod Podge on top of the fabric. This sets it and gives it a hard coating. Don’t worry, it will dry clear. You can brush Mod Lodge on with a paint brush or foam brush.
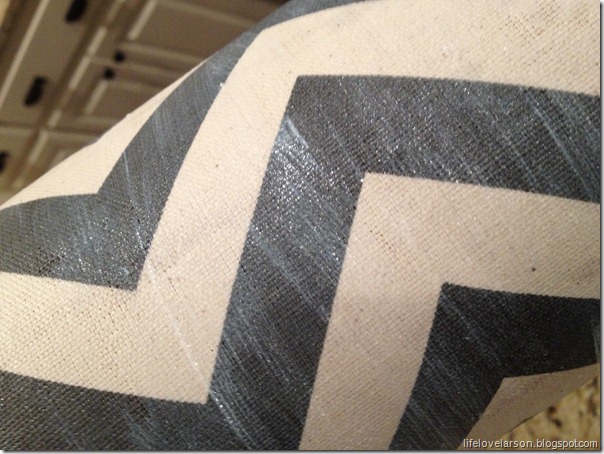
Let this sit overnight and it will be ready for use in the morning! As a bonus, you can also use the inside of the container for storage. Think scrunchies, barrettes, even a brush!
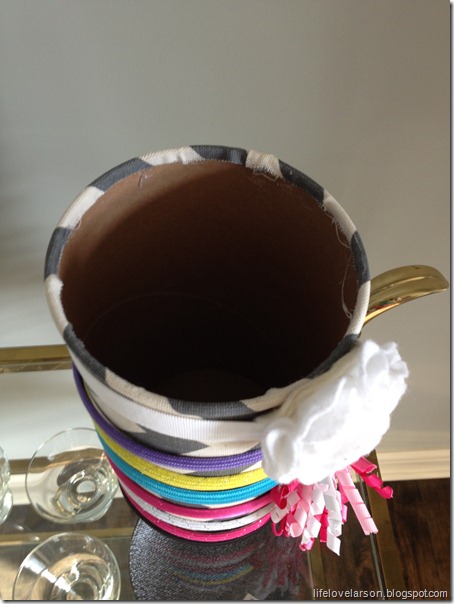
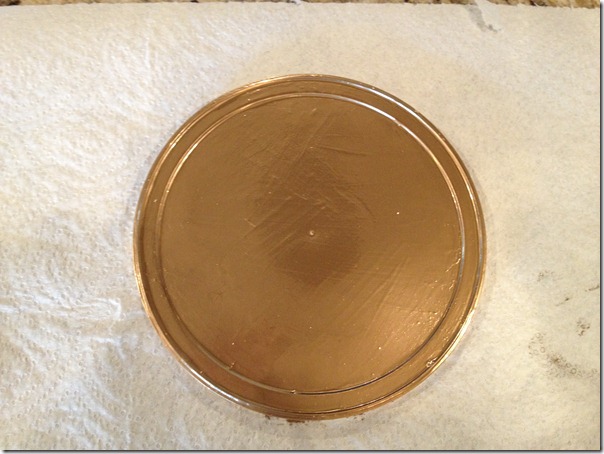
I decided to go ahead and spray paint the lid of the oatmeal container too.
 .
.
One of these days I will get around to embellishing the plain headbands, but for now, she can wear these and a winter hat. I love the extra pattern and color it will add to her bedroom too.
I hope you found this helpful in how to make DIY headband storage. Items that can serve a function and still look cute is a win for me! XO


I'm pinning this to make as soon as we use up all our oatmeal! I worked hard on an adorable hair bow hanger, but now my daughter won't wear hairbows; however, she loves headbands. Thanks!
OMG…I had the same exact thing planned! SERIOUSLY! I just hadn't eaten the oatmeal yet! You did a great job!! Super cute and it doesn't smash the flowers!
This is awesome! I have a tall formula can I was just going to throw away. It will work perfect for this. I am a new follower! Follow me back please!
My daughter made one for herself, but she used scrabook paper. I wish we would have thought to use fabric which would have been easier and probably stays better. Thanks for the great idea!!
This is such a cute and inexpensive idea! Love it! The chevron fabric is the perfect choice too! Found you through It Is Overflowing! Newest follwer!
Hi,You have some great ideas and we would like for you to share with our readers too. We are hosting our first link party tomorrow and we would like to invite you to link up with us. We have a fun blog to co-host with us. Hope to see you there.Thanks!
SO stinkin' smart! Found you on Lil' Luna's link party and I'd love for you to come link this up at my Tuesday Time Out that is still open! I love it!
Love this idea! />I've linked back to your blog for you so hope it sends some visitors your way! Thanks for the great idea!
Thanks Aanika for sharing on FB and for stopping by!!
Thanks everyone for your thoughtful comments
SUPER Cute Andrea! I need to do this! XO, Aimee
Thanks Aimee-super easy project!
What a great idea!
such a creative and useful idea! great job!!
You can totally throw hairbands inside the container! OOPS! I went back and read, and you already thought of that! Cute! I have the fabric. Now to start the fam on oatmeal from the canister!!!