I jumped on the ombre bandwagon for yet another DIY project for Kate’s room! My idea was to hang a large “K” on the wall opposite of her headboard. Joanne Fabrics sells large paper mache letters, so I used a 40% off coupon and got one for $6. I made this painted ombre letter for her room using paint I already had in my stash!
Materials Needed for Painted Letter
- Paper letter
- Paint of choice (I used Zany Pink)
- White paint of choice (I used a random one from my stash)
- Foam paint brushes
Creating Ombre Paint Colors
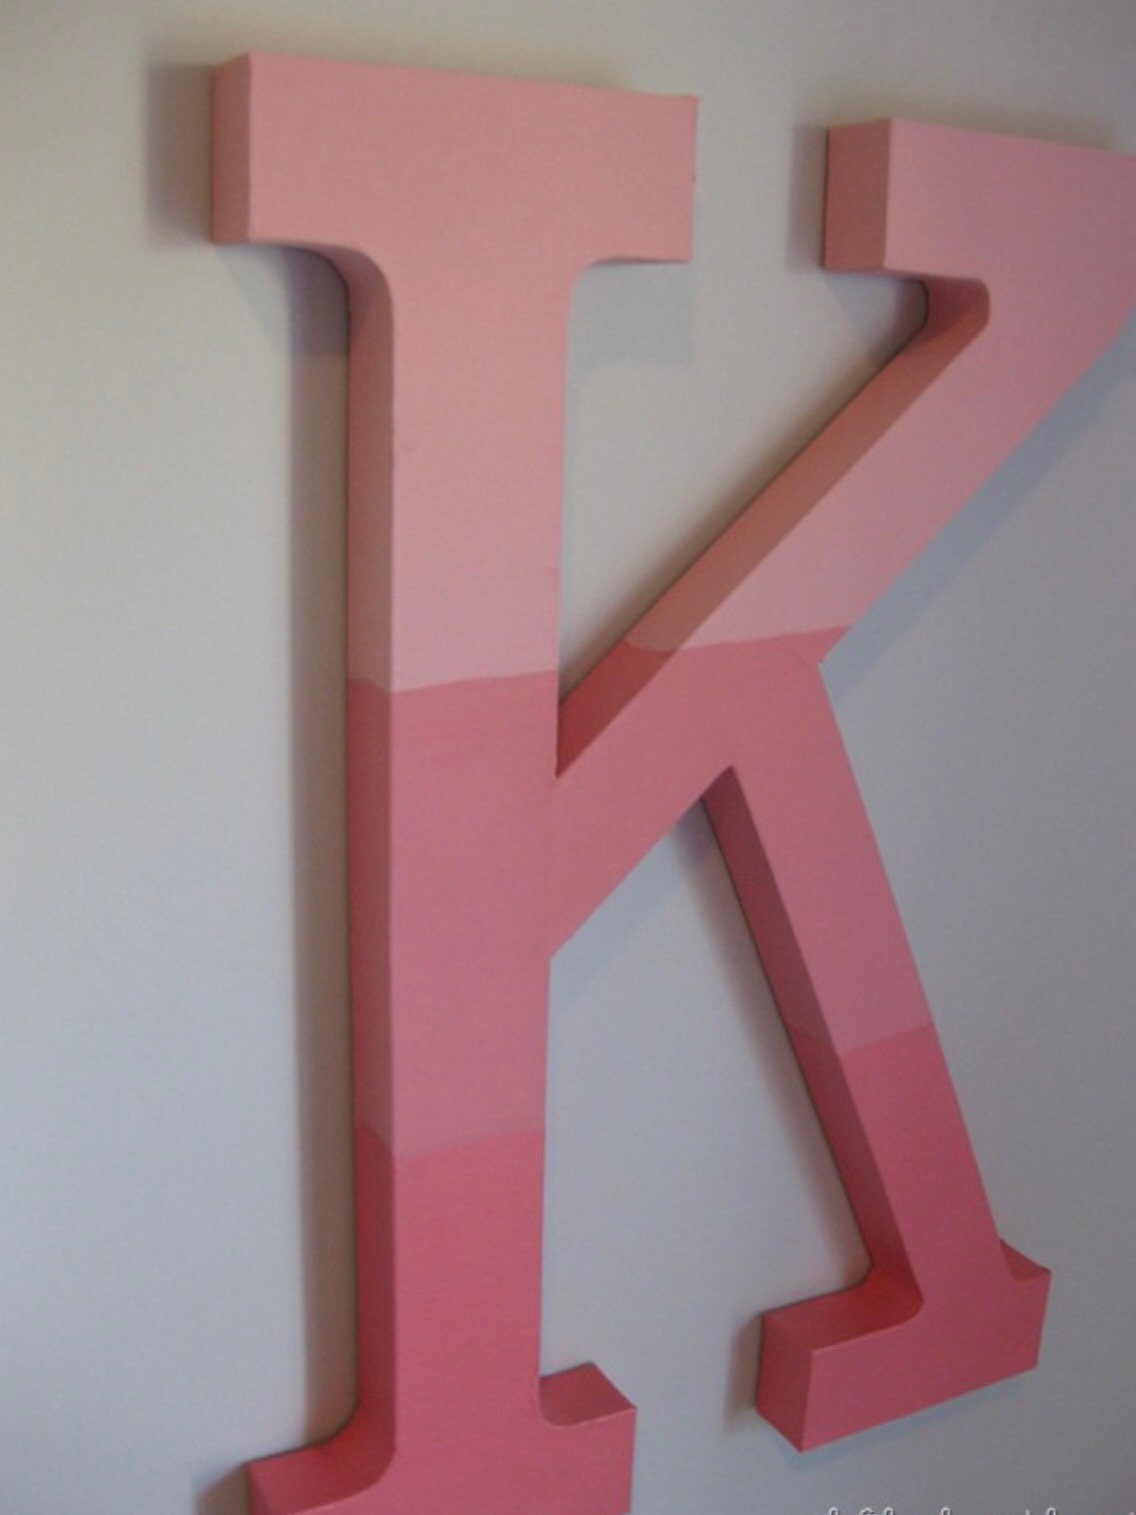
I wanted to create three different shades of pink. Like most things, I eyeballed this part! The bottom section of the letter would get the regular paint color. Then, I used the same pink and added some white paint to create a lighter pink color. For the third color, add even more white paint to create the lightest shade of pink.

Painting the Letter
I applied 3 coats of each color to get coverage over the brown paper. Again, I eyeballed this so it doesn’t have to be perfect. The beauty of ombre is that is kind of just easily blends.

Hanging the Painted Letter
Once dry, I used these Command strips to stick the letter on her wall. These letters are large, but extremely lightweight, so they are easy to hang.

Finished Product
And here is the letter hanging in her room.


Of course, Miss Kate loves the added touch of pink to her blue/grey walls. The paint color is Sherwin Williams “Big Chill”. Total cost for the ombre “K” was $6. I already had the paint and brushes, and I got the adhesive strips for free when I used a coupon at our local hardware store! The hardest part about this project is driving to the store to get your letter!
This is so pretty I love it! I was going to do an ombre letter with yarn, but this looks way easier! I would love for you to share this at my link party
So cute yet sophisticated! I think my house would be wall-to-wall ombre if I made every fabulous project that I have seen this year 🙂 So sad to hear the paint chip letters got damaged – I pinned those ages ago!
Looks fantastic!! Megan
This looks really great, I really like how easy it is! I would love if you would share this and any other posts at Showcase Your Talent Thursday
Very cute decor.
So cute and perfect for a girls room!