I saw a tutorial a few months back and knew I wanted to try and spruce up some plain brown frames I have hanging on a small wall next to our butler’s pantry. This particular tutorial used spray painted painters tape, but I decided to just put the “gold” right on the frame. These frames aren’t anything that exciting or expensive, so I just went for it, and I love the result. I need to update these photos of the kids. They are a few years old but something is keeping me from updating them (denial that they are getting older probably)! Here’s how to make DIY gold corner frames.

Materials Needed
For this quick project, I used Rub n’ Buff Gold Leaf, a small paint brush, and Frog Tape painter’s tape.

How to Make the Gold Corner Frame
Measure 3” from each corner in both directions. Make a small pencil mark where you will place the painter’s tape. No leveling here, I just eyeballed it.

After you have it taped the sections off, start applying your “gold”. I used both my finger and a small paint brush to apply the Rubb n Buff. It’s okay to go over the painter’s tape, which is exactly why I’m using it!

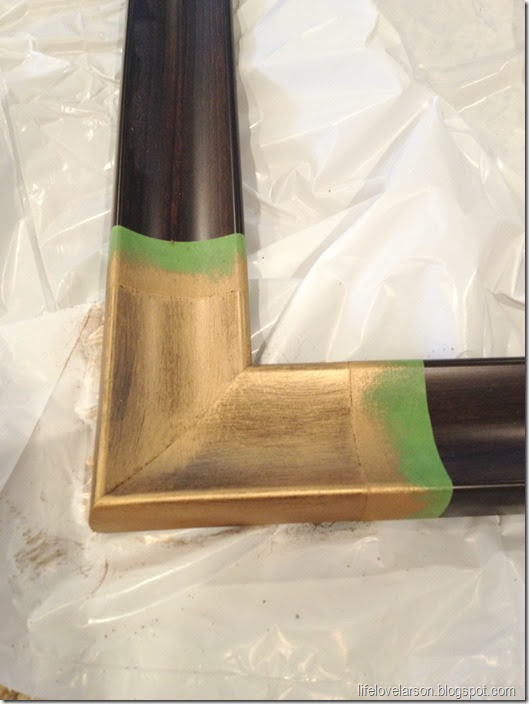
Once your gold has dried, simply peel off the tape and admire your new frames!

Here is a comparison of the frames before and after.

Such a quick and easy update. It’s all in the details for me!

I hope you enjoyed this tutorial on how to make DIY gold corner frames. This easy project can be done in no time! It creates a custom look that no one else will have! XO