Every year, our neighborhood holds a Halloween party and chili cook-off. This year, I was in charge of making a little something for the winner of the chili cook-off. I couldn’t spend a lot of money and I wanted to DIY something (this is all in good fun). After a trip to Hobby Lobby, very little time, and very little money, I made this apron for the winner. Here’s how to make a DIY painted apron.

Supplies Needed

Choosing a Font
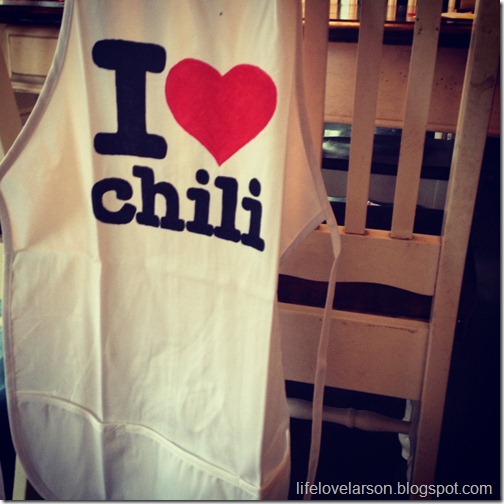
I downloaded this font for free (American Typewriter) to keep it looking like the original (I♥NY). The apron itself is kind of thin and cheap, so I was able to just put the words behind it and trace the outline with a pencil.
I used the fabric markers to fill in the lettering. Be sure to put something behind the apron so you don’t ruin the surface while coloring. Again, I used cheap markers, so it took a few coats to get it all filled in. And I was lazy and didn’t iron the apron first-oops!


This DIY painted apron turned out cute for a little gag gift. This would be such a great little project to do with your kids (they have adult and kid sized aprons)! The possibilities are endless.
To go along with the apron, I also made a little trophy for the winner of the chili cook off. I used a piece of wood from Hob Lob for the base (less than $1), a piece of scrap wood in the middle, and a fake chili pepper from Hobby Lobby ($2) and spray painted it metallic gold (from my stash).


Have you ever participated in or won a chili cook- off? Hope this helps if you are wanting to try a DIY paint apron! XO