These growth charts have been bouncing around blog land for months. The first moment I saw one, I knew I wanted to make one for our mudroom. These large growth charts are classic looking and can be something a parent has in their home for years and years. I think we will always have ours hanging in our home to remind us of a time when our kiddos were small (and tall)! Here’s how to make a DIY ruler growth chart for your own home!

Supplies Needed
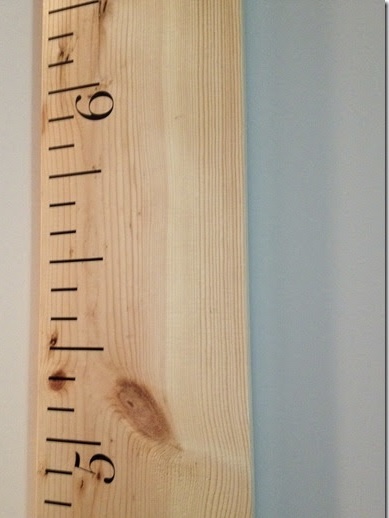
- Vinyl decals with the numbers and lines
- White wood board
- Polycrylic sealer
- Wall Hanging mechanism
Update: The original Etsy shop I ordered my lines and numbers from no longer sells the vinyl decals, so I have linked a shop that does. Just click on the photo to take you straight there.


I found the pre-cut white wood board in the lumber department at Lowe’s. My board is 6” wide, by 8’ tall, by 1” thick. If you cannot find a pre-cut board in this size, ask someone in the lumber department to cut it to size for you. The white board I purchased was around $8. I tried to choose a piece that had a lot of little notches and details since I would be leaving it a natural color.

I decided not to stain the board and just leave it natural. We have dark hardwood floors so I thought the light wood would be a nice contrast. Once home, I sanded the board down on the top and sides that would be exposed. Using an old t-shirt, I added 3-4 coats of Polycrylic to the side that would be seen (don’t waste your time or product on doing the back side).

Once the Poly has dried and the edges of your board are smooth, you can begin to adhere your vinyl decals. There are instructions in the vinyl kit and it is definitely a two person job so have someone nearby to help! Once you get the hang of the peeling and sticking, it will take you no time at all.

Once the vinyl decals are placed on the board, you will need a hanging mechanism. You can see in the picture below what we used. It is sturdy and easy to remove on and off the wall if needed.

Hanging Your Ruler Growth Chart
Don’t forget to hang your ruler with accuracy on your wall! You have to take into account where you placed your hanging mechanism and how far up from the floor your want you board to hang. I didn’t want our ruler to sit right on the baseboard, so we raised it up a few inches and placed our hanger 77” from the floor.

We decided to start documenting the kid’s current measurements, instead of going back and filling in since they were born. We also decided to measure twice a year (birthday and half birthday). I ultimately decided to write the initial of the child and the date in pencil.

What a fun project for the whole family! My kids stand against the ruler on a daily basis to see if they have “grown”. And yes, I will probably still have my 18 year old kids measured on this ruler. This recently turned 5 year old is going to be passing me up before I know it! I just love having things in our home with meaning.

I hope this was helpful in learning how to make a DIY ruler growth chart.
2023 UPDATE: It’s my 15 year old son’s half birthday and we are still measuring! I don’t think I’ll ever take this growth chart down. It’s just a part of our house now. XO