I have had these DIY plates done for several months and never blogged about them. I recently hung them in Kate’s room and am finally getting around to sharing. Kate had a narrow wall that needed some decor so I added these fun plates as “art”. Here’s how to make DIY silhouette plates.


I wanted something that would make a statement in her room, but wouldn’t cost a lot of money. Of course I also like for every room to have handmade touches! I tried to keep these plates in the same color scheme without being super matchy matchy.
Materials Needed for Plates
- White plates – I purchased all of mine for less than $1.00 at thrift stores. These can be any size.
- Scrapbook paper/wall paper/gift wrap – whatever pattern you like
- Black card stock
- Mod Podge + brush
- Printer
- Plate Hangers
How to Create the Silhouette Plates
Add the Paper to the Plate
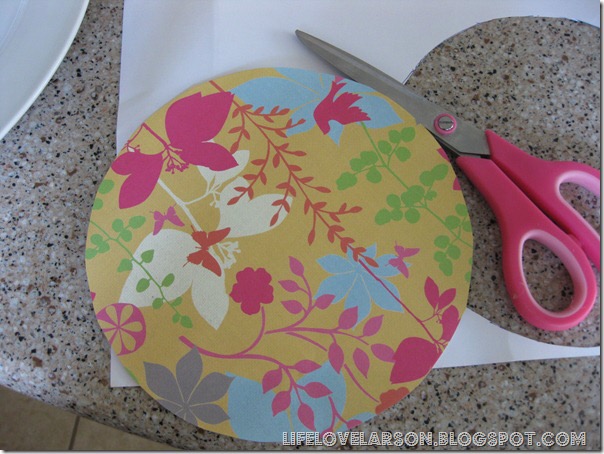
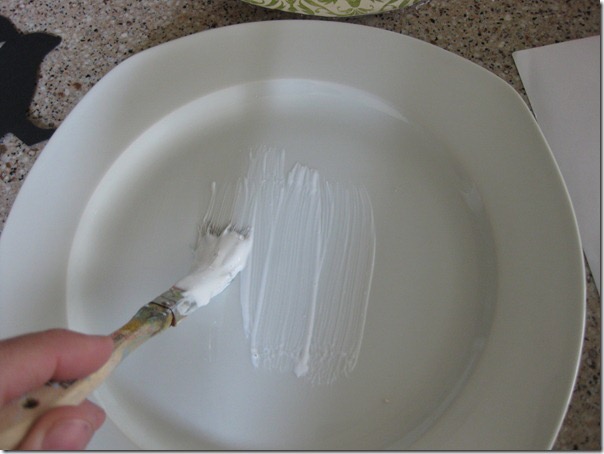
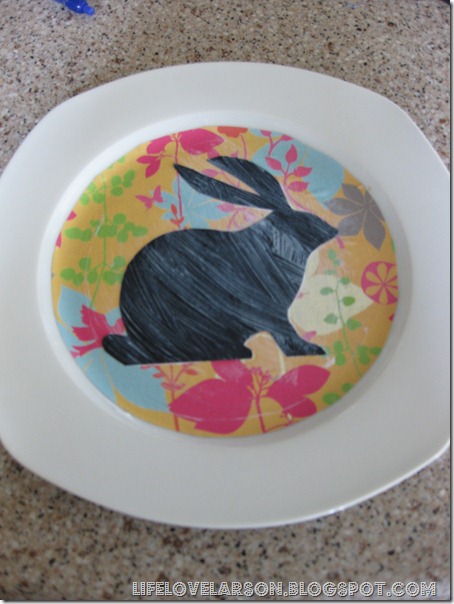
First, cut the patterned paper to fit the inside circle of the plate. You can turn the paper upside down and trace the inside. Next, apply a thin layer of Mod Podge to the plate and adhere the paper. Wait for the first coat to dry before adding another coat of Mod Podge over the top of the paper. It is important to let dry or you will have bumps!


Create Your Silhouette Images
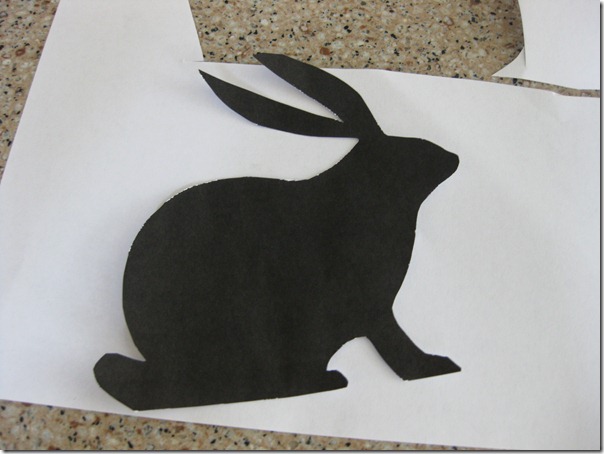
To create the silhouette images, head to your computer and find whatever silhouette images you are looking for. There is total creative freedom in pattern choices and silhouette choices here! In my case, I chose a bird, a girl swinging, a bunny (our daughter’s nickname), a butterfly, and a ballerina. These all seem to represent a little girl’s room. Make sure the image size will fit on the center of the plate. Then, print the image out on plain white paper and cut out the image. Here is an image of the bunny printed out on regular printer paper. It’s black because I searched for and printed silhouette images.
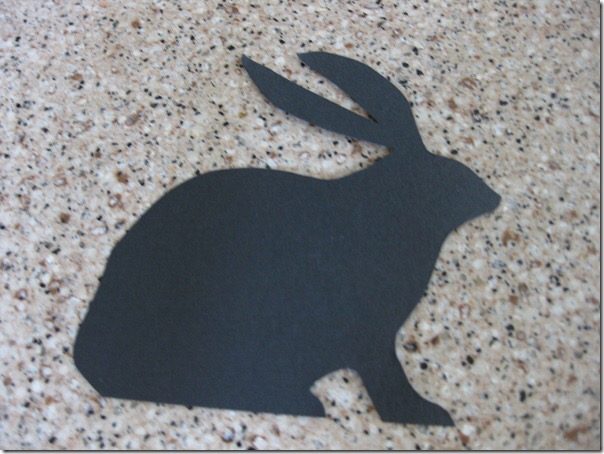
Next, trace the images onto black card stock using a white crayon or chalk or whatever you have on hand to trace. I chose to trace my images onto the cardstock reversed so the front side would not have any marks. Then cut out the image from the card stock. Lots of cutting right?! The silhouette process is a little tedious, but don’t be scared off. The swinging girl and the ballerina had more details so they took a little more time. The bunny was pretty straight forward.
Once your scrapbook paper has dried, you can adhere the silhouette with a layer a MP on the front and back as well. Don’t worry, this will dry clear and give it a nice coating.
Hanging the Plate on the Wall
Now, let’s hang these on the wall! I purchased plate hangers at Hobby Lobby, but have also seen them at Walmart and other retail stores. They run about $1-$3 depending on what size you need. I needed four of the 8”-11”, and one of the smaller version (the bird plate is smaller).
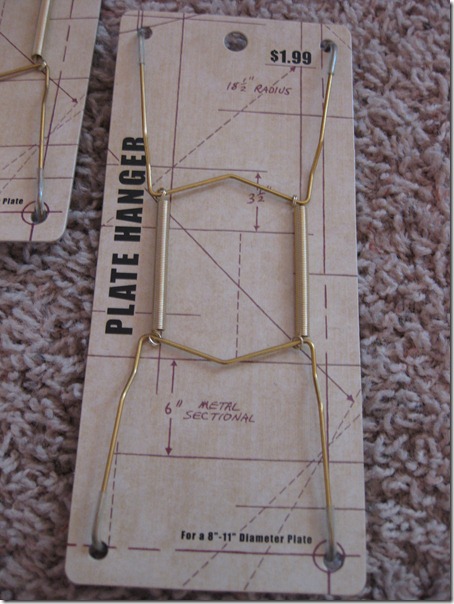
Simply hammer a nail in the spot you want to hang the plate, insert the plate into the holder, and set on the nail. Super easy! I wanted a bit of a random look and put them on a small wall next to her closet doors.
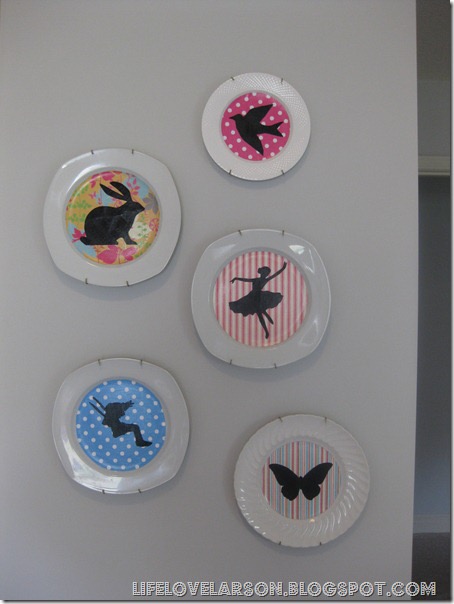
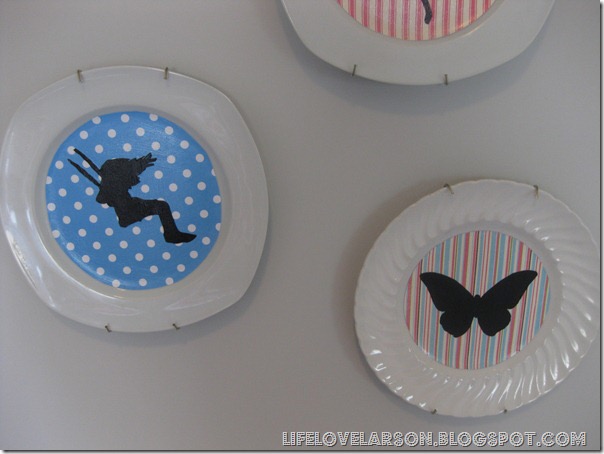
I think these are fun and whimsical for a little girl’s room. The colors and patterns coordinate well and the black silhouette really pops. I love that they are personalized and add a bit of character to the space. Who doesn’t love a silhouette? The possibilities of different color/silhouette combinations are endless! I hope you enjoyed seeing how to make DIY silhouette plates.
You can check out the original inspiration via this blog post from Danielle Oakey Interiors.